Learn how to plan a roof replacement in Central Texas: inspect for damage, compare materials, vet contractors, and manage insurance claims wisely.
Your roofer just told you it's time for a roof replacement, and now you're staring down a decision that could cost anywhere from $8,000 to $25,000 depending on your home's size and materials. That's a lot of money to spend without knowing what you're actually paying for, or whether you're getting a fair deal from the contractor standing in your driveway.
This guide walks you through the entire process, from spotting the warning signs that mean replacement over repair, to understanding material costs, timelines, and what a reputable contractor should actually do on your property. You'll also learn how insurance claims work when storm damage is involved, and where homeowners typically lose money without realizing it.
We've spent three generations installing and replacing roofs across Central Texas, and we've seen the same costly mistakes repeat themselves: skipping documentation, accepting vague estimates, and trusting verbal promises instead of written scope. Below, you'll find practical money-saving tips and a clear planning framework so you can approach your replacement with confidence instead of guesswork.
Not every damaged roof needs a full teardown. Many homeowners jump straight to replacement because a contractor pushed for it, or because a single leak scared them into thinking the whole roof failed. Before you commit to the cost and disruption of a full roof replacement, take a hard look at what's actually wrong first. A trustworthy contractor will tell you when repair solves the problem, not just push you toward the bigger, more expensive job.
If your roof is under 15 years old and the damage is limited to one or two spots, roof repair usually solves the problem for a fraction of the cost. A handful of missing shingles after a windstorm, a small leak around a vent pipe, or flashing that pulled loose doesn't mean the whole roof is failing. Localized fixes like these typically run a few hundred to a couple thousand dollars and can add years of life, as long as the decking underneath stays dry and solid.
Replacement becomes the right call once damage spreads across the whole roof instead of one section. Asphalt shingles typically last 20 to 25 years, and once you're past that window, granule loss and curling edges show up everywhere, not in one isolated patch. Structural sagging, soft spots in the decking, or daylight visible through the roof deck in your attic are signs the damage has moved past cosmetic and into territory that repair can't fix.
If more than 30% of your roof shows wear, patching it just delays the inevitable and costs you twice.
| Sign | Repair likely sufficient | Replacement recommended |
|---|---|---|
| Roof age | Under 15 years | 20+ years, past manufacturer lifespan |
| Damage extent | One or two isolated spots | Spread across multiple roof sections |
| Shingle condition | A few cracked or missing shingles | Widespread curling, granule loss |
| Decking condition | Solid, dry, no sagging | Soft spots, rot, visible sagging |
| Leak history | First-time or single leak | Repeated leaks in different areas |
Storm damage changes the math entirely. If a hailstorm or high winds hit your neighborhood, an insurance adjuster's assessment often determines whether you're looking at a covered repair or a fully covered roof replacement. Documentation matters here: a detailed inspection with dated, timestamped photos gives you leverage whether you're negotiating with your insurer or comparing contractor recommendations side by side. Skipping this step is exactly how homeowners end up either paying out of pocket for work insurance should have covered, or getting talked into replacing a roof that only needed a repair.
Start your roof inspection before you call anyone. Walk the perimeter of your house and look for shingles in the gutters, on the lawn, or piled against the fence line after a storm. Binoculars from the ground work fine for a first pass, and you don't need to climb a ladder to spot obvious trouble like sagging rooflines, missing shingles, or exposed felt paper.
Go up into the attic with a flashlight during daylight hours. Look for water stains on the rafters, damp insulation, or any spot where you can see daylight through the decking. These interior signs often reveal damage that never shows up from the street, and they tell you whether the problem has already reached the structural wood underneath your shingles.
Take photos of every issue you find, with timestamps if your phone supports it. This matters more than most homeowners realize, especially if you end up filing an insurance claim. A written, photo-backed record protects you from a contractor who wants to inflate the scope, and it protects you from an adjuster who wants to minimize it.
A camera roll full of dated photos is worth more than any verbal promise a contractor makes on your porch.
Once you've done your own walkthrough, bring in a roofer for a professional roof assessment. At Defend Roofing, we run a Precision Roof Assessment on every property, which means over 100 photos documenting the roof's actual condition instead of a five-minute glance and a guess. A thorough inspection should include:
Don't settle for a contractor who skips half of this list. If someone quotes you a replacement price without ever setting foot on your roof or documenting what they found, that's your signal to get a second opinion before you sign anything.
Once you know replair replacement is the right call, the next decision is what goes on your roof and who puts it there. Material choice drives most of your long-term cost, since some options last twice as long as others for a modest premium upfront. Skipping this research step and just going with whatever the first contractor recommends is how homeowners end up overpaying for materials that don't match their climate or budget.
Asphalt shingles dominate Central Texas roofs because they balance cost and durability well against our hail and heat cycles. Metal roofing costs more upfront but holds up better against severe weather and can outlast two or three shingle roofs over a home's lifetime. Tile offers a longer lifespan too, but its weight requires structural checks most older homes haven't had.
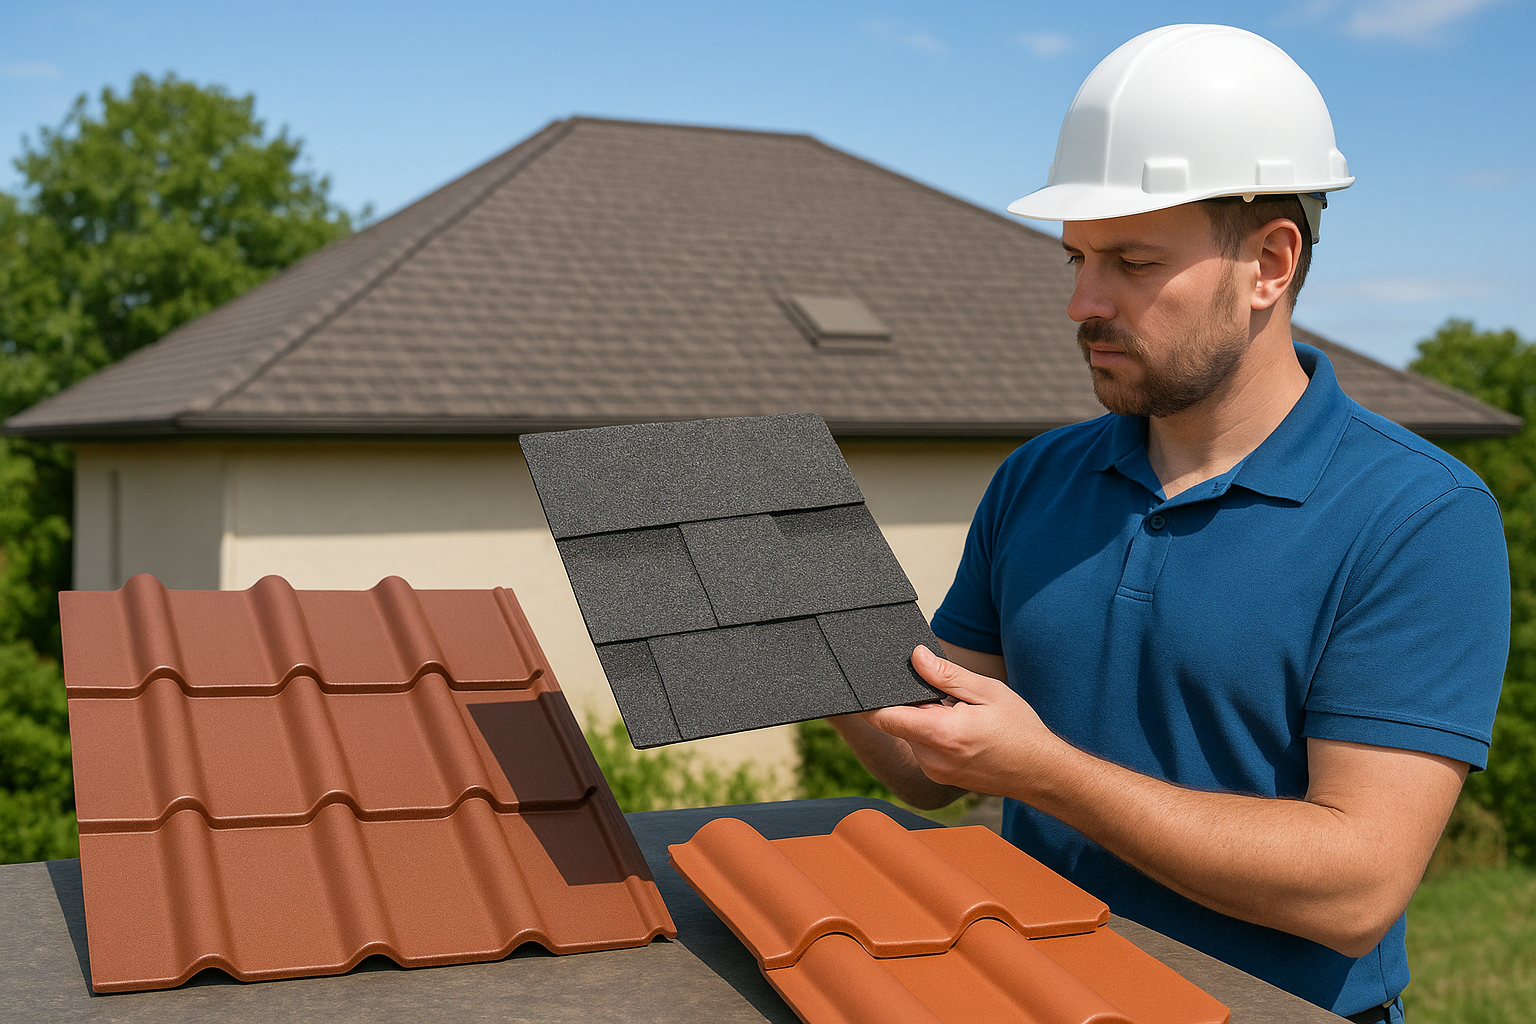
| Material | Average Lifespan | Relative Cost | Best For | |---|---|---| | Asphalt shingles | 20-25 years | $ | Most homes, budget-conscious replacement | | Metal | 40-70 years | $$$ | Storm-prone areas, long-term owners | | Tile | 50+ years | $$$$ | Homes with reinforced structure | | Wood shake | 20-30 years | $$ | Aesthetic priority, needs upkeep |
The cheapest shingle isn't the cheapest roof once you count how often you'll replace it.
Material only matters if the installation holds up, so put as much scrutiny into the contractor selection as the shingle brand. Ask every roofer you're considering these questions before you sign anything:
Companies offering a genuine limited lifetime workmanship warranty back their labor the same way manufacturers back their shingles. Verify licensing and insurance directly rather than trusting a business card, since that single check eliminates most of the bad actors homeowners run into after storms.
Gather at least three written estimates before you commit to anyone. A detailed roofing estimate should break down materials, labor, tear-off and disposal, permit fees, and warranty terms line by line, not lump everything into one number. If a quote fits on a napkin, walk away. Vague pricing is where contractors hide markup, and it's the number one reason homeowners overpay for a job that should have cost thousands less.
Put the estimates side by side and compare more than the bottom line. A cheaper bid that skips flashing replacement or underlayment upgrades will cost you more in repairs within a few years. Check for:
The lowest bid rarely stays the lowest once change orders start showing up mid-project.
Homeowners covering the cost themselves should ask contractors about roofing financing options upfront, since many companies partner with lenders offering fixed monthly payments instead of one lump sum. Defend Roofing offers financing options for qualified homeowners, which helps spread out a $10,000-plus project without draining savings. Ask about interest rates, loan terms, and whether approval affects your timeline before you sign a contract.
Storm-related damage runs through a different process entirely, and getting it right saves you thousands. File your claim promptly, then schedule your adjuster's visit around the same time your contractor can be on-site. Having a roofing professional present during the adjuster inspection matters because adjusters sometimes miss damage that a trained eye catches immediately, especially on multi-layer roofs or hidden decking issues.
Submit your own photo documentation alongside the adjuster's report rather than relying solely on their assessment. Insurers work from the scope the adjuster writes, so if your contractor spots additional damage, get it added in writing before the claim closes. Homeowners who skip this step often discover months later that their insurance claim payout fell short of what the actual repair required, leaving them to cover the gap out of pocket.
Once your estimate, materials, and financing or insurance are locked in, it's time to set a start date. Roof installation timing depends on your contractor's schedule and Central Texas weather patterns, so book your project during a stretch with a low chance of rain if possible. Most residential roof replacements take one to three days for an average-sized home, though steep pitches, multiple layers of tear-off, or complicated rooflines can stretch that timeline out.
Move vehicles out of the driveway and clear the area directly around your house before installation day. Falling debris and dropped nails are a real risk during tear-off, so pull patio furniture, grills, and potted plants away from the foundation. Cover anything valuable stored in your garage if the door will be open during the workday, and let your neighbors know in advance since a roof replacement involves noise and increased traffic for a day or two.
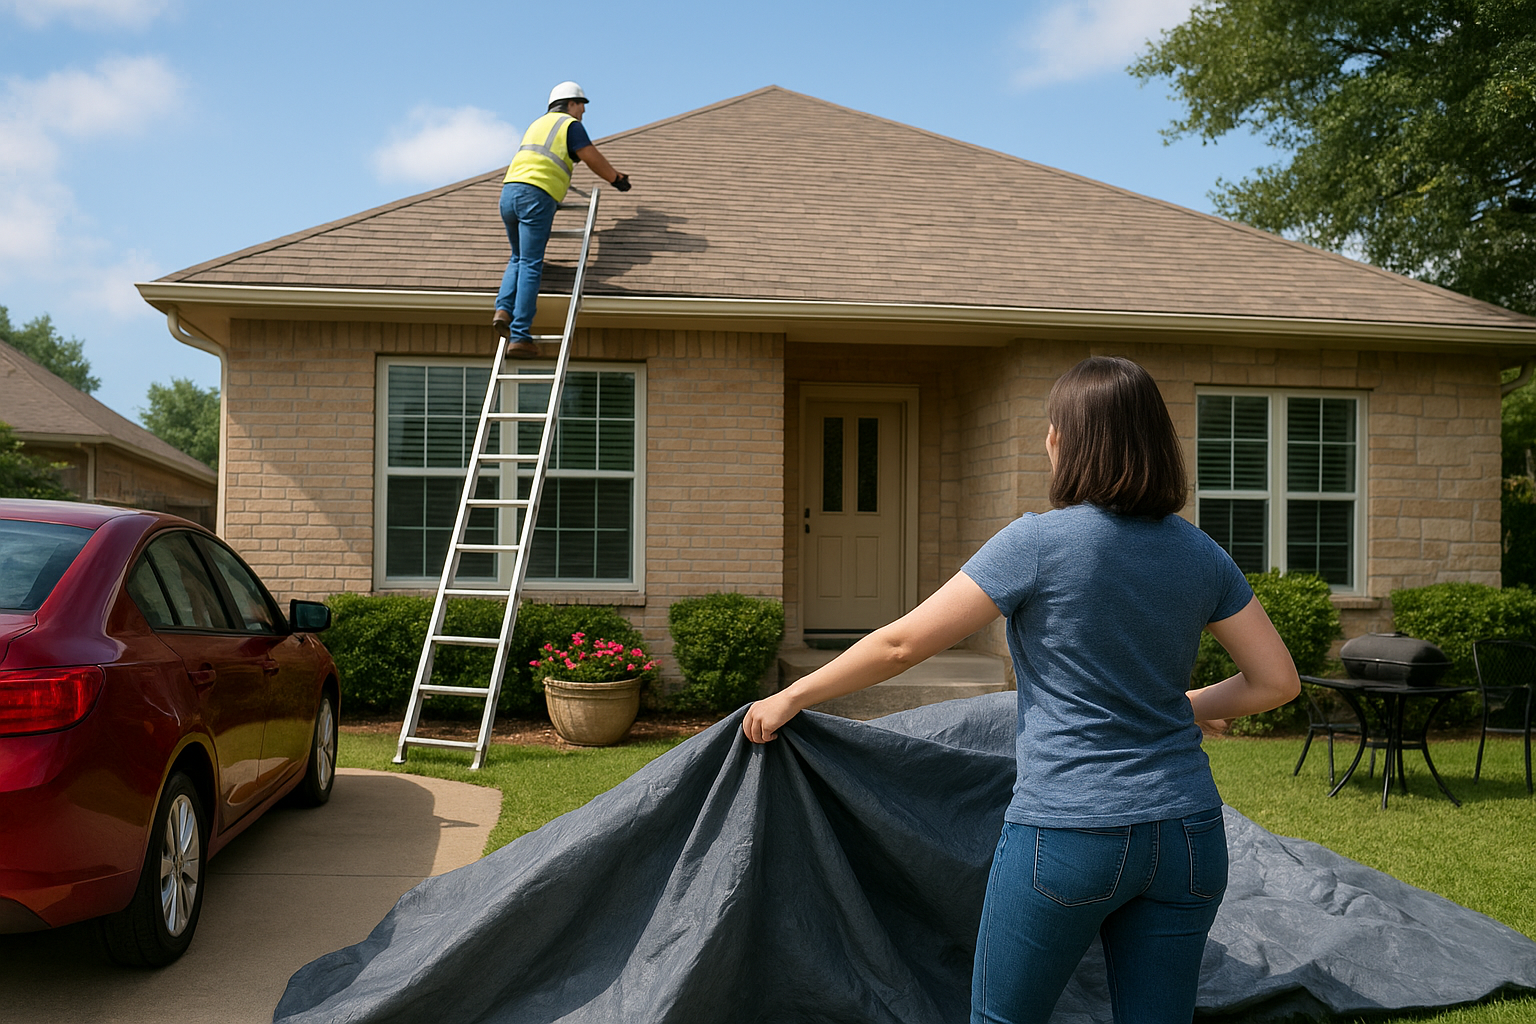
Crews typically start early, often by 7 or 8 a.m., and work through tear-off, decking inspection, underlayment, and shingle installation in sequence. Ask your contractor how they plan to protect landscaping, since tarps over bushes and plywood over pool covers or delicate surfaces prevent damage from falling debris. A crew that skips these basics on a walkthrough beforehand is a warning sign, not a minor inconvenience.
Property protection isn't an extra service, it's a sign the contractor respects your home as much as the roof itself.
Before the crew leaves, they should run a magnetic sweep across your yard and driveway to catch stray nails, then haul away all debris and packaging. Insist on a final walkthrough where the contractor points out completed flashing, ridge vents, and any warranty paperwork you'll need for your records. Here's what should happen before you sign off:
Defend Roofing backs every installation with a Limited Lifetime Workmanship Warranty, so you have documented protection long after the crew packs up and drives away.
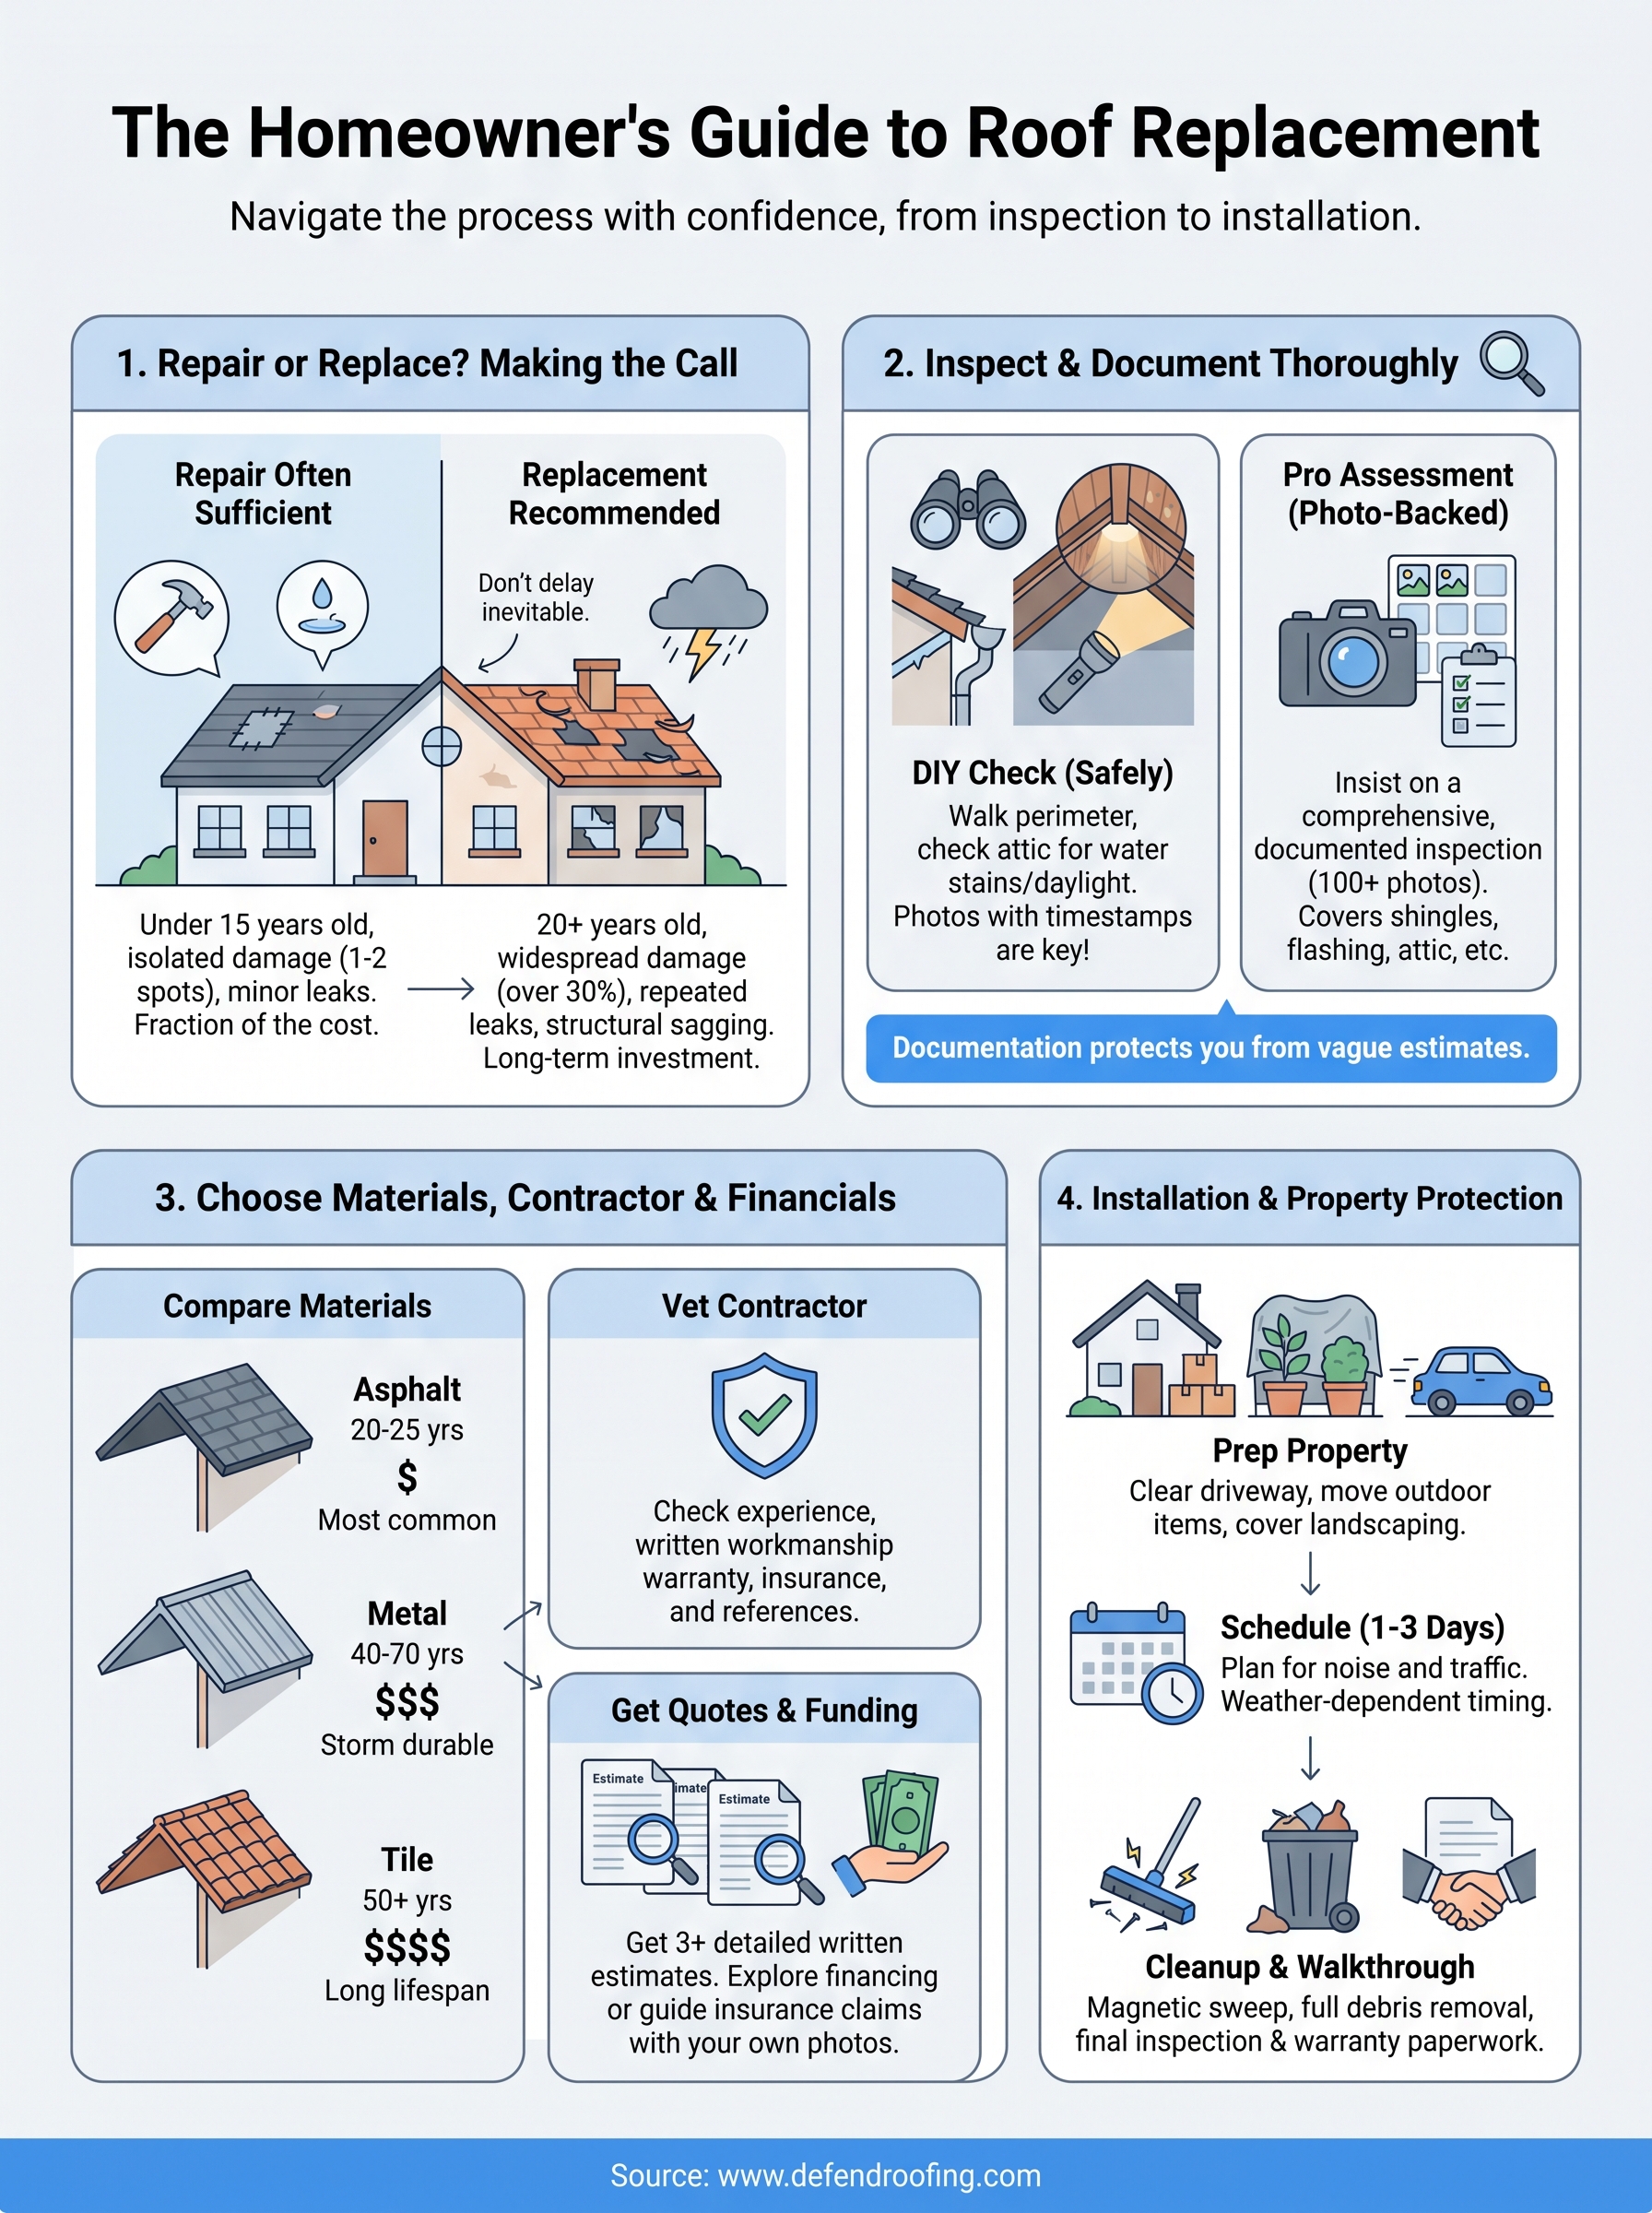
A roof replacement doesn't have to feel like a gamble. Confirm the damage yourself, get a documented inspection, compare materials and contractors side by side, and read every estimate line by line before you sign. Handle the insurance side with your own photo record instead of trusting the adjuster's word alone, and you'll walk into this project with leverage instead of guesswork.
Greyson and I built this company on the idea that homeowners deserve straight answers, not sales pressure. Three generations of roofing experience taught us that the contractors who document everything and explain the "why" behind every recommendation are the ones customers trust again for the next project. That's the standard we hold ourselves to on every roof we touch in Central Texas.
If you're ready to get a real assessment instead of a guess, reach out for your instant quote and let's talk through what your roof actually needs.