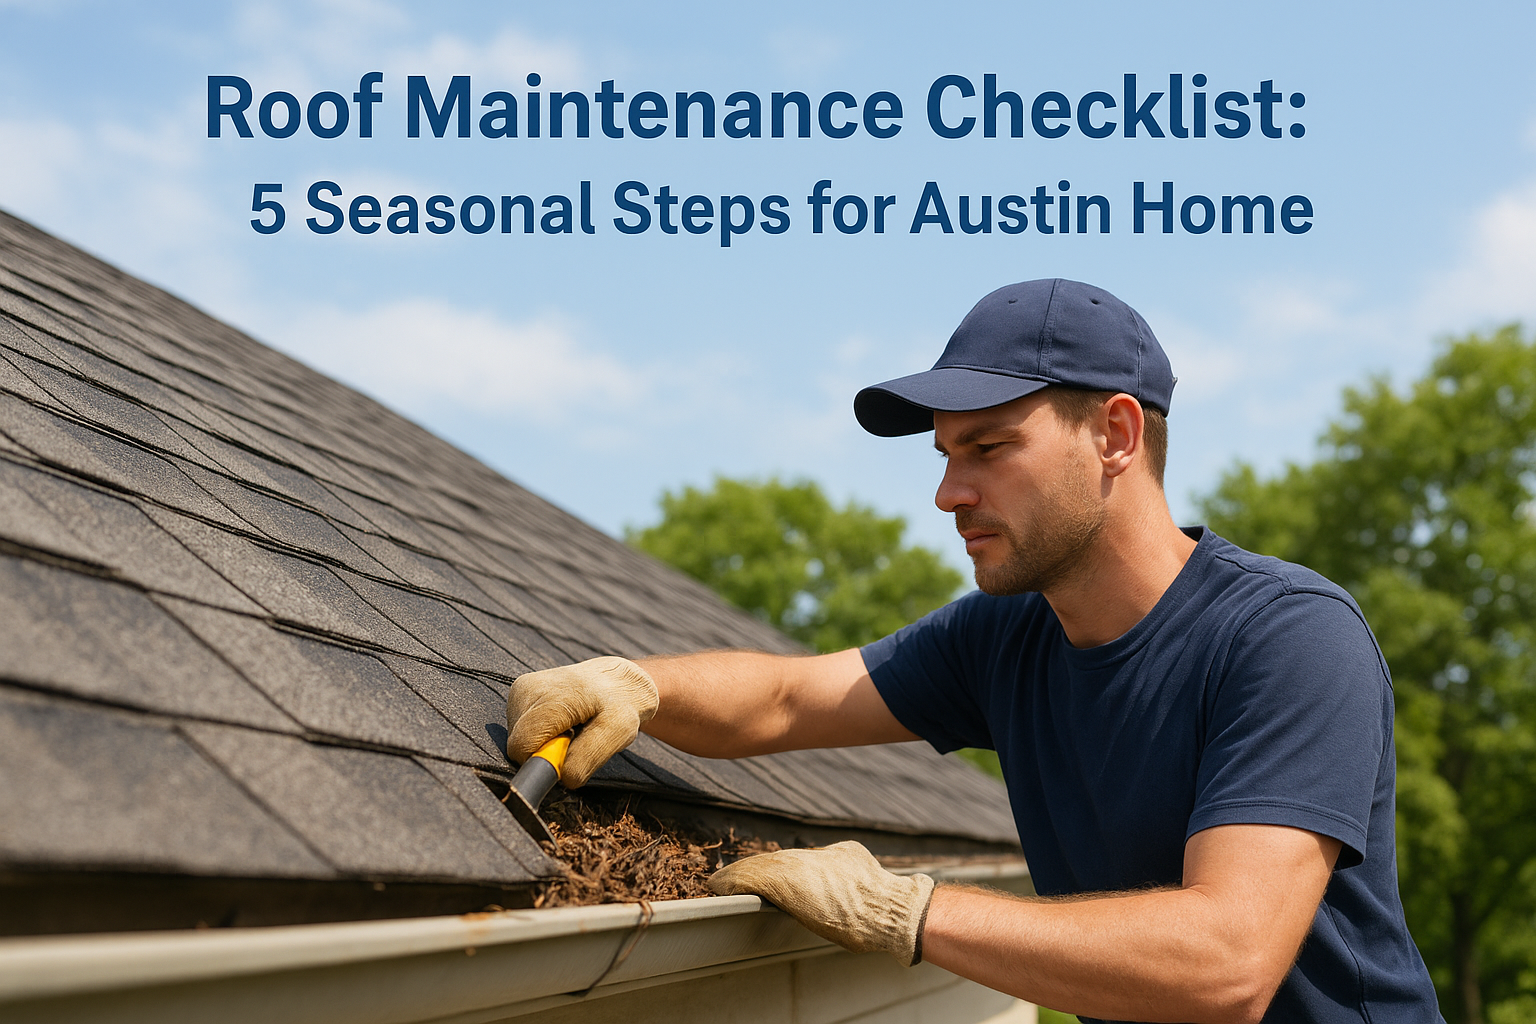
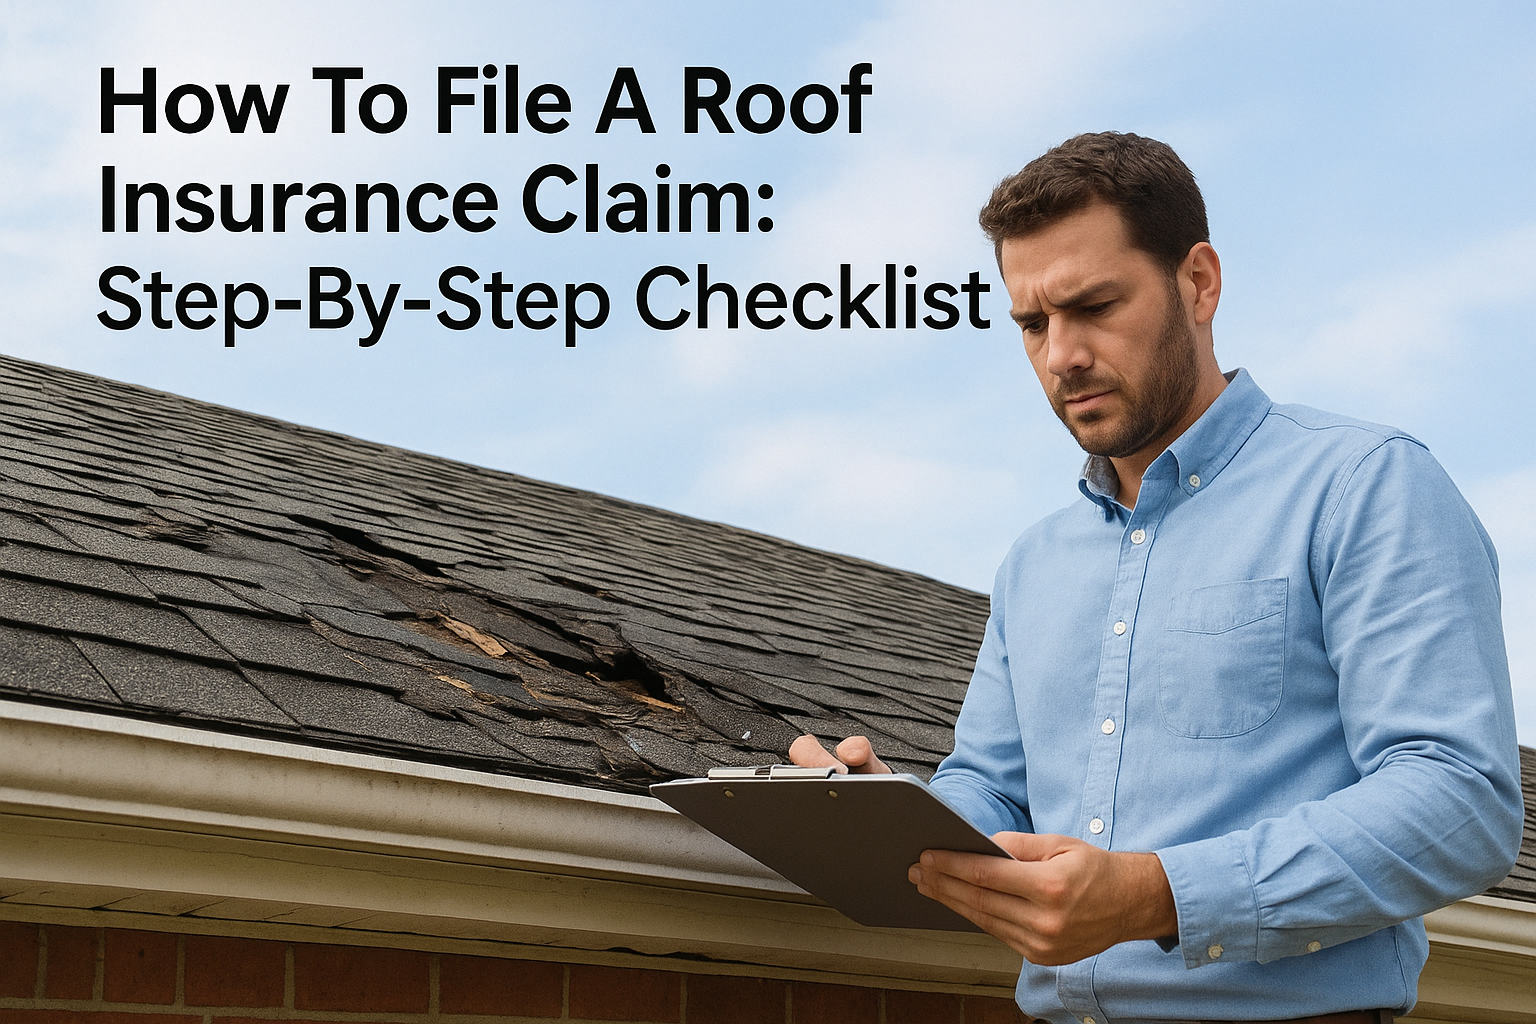
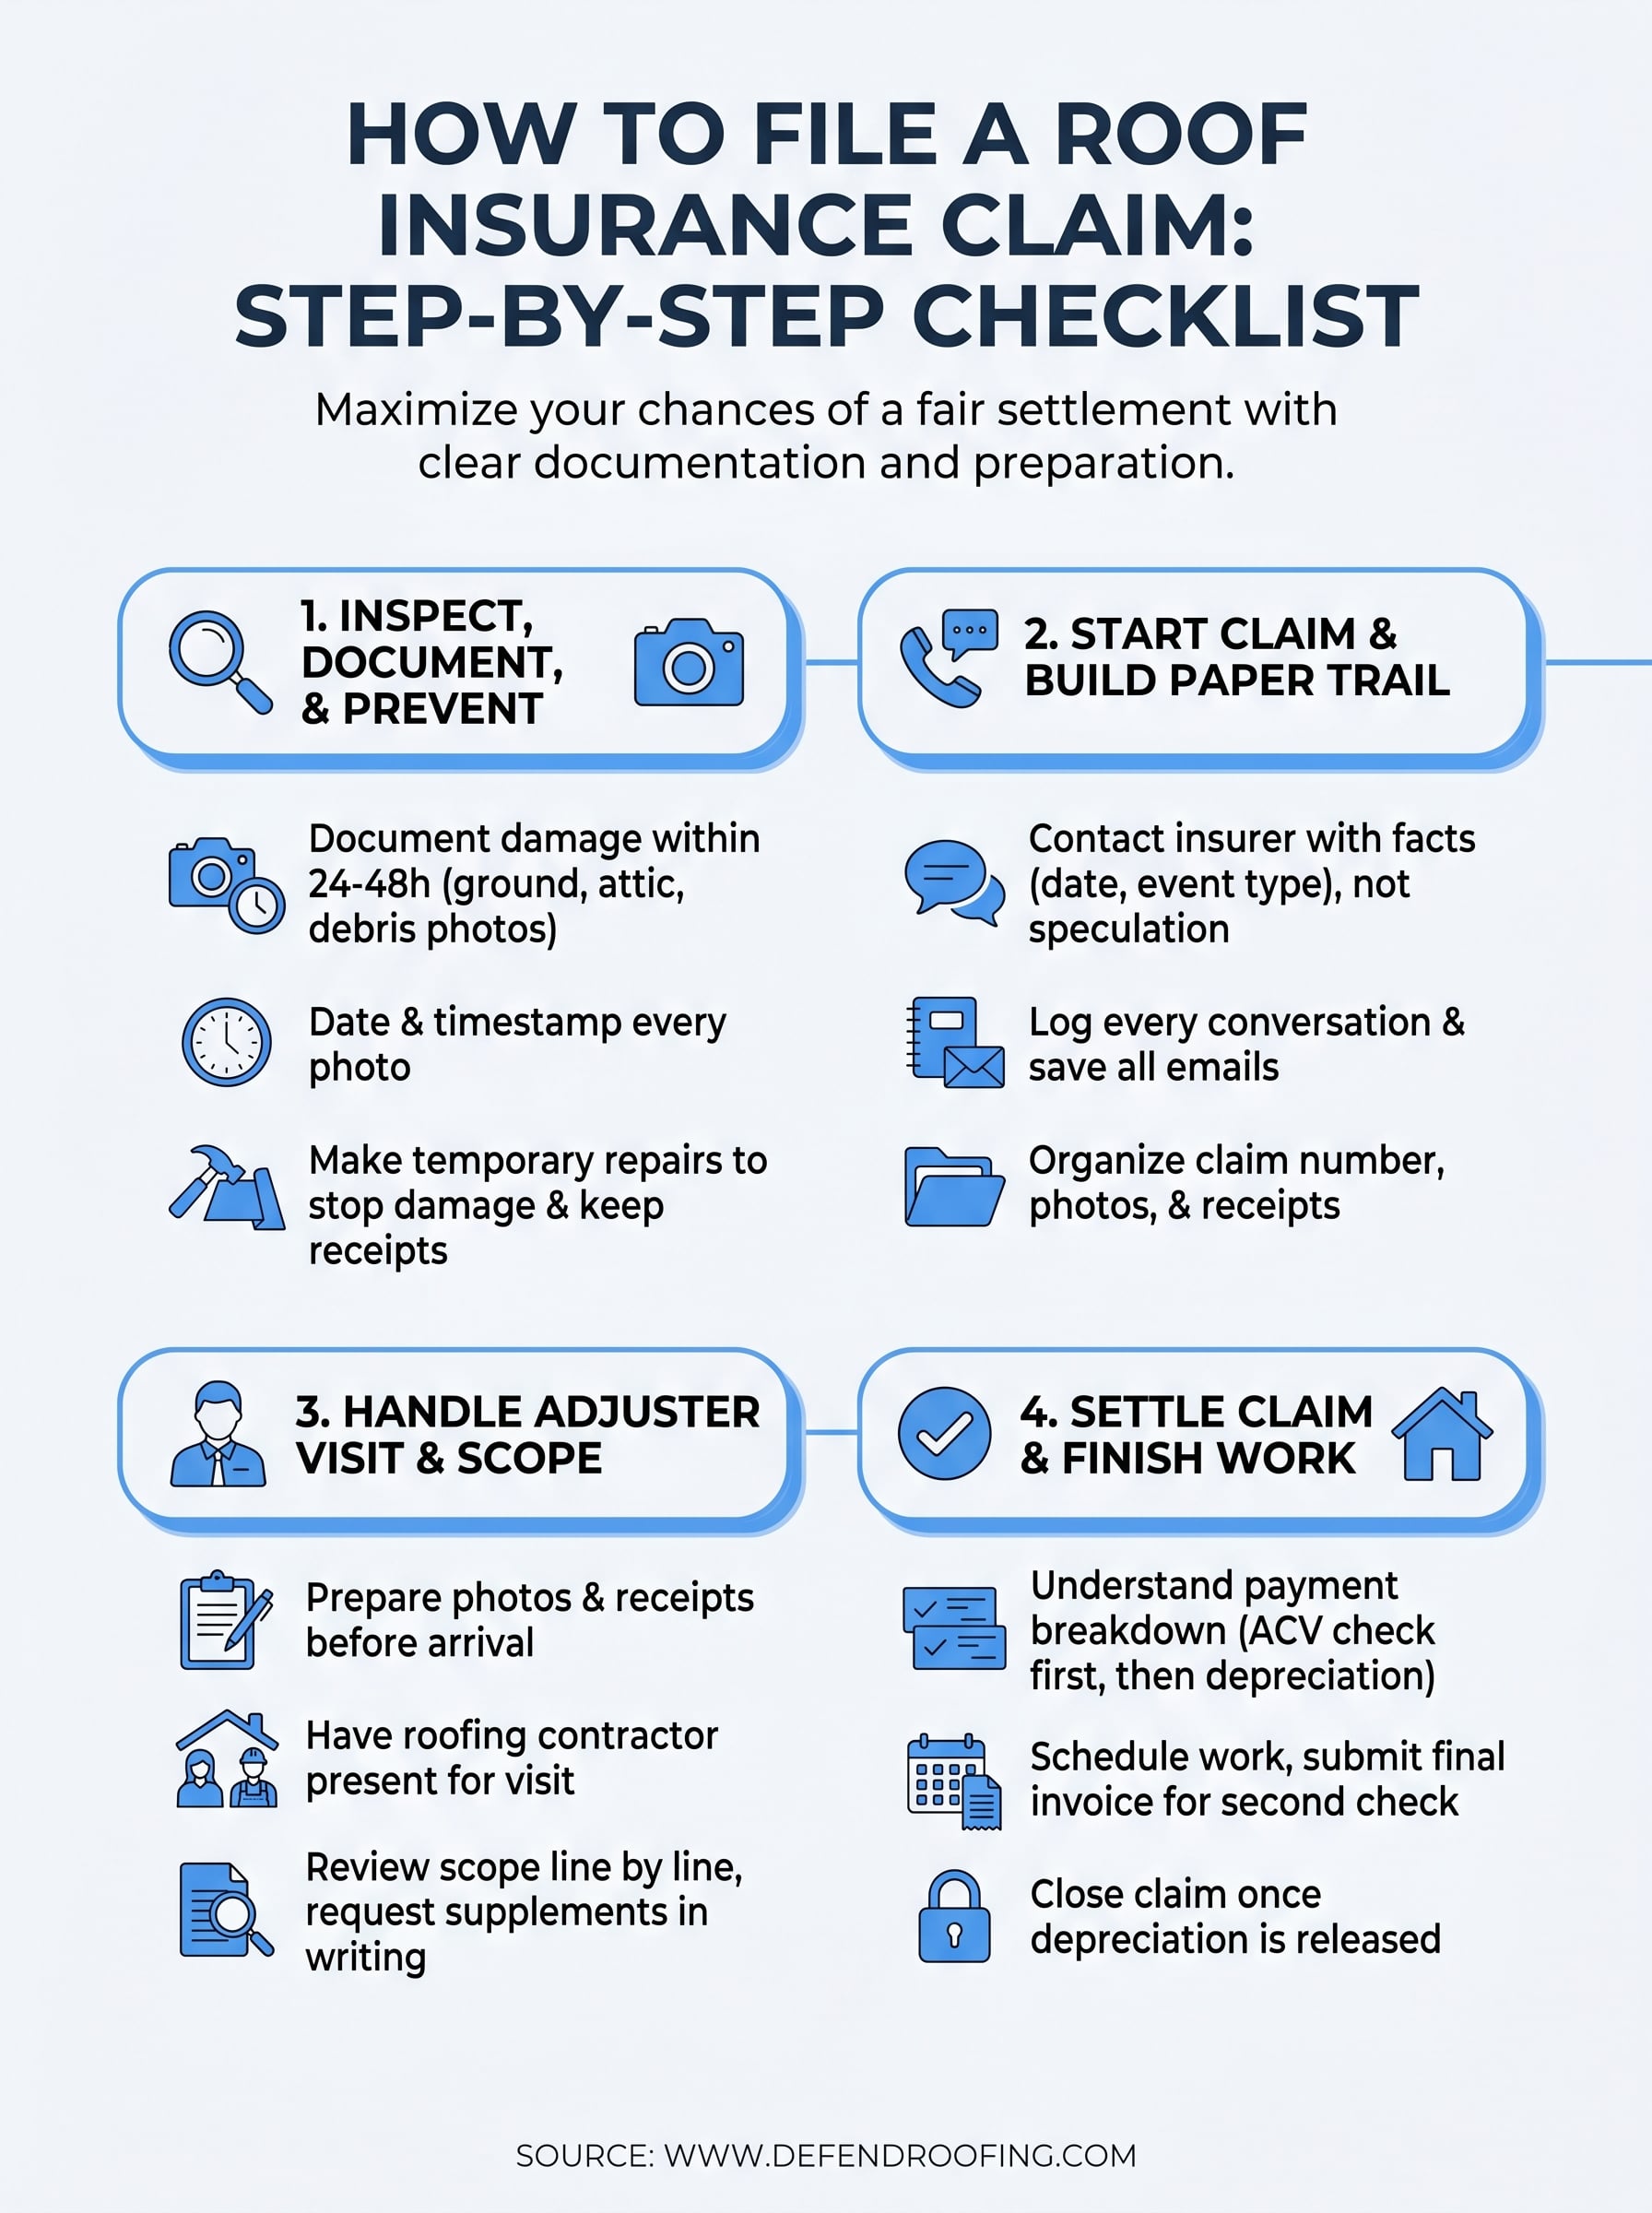
Learn how to file a roof insurance claim with this step-by-step checklist. Document damage, handle adjusters, and secure the settlement you deserve.
A bad storm rolls through Central Texas, you find shingles in the yard, and now you're staring at your roof wondering what comes next. Figuring out how to file a roof insurance claim can feel overwhelming, there's paperwork, deadlines, adjuster visits, and a lot of fine print that most homeowners rarely think about until they have to. The difference between a claim that gets approved and one that gets underpaid (or denied) often comes down to how well you document and present the damage from the very start.
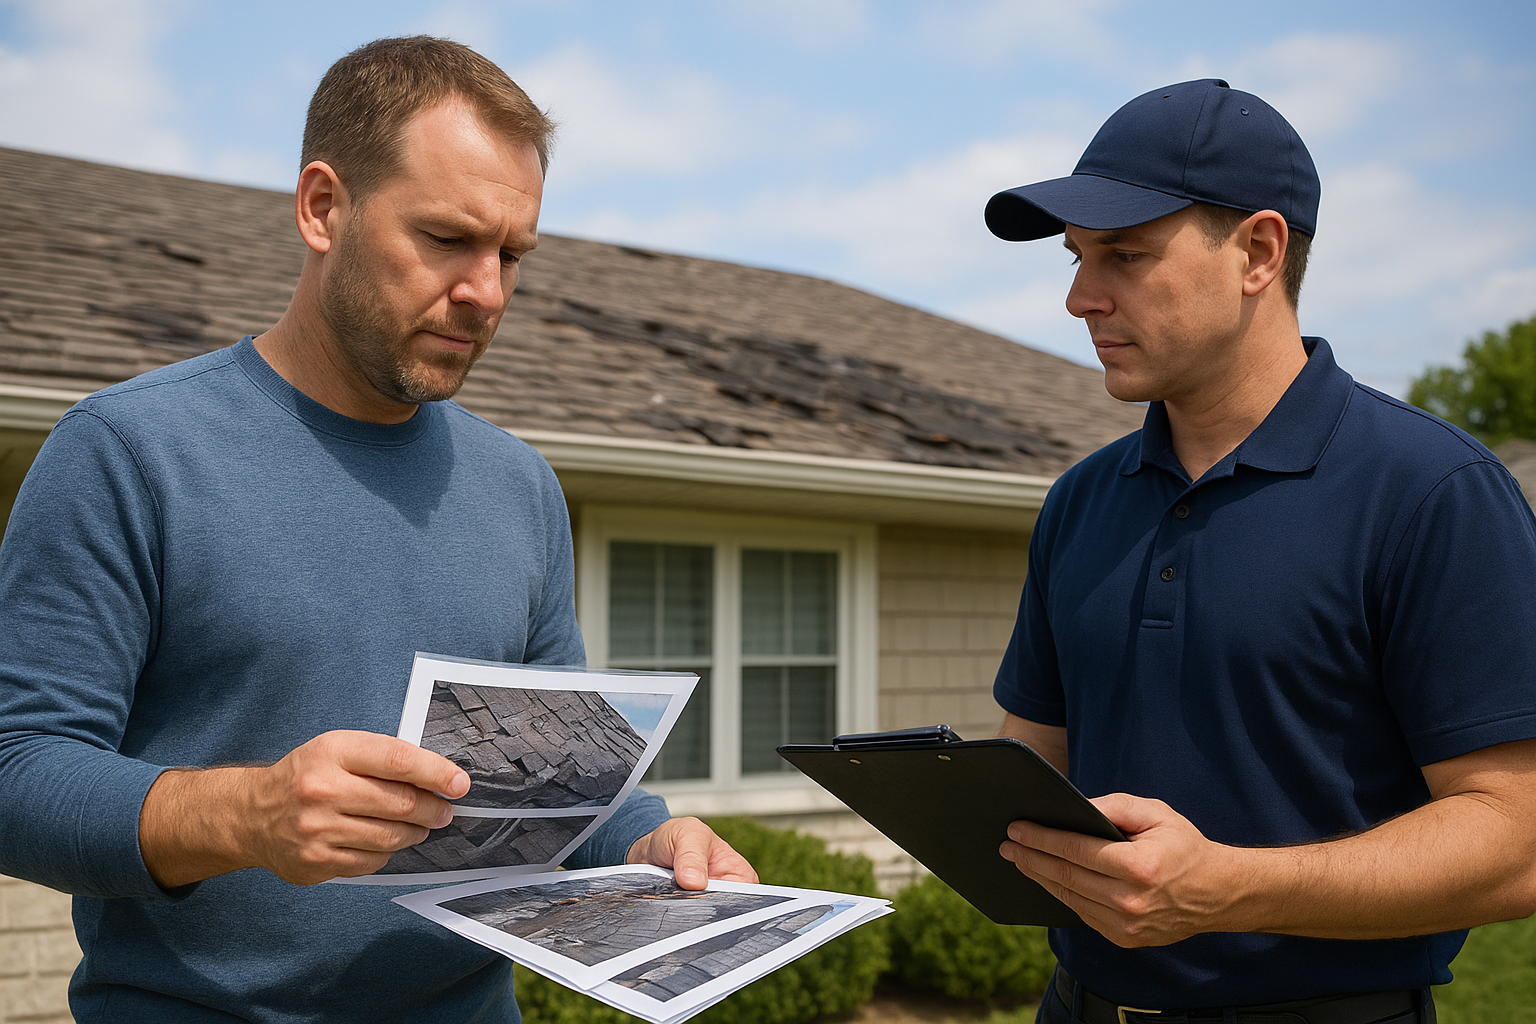
At Defend Roofing, we've walked hundreds of Austin-area homeowners through this exact process. As a family-owned contractor with three generations of roofing experience, we've seen what works, what doesn't, and where insurance companies push back. Our 100+ photo Precision Roof Assessments give homeowners the kind of adjuster-ready documentation that makes claims harder to dispute. We don't pressure anyone into unnecessary work, we just make sure you have clear evidence and honest guidance before you pick up the phone.
This guide breaks down the entire roof insurance claim process into a straightforward, step-by-step checklist. You'll learn exactly what to document, when to contact your insurer, how to prepare for the adjuster's visit, and what to watch out for along the way. Whether you're dealing with hail damage, wind damage, or a slow leak that finally gave out, this checklist will help you stay organized and avoid the mistakes that cost homeowners money.
Before you learn how to file a roof insurance claim, you need to know what your policy actually covers. Many homeowners skip this step and end up surprised when their claim comes back lower than expected or gets denied entirely. Pull out your policy declarations page and your full coverage details before you call your insurer, because the terms you agreed to when you bought your policy are the same ones your insurance company will use to evaluate your claim.
Most homeowner policies cover sudden and accidental damage caused by events like hail, wind, falling trees, and fire. They do not cover damage caused by neglect, normal wear and tear, or deferred maintenance. If your roof was already deteriorating before the storm hit, your adjuster will look for that evidence, and your payout could be reduced or denied. Insurance protects you from unexpected events, not from the cost of aging materials that needed replacement before any storm arrived.
The key distinction insurers make is between storm damage and pre-existing deterioration, and they will use your roof's condition against you if the evidence supports it.
Your policy likely pays out under one of two methods: actual cash value (ACV) or replacement cost value (RCV). ACV deducts depreciation from your payout based on your roof's age and condition. An RCV policy pays out what it actually costs today to replace the roof with comparable materials. On a 15-year-old roof, the difference between these two payouts can reach several thousand dollars. Check your policy documents carefully, and if you're unsure which type you have, call your insurance agent directly and ask before you open a claim.
You should find and understand these specific items in your policy before you take any other action:
Knowing these terms up front gives you a realistic picture of your expected payout and prevents surprises once the adjuster submits their report.
The first thing you need to do after a storm is document your roof's condition before anything else changes. This step matters more than most homeowners realize, because strong documentation is the foundation of how to file a roof insurance claim that holds up under scrutiny. Your insurer and their adjuster will look for evidence, and the photos you take in the first 24 to 48 hours capture the clearest picture of what the storm actually caused.
Start from the ground and work methodically. Photograph every damaged shingle, dented flashing, clogged gutter, and any debris that landed on your property. Date and timestamp every photo, and note the approximate location of each shot (front slope, rear left, etc.). If you can safely access your attic, check for water stains, soft spots, or light coming through the decking and photograph those as well. Use this checklist to stay organized:
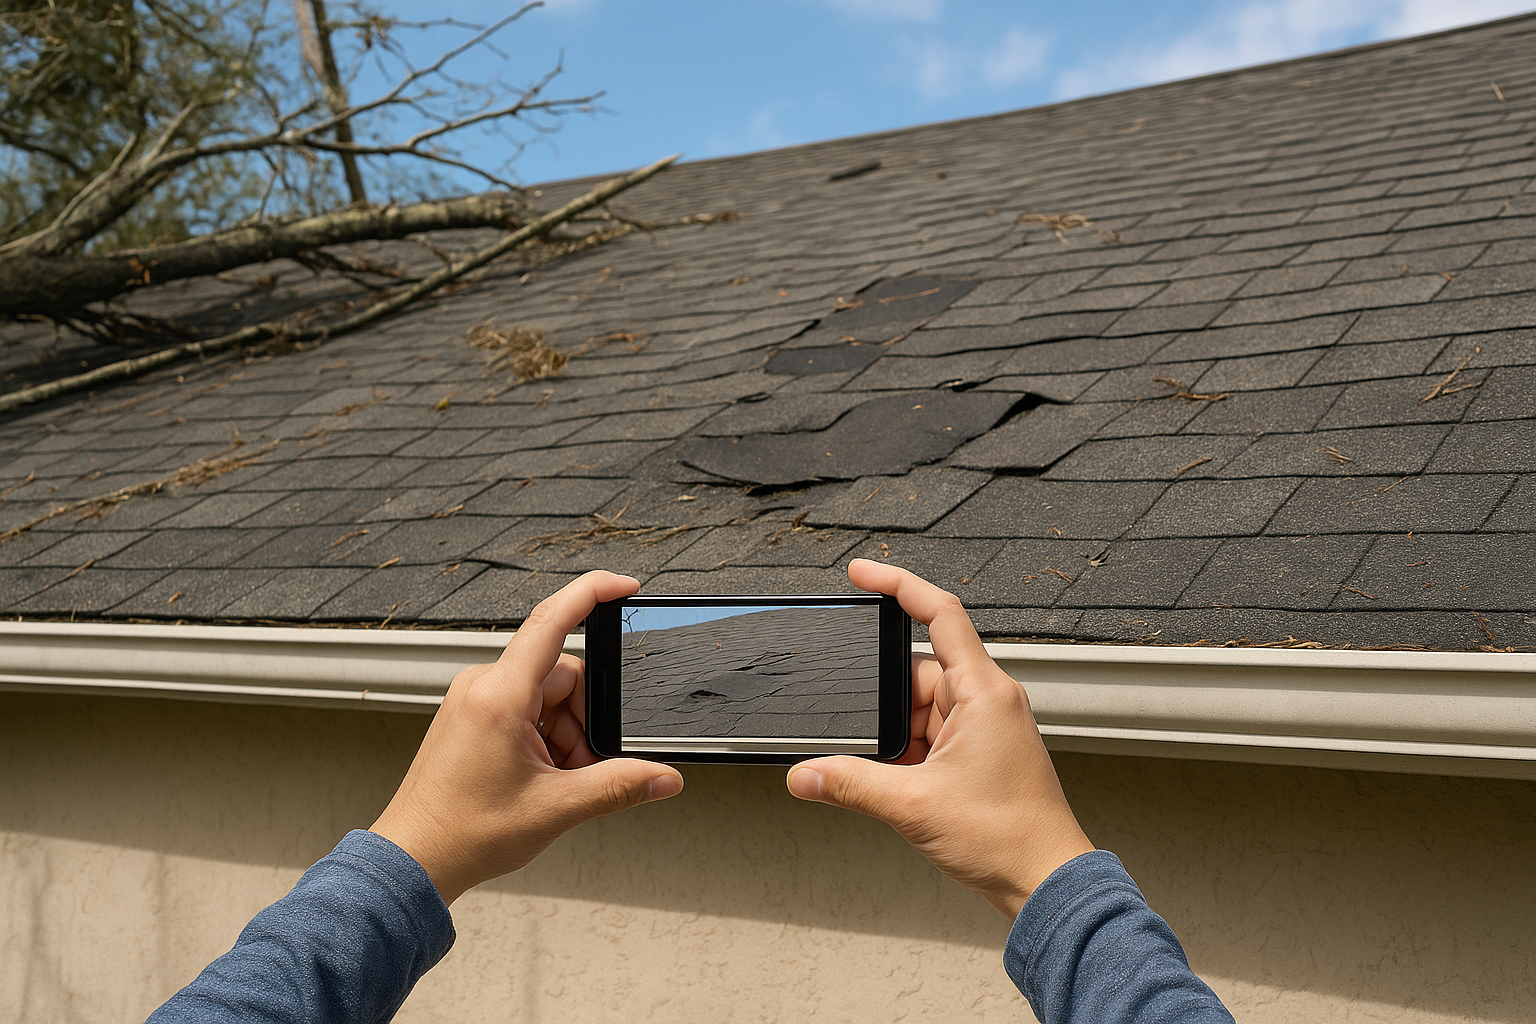
The more clearly your photos show storm-specific damage rather than general wear, the harder it is for an adjuster to attribute the problem to pre-existing conditions.
Your policy likely requires you to take reasonable steps to prevent additional damage after a storm. Place tarps over exposed areas, clear debris from gutters, and cover any broken skylights or damaged sections of decking. Keep every receipt for materials or labor you spend, because your insurer may reimburse those costs as part of your final claim settlement.
Once you have your documentation in order, contact your insurance company to open the claim. Most insurers let you file by phone, through their website, or via a mobile app. Have your policy number ready, along with the date of the storm event and a brief description of what you observed. Be factual and specific, not vague. Saying "the storm on April 14th caused hail damage to my shingles and gutters" is far more useful to your insurer than "my roof looks bad."
When you speak with your insurance company, stick to the facts. Give them the date the damage occurred, the type of storm event (hail, wind, fallen tree), and a general description of the visible damage. Do not speculate about the full extent of the damage or estimate repair costs at this stage. Your job right now is to open the claim and let the process move forward without overstating what you've found.
Keep a written log of every conversation with your insurer, including the date, the representative's name, and a summary of what was discussed.
Knowing how to file a roof insurance claim successfully means treating every piece of communication as a permanent record. Send follow-up emails after phone calls to confirm what was said, and save every letter, email, and claim reference number your insurer provides. Organize these items in a dedicated folder so you can pull them up immediately if your adjuster questions any details later.
Your insurance company will schedule an adjuster to inspect the damage and produce a scope of loss, which is a detailed report that determines how much your insurer will pay. This visit is one of the most important moments in the entire process of how to file a roof insurance claim. How well you prepare for it directly affects your payout, so treat this appointment as seriously as you would any other formal meeting about a significant financial decision.
Do not wait for the adjuster to find the damage on their own. Pull together every photo, timestamp, and temporary repair receipt you collected in the earlier steps and have them ready to hand over. If you worked with a roofing contractor who completed their own inspection, ask them to be present during the adjuster visit. A qualified roofer can point out storm-specific damage patterns that an adjuster might otherwise miss or attribute to wear and tear, and their presence signals that you have professional documentation to support your claim.
An independent roofing contractor at the adjuster visit gives you a second set of expert eyes and a point of reference if the scope comes back incomplete.
Once you receive the adjuster's scope of loss, read every line before you accept anything. Check that all damaged areas are listed, including gutters, flashing, vents, and underlayment, not just the shingles. If your contractor's estimate is significantly higher than the adjuster's scope, request a supplemental review in writing and submit your contractor's findings alongside your photo documentation as supporting evidence.
Once the adjuster's scope is finalized and any supplements are resolved, your insurer will issue an initial payment. On an RCV policy, this first check typically covers the actual cash value of the work minus your deductible. The remaining depreciation gets released as a second payment after your contractor completes the job and you submit proof of the finished work.
Most homeowners are surprised to receive two separate checks during the final stage of how to file a roof insurance claim. Your first payment covers the ACV portion, and your second payment releases the withheld depreciation once you provide a final invoice and completion documentation from your contractor. If your mortgage lender is listed on the policy, their name will appear on the check too, which means you'll need to work with your lender to endorse it before you can pay your contractor.
Schedule your roofing contractor promptly once payment clears, because delays can complicate your depreciation release timeline. After the work is finished, collect your contractor's final invoice and any warranty documentation, then submit those directly to your insurer to trigger the second payment. Keep copies of everything in your claim folder. Once your insurer confirms the depreciation release, your claim is officially closed.
Do not discard any claim documents until at least two years after your claim closes, in case questions arise later.
Filing a roof insurance claim takes preparation, documentation, and attention to detail at every step. When you follow the process outlined here, you give yourself the best possible chance of a fair settlement. The biggest mistakes homeowners make come from rushing to open a claim before documenting the damage or accepting the adjuster's first scope without reviewing it carefully. Knowing how to file a roof insurance claim the right way means you stay in control of the outcome rather than leaving it to chance.
If you're dealing with storm damage in the Austin area and want professional documentation before you call your insurer, Defend Roofing is ready to help. Our 100+ photo Precision Roof Assessment gives you adjuster-ready evidence and honest guidance on whether repair or replacement makes the most sense for your situation. Schedule your free roof assessment today and go into your claim with the complete documentation you need to protect your investment.