Learn what to expect during roof replacement. We break down the 4-stage process, the typical timeline, and how to prepare your property for a smooth install.
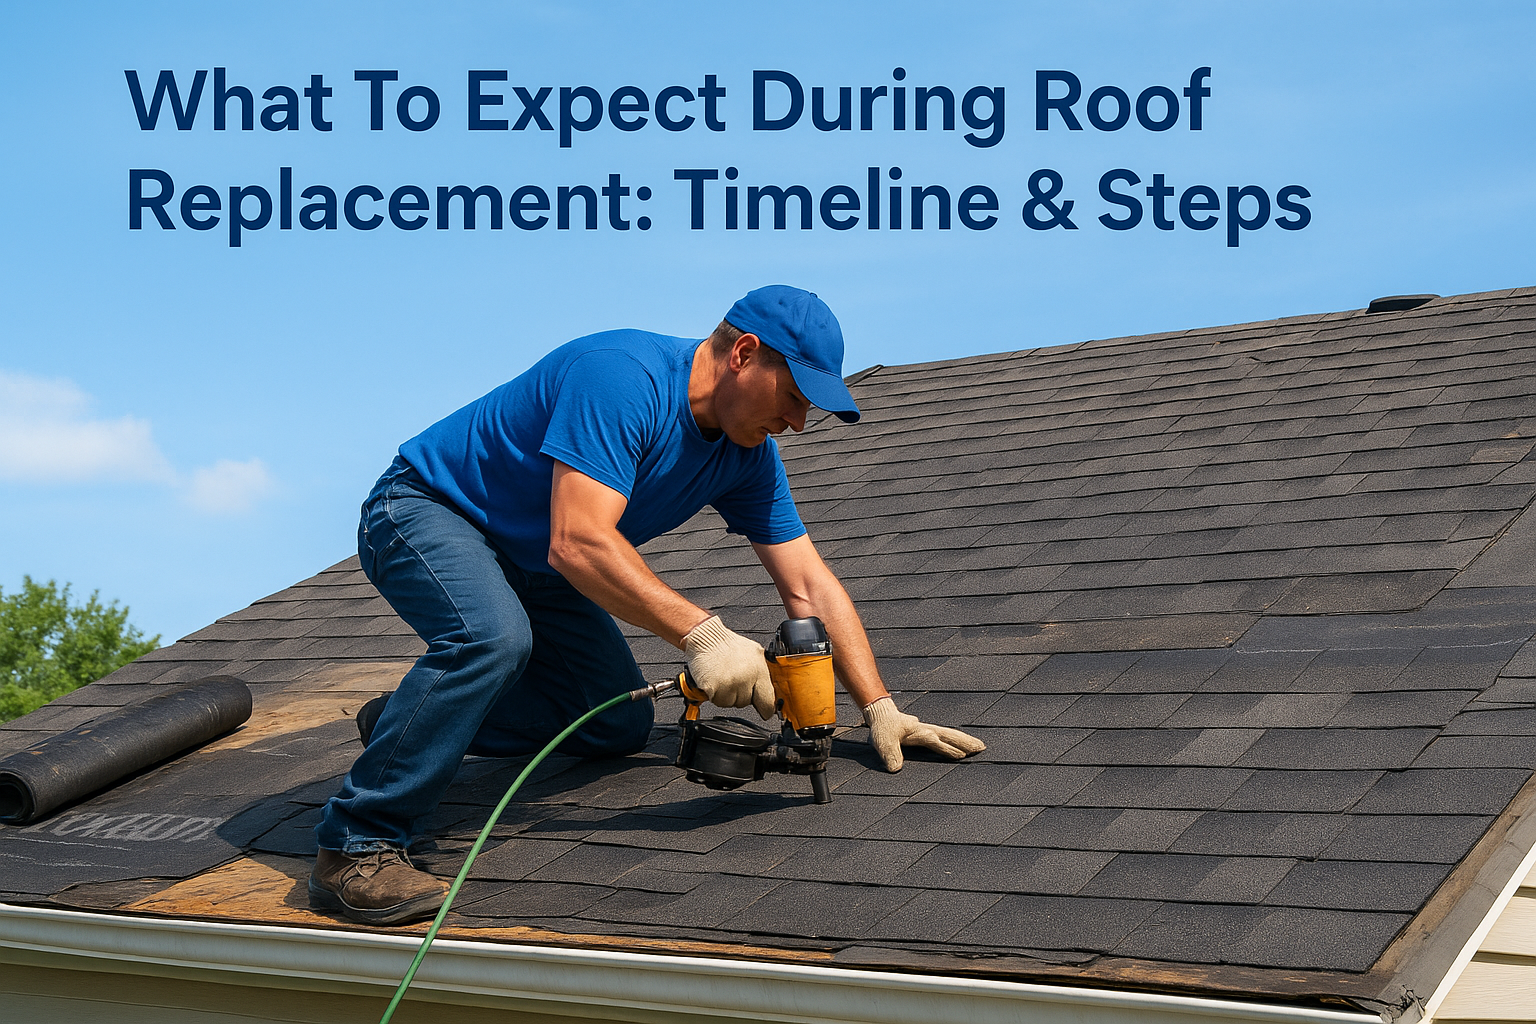
A roof replacement is one of the biggest projects your home will go through, and if you've never been through one, it's normal to have questions about what to expect during roof replacement day. How long will it take? Will it be loud? What should you move or cover inside? Knowing the answers ahead of time makes the whole experience far less stressful than going in blind.
At Defend Roofing, we've guided hundreds of Central Texas homeowners through this exact process. As a father-and-son team with three generations of roofing experience, Chris and Greyson Buster know that a well-informed homeowner is a confident homeowner. That's why we walk every customer through the timeline, the crew activity, and the property protection steps before a single shingle comes off.
This guide breaks down the full roof replacement process from start to finish, the preparation, the construction stages, the typical timeline, and the practical steps you can take to protect your home and keep your day on track. Whether your project is weeks away or already scheduled, you'll finish this article knowing exactly what's coming and how to be ready for it.
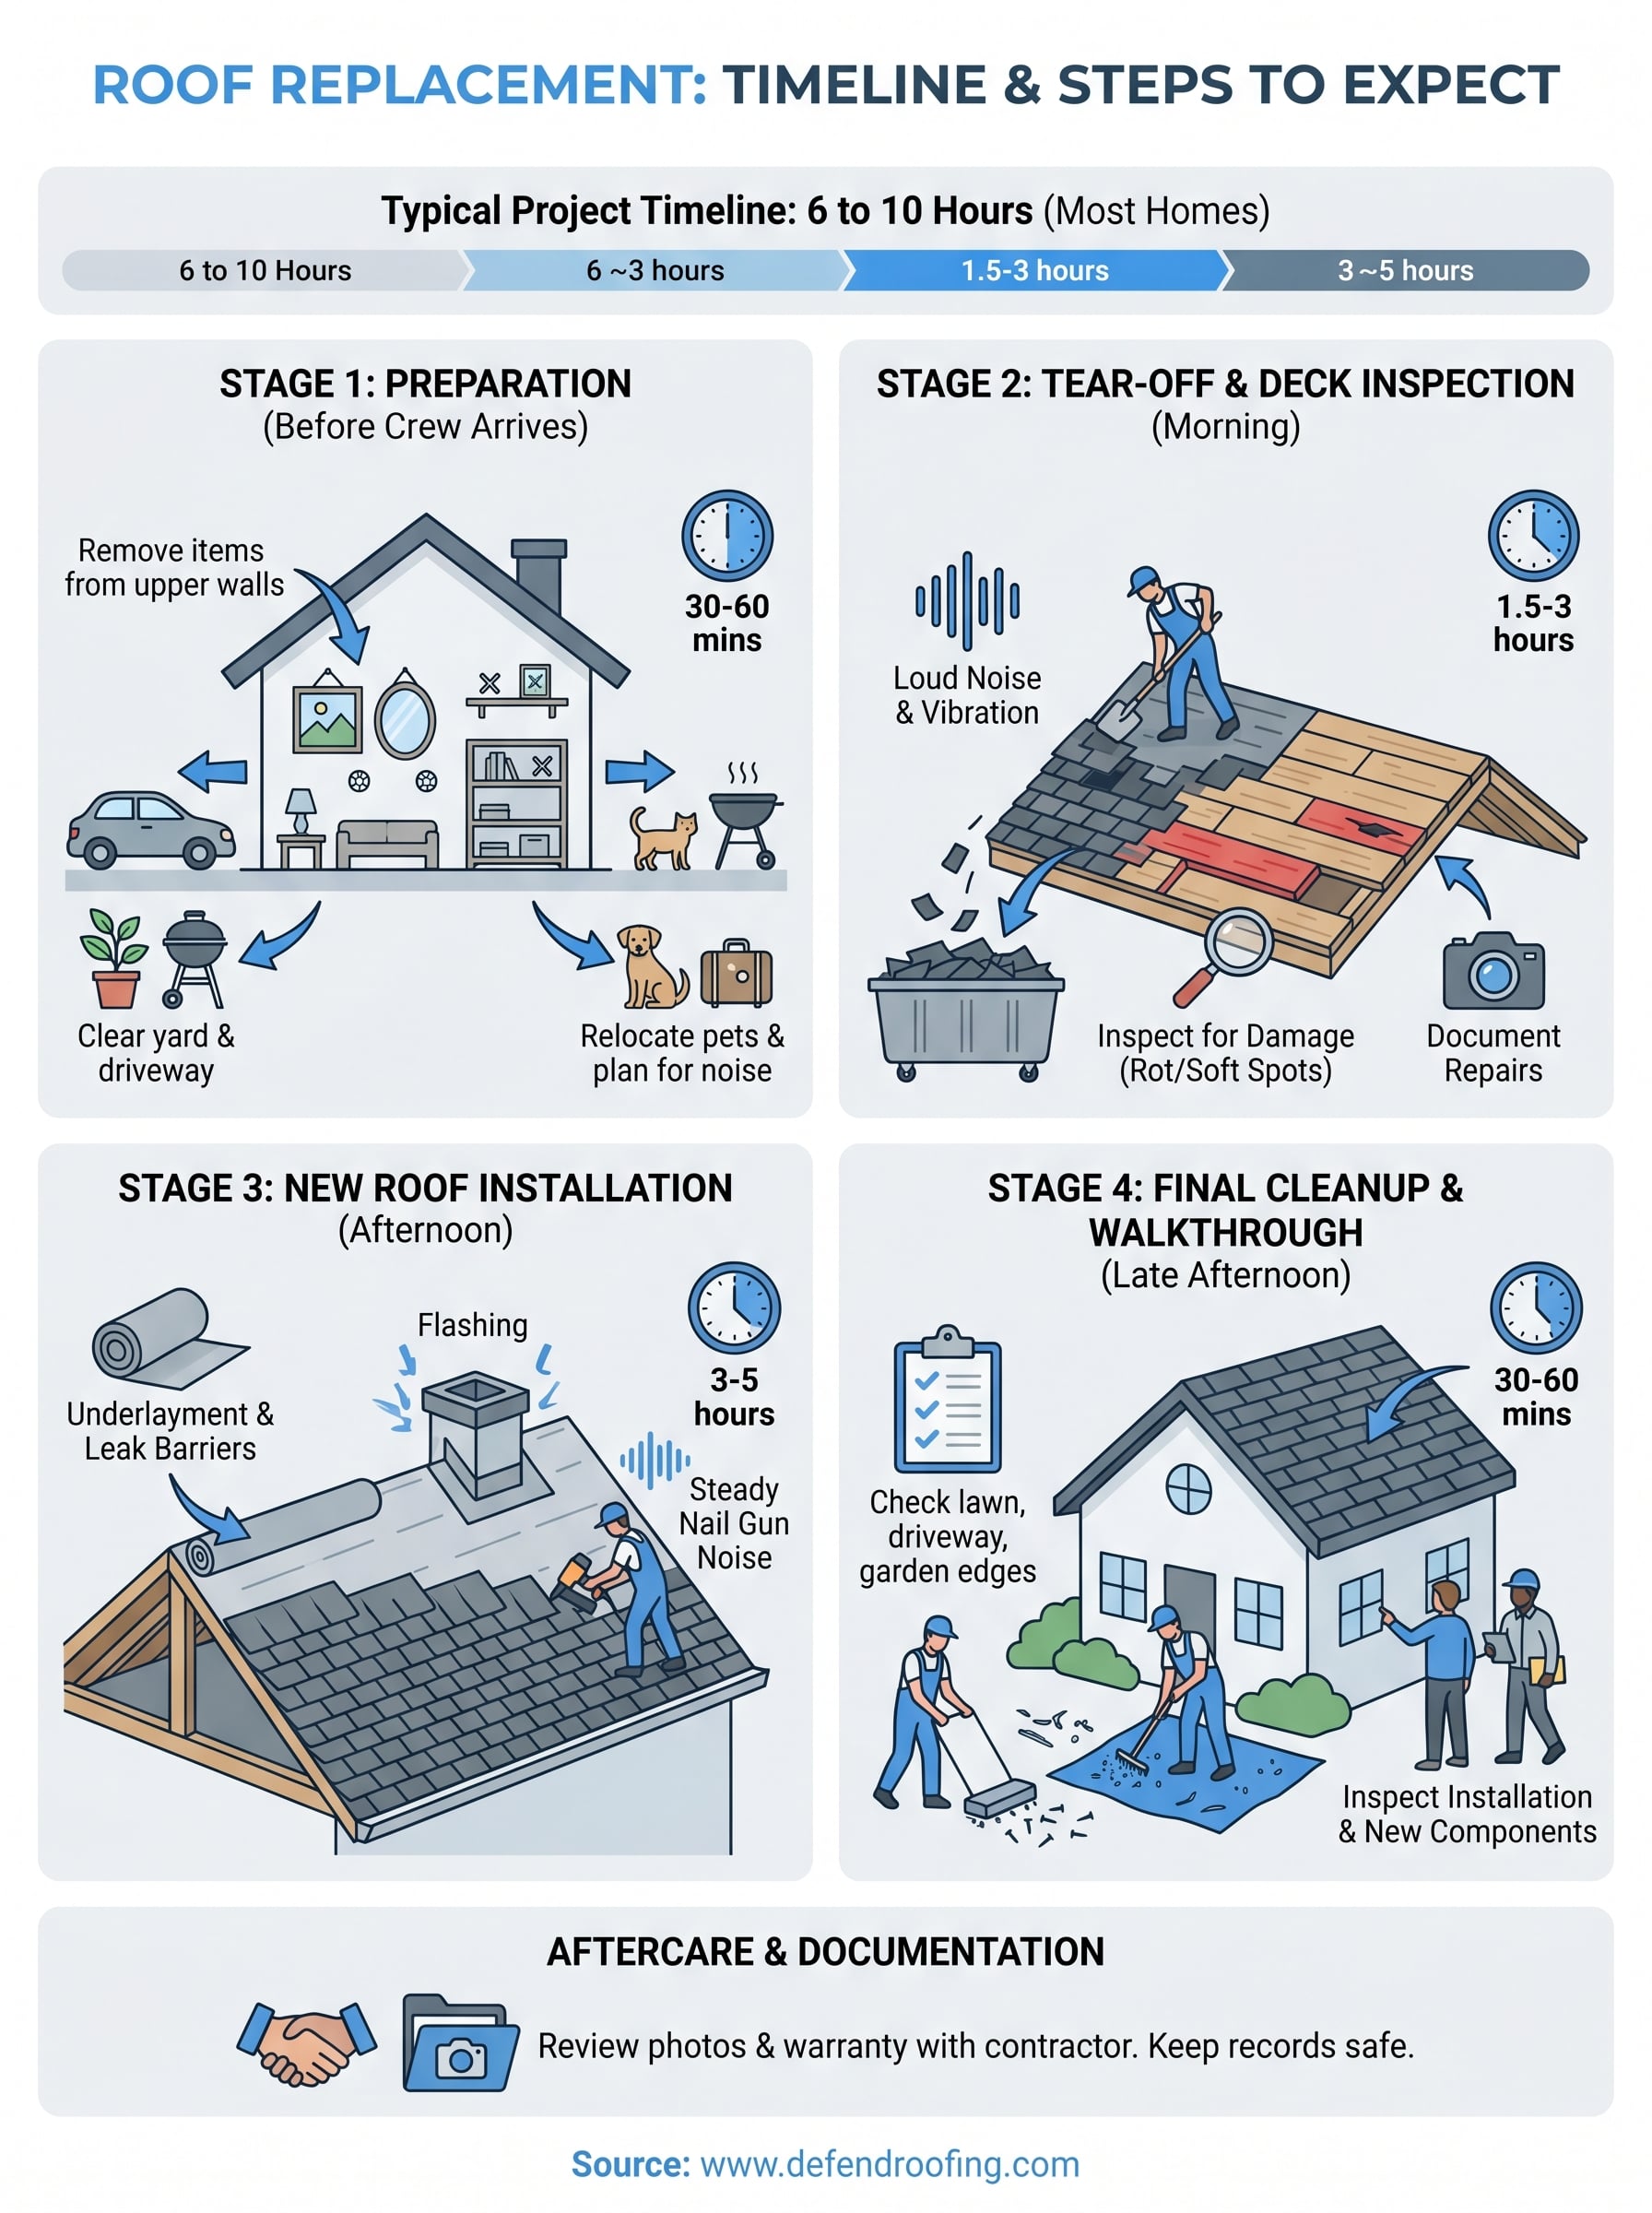
Most residential roof replacements follow a predictable four-stage sequence: preparation, tear-off and inspection, new system installation, and final cleanup. Each stage has a specific purpose, and understanding how they connect helps you anticipate the crew's activity throughout the day. The good news is that the vast majority of standard residential roofs in Central Texas are completed in a single day, which means minimal disruption to your household schedule.
For most homes, a roof replacement runs 6 to 10 hours from crew arrival to final cleanup. The crew typically arrives early, often between 7 and 8 a.m., to maximize daylight. Tear-off is the loudest and most active phase, usually wrapping up within the first two to three hours. Installation follows immediately, and the crew finishes with a thorough cleanup before they leave.
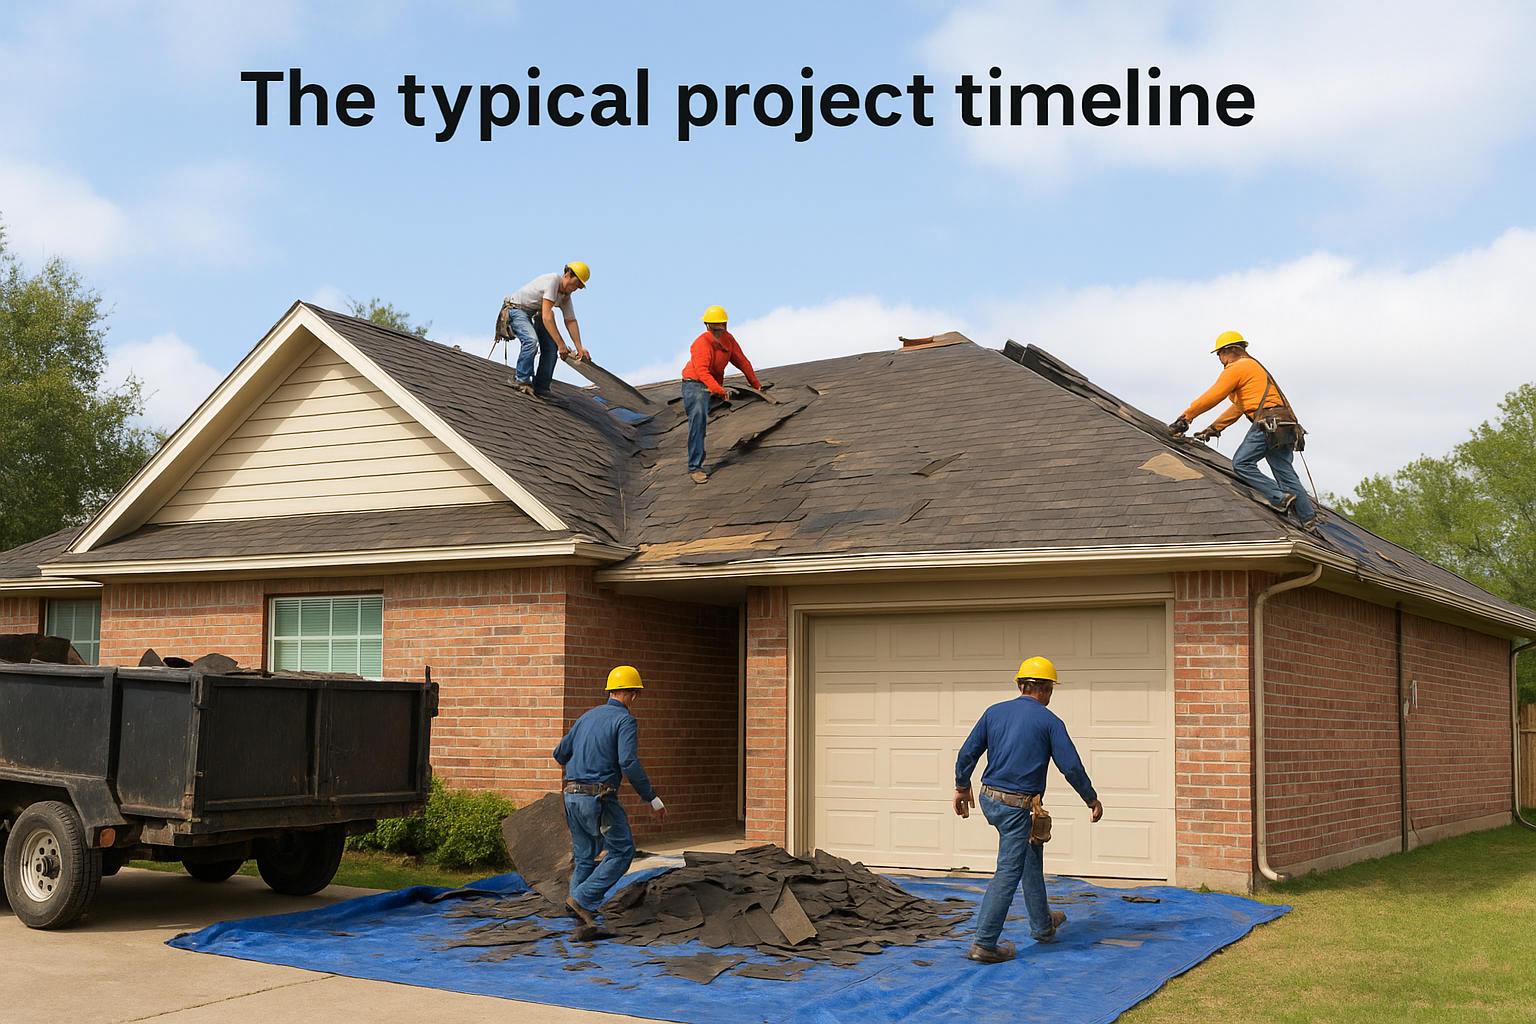
Larger homes, complex roof layouts with multiple valleys and hips, or roofs requiring significant deck repairs can push a project into a second day, but your contractor should tell you upfront if that's likely.
A simple timeline breakdown looks like this:
| Phase | Approximate Duration |
|---|---|
| Crew setup and material staging | 30 to 60 minutes |
| Tear-off and deck inspection | 1.5 to 3 hours |
| New roof system installation | 3 to 5 hours |
| Final cleanup and walkthrough | 30 to 60 minutes |
Several factors directly influence how long the work takes on your specific home. Roof size is the most obvious one, measured in roofing squares (one square equals 100 square feet). Pitch matters too: steeper roofs slow down installation because the crew has to work with harnesses and set up safety lines, which adds time.
Deck condition is another variable you can't fully predict until tear-off. If the crew finds rotted or damaged decking boards underneath the old shingles, those boards need to be replaced before the new system goes on. A good contractor will document every damaged board with photos and explain the additional cost before proceeding.
Knowing what to expect during roof replacement means accepting that noise is unavoidable during this process. Pneumatic nail guns, shingles being dragged across the deck, and debris falling into dump trailers create a sustained level of noise that lasts most of the day. If you work from home or have young children who nap during the day, plan to spend the day elsewhere or arrange a quiet space away from the house. Pets are often stressed by the vibrations and unfamiliar sounds, so relocating them for the day is a smart move.
Preparation happens the day before or the morning of your project, and it takes less than an hour if you know what to address. A roofing crew works fast, and the vibrations from nail guns travel through your entire structure, so getting a few key things in order protects your belongings and keeps the crew's path clear from the moment they arrive.
The constant pounding and vibration from nail guns will rattle walls and ceilings throughout the day. Take down any wall art, mirrors, or shelving items that could shift and fall. Check your attic too, because debris and dust can work through gaps in the deck during tear-off if you store anything directly below the roof line.
Move fragile or sentimental items in rooms closest to the roof slope the evening before your project, not after the noise starts.
Here's a quick indoor checklist to work through before the crew arrives:
Your yard and driveway need to be clear before the crew pulls in. Move vehicles out of the driveway so the material delivery truck and dump trailer have room to position correctly. Patio furniture, potted plants, grills, and children's play equipment should move away from the roofline because shingles and debris fall straight down during tear-off.
Knowing what to expect during roof replacement in your yard also means covering any garden beds directly below the eaves and roofline perimeter. The crew will lay tarps around the house, but adding your own protection for low plants or decorative gravel keeps post-project cleanup straightforward.
Tear-off is the loudest and most physically active part of the project. The crew strips the old shingles, underlayment, and any damaged flashing from the deck using roofing shovels and hand tools, loading everything directly into a dump trailer positioned below the roofline. This phase moves quickly, and for most homes it wraps up within two to three hours of the crew starting work.
The crew works in sections, starting at the ridge and stripping material downward toward the eaves. Nail guns pause during this phase, so it's actually the scraping and material impact in the trailer that produce most of the noise. Your understanding of what to expect during roof replacement helps here, because the thumping sounds inside your ceiling are normal and don't indicate anything going wrong. The crew should be keeping the perimeter tarps in place throughout this process to catch nails and shingle fragments that miss the trailer.
A good crew removes all old fasteners from the deck, not just the visible shingles. Leftover nails drive up through new shingles over time and create leak points.
Once the deck is bare, a crew member or supervisor walks every section of the plywood or OSB decking to check for soft spots, rot, water damage, and missing sections. This inspection matters because the new roof system is only as sound as what it sits on. Here's what a thorough deck inspection should document:
Your contractor should photograph every problem area before replacing any boards so you can see exactly what was found and confirm the scope of additional work.
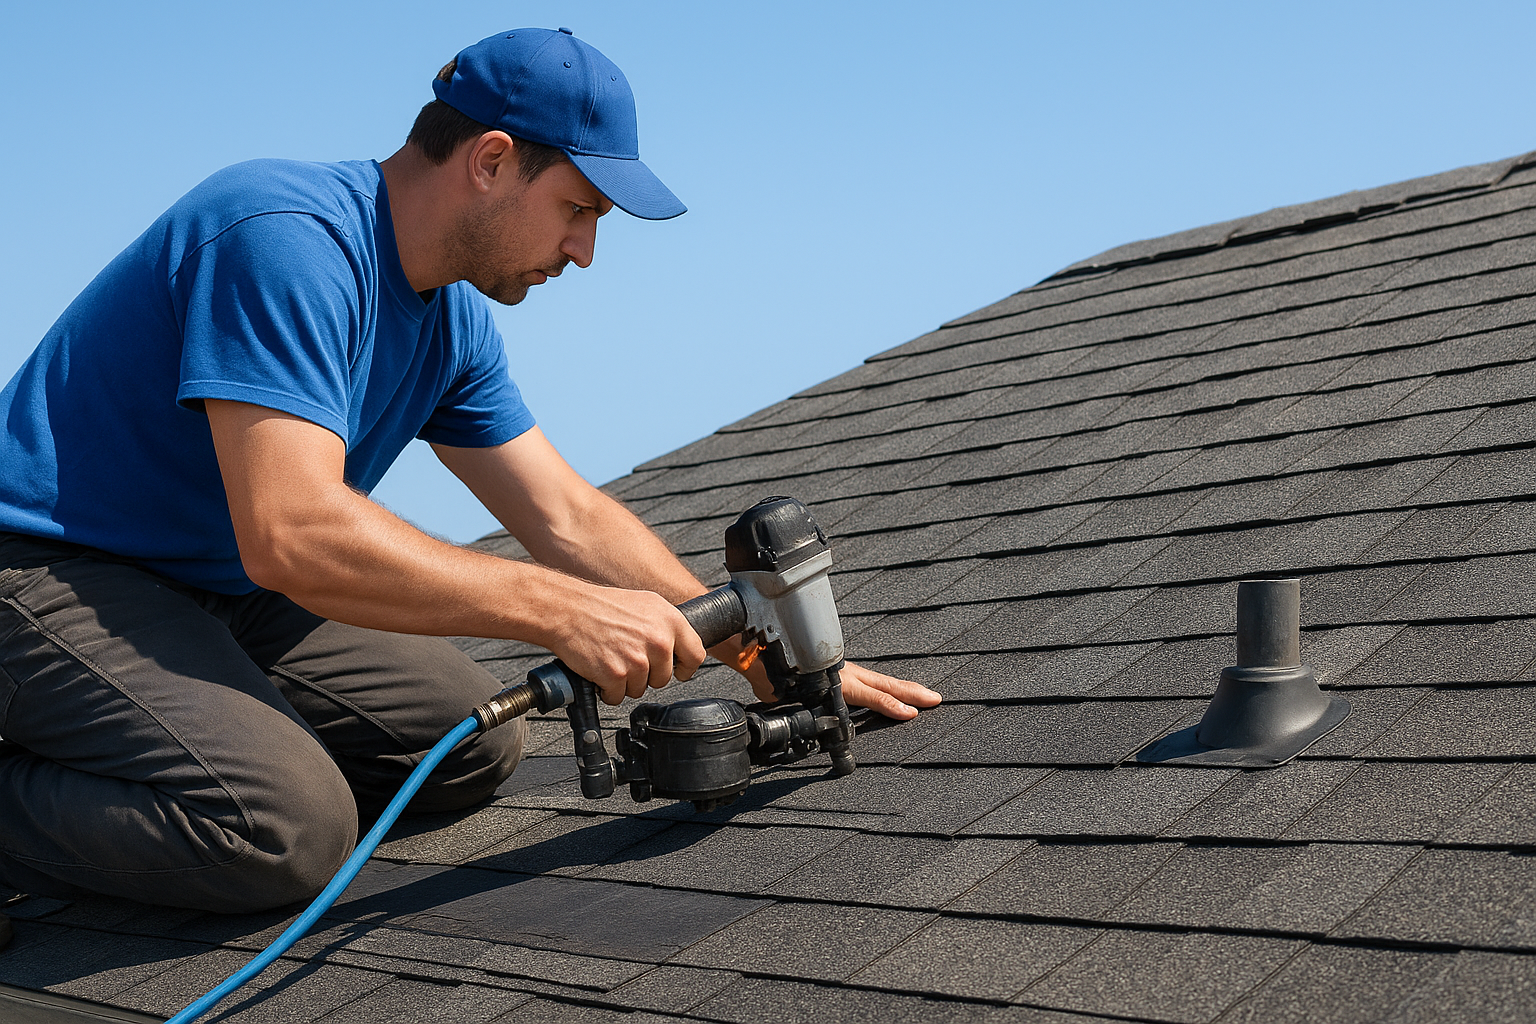
Once the deck passes inspection and any damaged boards are replaced, the crew starts building the new roofing system from the bottom up. This phase runs the longest, typically three to five hours, and it's where the bulk of your investment takes shape. The noise shifts here from scraping to the steady rhythm of pneumatic nail guns working across the deck in rows.
The first layer the crew installs is the underlayment, a synthetic or felt moisture barrier that covers the entire deck before a single shingle goes down. In Central Texas, most contractors also install ice-and-water shield in high-risk areas like valleys, eaves, and around penetrations such as chimneys and skylights. These zones concentrate water during heavy rain, so the extra protection matters even in a climate where hard freezes are rare.
Ice-and-water shield is a self-sealing membrane that bonds directly to the deck and seals around fasteners, giving those vulnerable areas a secondary line of defense if water gets under the shingles.
Understanding what to expect during roof replacement at this stage means knowing the crew installs three distinct components in sequence. First come the field shingles, laid in overlapping rows from the eaves up to the ridge. Next, the crew sets step flashing and counter flashing along every wall, chimney, and vertical surface to redirect water away from the structure. Ridge cap shingles finish the peak, sealing the final course and giving the surface a clean, uniform appearance.
Your contractor should also replace any pipe boots and vent flashing during this phase rather than patch the old ones. Worn rubber boots around plumbing vents are one of the most common sources of interior leaks on roofs that are otherwise in solid condition, so swapping them out during the full replacement is the right call.
Once the last ridge cap goes down, the crew shifts to cleanup, and this phase is just as important as the installation itself. A quality contractor leaves your property in the same condition they found it, minus the old roof. Knowing what to expect during roof replacement at this final stage helps you verify the crew completed every step before they pack up and leave.
The crew starts by rolling magnetic sweepers across your lawn, driveway, and any paved surfaces near the roofline. Roofing nails are the biggest post-project hazard, and a single missed fastener can puncture a tire or injure a pet. The tarps laid around the perimeter at the start of the project catch most of the falling debris, but the magnetic sweep catches what the tarps miss.
Don't skip walking your yard alongside the crew during cleanup. A second set of eyes catches nails in garden beds and along fence lines where the magnetic sweeper can't reach.
Run through this quick checklist before the crew loads the trailer:
Your contractor should walk the completed roof with you before anyone leaves the site. This is your opportunity to review the installation quality directly and ask about anything that looks unfamiliar. A solid crew points out the new flashing, pipe boots, and ridge cap so you understand exactly what was replaced and why.
Photographs from the completed project give you a permanent record of the finished work, the materials used, and the deck condition at the time of installation. Ask your contractor to share the full photo set and store it with your home records for future insurance claims or resale documentation.
Now you know what to expect during roof replacement from the first nail gun shot to the final magnetic sweep. The process is straightforward when you walk into it prepared: your home is ready, you understand each construction stage, and you know exactly what to verify before the crew leaves your property. A replacement done right leaves you with a documented installation record, a clean yard, and a roof system built to last.
Your next step is to work with a contractor who treats that documentation and workmanship guarantee as a standard part of every job, not an upgrade. Defend Roofing provides 100+ project photos, a Limited Lifetime Workmanship Warranty, and honest repair-vs-replace guidance on every project in the Austin area. If your roof is overdue for an assessment or your replacement is already scheduled, reach out to Defend Roofing and let the Buster family put three generations of experience to work for you.