Stop the drip before it ruins your home. Learn how to find a roof leak in 7 steps by checking your attic, mapping stains, and using a simple hose test.

Water stains on your ceiling don't always tell you where the problem starts. In fact, figuring out how to find a roof leak can be frustrating because water travels along rafters, sheathing, and other surfaces before it drips into your living space. The spot where you notice damage is rarely the spot where water is actually entering your roof.
At Defend Roofing, our father-and-son team has tracked down leaks across Central Texas homes for three generations. One thing we've learned: most homeowners can narrow down the source themselves with the right approach and a little patience. You don't always need a professional on day one, sometimes you just need to know where and how to look.
This guide walks you through 7 practical steps to find a roof leak from both inside your attic and outside on the roof itself. We'll cover visual inspection techniques, the garden hose test, and how to read the clues your roof is already giving you, so you can act fast before the damage spreads.
Before you start figuring out how to find a roof leak, take five minutes to prepare. Skipping this step leads to accidents, missed clues, and water damage that gets worse while you're searching. Getting organized upfront makes the entire process faster and safer, whether you're heading into the attic or climbing onto the roof.
Attics can hide more than just leaks. Watch out for wet or slippery surfaces, brittle insulation, exposed nails, and low joists. If you're going onto the roof, only do so if the pitch is manageable and the surface is dry. A steep or wet roof is a serious fall hazard, and no leak is worth that risk. Always tell someone in the house where you're going before you climb up or crawl into a confined space.
If the roof pitch looks steep or the surface feels slick, stay off it and call a professional to do the exterior inspection safely.
Searching for a leak without the right gear is like trying to fix something in the dark. Round up these items before you begin:
You don't need specialized equipment for most of this process. The goal is clear visibility and accurate documentation, not expensive tools.
If water is actively dripping or pooling, deal with it immediately before you go looking for the source. Place buckets under drips to protect flooring and furniture. Use old towels or plastic sheeting to cover any belongings below the affected area. If the ceiling looks swollen or bulging, poke a small hole at the lowest point to release the water in a controlled way instead of letting it build until the ceiling fails.
Taking these steps protects your home while you investigate. Controlled damage is always better than ignored damage, and your documentation of the water path will also help you trace the leak back to its actual entry point in the steps ahead.
Before you head to the attic or climb on the roof, start indoors where the signs are most visible. These first two steps help you confirm the water is actually coming from the roof and not another source, and they give you a starting point for tracing the leak back to its entry point.
Not every ceiling stain comes from a roof leak, and misidentifying the source wastes time. Check for nearby plumbing, including supply lines, drain pipes, HVAC condensate lines, and bathroom fixtures on upper floors. A slow plumbing drip can mimic a roof leak almost perfectly, especially if it runs along a joist before dripping down.
If the stain is directly below a bathroom, laundry area, or HVAC unit, rule out those systems before assuming the roof is the problem.
Look at the stain's location and pattern. Roof leaks tend to appear away from plumbing walls and often get worse after rain. Plumbing leaks are more consistent regardless of weather. Once you're confident the water path connects to the roof, move to Step 2.
Knowing how to find a roof leak starts with reading the evidence already in your home. Use your marker or chalk to outline the full boundary of any stain, discoloration, or soft drywall you can see. Then measure the stain's distance from the nearest exterior wall and from the nearest interior wall, and write those measurements down.
Water travels downhill and sideways before it drips, so your measurements create a reference zone in the attic. That zone tells you exactly where to focus your inspection next.
The attic is where learning how to find a roof leak gets practical. Water that enters through damaged shingles, flashing, or penetrations almost always leaves evidence in the attic long before it reaches your ceiling drywall. Inspecting this space carefully gives you the most direct path to the leak's actual origin.
Bring your flashlight and head into the attic during daylight if possible. Look up at the roof decking (the sheathing boards) for dark stains, soft spots, mold, or areas where the wood looks noticeably different from the surrounding material. These discolorations mark where water has been sitting or traveling along the structure.

Water stains on rafters and sheathing often trace a line that points back toward the actual entry point, so follow that line toward the roof peak or toward any nearby penetrations.
Pay attention to insulation that looks matted, compressed, or darker than the surrounding material. Wet insulation holds moisture and signals an active or recent leak directly above it, even when the wood nearby looks dry.
Pull out the measurements you recorded in Step 2 and use them to navigate to the correct zone in the attic. Count the rafter bays from the nearest exterior wall to position yourself directly above the stain below. Then shine your flashlight along the decking in that area and look for daylight, wet spots, or rust stains around roofing nails, which indicate water has been wicking down the nail shanks.
Mark the location with chalk or a strip of tape so you can reference it during the exterior inspection in the next steps.
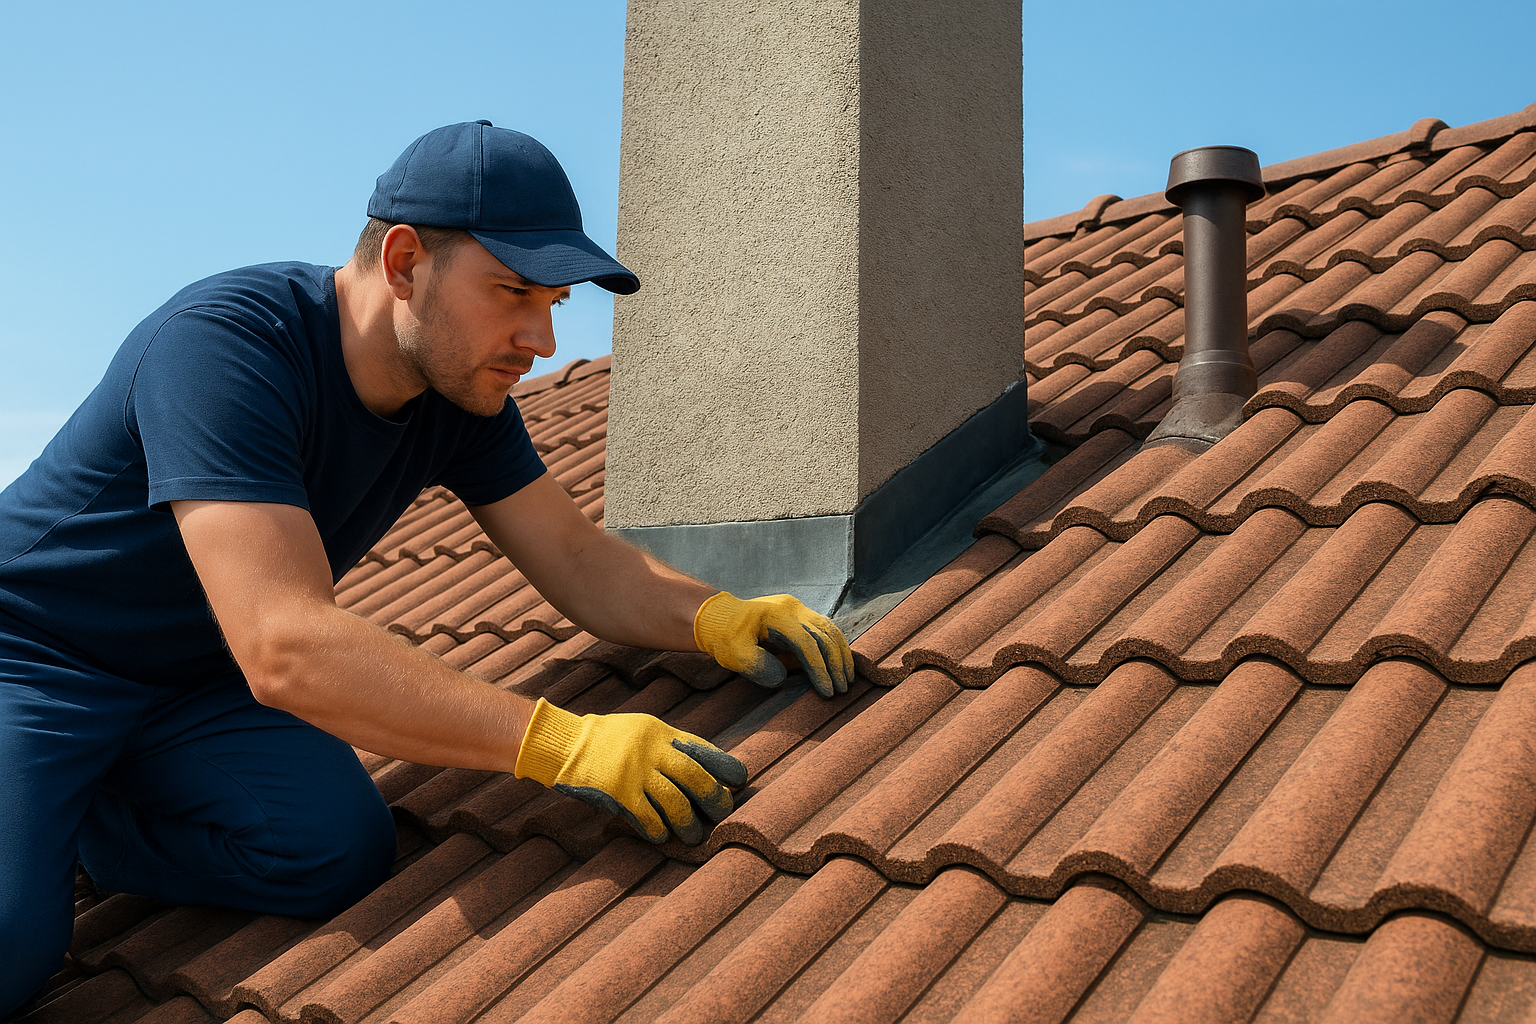
The attic gives you a starting location, but the exterior inspection is where how to find a roof leak becomes concrete. From outside, you can see the actual entry points water uses to get in. Two areas demand your closest attention: flashing around penetrations and the condition of the shingles themselves. Only inspect the roof from outside when conditions are dry and the pitch is manageable.
Start at every spot where something passes through or meets the roof surface. Chimneys, vent pipes, skylights, and exhaust vents are the most common entry points because the flashing that seals them against the roof can crack, lift, or separate over time. Look for visible gaps between the flashing collar and the roofing material, rust streaks on metal components, or cracked sealant around the base of any penetration.
If the flashing pulls away even slightly from the surface it's sealing, water will funnel directly underneath during rain.
Pay special attention to step flashing along dormers or walls where a vertical surface meets the roof slope. This type of flashing uses overlapping metal pieces, and any one of them can fail without the others showing obvious damage.
Move carefully across the roof surface and scan each section methodically. Missing shingles, cracked tabs, curled edges, and exposed nail heads are the clearest signs that water has a direct path through the roof deck. Granule loss is worth noting too since shingles that look worn thin in patches lose their waterproofing ability quickly.
Check the valleys where two roof planes meet because water volume concentrates there, and even minor deterioration in a valley accelerates into a significant leak point.
The hose test is the most reliable method when your visual inspections haven't produced a definitive answer. This test simulates rain in a controlled, systematic way so you can isolate the exact entry point rather than guessing. You need two people to do it correctly: one on the roof with a garden hose and one inside the attic watching for water to appear.
Start low on the roof and work upward in sections. Have your helper in the attic with a flashlight and a phone for real-time communication. Follow this sequence:
Never run the hose across the entire roof at once because you'll lose the ability to isolate which zone is letting water in.
When your attic helper sees water appear, stop the hose immediately and note which zone you were soaking. Mark that exterior zone with chalk or tape before you move. Then compare that location against the interior measurements and chalk marks you recorded in Steps 2 and 4.
Confirming how to find a roof leak means all three reference points align: the ceiling stain below, the wet wood or staining in the attic, and the exterior zone that produced water during the hose test. Photograph each reference point before you climb down so you have a complete, documented record to share with a roofer or your insurance adjuster.

Finding the source is the hard part. Once you know where water is entering, act on it quickly because even a small leak accelerates wood rot, mold growth, and insulation damage within days. Take photos of every reference point you marked during your inspection: the ceiling stain, the attic evidence, and the exterior zone your hose test confirmed. This documentation speeds up any insurance claim and gives a roofer a clear starting point without a full reinspection.
Knowing how to find a roof leak puts you ahead of most homeowners, but locating the entry point is not the same as fixing it. Some repairs are straightforward patches, while others involve failed flashing systems or widespread shingle deterioration that needs professional correction. Don't let a confirmed leak sit while you decide what to do next. If you're in Central Texas and want an honest assessment with 100+ photos documenting exactly what your roof shows, schedule a Precision Roof Assessment with Defend Roofing today.