Learn how to repair roof leaking issues step-by-step—find the source, fix shingles and flashing, patch temporarily, and know when to call a pro.
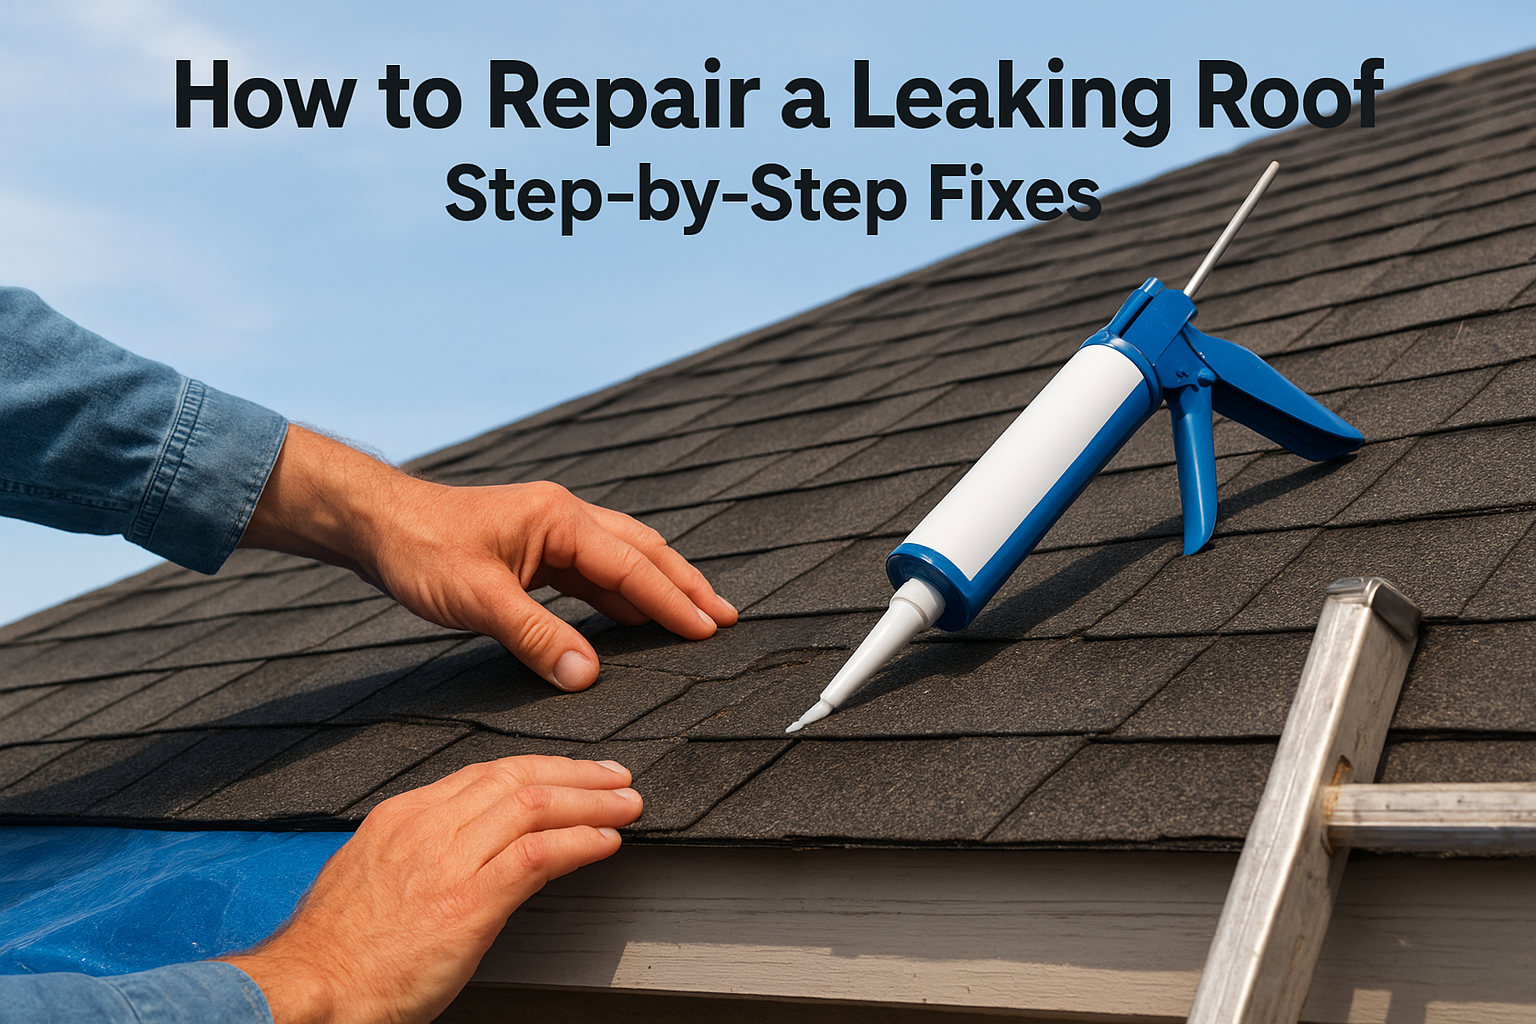
Water stains spreading across your ceiling never mean good news, and waiting a few more days to deal with it almost always makes the damage worse. If you're trying to repair roof leaking issues before they wreck your drywall, insulation, or attic framing, you need a clear plan, not guesswork. That's what this guide gives you.
You'll find the actual steps homeowners use to find the source of a leak, apply temporary fixes that hold until help arrives, and decide when a patch job is enough versus when you're looking at a bigger repair. We'll also cover what it costs to repair a roof leak, when your homeowners insurance might pick up the bill, and how to tell the difference between a DIY-friendly fix and a job that needs a licensed roofer.
We've spent three generations climbing Central Texas roofs, so we know which quick fixes actually buy you time and which ones just hide a bigger problem. Whether you're grabbing a tarp before a storm or documenting damage for an adjuster, here's exactly what to do next.
Most leaks trace back to a handful of usual suspects: cracked or missing shingles, worn flashing around chimneys and vents, clogged gutters that back water up under the roofline, or nail holes that have worked themselves loose over the years. Central Texas roofs take a beating from hailstorms and hard freeze-thaw cycles, which is why we see so many leaks start at flashing joints and valleys rather than in the middle of a shingle field. Age matters too. A roof past 15 to 20 years old has usually lost enough granule protection that even a moderate storm can open up a leak point that a newer roof would shrug off.
Before you climb anywhere, gather the right gear. Skipping this step is how a leak repair turns into an ER visit.
A leak repair is only as good as the safety setup you use to get up there.
Check the weather forecast first. Never attempt a repair on a wet or icy roof, and never work during high wind. If your roof pitch is steeper than about 6/12, or if you're dealing with a two-story home, this is a good sign that a professional roof leak repair makes more sense than a solo climb. Also grab a notepad or your phone's camera before you start. Documenting the damage as you find it will save you time later, whether you're explaining the problem to a roofer or filing an insurance claim.
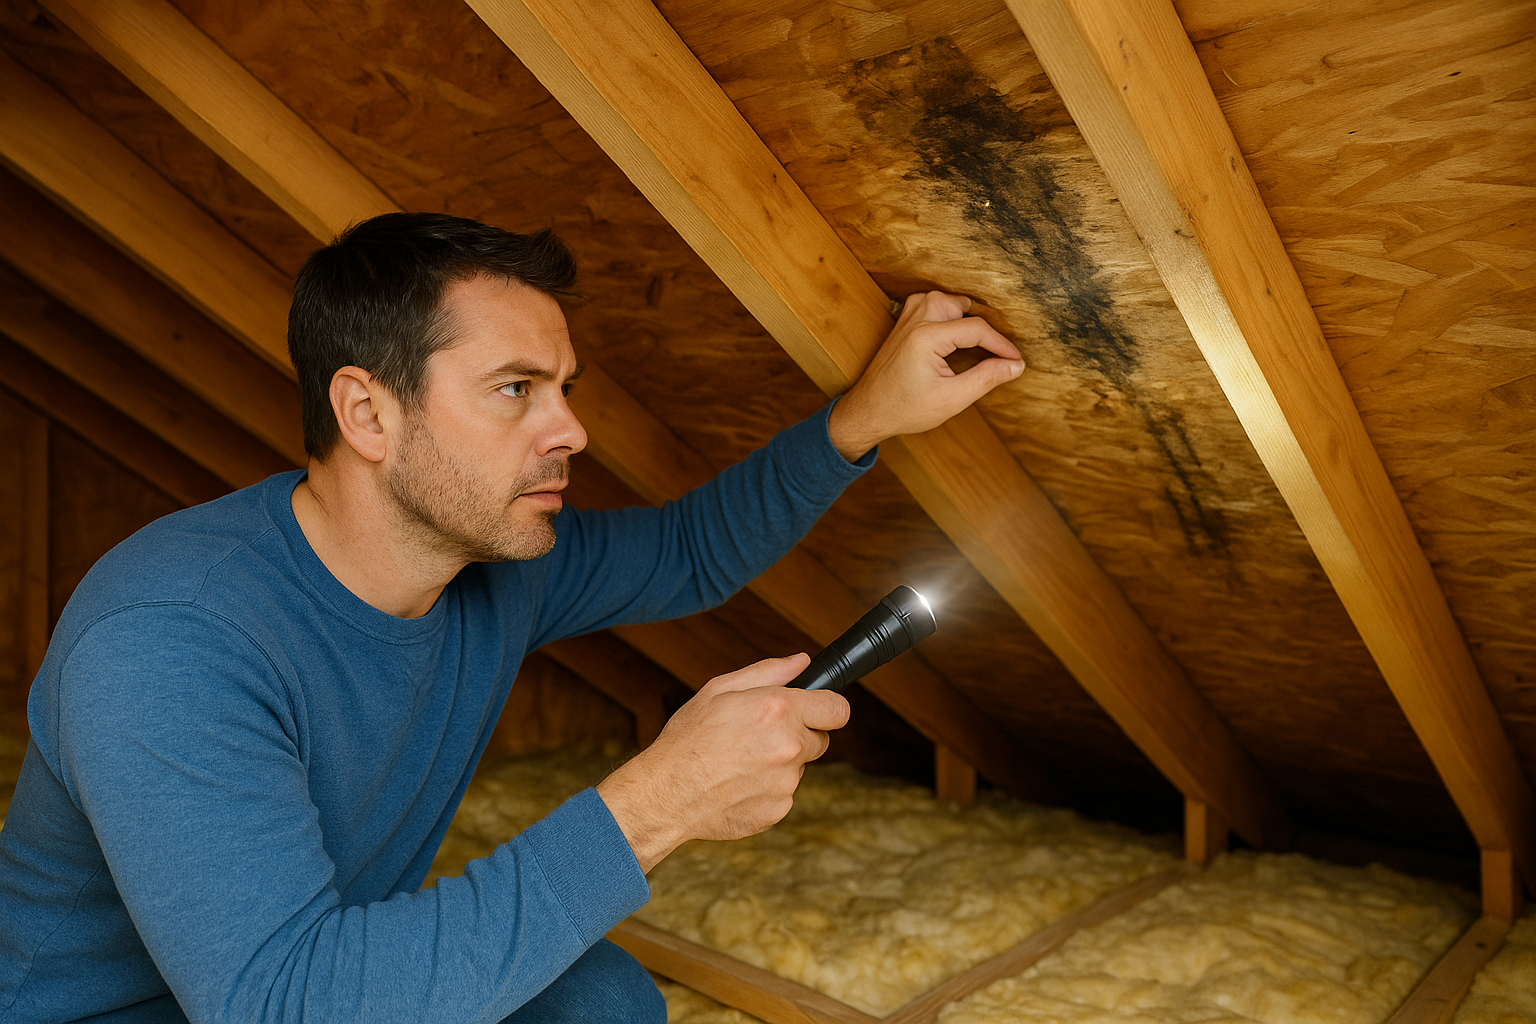
Start in the attic, not on the roof. Water rarely drips straight down from where it enters, so tracing the leak to its actual source means checking rafters, sheathing, and insulation for dark streaks, mold, or damp spots. Bring a flashlight and follow any stain uphill toward the roof's peak, since gravity pulls water sideways along framing before it finally drips through your ceiling.
Once you've narrowed the general area, head outside and inspect from the ground first with binoculars if you have them. Look for curled, cracked, or missing shingles, and pay close attention to flashing around chimneys, skylights, and vent pipes, since these joints fail more often than open shingle fields. Valleys where two roof planes meet are another common failure point, especially after hail.
Most roof leaks start at a joint or seam, not in the middle of a shingle.
If you can safely get on the roof, run a garden hose over suspected areas section by section while a second person watches the attic for new drips. This isolates the exact entry point instead of guessing. Mark the spot with chalk or a piece of tape so you don't lose it once you climb back down to grab tools.
Once you've marked the leak's origin, work the damaged shingle loose by lifting the tabs above it and prying out the nails with a flat bar. Sliding out a cracked shingle is easier than it looks, but go slow so you don't tear the surrounding shingles that are still doing their job. Slide the replacement shingle into place, matching the exposure line of the shingles around it, then nail it down with four roofing nails placed just below the adhesive strip.
Flashing is where most leaks actually start, so don't skip it even if the shingle looks like the obvious culprit. Pull back any flashing that's lifted or cracked around chimneys, vent pipes, or skylights, clean off old caulk and debris, and run a fresh bead of roofing cement along every seam. Press the flashing back down firmly and hold it for a few seconds so the seal grabs before it sets.
Fix the flashing every time, not just the shingle, or the same leak comes back after the next storm.
Check your work by running water over the repaired area again, same as you did to find the leak. If the attic stays dry through a full test, you've got a solid shingle and flashing repair. If water still shows up, you likely missed a secondary entry point nearby, so widen your inspection before calling it done.
Sometimes weather or daylight won't let you finish a full shingle swap, and that's when a temporary patch buys you the time you need. Cut a piece of roofing tarp or heavy plastic sheeting a few feet larger than the damaged area on every side, then slide furring strips under the edges so wind can't get underneath and rip it loose. Nail the strips down through the tarp into solid wood, not just shingles, and seal every nail head with roofing cement so you're not creating new entry points while fixing the old one.
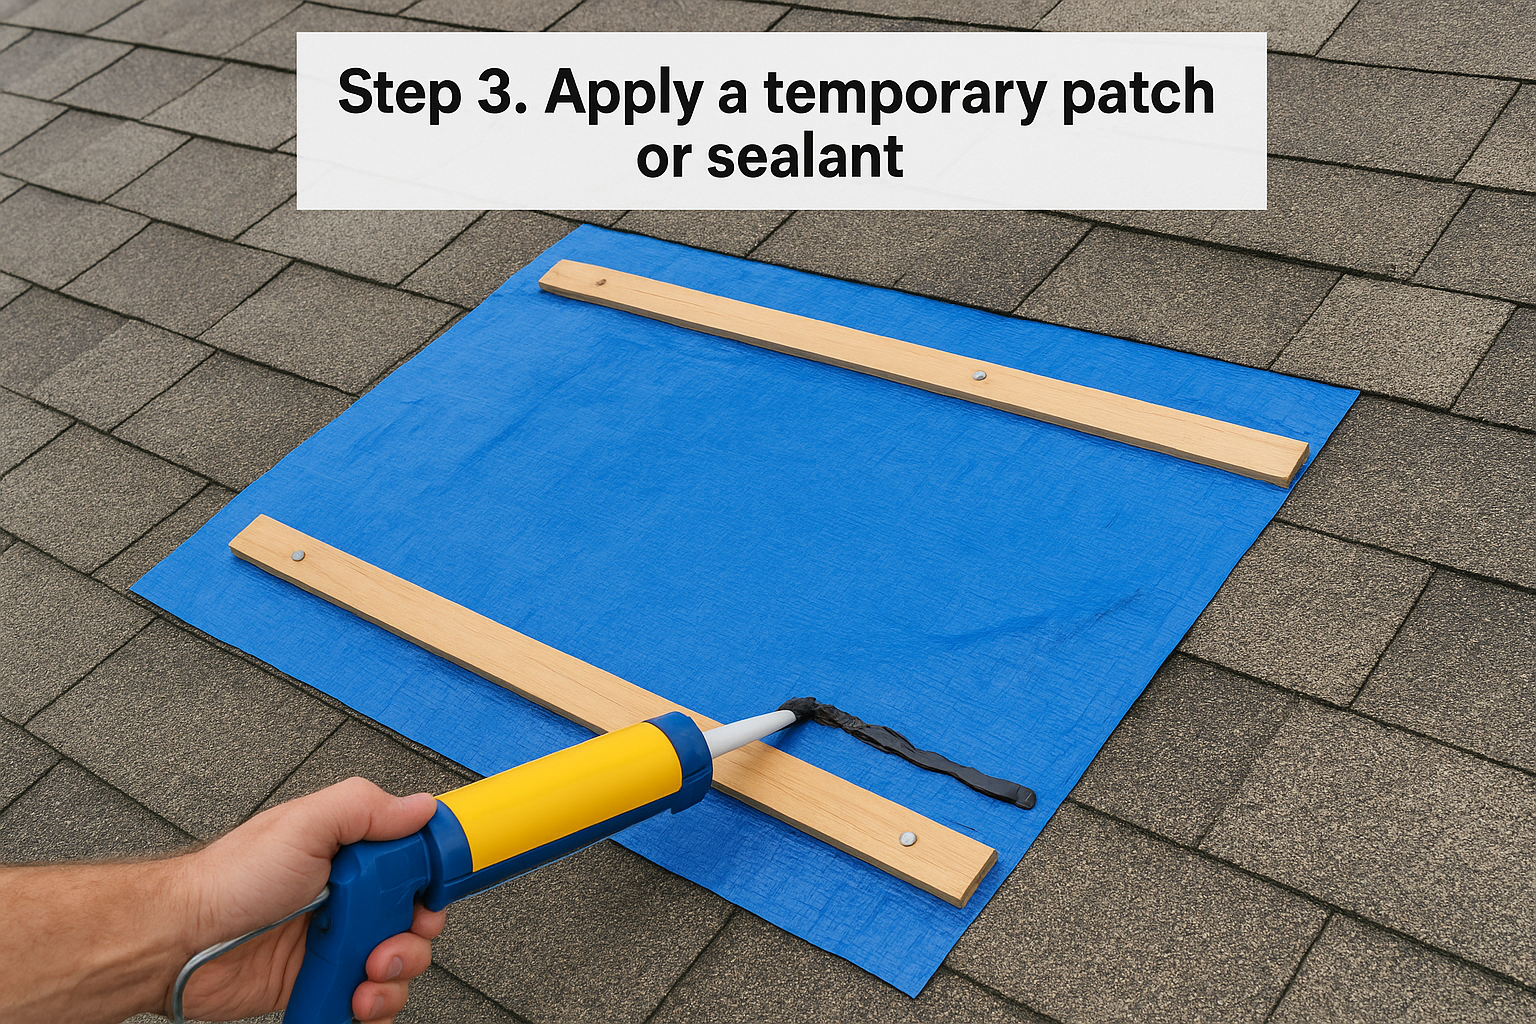
A tarp isn't a repair, it's a timer, so don't forget about it once it's up there.
If the leak is small and localized, roofing sealant alone might get you through the next few storms. Clean the area with a wire brush first so the sealant bonds to bare material instead of dirt or old granules. Apply it with a caulk gun in thin, even layers, letting each coat set before adding the next, and feather the edges so water sheds off cleanly instead of pooling.
Write down the date you applied any temporary roof leak fix. Tarps and sealants degrade fast under Central Texas sun, usually within a few weeks, so treat this step as a bridge to a permanent repair, not a substitute for one.
Some leaks aren't DIY jobs, no matter how handy you are. If the damage spans multiple shingle courses, if you find soft or rotted decking under the leak, or if the leak traces back to a sagging spot in the roofline, stop and call a licensed roofer. Those signs point to structural issues that a patch or sealant can't fix, and climbing around on compromised decking is how people get hurt.
A tarp buys you days, but rotted decking needs a professional every time.
Storm damage changes the math too. If wind or hail caused the leak, your homeowners insurance may cover the roof leak repair cost entirely, minus your deductible. Most policies require documentation before they'll approve a claim, which is exactly why we photograph 100+ points on every roof we assess. Adjusters want to see the damage pattern, not just the leak itself, so hold onto every photo and note you took back in Step 1.
Before you sign anything, compare your options:
| Situation | Best Move |
|---|---|
| Storm or hail damage | File insurance claim, get documented inspection |
| Age-related wear, no storm event | Pay out of pocket or finance repair |
| Steep pitch or multi-story roof | Skip DIY, hire a pro |
| Rotted decking found | Hire a pro immediately |
Defend Roofing walks Central Texas homeowners through this exact decision every week, and we'll tell you honestly when a claim makes sense versus when it doesn't.
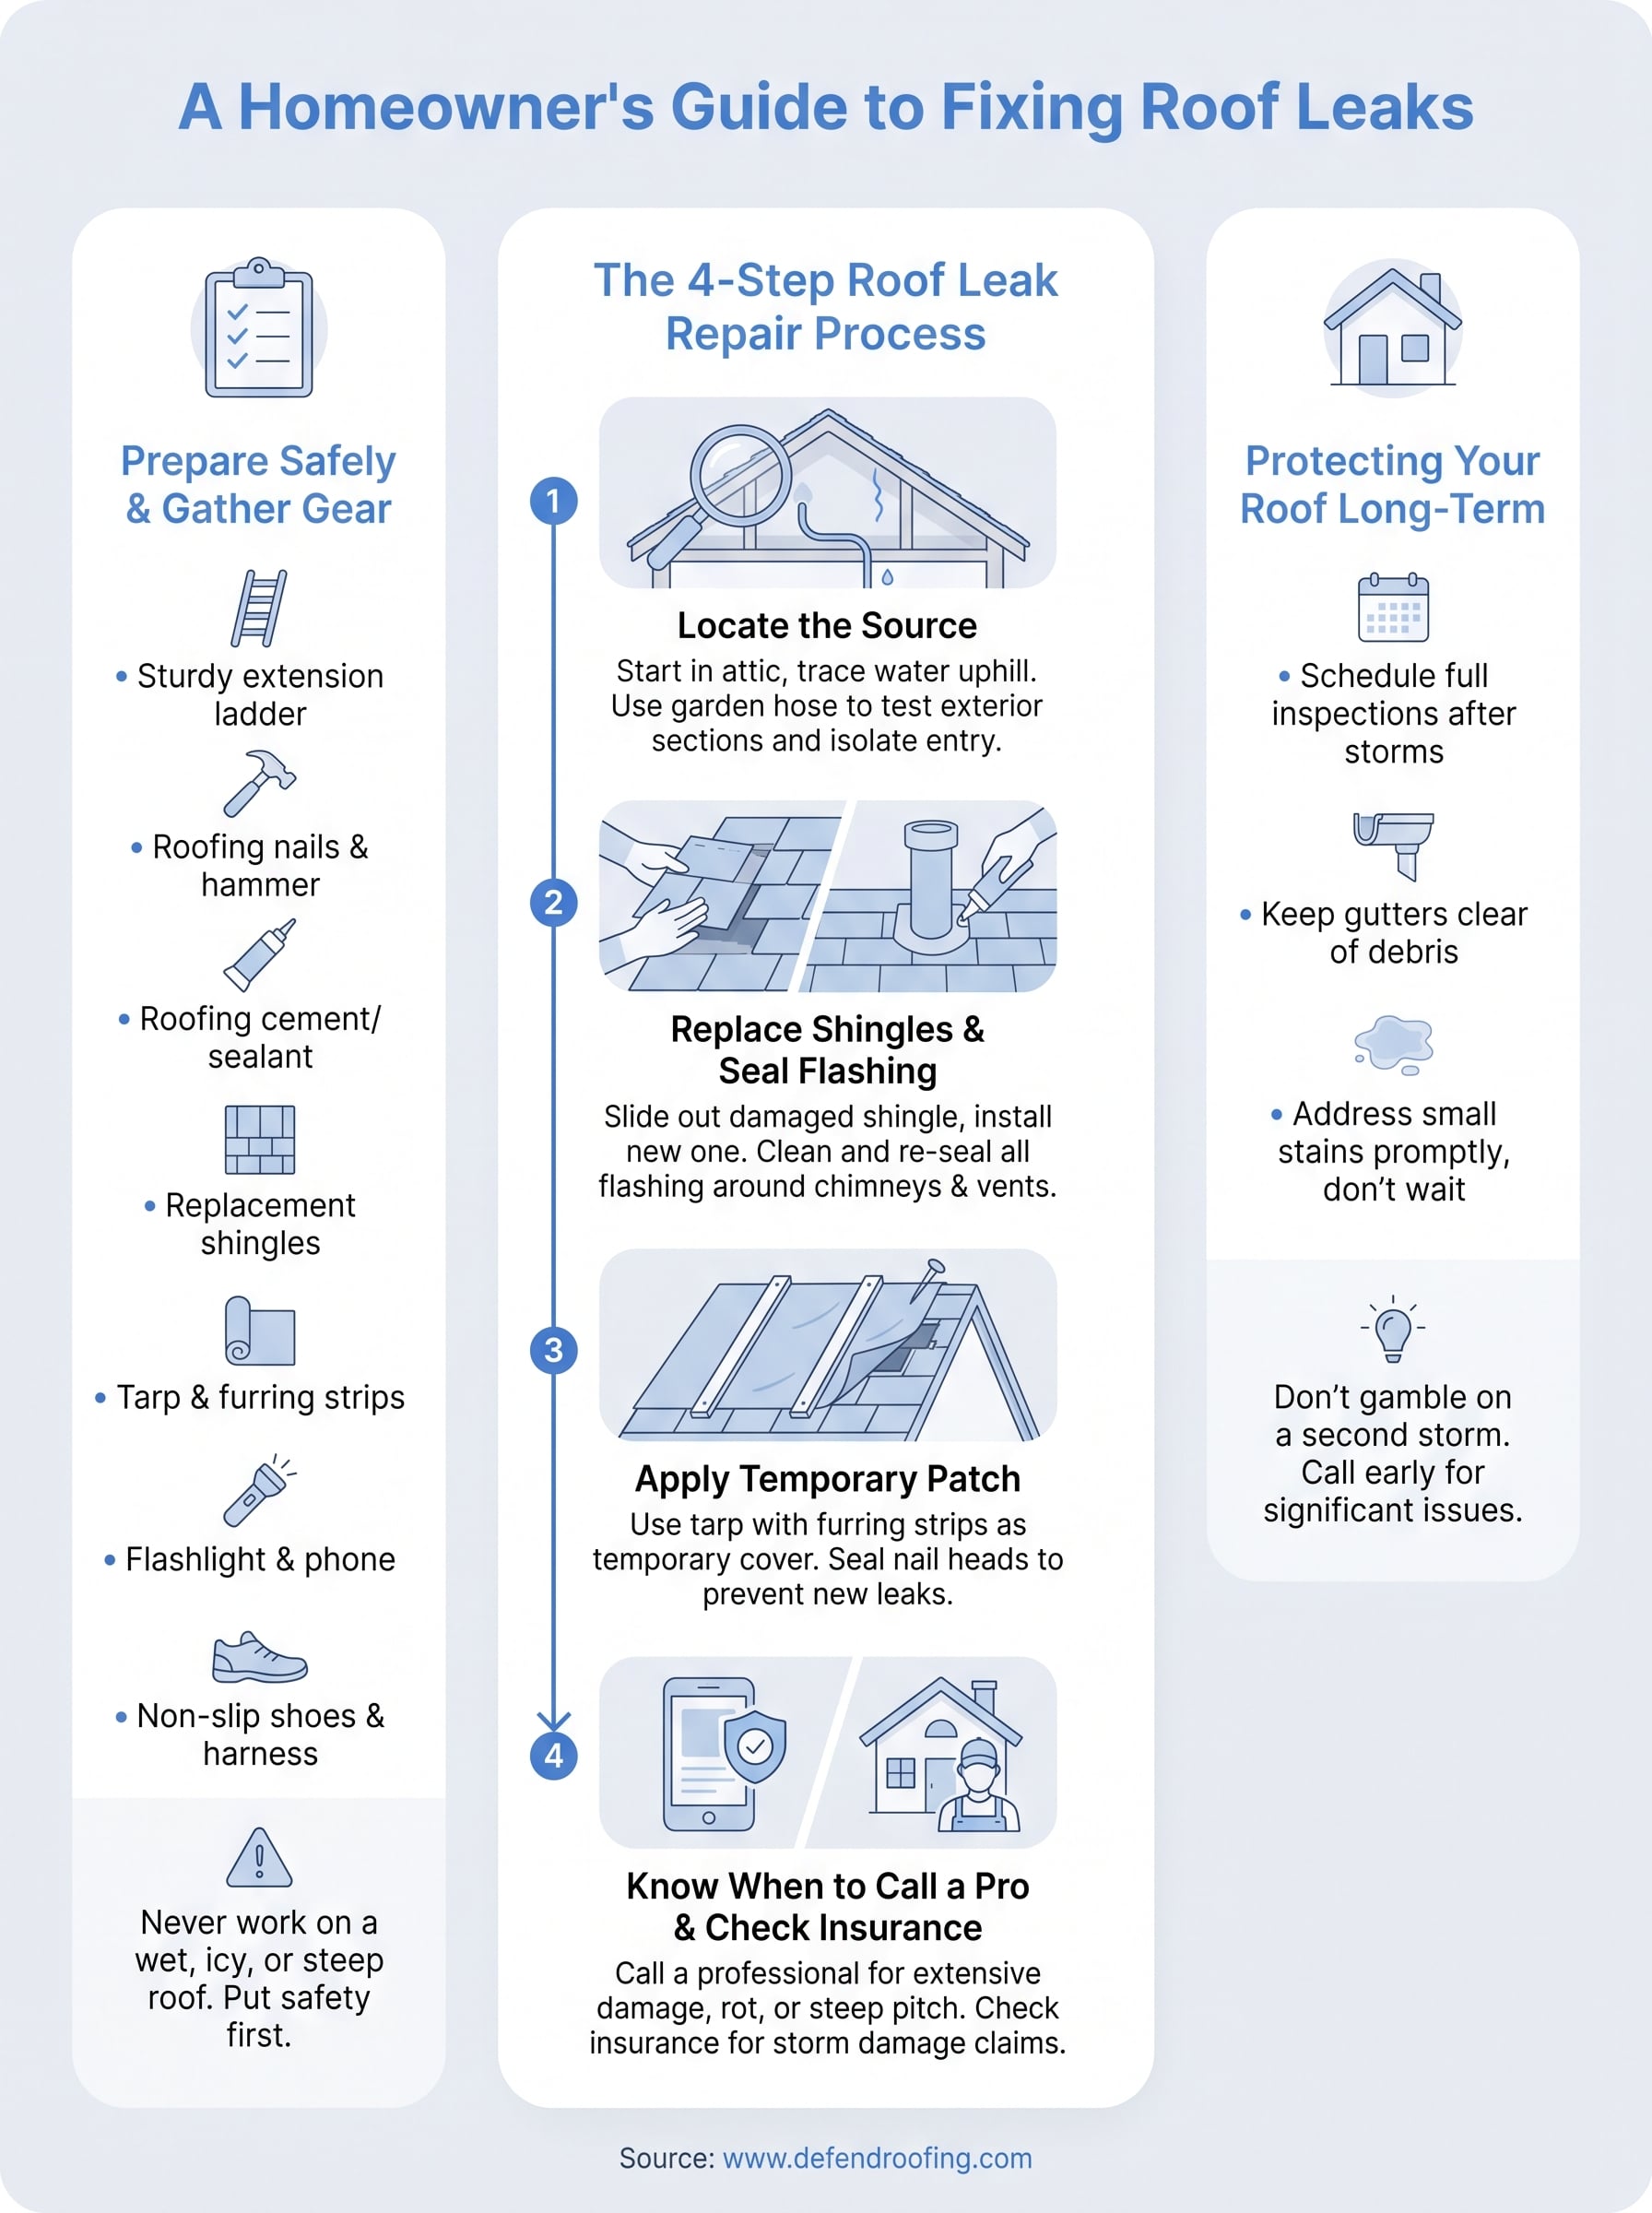
A leak you catch early and fix right rarely comes back. The steps above, tracing the source, replacing shingles, sealing flashing, and patching when time runs short, will handle most leaks Central Texas homeowners face. What separates a temporary win from a permanent one is follow-through: schedule a full inspection after any storm, keep your gutters clear, and don't let a small stain sit for months while it spreads into your decking and insulation.
If you've patched a leak and you're not fully confident it'll hold, or if you found soft decking, missing granules, or damage that stretches beyond one shingle, don't gamble on a second storm season. Three generations of roofing experience taught us that the homeowners who call early spend less than the ones who wait. Get an instant quote from Defend Roofing and let us document your roof properly before the next leak starts.