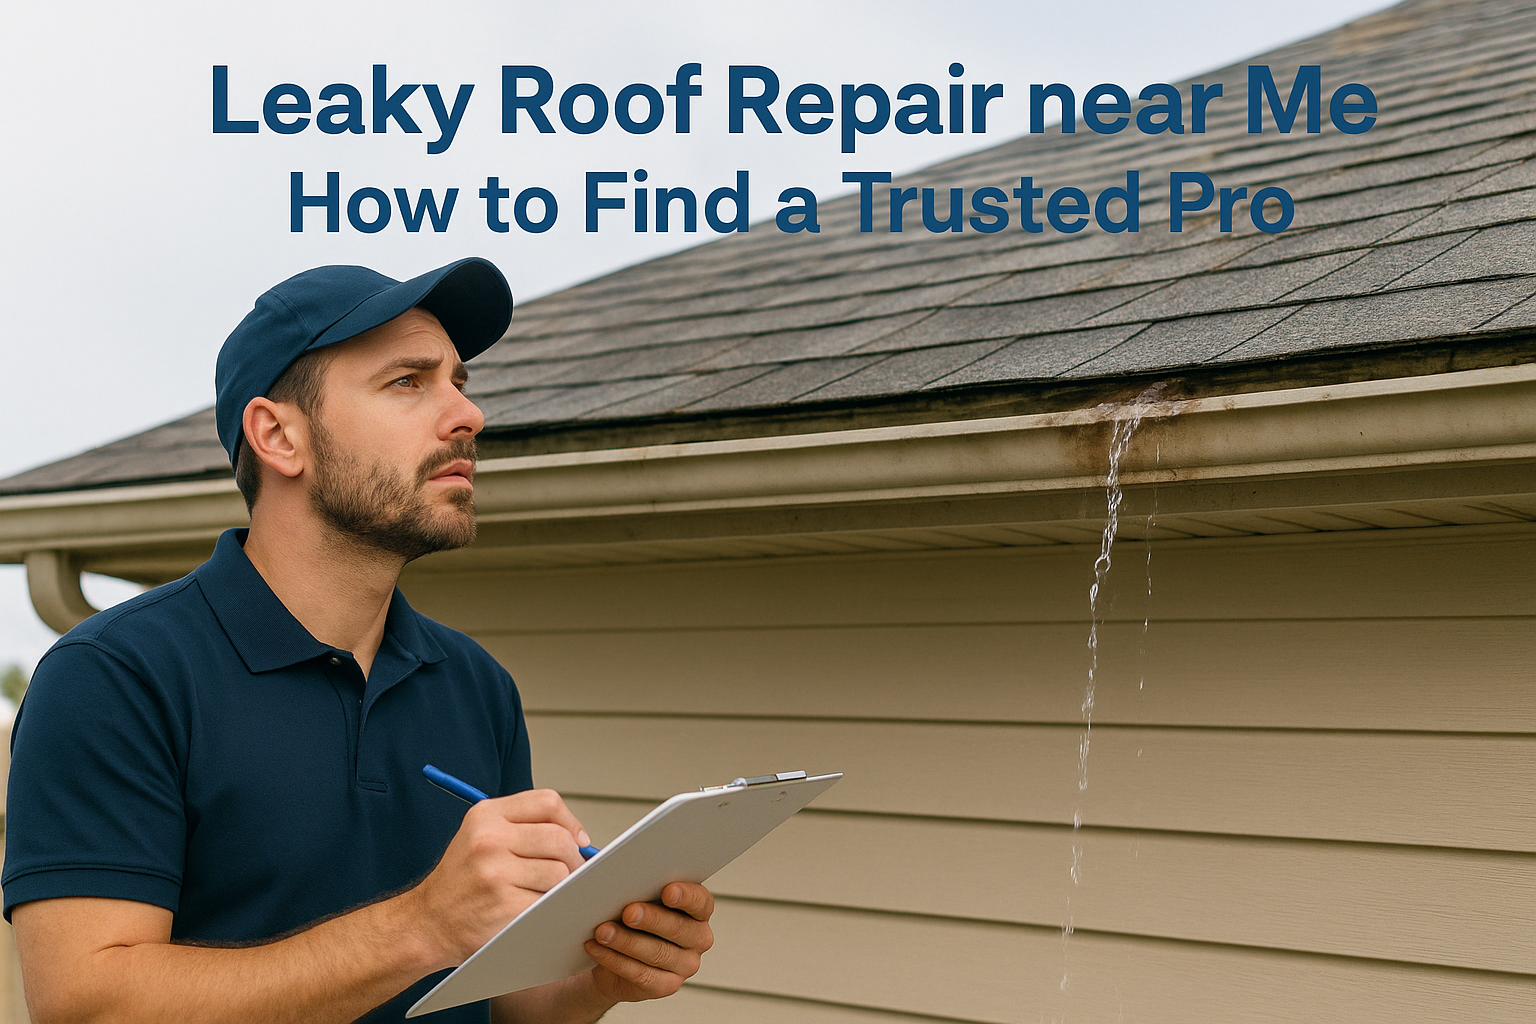
Find roof leak repair near me steps: stop water fast, document damage for insurance, vet contractors, and get repair cost ranges before you hire.

Water stains on your ceiling don't wait for a convenient time to show up, and neither should your search for help. When you type roof leak repair near me into Google, you're probably standing under a drip bucket wondering three things: who can fix this fast, what it's going to cost, and whether your insurance will cover any of it. You want straight answers, not a sales pitch from someone circling your driveway.
This guide gives you those answers. We'll walk through how to find a qualified local contractor in Central Texas, what leak repairs typically cost depending on the damage, and how homeowners' insurance handles roof leak claims, including what gets covered and what doesn't. If you're searching for residential roof leak repair near me after a storm rolled through Cedar Park, Leander, or Steiner Ranch, you'll also find guidance on documenting damage before an adjuster ever shows up.
As a family-run crew with three generations of roofing work behind us, we've seen what separates a five-minute patch from a real fix. The steps ahead reflect that experience, not guesswork.
Spotting a leak triggers a rush of adrenaline, but the next ten minutes matter more than the next ten days. Water damage spreads fast through drywall, insulation, and framing, so your first job is to slow it down while you figure out your next move. Grab a bucket, a tarp if you have one, and your phone camera before you do anything else. Don't climb on a wet roof in the dark or during a storm. Every year we get calls from homeowners who tried to fix a leak themselves at 11pm and ended up with a fall injury on top of a roof repair bill.

Not every leak needs a 2am phone call. A slow drip into a bucket during a light rain can usually wait until morning. Active water pouring through a light fixture, a sagging ceiling bulge, or water running down an electrical panel means you shut off power to that area and call for 24/7 emergency roof help immediately.
A slow drip can wait for daylight, but a sagging ceiling or water near electrical wiring means you act now, not later.
Use this quick check to decide how urgent your situation really is:
Think beyond the ceiling itself. Furniture, electronics, and flooring underneath a leak absorb damage just as fast as drywall does. Relocate anything you can move, and lay down towels or a tarp to catch runoff before it spreads to hardwood or carpet. If the leak is near a light fixture, flip the breaker for that room. Wet drywall touching a live wire is a real fire risk, not a hypothetical one.
Wait for daylight before you go outside to look at the roof yourself, and even then, stay on the ground. Binoculars work fine for a first look. Roofs get slippery after rain, and missing shingles or soft decking underneath aren't always visible from the surface. Once the immediate danger is contained, you're ready to move into documentation mode, which is where your insurance claim actually starts taking shape.
Once the danger is handled, your focus shifts to two things: stopping the water and building a paper trail. Insurance adjusters trust photos more than memories, and a well-documented leak often means a faster, larger payout. This is also the point where most homeowners searching for roof leak repair near me start gathering the evidence they'll need for a claim, so treat the next hour like you're building a case file, not just mopping up a mess.
Grab a tarp, roofing cement, or even heavy plastic sheeting as a fast DIY patch to slow the intrusion until a professional arrives. Place a bucket under the drip and check it every 30 minutes so it doesn't overflow onto flooring. If you can safely access the attic, look for the wet insulation or dark streak on the decking that marks the leak's actual source, which is often several feet from where water shows up on your ceiling.
Document the damage before you touch anything. Adjusters and contractors both need a clear before-picture, and there's a right way to photograph a roof for a claim.
Photos taken before cleanup carry more weight with insurance adjusters than any description you can write later.
Keep a folder, physical or digital, with these images plus the date and time you first noticed the leak. That timeline matters once you file a claim.
Finding someone who'll show up, tell you the truth, and stand behind the work matters more than finding the cheapest bid. Search results for roof leak repair near me flood you with options, but choosing the best roof repair contractors near you means checking that every name on that list carries proper licensing and insurance. Skip the contractor who knocks on your door uninvited right after a storm. Legitimate local crews don't need to chase you down a residential street.
A contractor who won't show you proof of insurance shouldn't be climbing on your roof.
Run through this checklist before you let anyone near your roof:
How a contractor handles that first phone conversation tells you a lot. If they quote a price before ever seeing your roof, or pressure you to sign same-day, treat that as a warning sign. A homeowner searching for residential roof leak repair near me should expect a scheduled inspection, not a rushed sales pitch. We built our process around 100+ photo assessments precisely because homeowners deserve documented evidence, not a guess shouted from a ladder. If you're in Cedar Park, Avery Ranch, or Leander, you can request that same precision roof assessment directly from our team before committing to any repair.
Once you've picked a contractor, the next move is a full inspection, not a quick glance from the driveway. What a real roof inspection involves is climbing onto the roof, checking the attic, and photographing every problem area, not just the spot where water showed up inside your house. Homeowners who search for roof leak repair near me often expect a five-minute look and a number scribbled on a business card. That's not enough information to make a good decision about repair versus replacement.

Requesting specifics upfront saves you from a vague quote later. Ask your contractor to walk you through these items during the visit:
A thorough inspection tells you exactly why the roof leaked, not just where the water ended up.
Costs vary based on what's actually wrong, so treat these leak repair price ranges and the factors behind them as a starting reference rather than a firm quote for your home.
| Repair Type | Typical Cost Range |
|---|---|
| Flashing repair or replacement | $200 to $600 |
| Shingle replacement (small section) | $300 to $900 |
| Decking repair | $500 to $1,500 |
| Full leak diagnosis and patch | $250 to $700 |
Understanding these ranges before you talk to an insurance adjuster keeps you from accepting a lowball settlement or overpaying a contractor who inflates a simple fix.
Opening the claim with your insurance company comes next, and the photos you took earlier now do the heavy lifting. Report the roof leak repair as a covered peril if a storm, hail, or wind caused it, since what a homeowners policy includes for roof damage rarely extends to leaks from simple wear and neglect. Give the adjuster your documented timeline, the photos from your phone, and your contractor's inspection findings. A claim backed by evidence moves faster than one built on a verbal description of "some water damage."
Insurance companies send their own adjuster to confirm the damage, and this is where a documented contractor report earns its keep. Bring your roofer to that appointment if your schedule allows it. They can point out flashing failures or hidden decking rot the adjuster might rush past.
A contractor standing beside the adjuster catches details a rushed ten-minute inspection often misses.
Once coverage is approved, schedule the actual repair before the next storm system rolls through Central Texas. Confirm these details in writing before work begins:
Requesting an itemized invoice protects you if a second leak shows up in the same area later. Homeowners searching for residential roof leak repair near me after storm season often skip this step, then struggle to prove what was actually fixed when a follow-up claim becomes necessary.
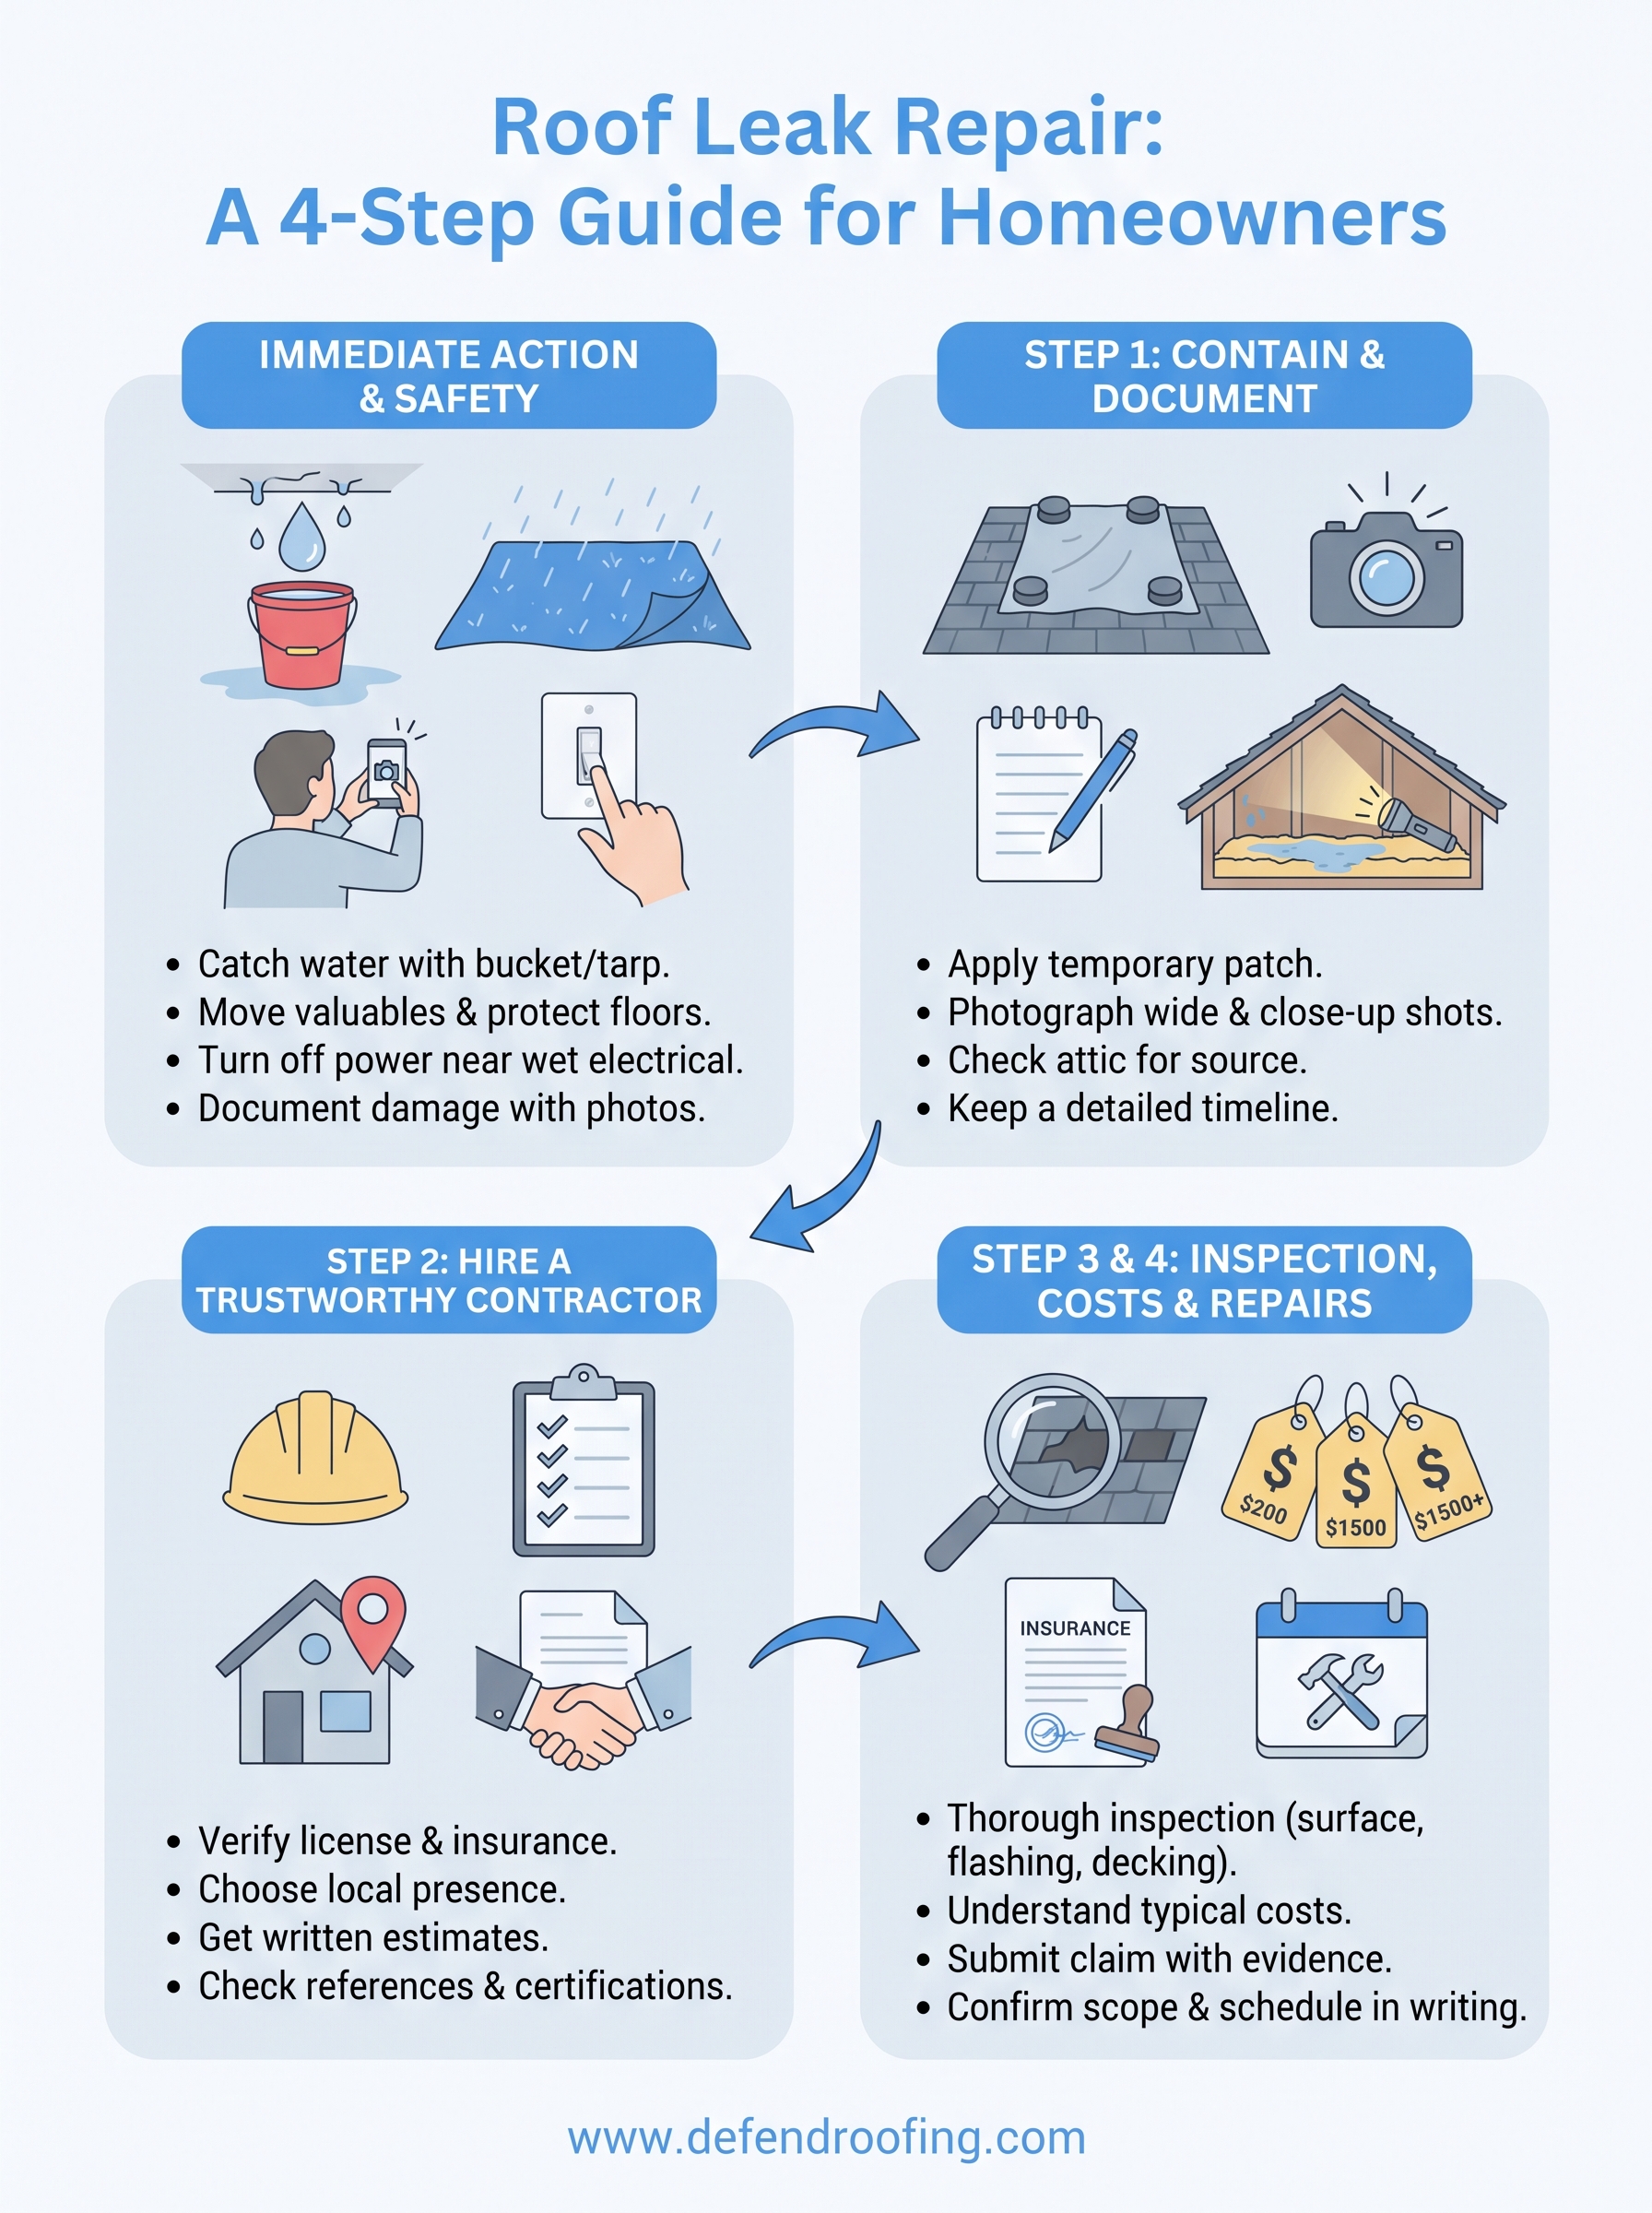
A leak rarely comes from bad luck. It comes from a roof nearing the end of its life, flashing that's worked loose, or gutters nobody's cleaned in a year, and those are only a few of the six things that usually cause a roof leak. Once your current repair is done, schedule a follow-up inspection every spring and after any major hailstorm. Catching a lifted shingle before it becomes a soaked ceiling saves you thousands and spares you another night with a bucket under a drip.
Finding help for roof leak repair near me shouldn't mean gambling on a stranger's door knock after a storm. It should mean calling a crew that documents everything, gives you honest repair-versus-replace advice, and stands behind the work with a real warranty. That's what three generations of roofing experience looks like in practice.
If water's already found its way into your home, don't wait on another forecast. Call, text, or get an instant online quote for a documented leak repair and get your roof sealed up right.