Learn how to assess, inspect, and complete a repair of roof damage yourself—plus know when to call Defend Roofing for a free professional quote.
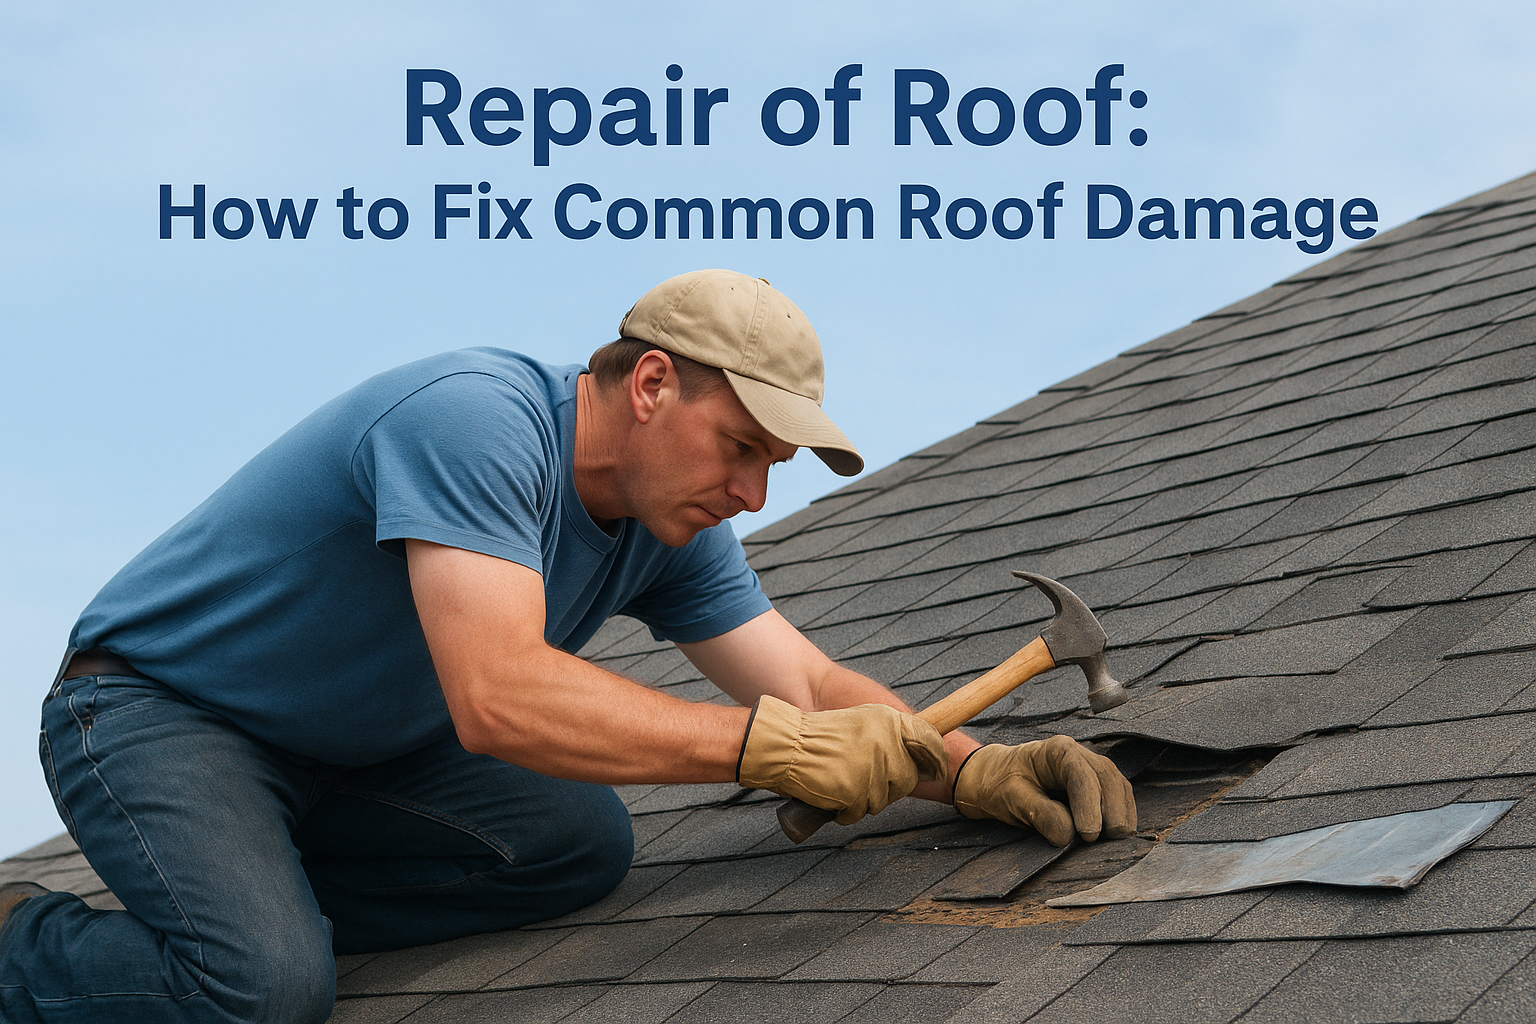
A missing shingle or a dark stain on your ceiling rarely means the whole roof is failing, but it does mean something needs attention now. Most repair of roof issues in Central Texas start small: a lifted shingle after a windstorm, a cracked pipe boot, flashing that's pulled away from a chimney. Left alone through another Austin hailstorm or summer downpour, these small problems turn into rotted decking and interior water damage.
This guide walks you through the most common types of roof damage homeowners deal with, how to tell if a roof leak repair service is worth calling versus tackling it yourself, and what actually goes into a proper fix. We'll cover the warning signs to look for during your own inspection, the tools and safety steps for minor DIY patches, and the point where climbing up there yourself does more harm than good.
We've spent three generations on roofs across Central Texas, from Cedar Park to Steiner Ranch, and we've seen what happens when small damage gets ignored or patched wrong. This article gives you the same honest, evidence-based approach we use on every job, so you know exactly what you're dealing with before you decide who fixes it.
Not every damaged roof needs a full roof replacement, and not every leak can be patched with a tube of sealant, so it helps to know how to choose the right fix first. The real question is whether the damage is isolated or systemic. A single cracked shingle from a fallen branch is a repair. Widespread granule loss, brittle shingles across the whole slope, or multiple leaks in different rooms usually point to a roof nearing the end of its life, where patching one spot just shifts the problem somewhere else next season.
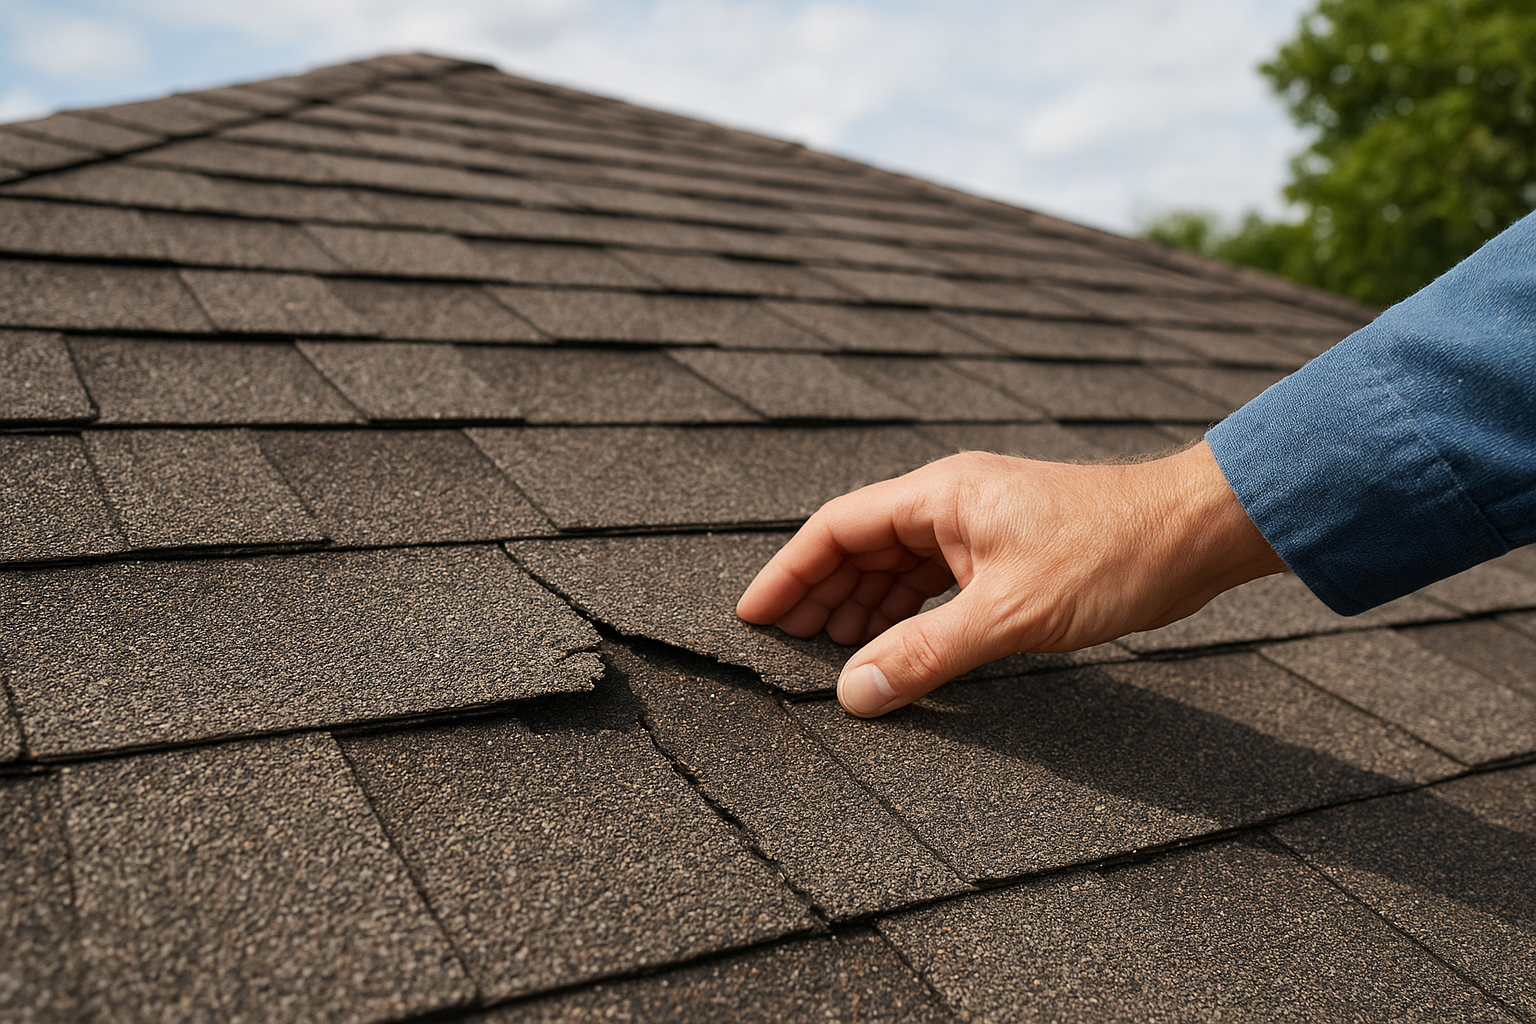
Use the table below as a starting point, then confirm what you're looking at with a closer inspection.
| Sign | Usually means repair | Usually means replacement |
|---|---|---|
| Age of roofing | Under 12 years | Over 20 years (asphalt shingle) |
| Damage location | One or two isolated spots | Scattered across multiple slopes |
| Shingle condition | Some curling or lifting | Widespread cracking, bald spots |
| Leak history | First occurrence | Recurring leaks, different rooms |
| Decking condition | Solid, no soft spots | Soft, spongy, or visibly rotted |
If you're patching the same spot twice in one year, you're not fixing the roof, you're delaying the replacement.
Age matters more than most homeowners realize. Asphalt shingle roofs typically last 20 to 25 years depending on installation quality and Central Texas sun exposure, according to guidance from the U.S. Department of Housing and Urban Development, though 3-tab and architectural shingles age differently. If your roof is already past that window and showing damage, a repair might buy you a season, but it won't buy you peace of mind. Deciding this correctly up front saves you money, because a repair on a roof that needs replacing is money spent twice.
Before you climb a ladder, walk your property line and look up. Binoculars work well for a first pass and keep your feet on the ground while you scan for missing shingles, curled edges, or dark streaks running down a slope, all signs of roof damage Texas homeowners shouldn't ignore. Check the attic too, since a flashlight sweep along the rafters often reveals water stains or damp insulation before any sign shows up on the ceiling below.
A roof leak almost never shows up directly above the water stain, so trace a leak from inside and outside before you start cutting into drywall.
If you decide to get on the roof itself, do it safely:
Gathering this documented evidence now tells you whether you're dealing with a five-minute patch or something bigger, and it gives any roofer you call later a clear starting point instead of guesswork.
Having the right supplies on hand before you climb up saves you a second trip and keeps you from improvising with whatever's in the garage. A basic roof repair kit covers most minor fixes: pry bar, roofing nails, a caulking gun, and matching shingles if you can find them from a leftover bundle or a close color match at the hardware store.
Cheap roofing cement is the fastest way to turn a small leak into a bigger one, so spend the extra few dollars on a quality sealant rated for your climate.
Here's a solid starter list for minor asphalt shingle repairs:
Making sure your replacement materials match the existing roof matters more than most homeowners expect, since mismatched shingles trap water differently and can void what's left of a manufacturer warranty.
Once you know what you're dealing with, the actual repair of roof damage follows a specific order depending on what failed, and our step-by-step DIY roof repair guide walks through each one. A cracked or lifted shingle usually just needs the surrounding nails pulled, the damaged shingle slid out, and a new one slid into place and re-nailed above the tab line. Flashing problems around chimneys and vents call for a different fix: pry up the old flashing, clean the surface, and set new flashing under the shingle course above it so water sheds over the top, never under.
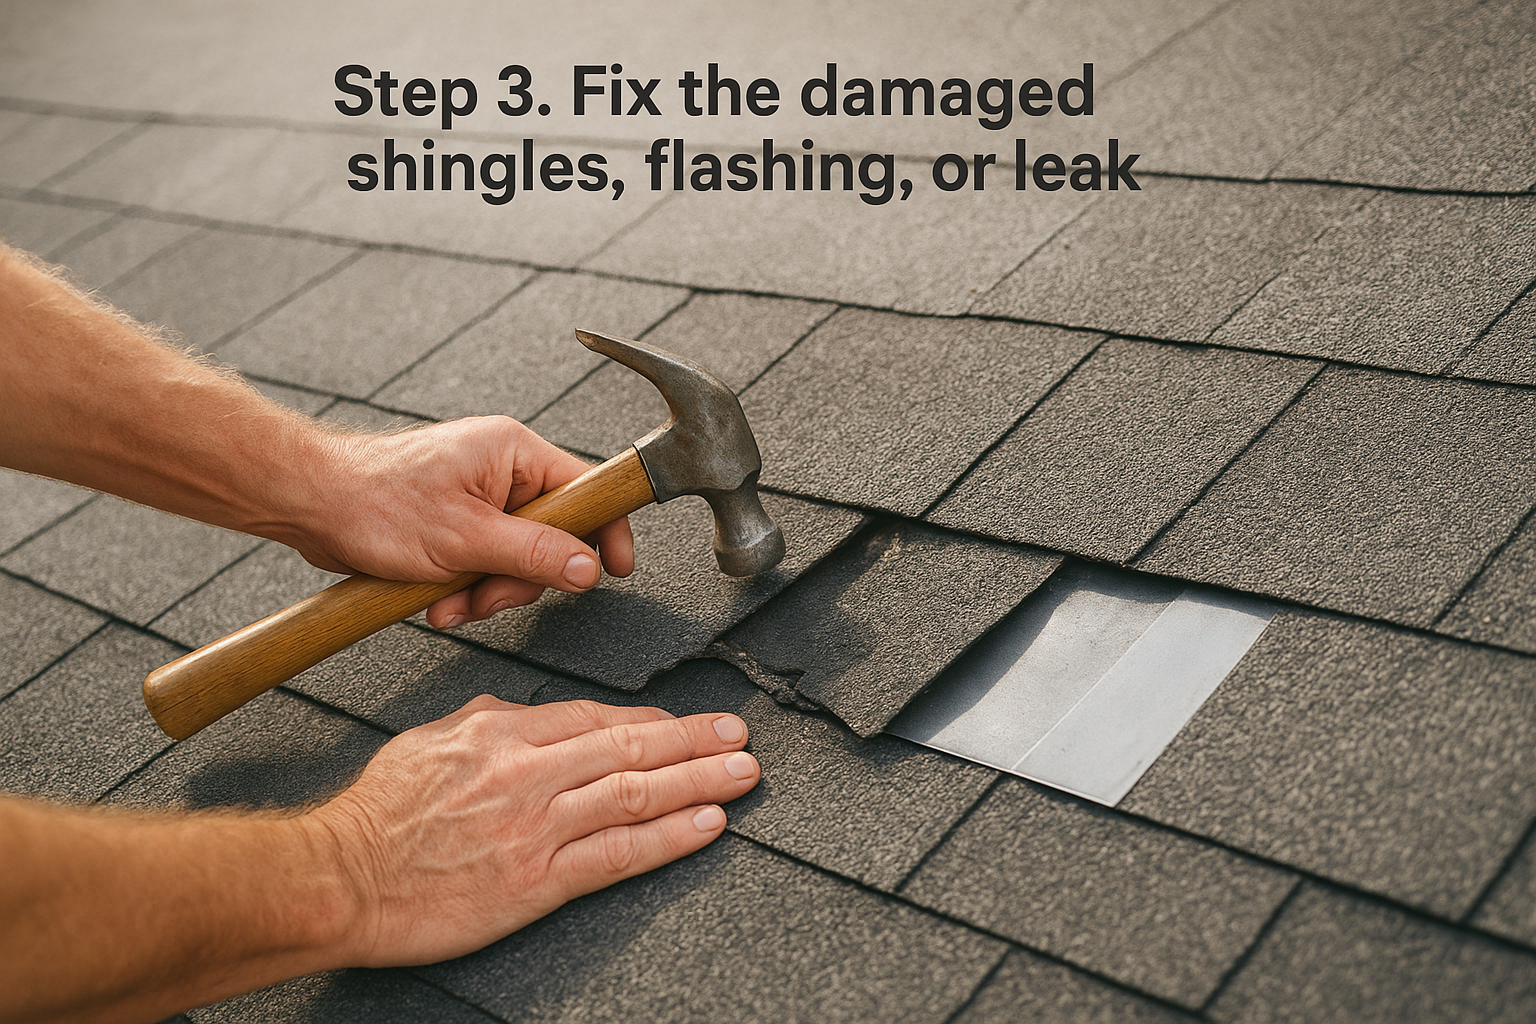
Nail placement matters more than the patch itself, since a shingle nailed too low or too high will lift again in the next windstorm.
For active leaks, trace the water back to its entry point before sealing anything, since the common culprits behind roof leaks are easy to miss. Common culprits include:
Working through these in order keeps you from covering one problem while missing the real source underneath it.
Sealing the repair correctly is what keeps water out for good, not just for the next dry week. Apply roofing cement in a thin, even layer under the shingle edges and around exposed nail heads, then press each tab down firmly so it seats flat against the surface. Proper sealing means covering every nail head completely, since a single exposed nail is a return trip waiting to happen.
A repair that looks finished from the ground can still leak, so the real test happens with a hose, not your eyes.
Before you call the job done, run through this quick check:
Give the sealant 24 hours to cure before the next rain if you can. A thorough roof leak repair service, whether DIY or professional, always ends with verification, not assumption.
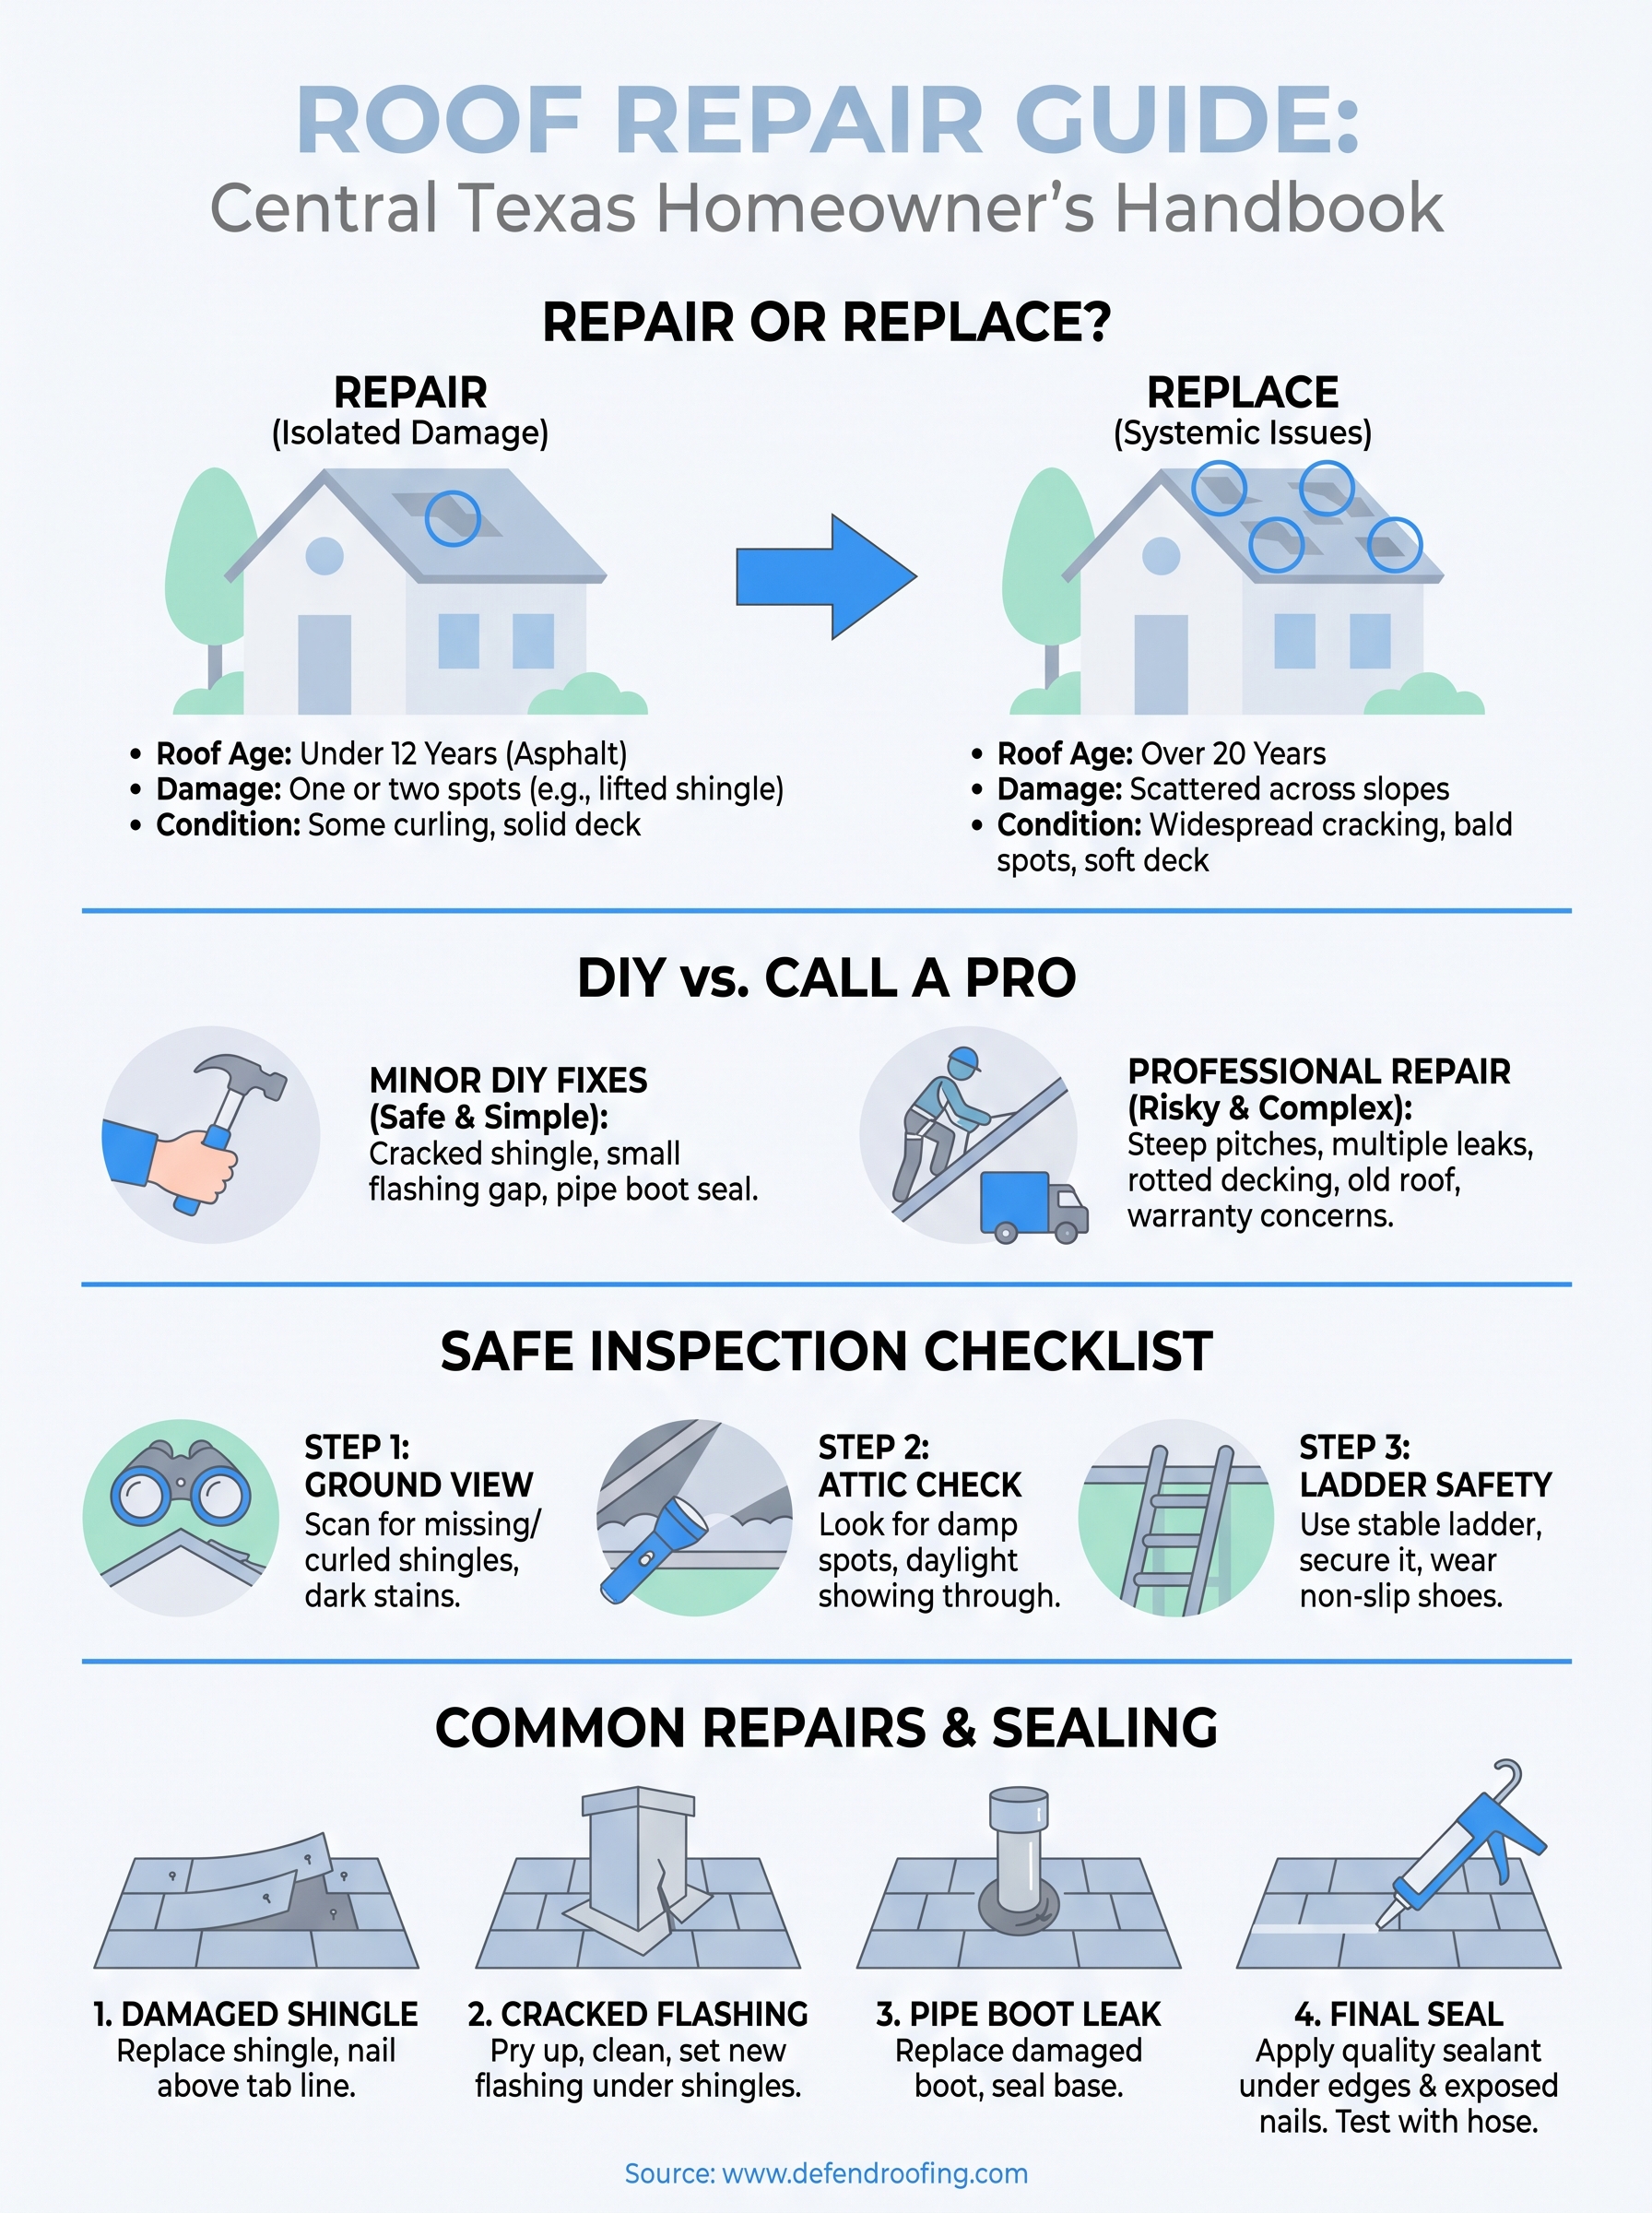
Some fixes are beyond a weekend project, no matter how many videos you've watched. Steep pitches, multiple leak sources, damaged decking, or any repair above the second story means the risk outweighs the savings. If your inspection turned up soft spots, widespread granule loss, or a roof already past 20 years old, you're looking at a replacement conversation, not a patch job.
Trust your gut here, and know the questions to ask a roofing contractor before hiring. A homeowner who's honest about their limits saves more money long term than one who chases a bad patch through three rainy seasons. Every roof we've fixed after a failed DIY attempt cost the homeowner more than calling us first would have.
We've built our business on honest assessments, not upselling, backed by three generations of roofing experience across Central Texas. If your roof needs more than a patch, or you just want a second opinion before you climb up there yourself, call, text, or get an instant online quote and we'll tell you straight what it needs.