Learn to repair roof leak issues fast: find the source, apply a temporary patch, and fix it right with tips from Central Texas roofing pros.

A brown ring spreading across your ceiling never waits for a convenient time. It shows up after a Central Texas thunderstorm, usually late at night, and sends you scrambling for a bucket while you wonder how bad the damage really is. If you're trying to repair roof leak damage on your own before it spreads, you need a plan, not panic.
This guide walks you through exactly how to find the source, apply a temporary patch that actually holds, and decide when the fix needs to go beyond a tube of sealant. You'll learn the difference between a stopgap and a real repair, because a lot of homeowners patch the wrong spot and end up with the same leak two storms later.
We'll also cover how to tell when it's time to call in a roofing professional instead of climbing back up on the roof, and what documentation you'll want if you end up filing an insurance claim. Whether you're dealing with a slow drip or a sudden storm breach, you'll walk away knowing how to repair roof leaks the right way, starting today.
Most roof leaks in Central Texas trace back to a handful of usual suspects: wind-lifted shingles after a spring thunderstorm, cracked pipe boot flashing that's baked in the Austin sun for a decade, or nail pops working their way loose as the roof deck expands and contracts through our brutal summer-to-winter swings. Hail is another big one here, since even a small strike can crack a shingle's mat without tearing it off, leaving a hidden entry point for water, and it's worth knowing the common culprits behind roof leaks before you start. Before you climb a ladder, it helps to know what you're actually looking for.
Run through this list before you start hunting for the leak itself, since it narrows down where to look:
A leak almost never starts where the ceiling stain shows up, so trace the water uphill before you touch a single shingle.
Having the right supplies on hand before you get on the roof saves you a second trip up the ladder, which matters more than it sounds like when you're balancing on wet shingles.
Safety: sturdy ladder, harness or rope anchor, non-slip shoes
Inspection: flashlight, chalk or tape, garden hose
Repair: roofing cement, self-adhesive flashing tape, replacement shingles, roofing nails, caulk gun, utility knife, tarp
If you're missing more than one or two items from that list, or you're not comfortable on a sloped roof, that's a sign to bring in a roofing professional before you attempt to repair roof leaks yourself. A rushed patch job with the wrong materials often costs more to undo than it would have cost to hire it out from the start.
Start in the attic, not on the roof. Grab a flashlight and look for water stains, dark trails, or wet insulation along the rafters, since gravity pulls water sideways along the wood before it drips through the ceiling below. Follow any staining uphill toward the roof deck, and mark the spot with chalk or a piece of tape so you can find it again once you're outside.
Once you've got a general area, head up to the roof and check the usual entry points near that mark: pipe boots, flashing seams, valleys, and any nail heads poking through the shingles, the same approach we use for finding a roof leak from inside and outside. If nothing's obvious, run a garden hose test with a helper watching the attic. Soak one section at a time, starting low and working uphill, and wait a few minutes between sections so you don't flood the whole roof and lose track of where the water's actually getting in.
The leak's true source is almost always higher up the slope than the stain that gave it away.
Here's a quick checklist for the search:
Once you've confirmed the entry point, stop the water before it does more damage to the decking or insulation underneath. A temporary roof leak fix buys you time until you can do a permanent fix or get a professional out, but it needs to be done right or you'll just be chasing the same leak next storm. Dry the area completely first. Roofing cement and flashing tape won't bond to wet or dusty shingles, and a patch that doesn't seal is worse than no patch at all, since it can trap moisture underneath.
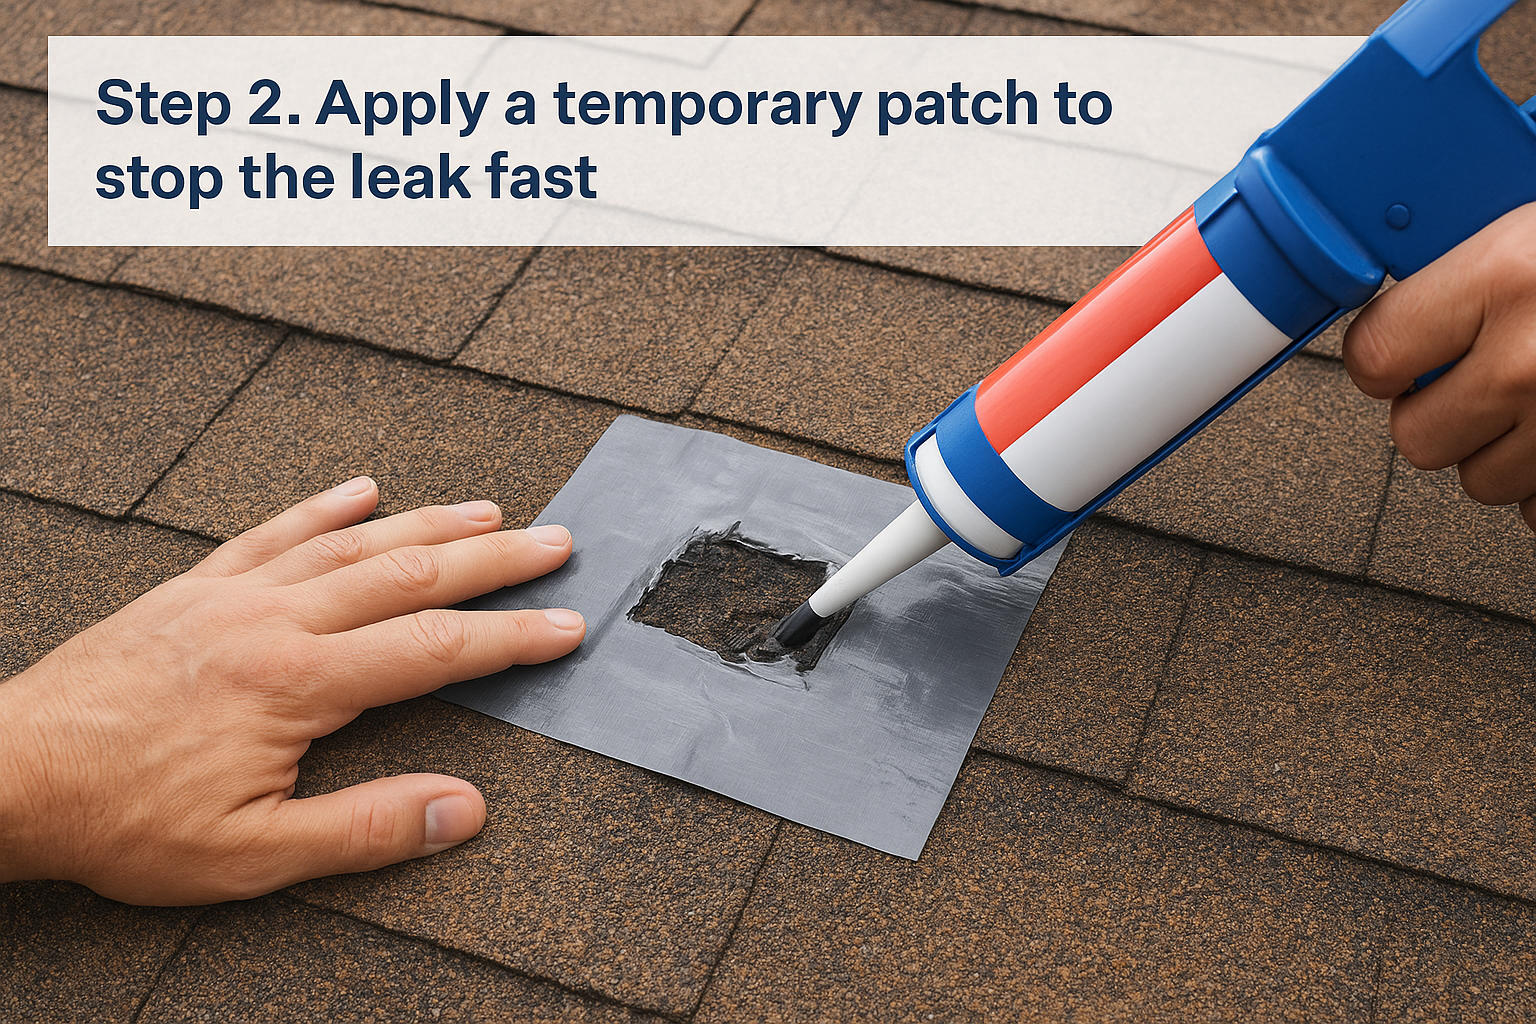
A patch that isn't sealed to a clean, dry surface is just a placeholder for the next leak.
For most leak repair roof situations you can handle from the attic side or a low-slope section, follow this order:
This holds up through most rainstorms, but it's a stopgap, not a fix.
With the leak stopped, move on to the permanent fix. A temporary patch won't survive a full Central Texas summer of heat cycling and afternoon storms, so plan to replace the damaged material within a week or two. This is where most DIY roof leak repairs either hold for years or fail by the next rainy season, depending on how carefully you match the repair to what's actually broken.
Cracked pipe boots and lifted flashing cause a huge share of the leaks we see across Cedar Park and Leander, mostly because rubber boots dry out and split after a decade in the sun. Pull the old caulk or cement away, slide a new boot or flashing piece into place under the shingle course above it, and seal the top and side edges with roofing cement, leaving the bottom edge open so water can still drain out from underneath.
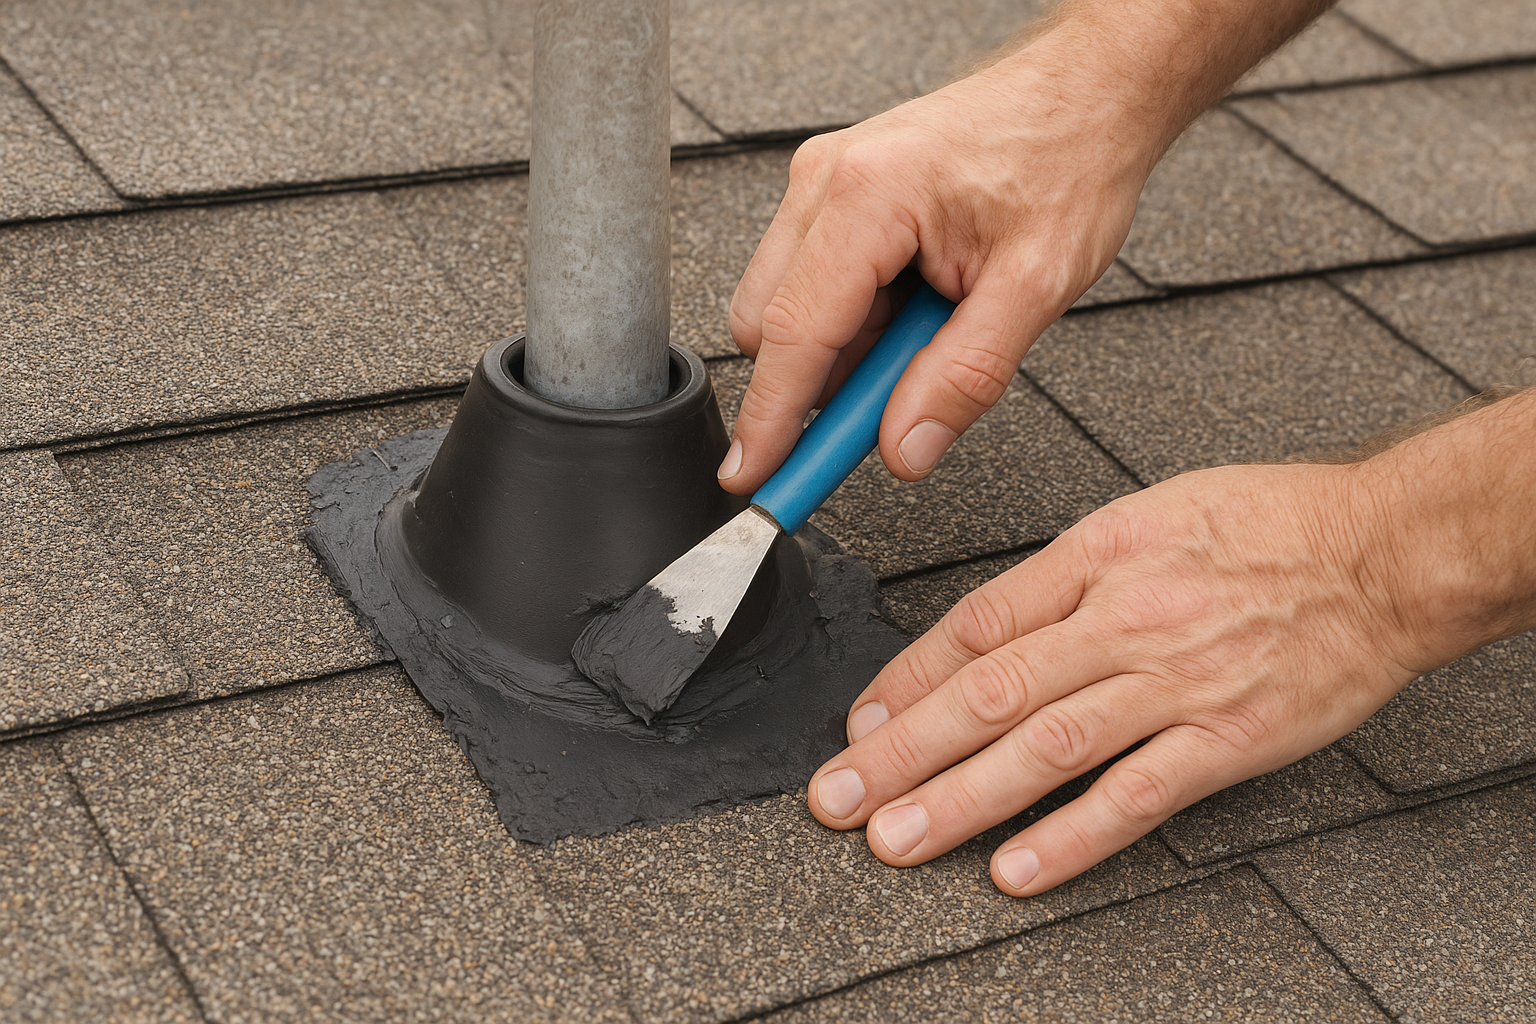
A flashing repair only works if water can still escape downhill from under it.
Swap out cracked, curled, or hail-punctured shingles rather than sealing over them. Lift the surrounding shingles, pull the nails, slide the damaged one out, and nail the replacement in the same pattern before sealing the tabs with a dab of roofing cement, following the full step-by-step guide to repairing roof shingles if you're new to it.
Some leaks are a fifteen-minute fix. Others are a symptom of a bigger problem hiding under three layers of shingles you can't see from the attic. If you've patched the same spot twice, or the stain keeps spreading after your repair, stop climbing the ladder and bring in a roofing professional who can pull back shingles and check the decking underneath.
If you've patched the same leak twice, the problem isn't the patch, it's what's underneath it.
Watch for these warning signs that a DIY fix won't hold:
Storm damage often qualifies for coverage, but only if you document it before you start cutting into shingles. Photograph the damage from multiple angles, note the date of the storm, hold onto your temporary patch materials as proof of mitigation, and work through the roof insurance claim checklist before you call your insurer. Defend Roofing's storm damage assessment and insurance claim support gives Central Texas homeowners adjuster-ready documentation instead of a guess, which matters when an adjuster is deciding whether your claim gets approved or denied.
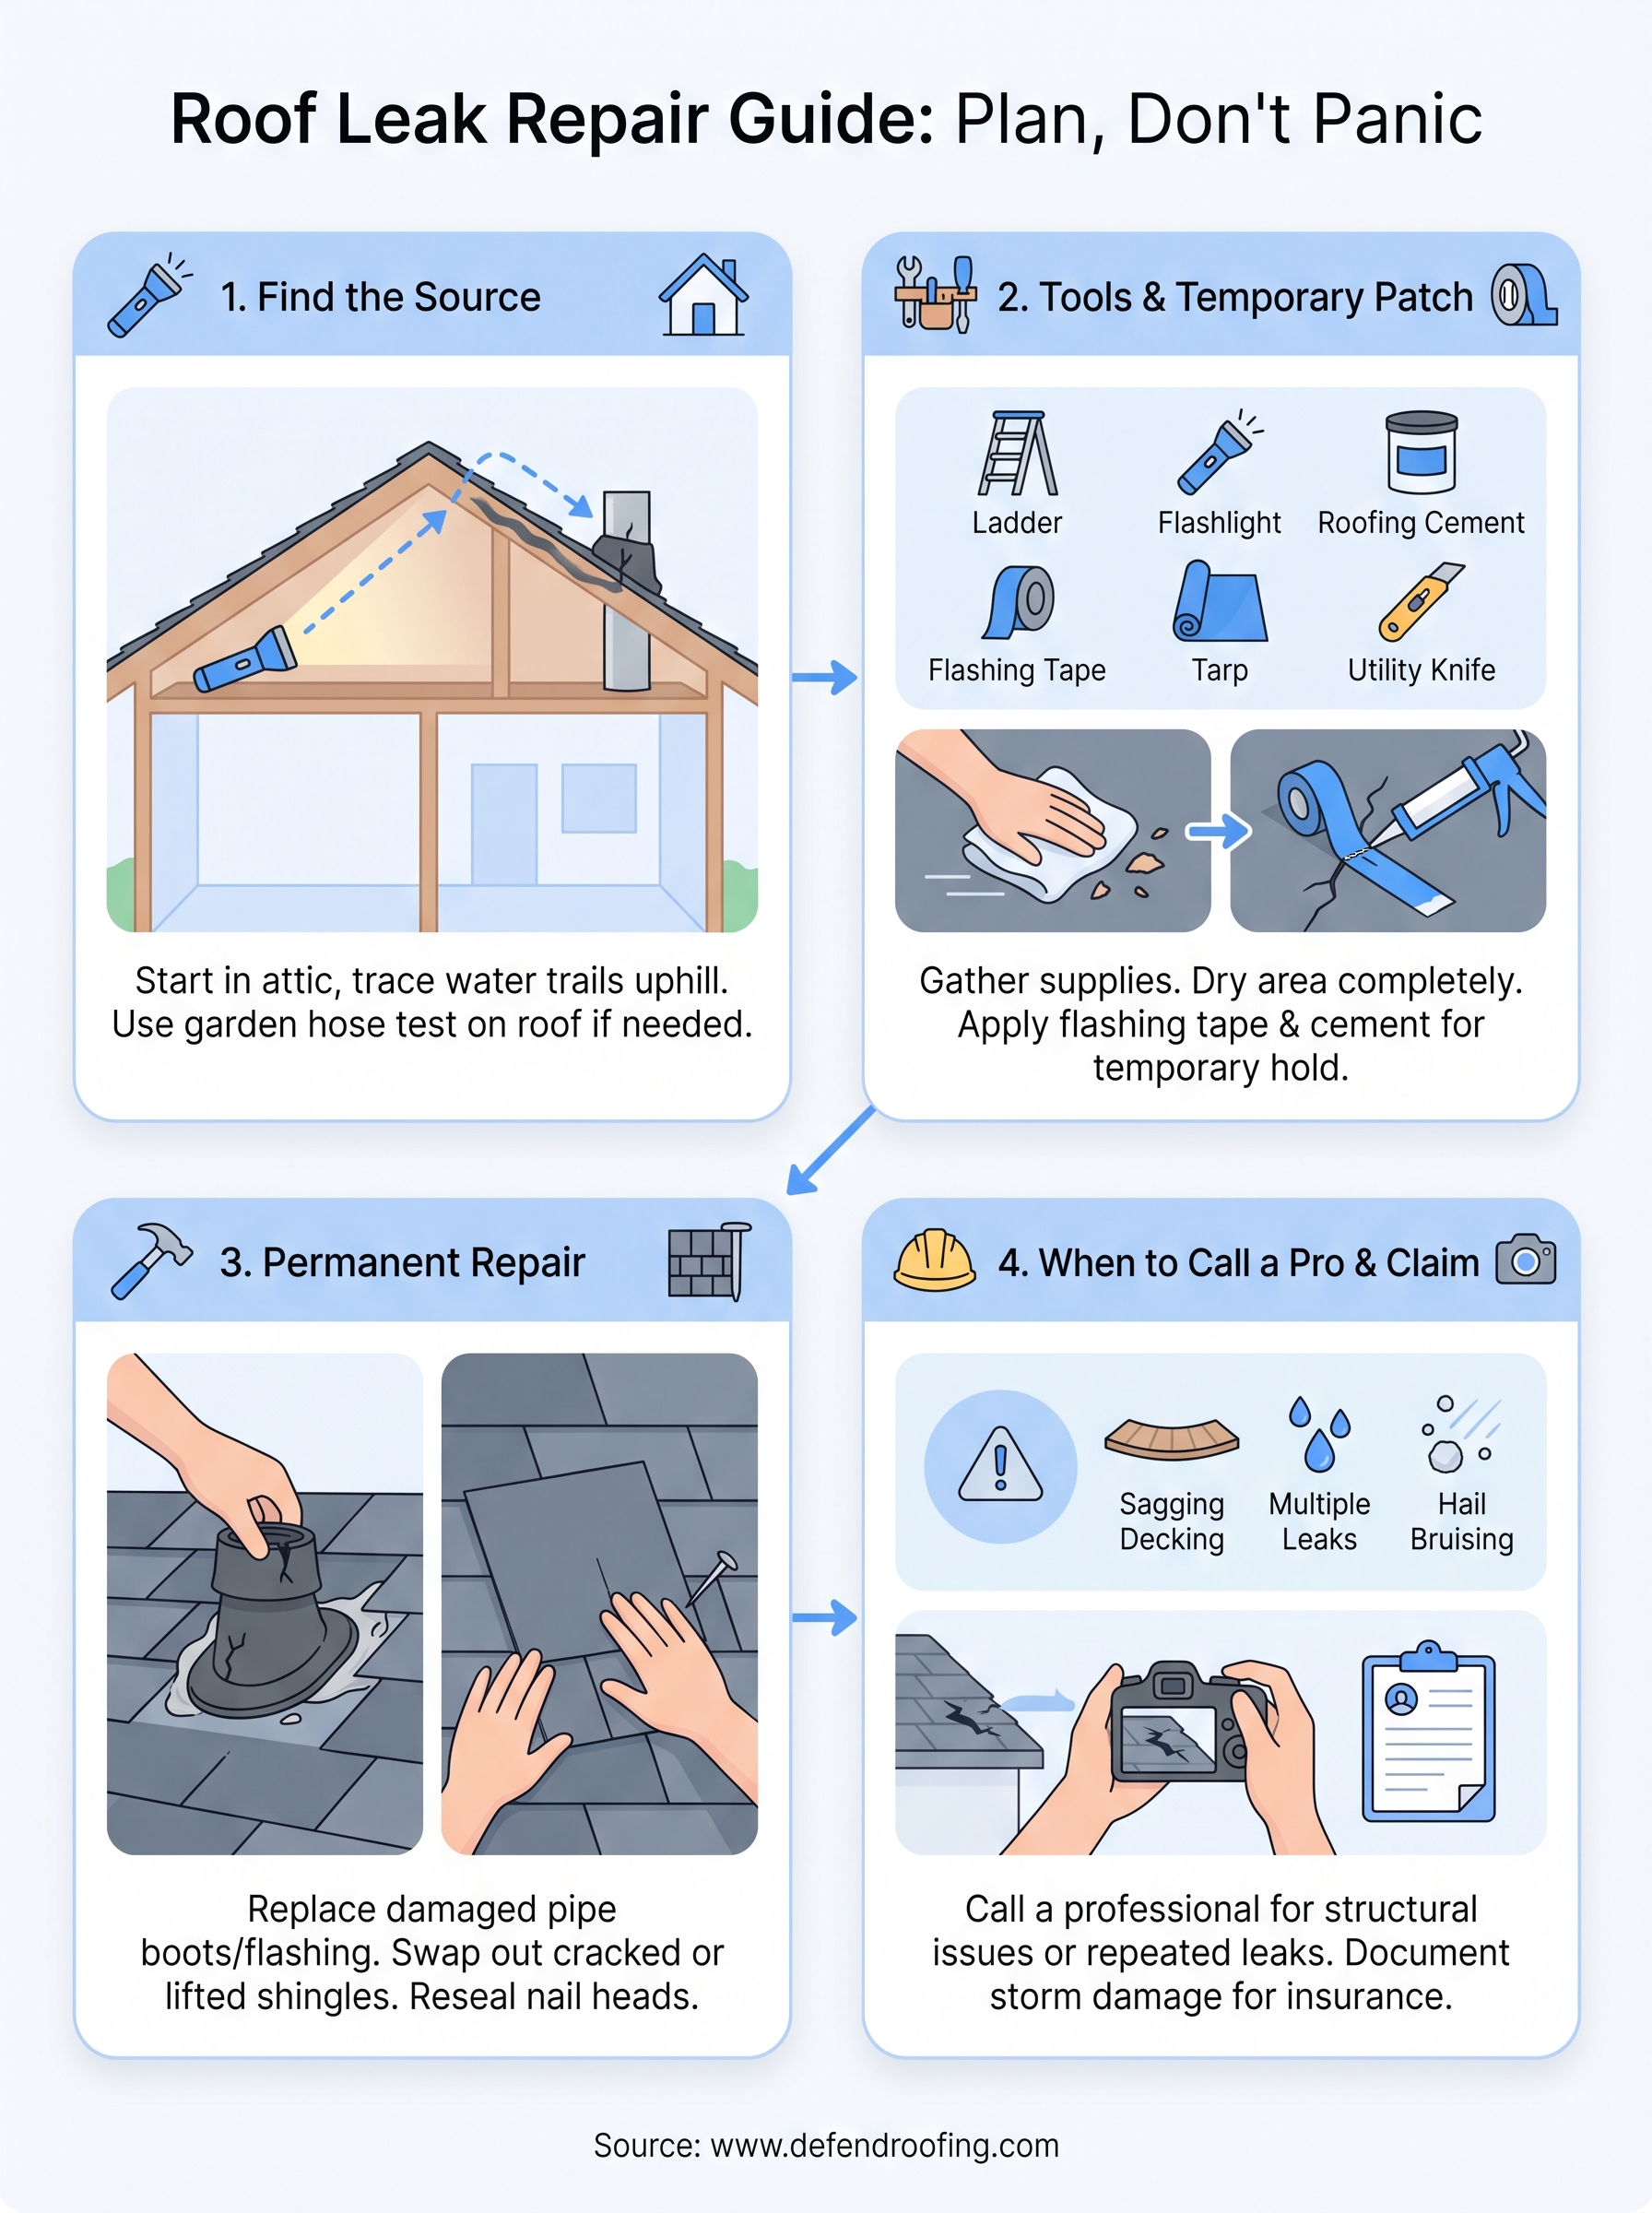
A leak you catch early and patch correctly rarely comes back. The steps above work for isolated damage: a cracked boot, a lifted shingle, a nail pop after a windstorm. But patches only buy time when the underlying roof is otherwise sound, and no amount of roofing cement fixes decking that's already rotted or a roof nearing the end of its service life. Annual inspections catch the small stuff before a Central Texas hailstorm turns it into a ceiling stain.
If you've worked through this guide and you're still chasing the same wet spot, or you're just not comfortable on a ladder in the first place, that's your answer. A thorough roof inspection from someone who documents every finding beats another round of guesswork. Chris and Greyson Buster have spent three generations doing exactly that for homeowners across Cedar Park, Leander, and the rest of Central Texas. Get a fast, honest quote from Defend Roofing before the next storm rolls through.