Learn step-by-step roof shingles repair: spot damage, remove and replace shingles, seal properly, plus when to call Defend Roofing for help.
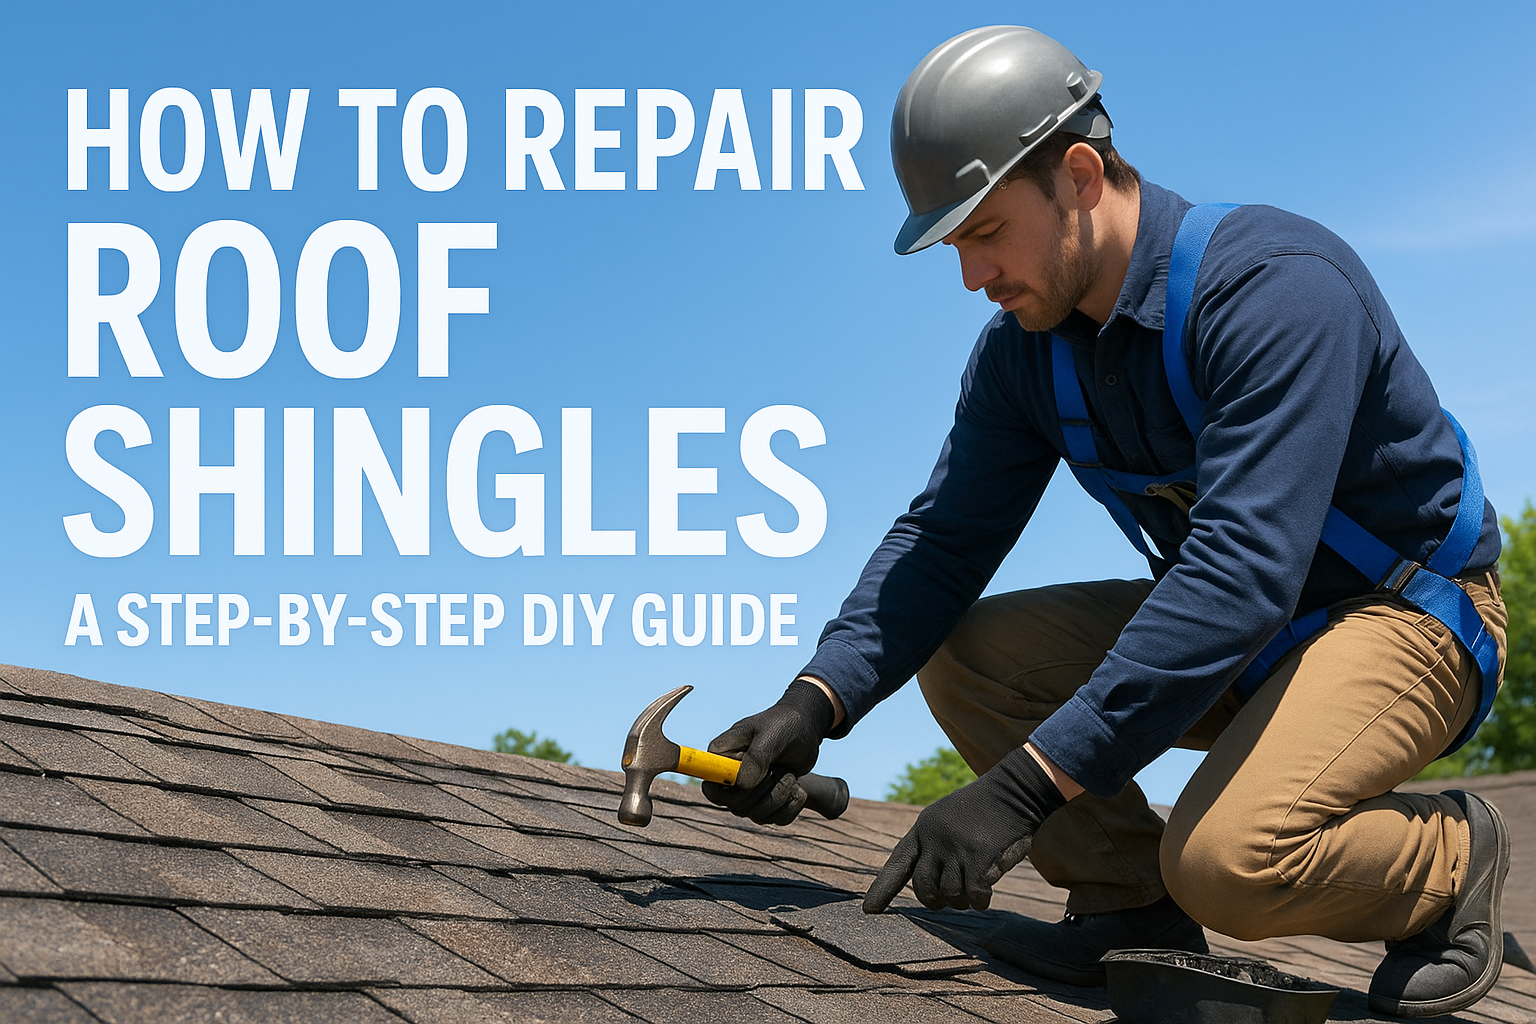
A cracked or missing shingle rarely stays a small problem in Central Texas. One good hailstorm or a stretch of 100-degree days and that minor gap turns into a water stain on your ceiling. If you're searching for roof shingles repair steps you can actually follow, you're probably staring at a damaged spot right now and wondering if this is a weekend project or a call-the-pros situation.
Here's the honest answer: many single-shingle repairs are doable if you're comfortable on a ladder and the damage is isolated. This guide walks through how to repair shingles on roof surfaces yourself, from spotting cracked or curling shingles to pulling nails, sliding in a replacement, and sealing the edges so it doesn't leak the next time it rains.
But we'll also flag the warning signs that mean shingle repair roof work isn't enough, like widespread granule loss, soft decking underneath, or storm damage that should go through your insurance claim instead of your toolbox. We've assessed thousands of Austin-area roofs and seen plenty of DIY patches done right, and just as many that caused bigger headaches. Follow these steps, and know when to stop.
Cracked or missing shingles often show up first when you walk your property line after a storm and look up before you climb up. Cracked shingles show hairline splits running with the grain, usually from hail impact or age. Curled edges mean the shingle is drying out and losing its seal, which lets wind get underneath. Bald patches where the granules have worn away expose the asphalt to UV damage, and you'll often find those granules pooled in your gutters or driveway after rain. Missing shingles leave a dark rectangular gap you can spot from the ground with binoculars, no ladder required for this first pass.
A shingle that's curling or losing granules today is a leak waiting for its next hard rain.
Don't stop at the shingles themselves. Check the flashing around chimneys and vents for gaps, and look inside your attic for daylight coming through the decking or dark water stains on the underside of the roof sheathing. Any of those point to a bigger issue than a simple roof shingle repair.
Before you touch a ladder, gather everything below. Running back to the hardware store mid-repair on a hot roof isn't fun.
Matching the shingle is worth the extra trip. A mismatched patch stands out from the street and can hurt resale value later. If your roof is more than 10 years old, bring a sample shingle to the store rather than guessing from memory, colors fade unevenly across a roof depending on sun exposure.
Check the weather forecast before you start. According to the National Weather Service, working on a wet or windy roof significantly increases fall risk, so pick a dry, calm morning and never work alone.
Start one row above the damaged shingle, not directly on it. Every shingle is held down by nails from the row above it, so you need to lift that upper row before you can pull the bad one free. Slide your pry bar under the tab and gently raise it enough to see the nail heads without cracking the shingle above, which is easy to do when the asphalt is cold or brittle.
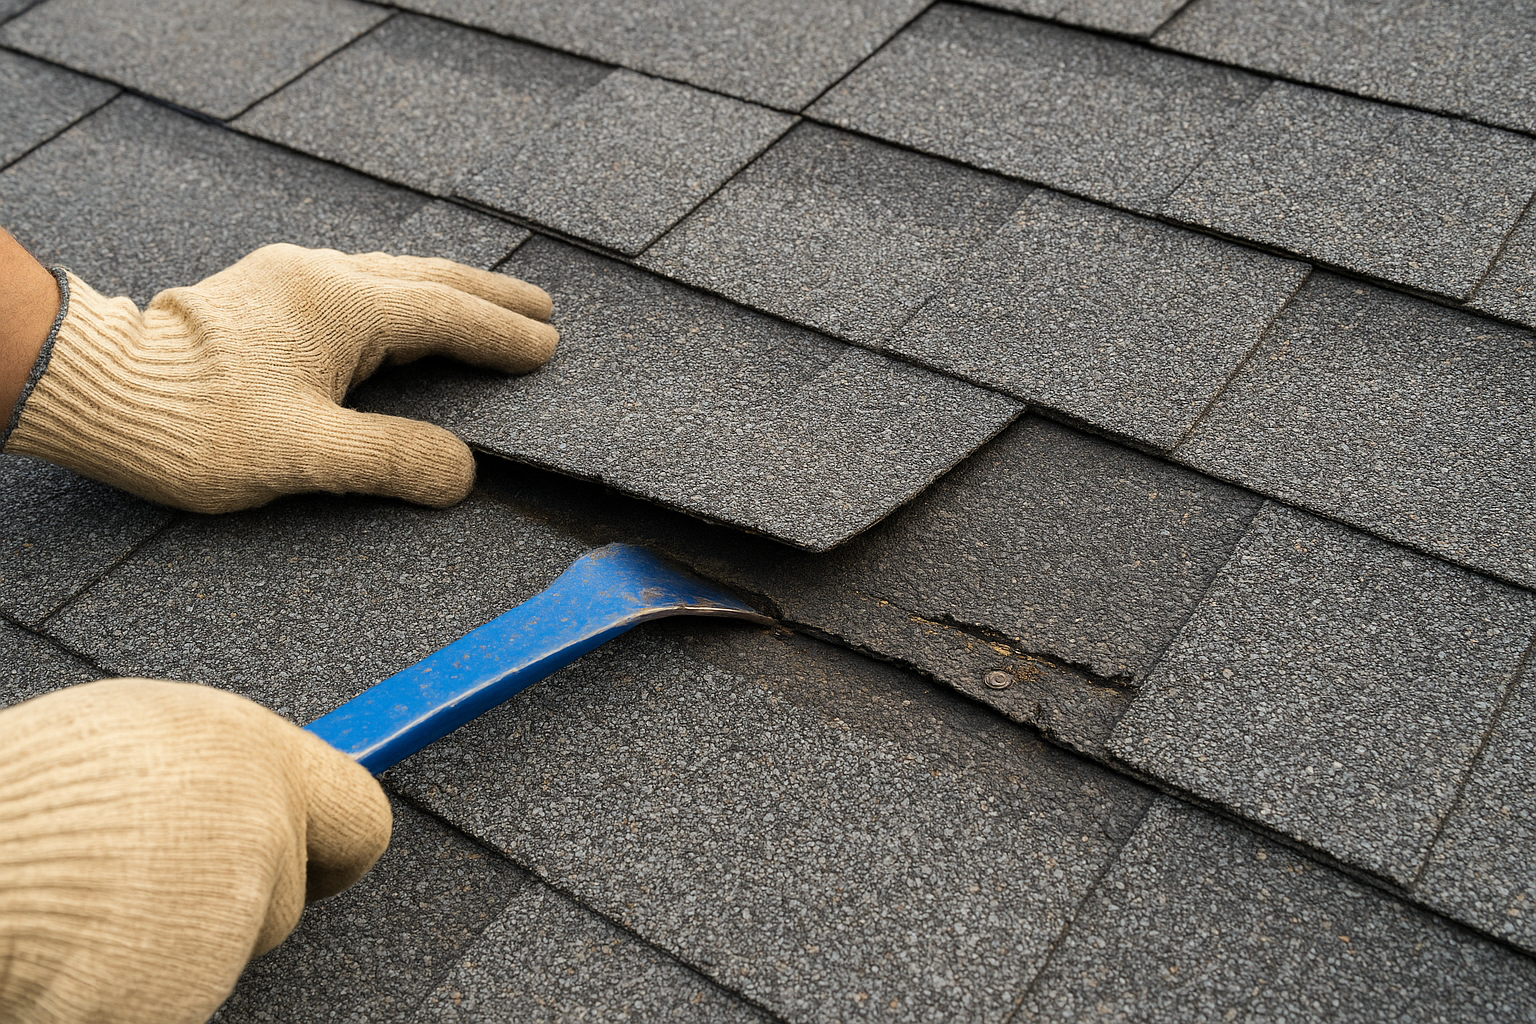
Break the seal strip first. Shingles are glued down along a factory adhesive strip, and yanking without breaking that bond tears the shingle instead of freeing it cleanly. Work the pry bar side to side under the tab, then slide it up to the nail line.
Pull the nails, not the shingle. Force a shingle out before the nails are free and you'll tear the ones around it too.
Once the seal is broken, find the nails, usually four per shingle, and slip the flat end of your pry bar under each head. Push down on the bar to pop the nail up, then pull it the rest of the way with the hammer's claw. Repeat for the row above if those nails also pin down the damaged piece. Save the old nails in your tarp so you're not stepping on loose metal later.
With the nails out, the damaged shingle should slide out from under the row above with a gentle pull. If it's stuck, check for a missed nail before forcing it, since cracked shingles get brittle and shatter if you're rough with them.
Slide the new shingle into the gap from the bottom edge, tucking it under the row above the same way the old one sat. Line up the tabs and cutouts with the shingles on either side so the pattern reads straight from the ground. If your roof shingle repair is on an older roof, expect a slight color mismatch, that's normal and fades within a season as the new shingle weathers.
Align the nail line before you drive anything. Most shingles have a printed adhesive strip or embossed line showing exactly where the manufacturer wants nails placed, usually about an inch above the cutouts. Nailing too high or too low weakens the wind rating and can let the tab flap loose later.
Get the nail placement right and the shingle holds through the next windstorm. Get it wrong and you're back on the roof in a year.
Drive four galvanized roofing nails through the marked line, one near each edge and two spaced evenly across the middle. Keep the hammer strikes flush, a nail head sunk too deep tears the mat, while one left proud will puncture the shingle above it. Then lift the tabs of the row above just enough to slide their nails back through the original holes if you disturbed them during removal, and set those nails too. This is also a good moment to double check that the new shingle repair roof patch sits flat against the decking with no bowing or gaps underneath, since a shingle that doesn't lie flat won't seal properly no matter how much cement you add later.
Once the nails are set, run a bead of roofing cement under each tab edge and press down firmly so the shingle bonds to the one beneath it. This step matters more in Central Texas heat than most people realize, since the factory adhesive strip needs sun exposure to fully activate, and a fresh roof shingle repair done in cooler months might not seal itself for weeks without a manual assist.
Apply cement sparingly along the edges and corners where wind can catch a loose tab, about a quarter-sized dab per spot. Too much cement traps moisture underneath and attracts dirt, which looks worse than the mismatch you were trying to hide in the first place.
A shingle that's nailed but not sealed is still an open invitation for wind to peel it back.
Check the row above one more time. If you lifted those tabs during removal, make sure they're pressed flat and sealed too, not just resting on top of the nail heads. Smooth the cement with a putty knife or gloved finger so rain sheds off instead of pooling against the seam.
Give the repair a gentle push test from a few angles once you're done. Secure the repair so nothing flexes or lifts under hand pressure, then let it cure for a full day before the next expected rain if your forecast allows it.
Not every damaged shingle needs a full swap. If the shingle is curled but not cracked through, you can often flatten it back down without replacing anything. Warm the shingle first, either with a hair dryer on low heat or by working on a warm afternoon, since cold asphalt cracks instead of bending. This is the fastest form of roof shingles replacement you'll do all day, and it takes minutes per tab.
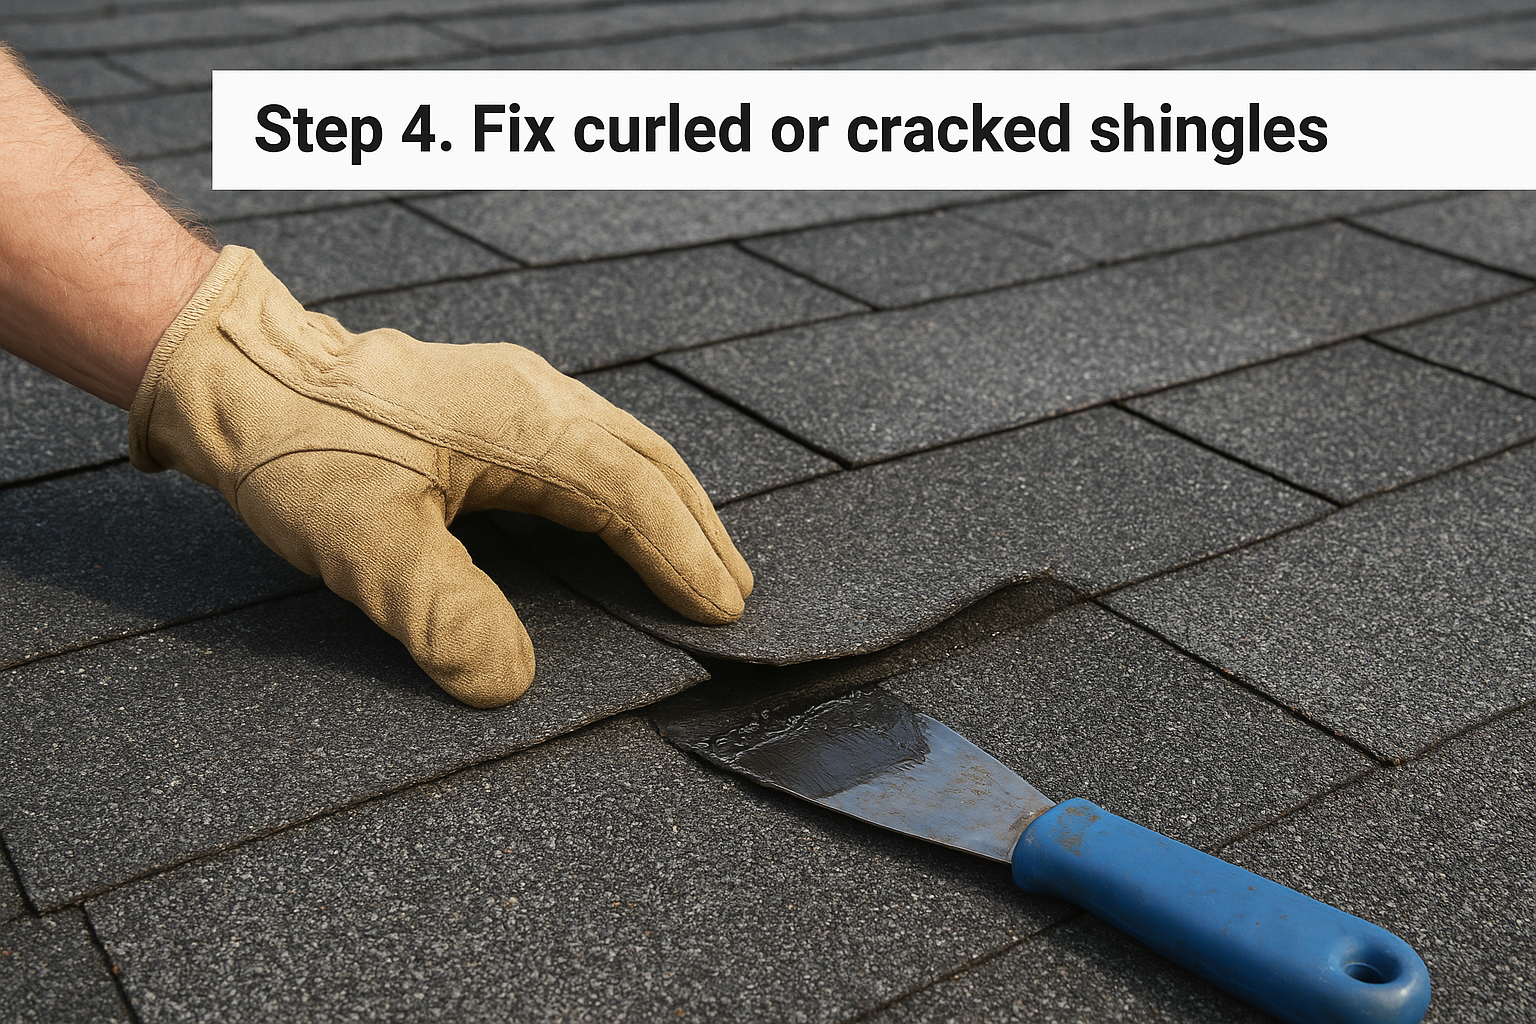
Press the curled corner flat with your gloved hand once it's warmed, then run a bead of roofing cement underneath before you let go. Hold it down with a brick or sandbag for an hour while the cement grabs. For hairline cracks that don't go all the way through the shingle, skip removal entirely and seal the crack directly with cement, feathering it out an inch past the split on both sides so water can't find the edge.
A curled shingle you catch early costs five minutes. Ignored, it costs a new roof deck.
Spread cement with a putty knife rather than pouring it, a thin even layer sheds water better than a thick blob that cracks in the sun. If a shingle is brittle enough to snap when you press on it, stop trying to save it and replace it using Steps 1 through 3 instead, patched brittle asphalt rarely lasts through a full Texas summer.
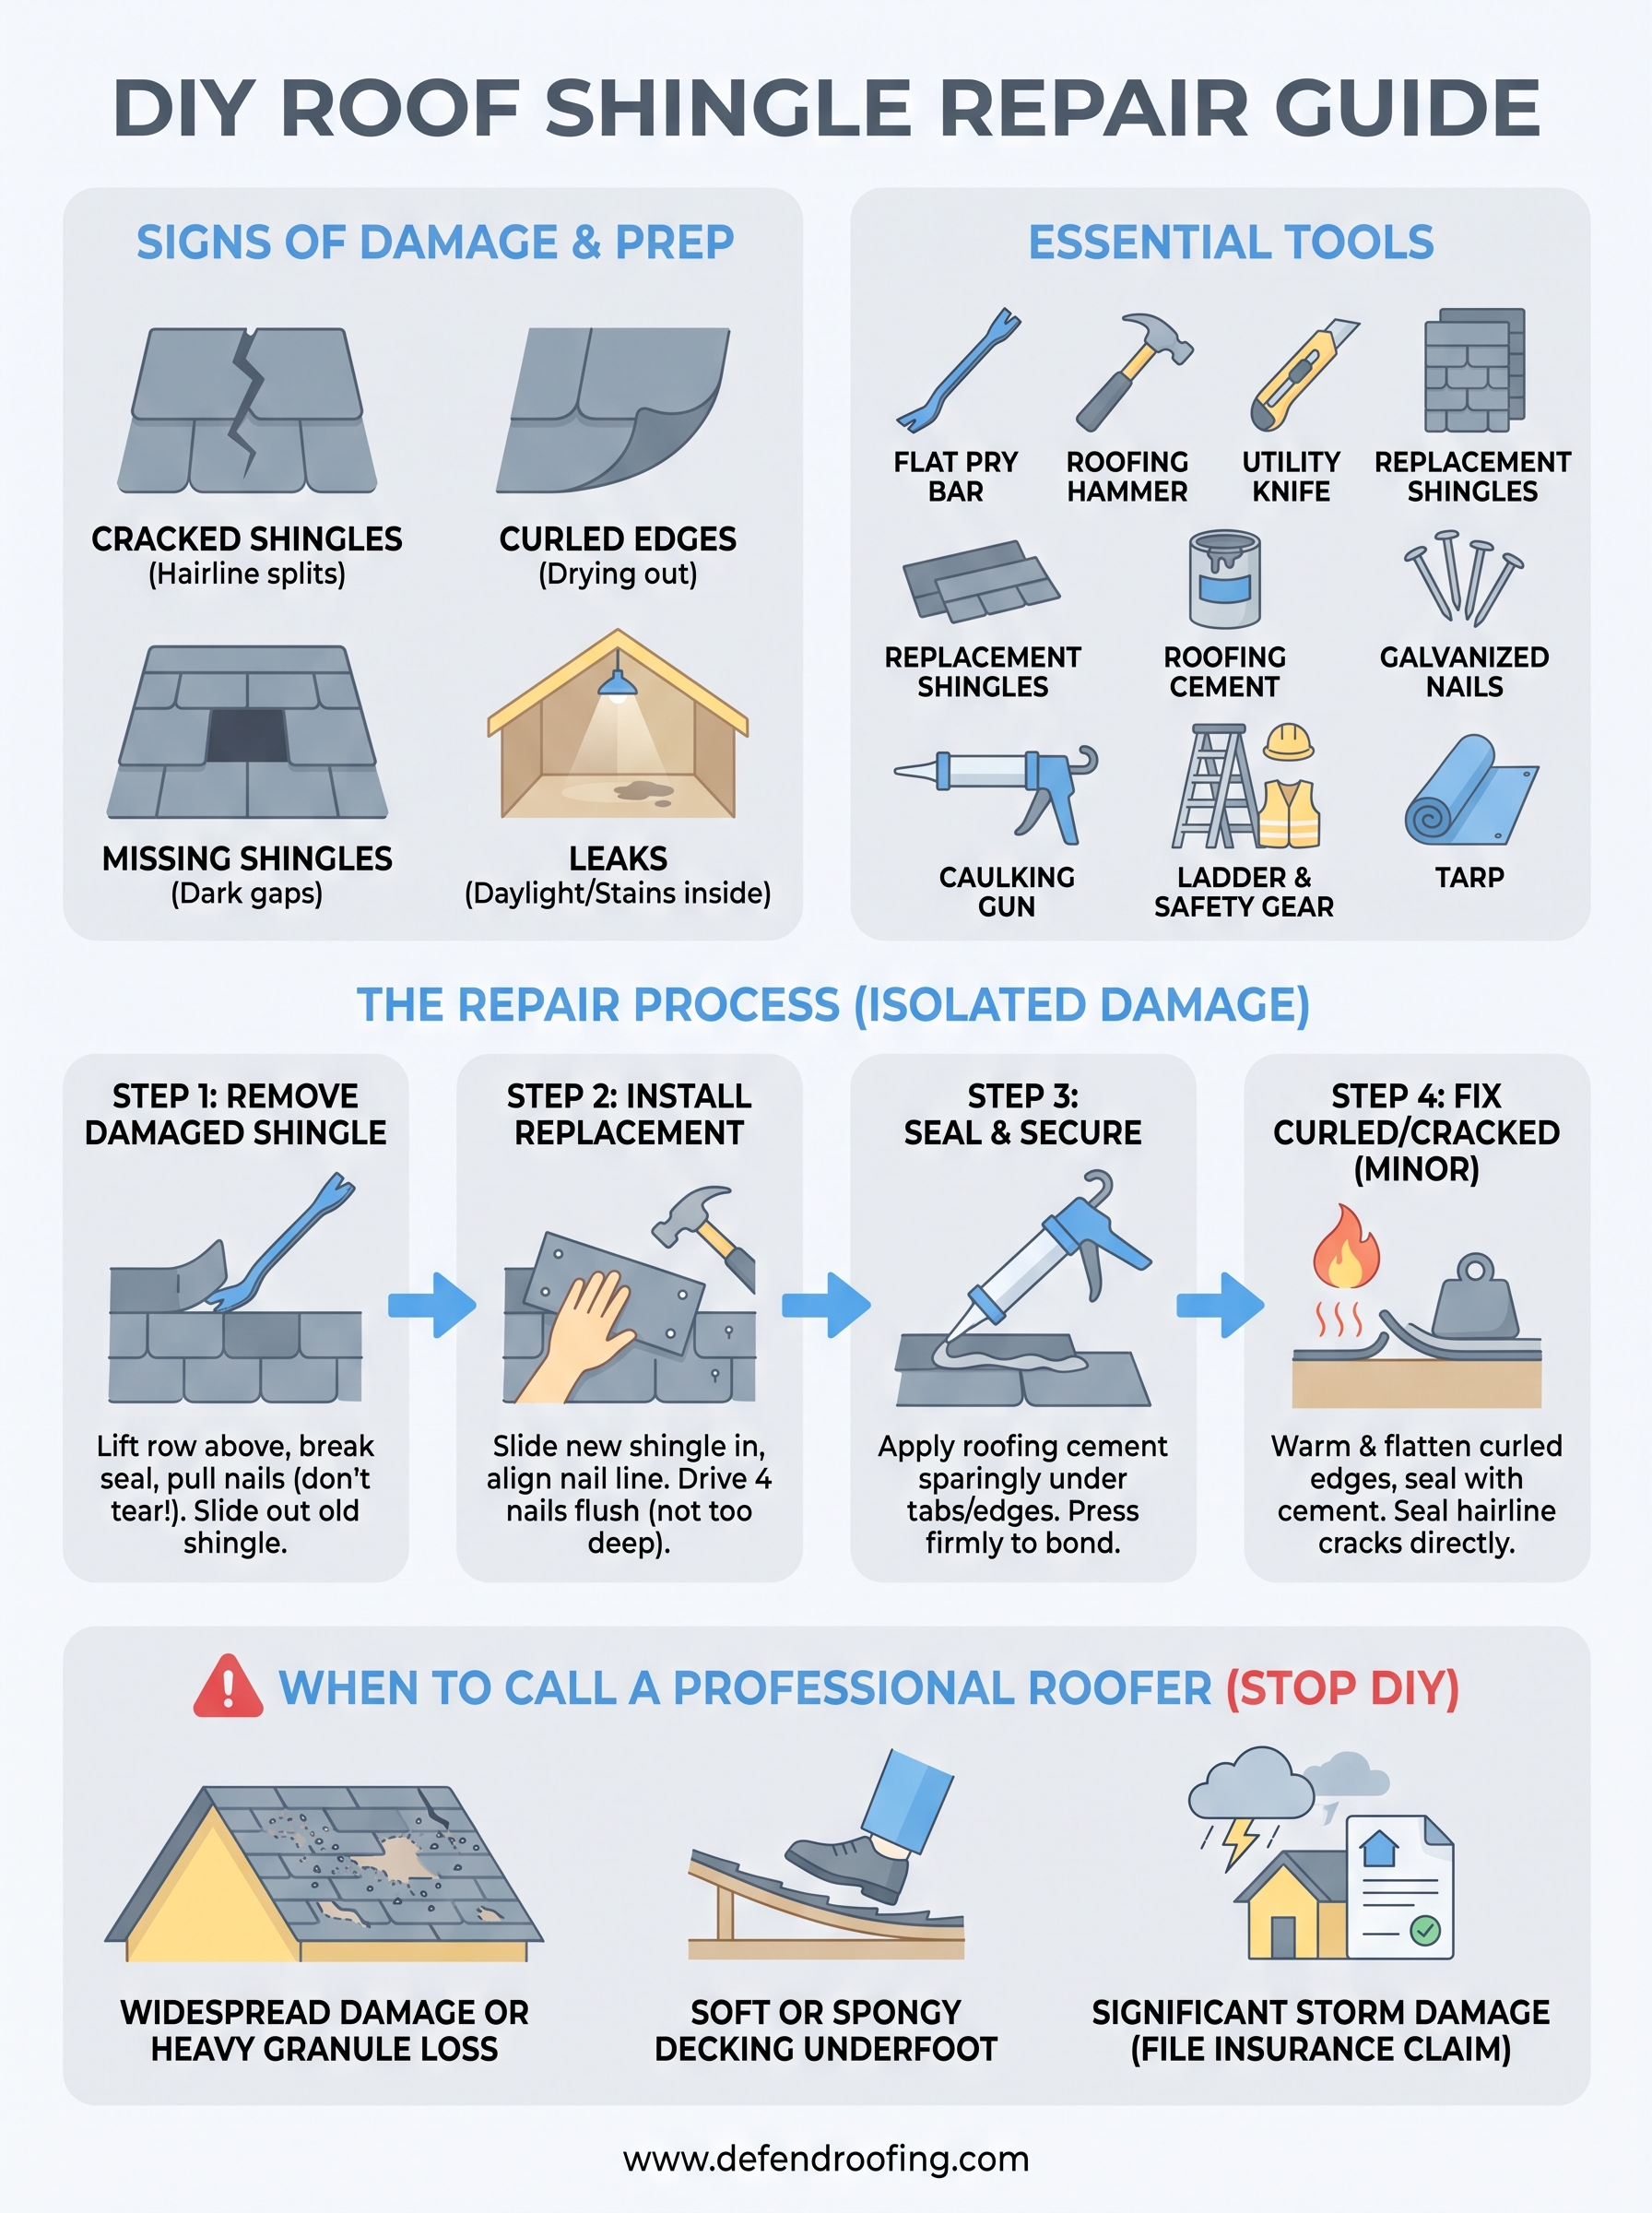
Some damage isn't a weekend fix. If you find soft or spongy decking underfoot, multiple missing shingles across different sections, or widespread granule loss or cracking so heavy it looks like your roof is balding, stop the DIY approach and get a professional assessment. Widespread storm damage almost always belongs on an insurance claim rather than a patch job, since a documented inspection protects you if problems show up months later.
Getting comfortable with basic roof shingle repair is a useful skill for isolated damage, but a roof covering an entire house involves risk that outweighs the savings once the problem spreads past a shingle or two. Trust your gut here. If you're unsure whether what you're looking at is a quick fix or the start of something bigger, a second set of eyes costs you nothing and saves you guessing.
Defend Roofing has assessed thousands of Central Texas roofs with the same documented, no-pressure approach we described above. If your damage looks like more than a DIY afternoon, reach out for an instant online quote before the next storm makes the decision for you.