Learn how to repair roof damage step by step, from tracing leaks to tarping and permanent fixes, plus when to call Defend Roofing's pros.
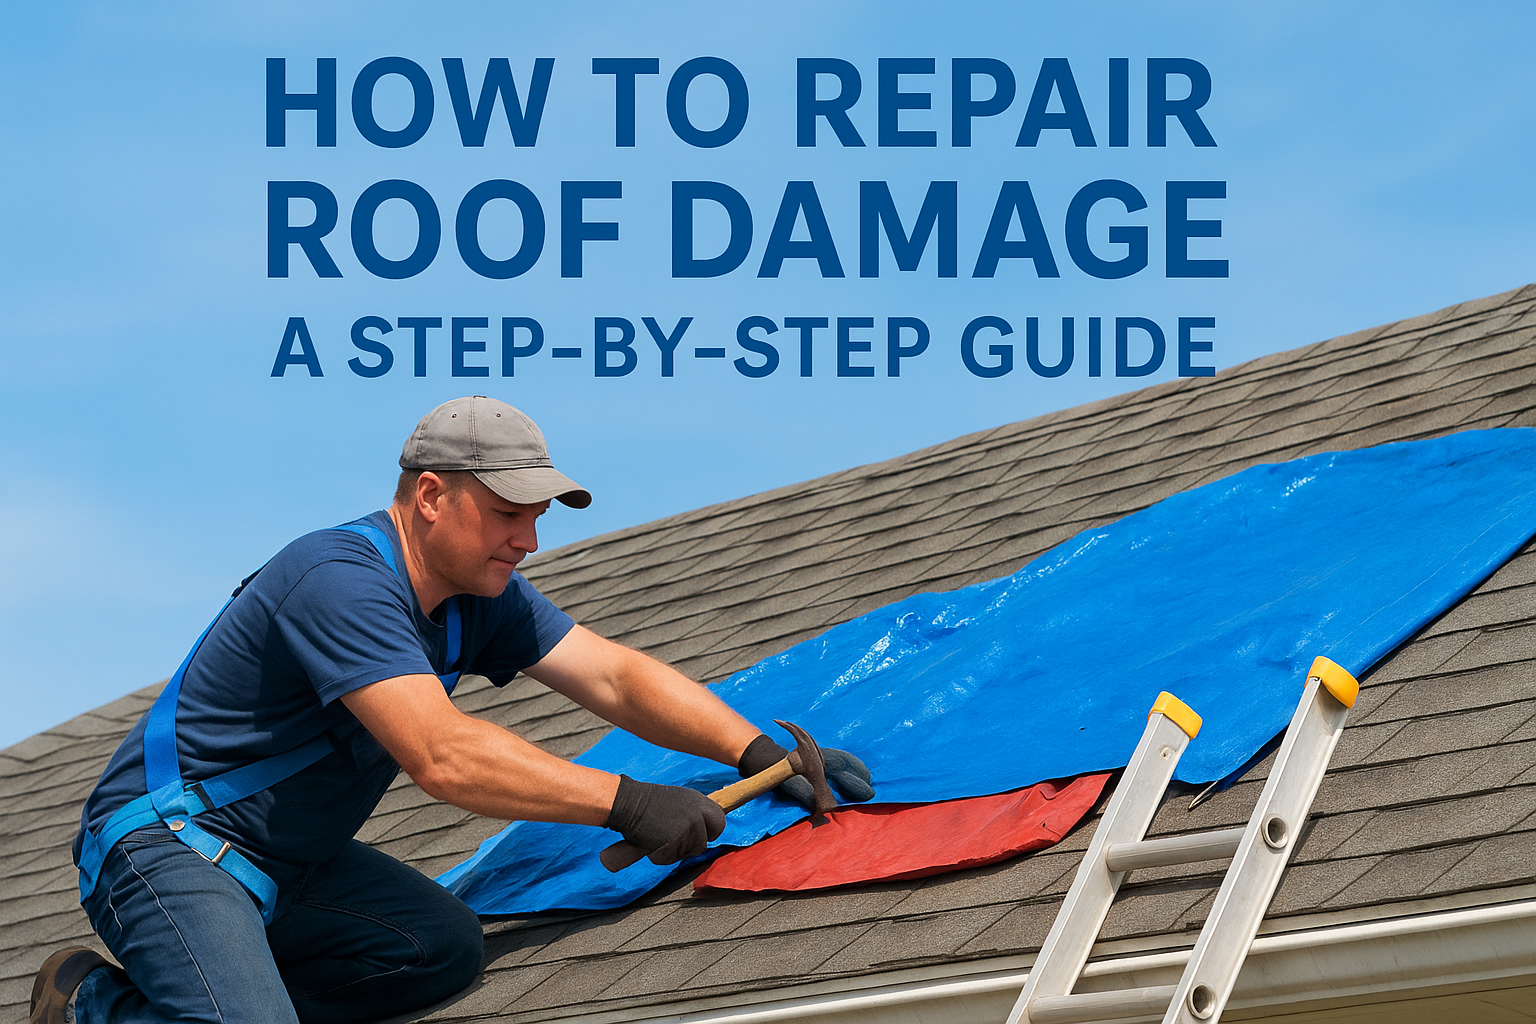
A water stain on your ceiling or a missing shingle after a storm rolls through Central Texas is never a good sign. You need to know how to repair roof damage before a small leak turns into rotted decking or a mold problem inside your attic, and you need to know it fast, before the next rain hits Cedar Park, Leander, or Steiner Ranch.
This guide walks you through exactly how to assess the damage, what repairs a homeowner can reasonably handle, and when a problem is serious enough that you need a licensed roofer on your roof instead of a ladder from your garage. We'll cover the warning signs, the tools involved, and the safety limits that matter more than saving a weekend.
You'll also learn how to tell the difference between a quick patch job and damage that points to a bigger issue, like storm-related structural harm that could involve an insurance claim. Chris and Greyson Buster have spent three generations combined fixing roofs across Austin, and this step-by-step breakdown reflects what they actually look for on a roof inspection before recommending repair or replacement.
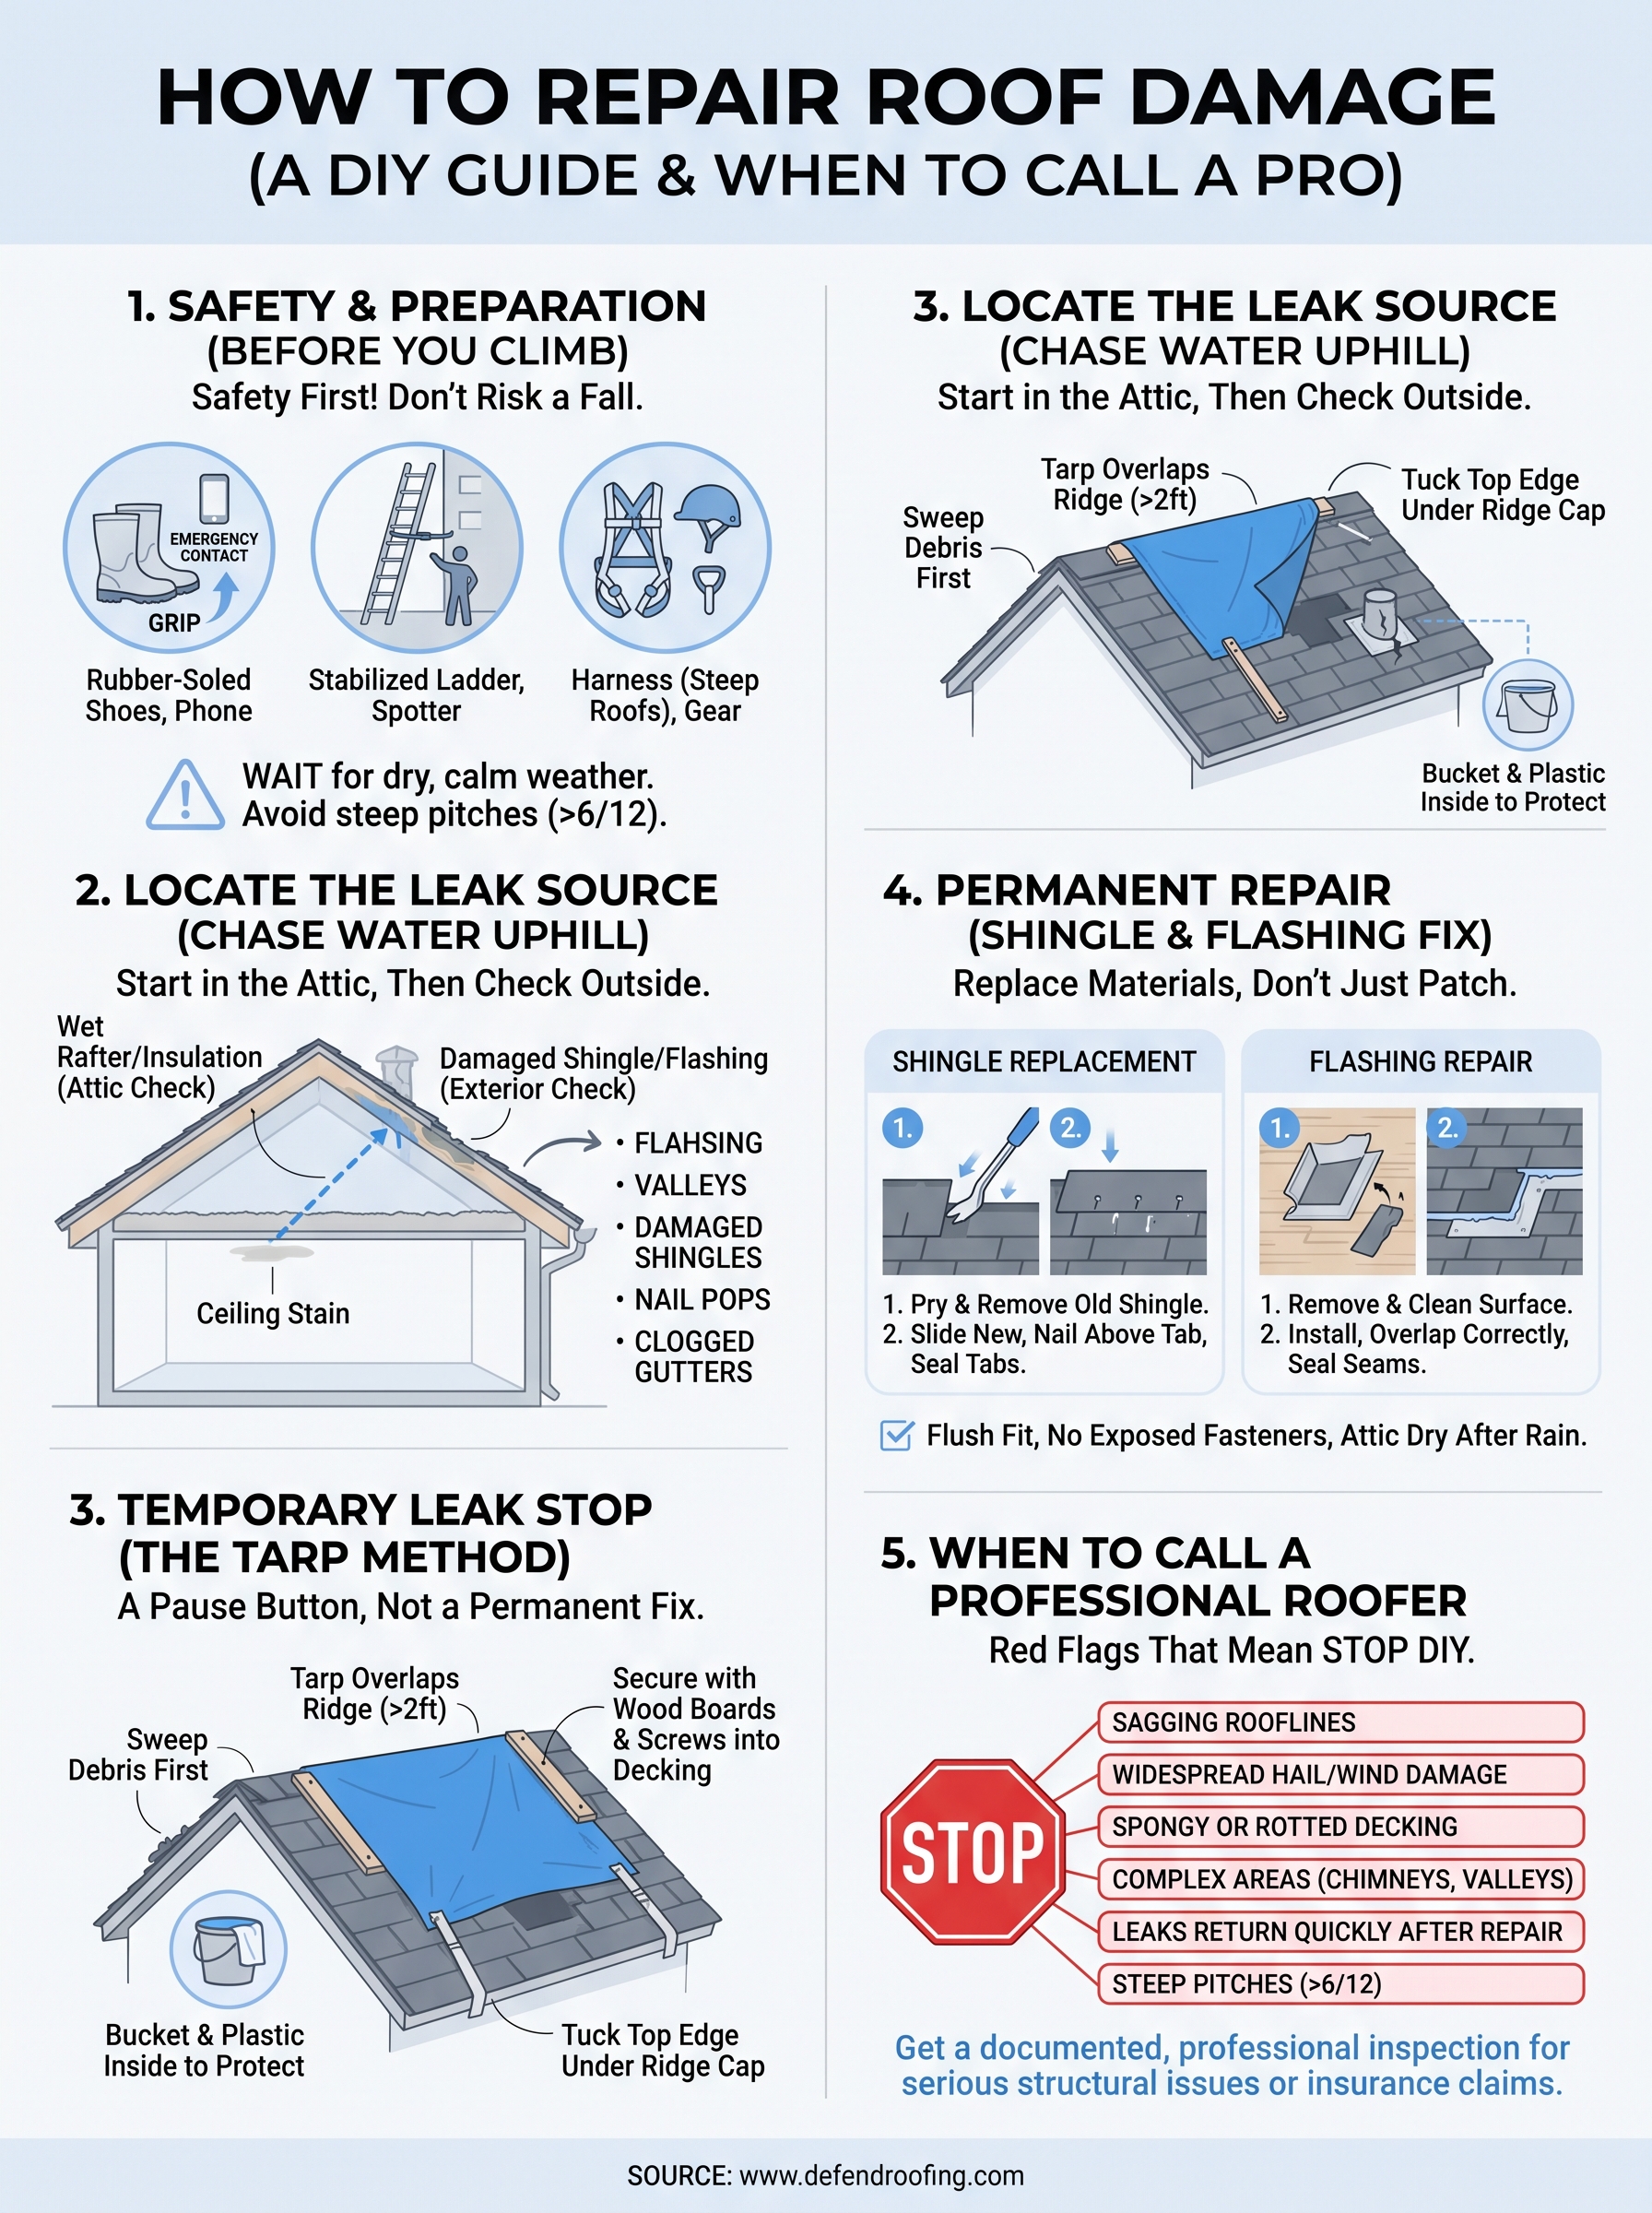
Before you climb anything, get honest about the weather and the pitch of your roof. Central Texas storms roll in fast, and a wet roof combined with a steep slope is how homeowners end up in the emergency room instead of fixing a leak. Wait for a dry, calm day, check the roof pitch from the ground first, and if it's steeper than a 6/12 slope (about a 27-degree angle), plan to hire someone rather than walk it yourself. The National Institute for Occupational Safety and Health tracks hundreds of fatal falls from roofs every year, and most of them involve homeowners who thought a quick fix wasn't worth the harness.
A roof repair that sends you to urgent care was never actually a savings.
Grab this gear before you touch a single shingle. Rubber-soled shoes grip granules far better than sneakers, and a stabilized ladder with someone spotting you at the base isn't optional, it's the difference between a patched roof and a broken wrist.

What you buy depends entirely on what's damaged. A single lifted shingle needs almost nothing; a flashing repair or a hole in the decking needs a real supply run. Here's a quick reference so you're not making three trips to the hardware store:
| Damage type | Materials needed |
|---|---|
| Lifted or cracked shingle | Roofing cement, pry bar, replacement shingle |
| Small puncture or crack | Roofing sealant, trowel, wire brush |
| Damaged flashing | Flashing sealant, replacement flashing, tin snips |
| Active leak (temporary) | Roofing tarp, wood boards, nails or screws |
Carry everything up in a bucket you can hook over the ladder rung, not in your hands. If you're already unsure whether your ladder, your roof pitch, or the extent of the damage puts you out of DIY territory, that's worth noting now, because it comes up again once you actually see what's causing the leak.
Finding the leak's origin is the whole game, and it's rarely where the stain shows up inside. Water travels along rafters and decking before it drips through drywall, so a stain in your hallway might trace back to a cracked vent boot fifteen feet uphill, which is one of the usual reasons a roof starts leaking. Start your search on a dry day, at least 24 hours after rain, so you're not chasing an active drip while standing in it.
Chase the water uphill, not the stain on your ceiling.
Grab a flashlight and head into the attic before you ever touch a ladder outside. Look for dark streaks on the rafters, damp insulation, or daylight coming through the decking, that's your fastest clue when you're hunting down a roof leak in 7 steps. Trace the moisture path upward toward the roofline, since water almost always enters higher than where it eventually shows up.
Once you know the general area, get eyes on the exterior. Storm damage in Central Texas tends to cluster around a handful of spots, so work through them in order:
Hail dents and wind-lifted shingles are easy to miss from the ground, so use binoculars and learn the clear signs of hail damage on a roof before you decide the roof needs a closer look in person.
Once you've found the source, stop the water before you worry about a permanent fix. A roofing tarp stretched over the damaged section and secured with wood boards nailed through the tarp into the decking will buy you days, sometimes weeks, without letting more water into your attic, and it's the core of any short-term patch that holds until a roofer arrives. Anchor the tarp so it extends past the ridge line and drapes down both sides, since wind-driven rain in Central Texas rarely falls straight down.
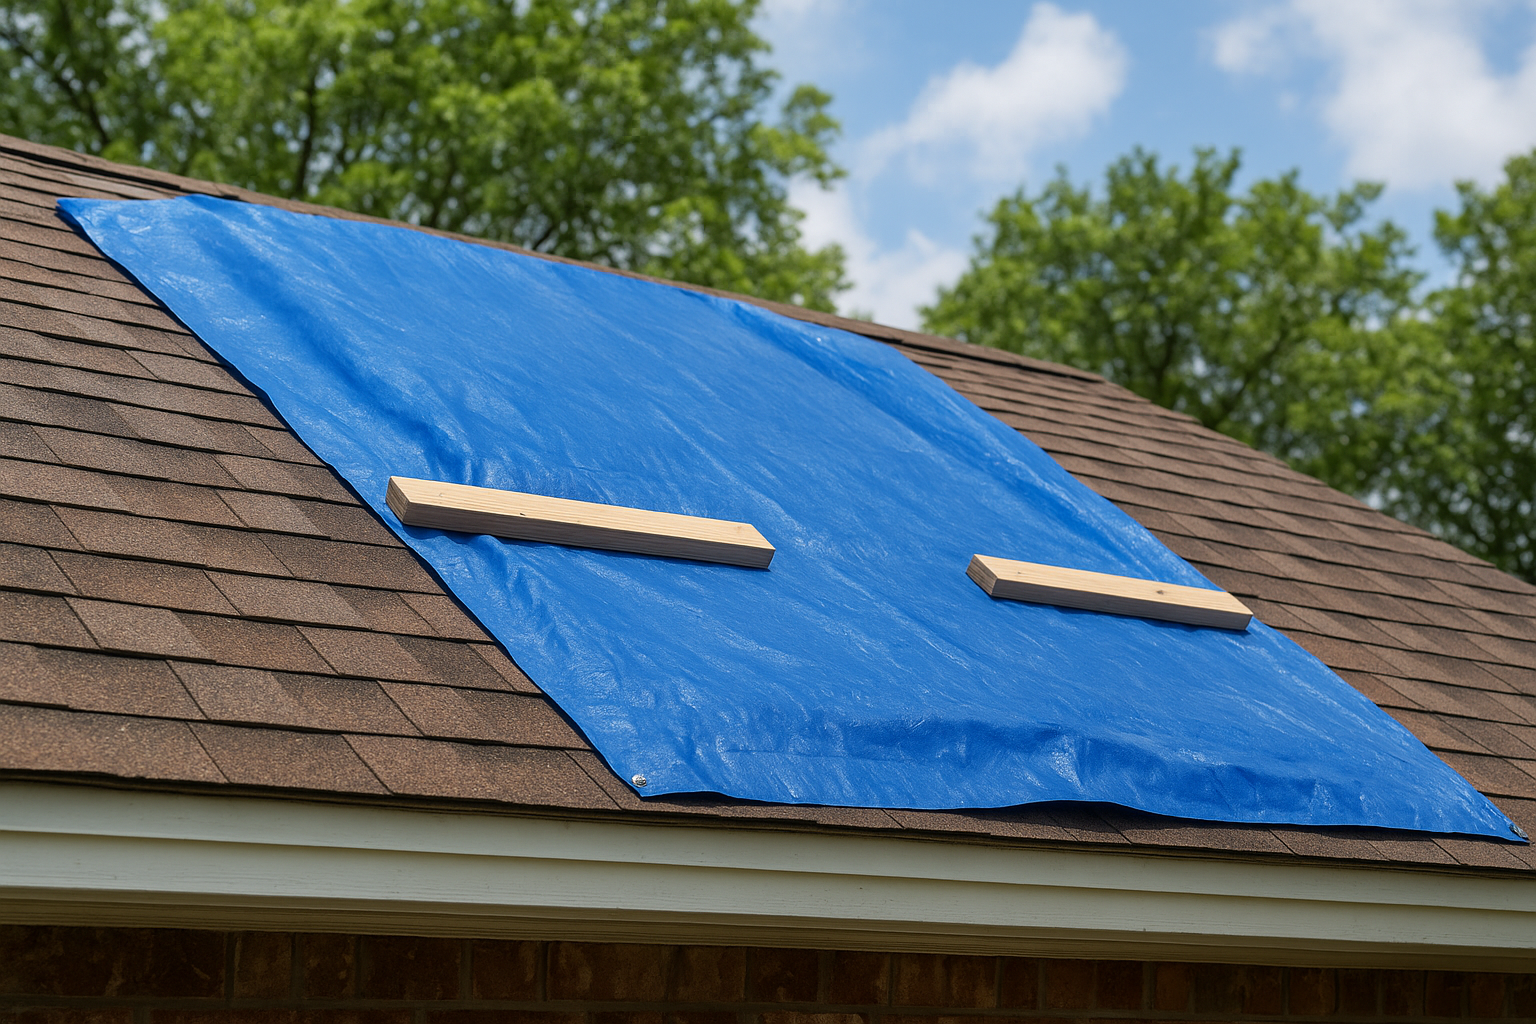
A tarp isn't a repair, it's a pause button on further damage.
Securing the patch correctly matters more than doing it fast. Follow this order so the tarp actually holds through the next storm:
Inside, a bucket and plastic sheeting under the leak point protects your ceiling and flooring while the tarp does its job outside. Small punctures or hairline cracks can sometimes take roofing sealant applied with a putty knife instead of a full tarp, but treat that as a stopgap too. None of this replaces a proper roof leak repair, from finding it to patching it, and every day you wait is another day water works into the decking, so schedule the permanent fix before you forget the tarp is even up there.
With the leak stopped, it's time to swap the tarp for an actual shingle replacement or flashing fix, the kind that holds through a full Texas summer of heat and hail. Pull the damaged shingle free with a pry bar, working the nails loose without tearing the shingles above it, then slide the new shingle into place and nail it above the tab line so the fasteners stay covered, exactly as the DIY guide to repairing roof shingles lays out. Run a bead of roofing cement under the tabs to lock everything down against wind uplift, which is the same failure point that caused most storm damage in the first place.
A permanent repair matches the materials and the technique the original roof used, not just the color.
Flashing repairs follow a similar logic. Pull the old flashing, clean the surface down to bare decking, and set the new piece so it slides under the shingle course above and over the course below, sealed with flashing cement at every seam. Skipping that overlap order is the single most common mistake homeowners make, and it's why so many "fixed" leaks come back within a year.
Before you call it done, run through this checklist:
Give it one more inspection a week later. A roof repair that still looks tight after a real storm is the only proof that it actually worked.
Knowing your limits matters more than finishing the job yourself. Some damage looks minor from the ground but signals a structural problem that no tarp or shingle swap will fix, and at that point you're really weighing a repair against a new roof instead of delaying a bigger bill. Storm damage that spans multiple roof planes, soft or spongy decking underfoot, or daylight visible through more than one spot in the attic all mean it's time to stop climbing and start calling.
If you're patching the same spot twice in one season, the roof is telling you it needs more than a patch.
Work through this list honestly before you climb back up:
Once you check even one of those boxes, a proper roof inspection beats guessing. A trained eye catches hidden moisture, failing fasteners, and granule loss that homeowners routinely miss from a ladder. Defend Roofing runs a 100+ photo Precision Roof Assessment on every visit, so you get documented evidence of what's actually wrong before anyone talks repair versus replacement, and that photo proof an insurance claim actually requires becomes critical if you're heading into a storm damage claim. Schedule a free roof inspection before small damage turns into a decking replacement you could've avoided.
Most roof damage doesn't start big. A lifted shingle or a cracked vent boot sits unnoticed for months until a storm finds the weak spot and turns it into a ceiling stain. Walking your roofline twice a year, after the worst summer heat and again before winter, following a seasonal roof maintenance checklist for Austin homes, catches those small problems while they're still a weekend fix instead of a rebuild. Pair that habit with the checklist from Step 4, and you'll know quickly whether you're looking at a patch job or a call to a licensed roofer.
Getting comfortable with basic roof repair saves you money on the small stuff, but it also teaches you what a healthy roof should look like, so you notice the moment something's off. When you spot damage that goes past a shingle swap, don't wait for the next storm to make the decision for you. Call, text, or get an instant online quote from Defend Roofing for a straight answer on what your roof actually needs.




