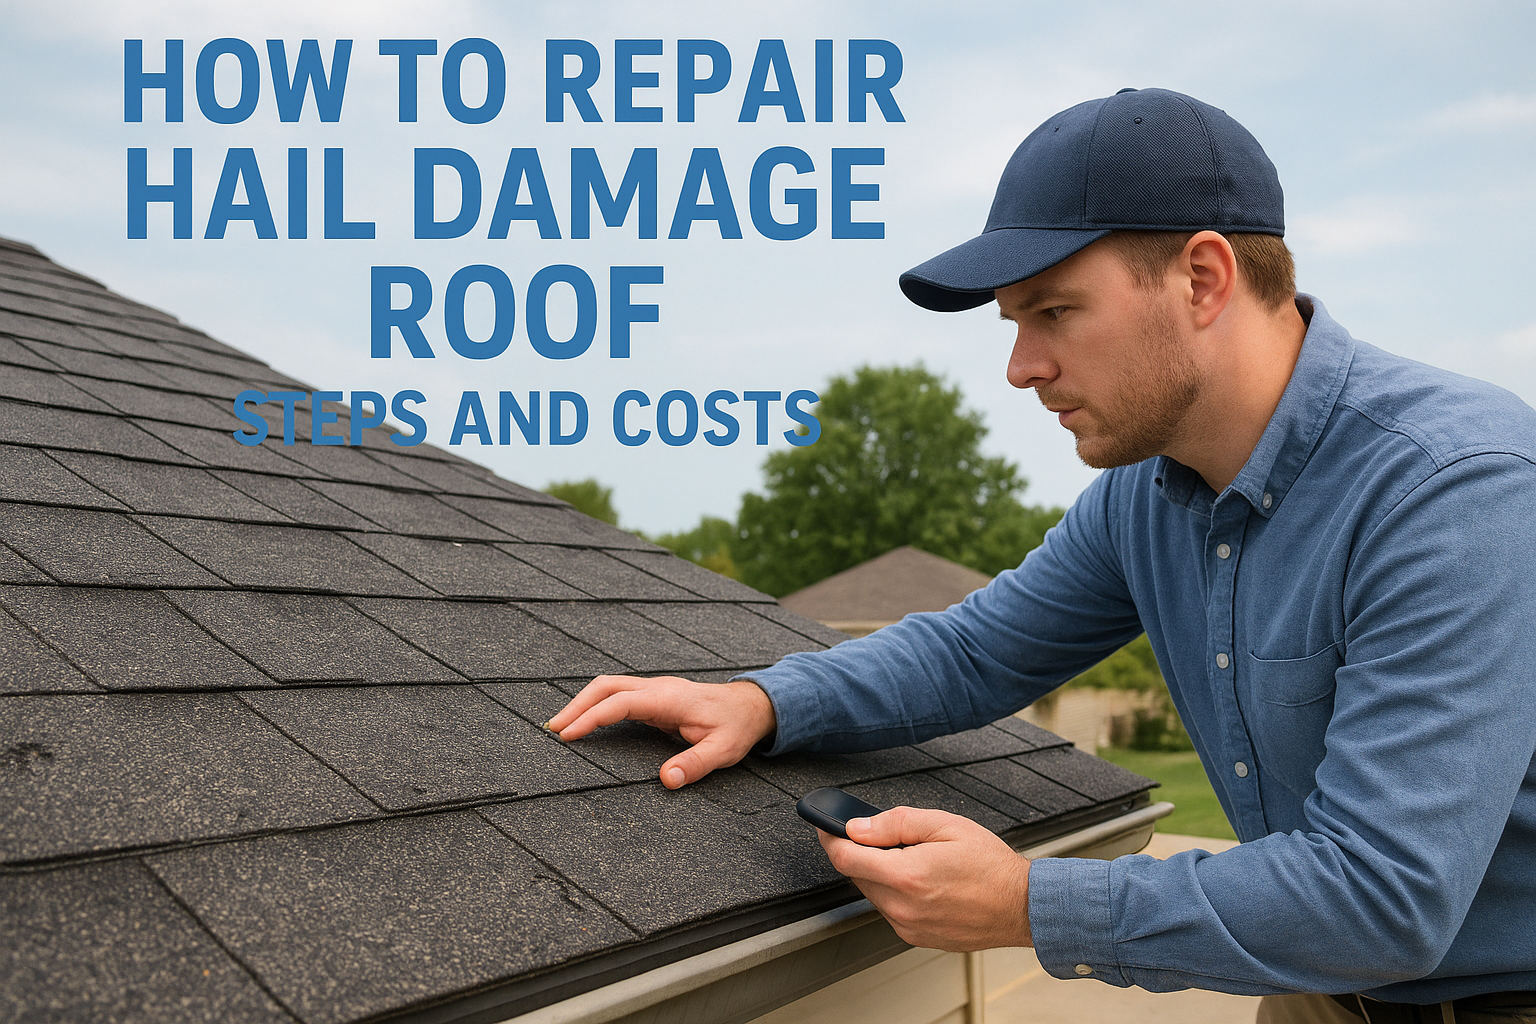
Learn how to repair metal roof leak issues step by step, find leaks, fix fasteners, seal seams, and patch holes before calling a Central Texas pro.

A metal roof leak rarely shows up where the water actually entered. It travels along ribs and fastener lines, then drips somewhere in your attic that has nothing to do with the hole itself. If you're standing on a ladder trying to figure out where to even start, you're not alone, and this guide will walk you through it. Homeowners across Cedar Park, Leander, and the rest of Central Texas deal with this after every hailstorm and windy spring.
If you want to repair metal roof leak damage yourself, the process comes down to four steps: find the true entry point, clean the area, apply the right sealant or patch, and check your work during the next rain. Steel roof leak repair almost always fails when someone skips the cleaning step or uses the wrong sealant for exposed fasteners versus seam leaks.
Below, we break down how to trace a leak back to its source, the materials that actually hold up on Texas roofs, and when a tin roof leak stops being a weekend fix and starts being a sign of bigger problems. We'll also flag the situations where climbing up there yourself isn't worth the risk, based on what we see every week on real roofs around Austin.
Metal roofing lasts decades, but on both standing seam and corrugated panels, every seam, screw, and panel overlap is a potential entry point for water. Most leaks trace back to a handful of causes, and what makes a roof start leaking is usually one of these: fastener failure from wind and thermal cycling, worn sealant at seams and flashing, corrosion where two dissimilar metals meet, or a puncture from hail, a fallen branch, or foot traffic during a solar install. Central Texas adds its own stress test, since the swing between a 100-degree August afternoon and a 40-degree cold snap in January makes panels expand and contract constantly, working screws loose over time.
A metal roof rarely fails all at once. It fails one loose screw or cracked bead of sealant at a time.
Understanding the cause before you climb up matters, because how to repair a metal roof leak depends entirely on what's actually failing.
Getting everything staged before you get on the roof saves you a dangerous second trip. Skimping here is exactly why a steel roof leak repair job that should hold for years fails again by next spring.
| Item | Purpose |
|---|---|
| Wire brush and cleaner | Strip rust and grime before sealing |
| Butyl or polyurethane sealant | Flexible seal for seams and fasteners |
| Neoprene-washer screws | Replace stripped or backed-out fasteners |
| Metal patch or flashing piece | Cover holes larger than a screw shank |
| Caulking gun, wire brush, rag | Application and prep |
| Harness and roof anchor | Fall protection on steep or wet metal |
Once you have these on hand, you're ready to actually locate the leak instead of guessing at it.
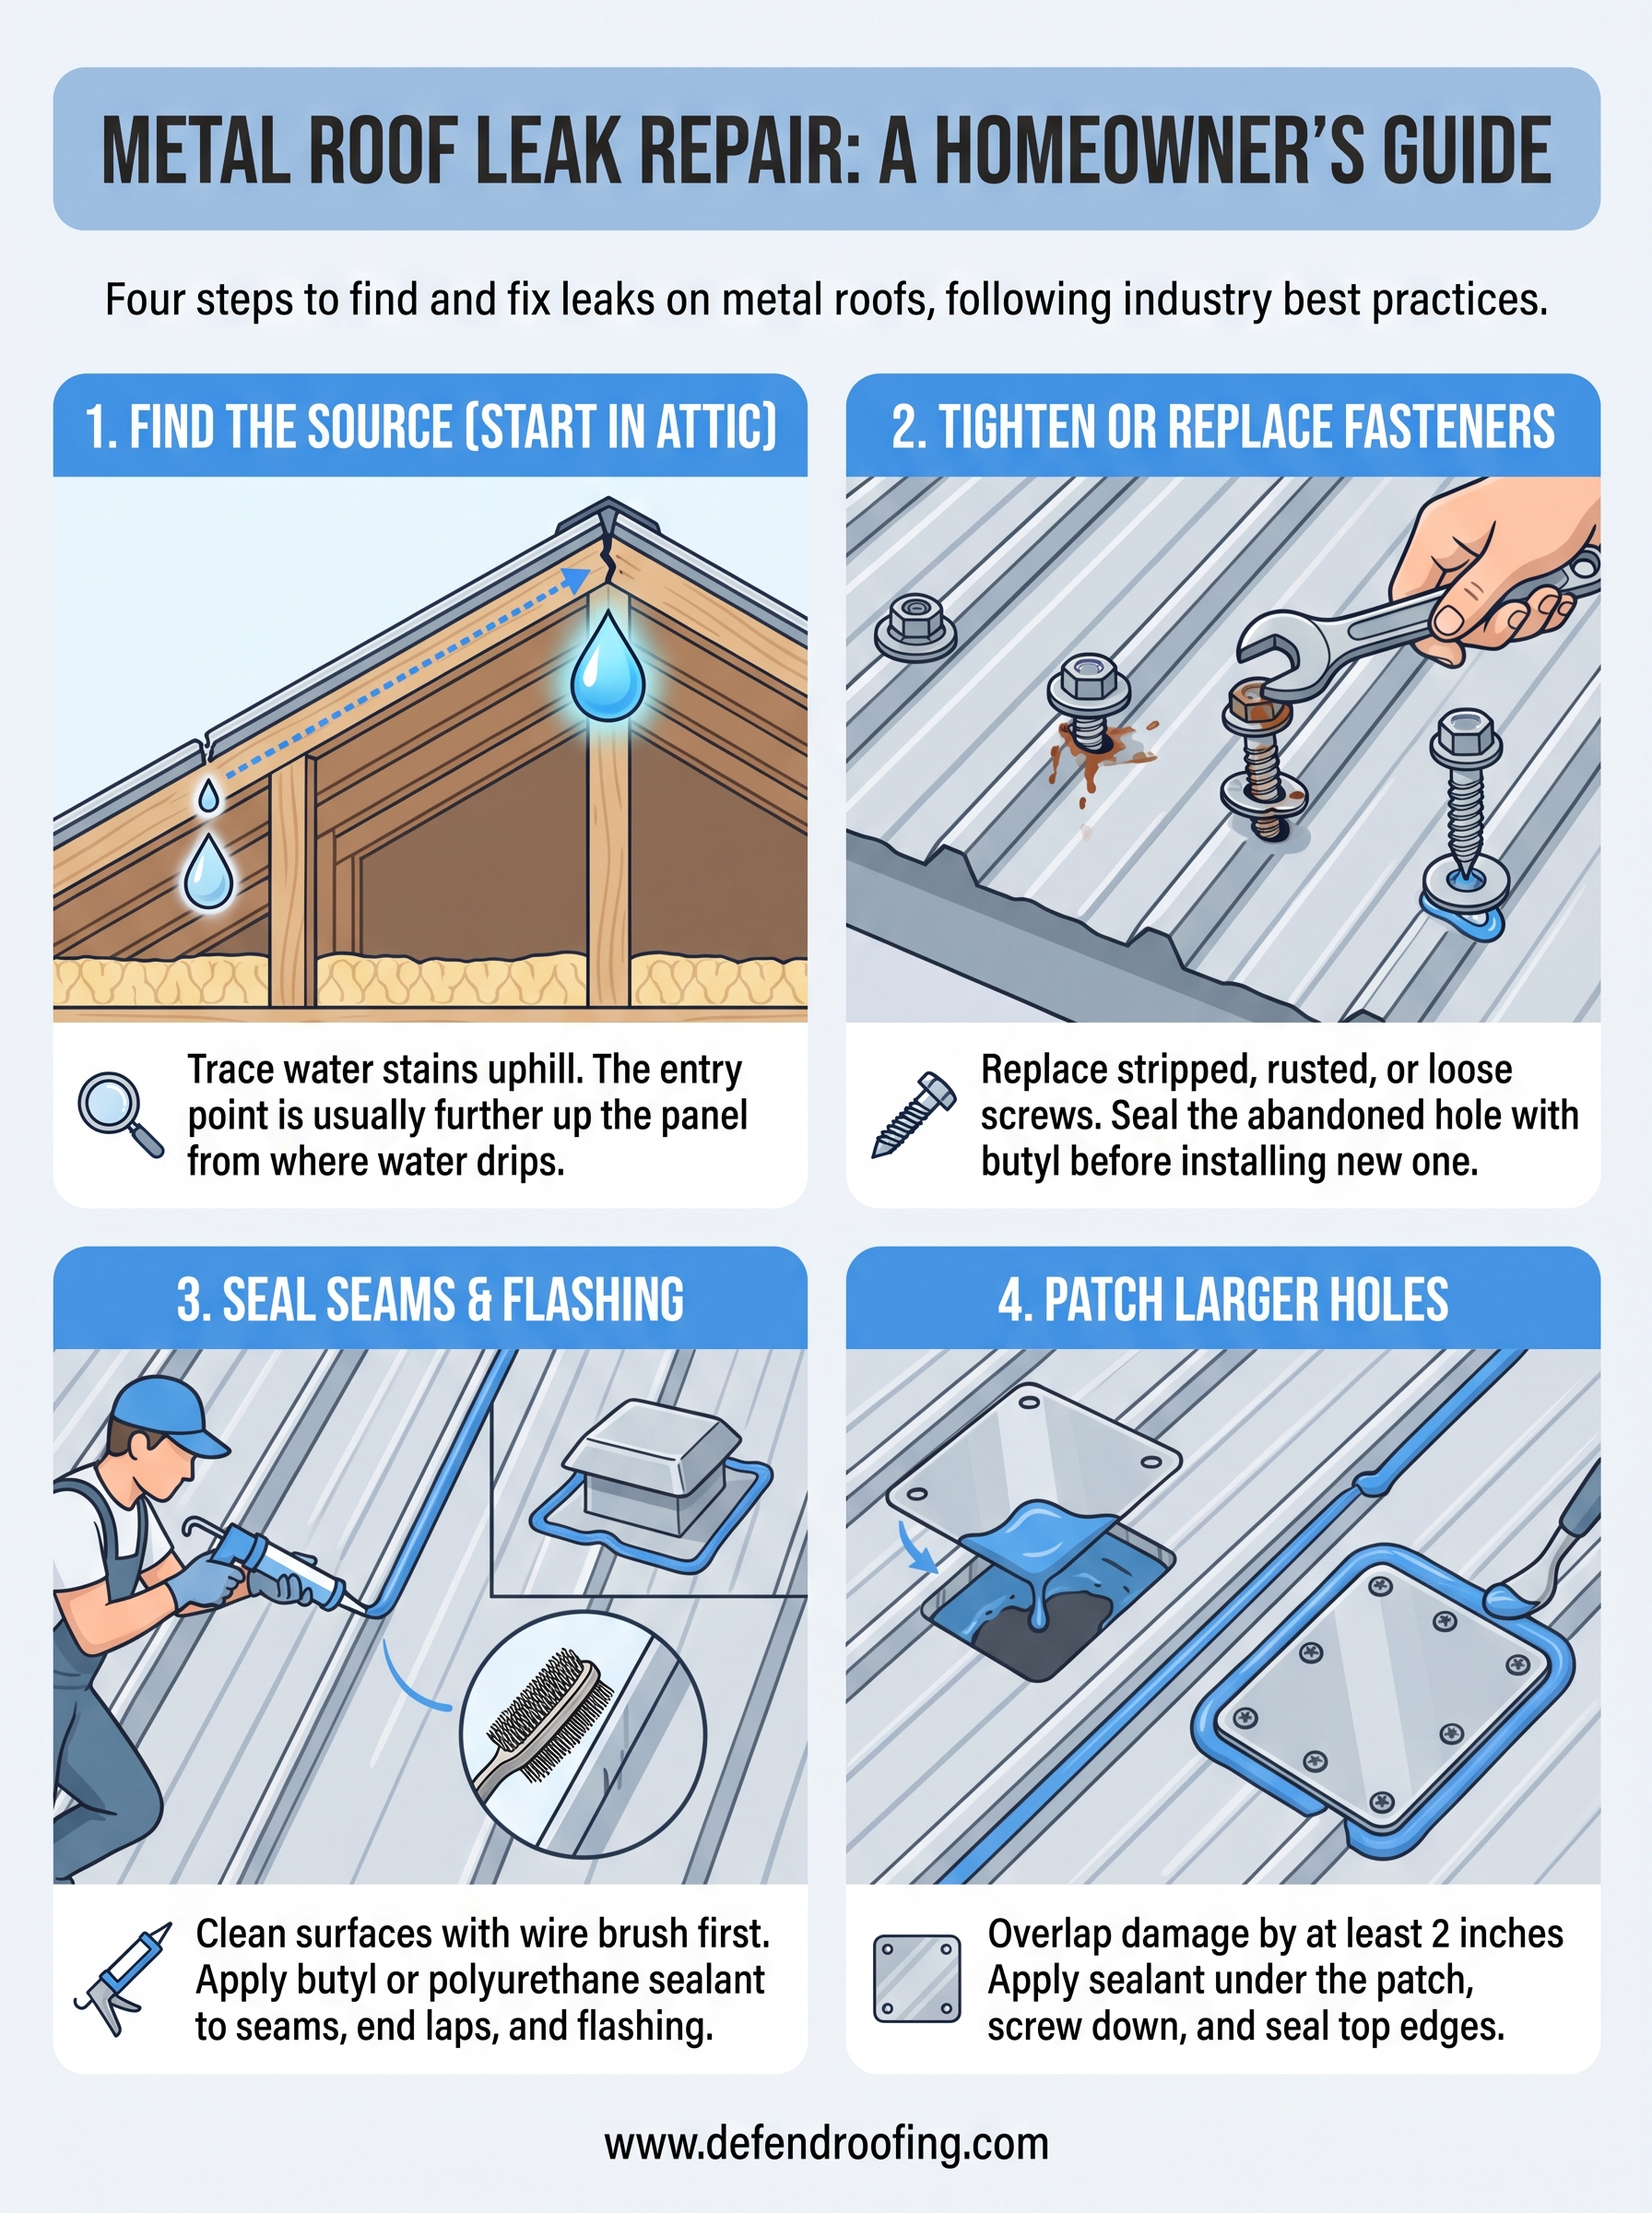
Start inside the attic, not on the roof, the same way you'd run a step-by-step leak hunt from attic to roof. Water stains on rafters or insulation show you the general area, but the actual entry point is often several feet uphill along a rib or seam. Trace any staining upward toward the ridge, since gravity pulls water sideways along the underside of the panel before it drips down.
On a metal roof, the leak you see is never the leak you have. It's downhill from it.
Once you're topside, inspect these spots first, since they account for most calls we get across Cedar Park and Leander:
A garden hose test helps confirm your suspicion. Have someone run water slowly over one section at a time while another person watches the attic from below. Working section by section keeps you from guessing, and it's the difference between a real fix and a repair that fails again after the next storm.
Exposed fasteners cause more metal roof leaks than any other single problem, and they're the easiest to fix once you know what to look for. Check every screw along the panel ribs, since a loose fastener lets water track down the shank and pool under the washer even when the screw looks fine from a distance. Snug up any screw that spins freely, but stop tightening the moment you feel resistance. Overtightening crushes the neoprene washer and creates a new leak path right where you were trying to seal one.
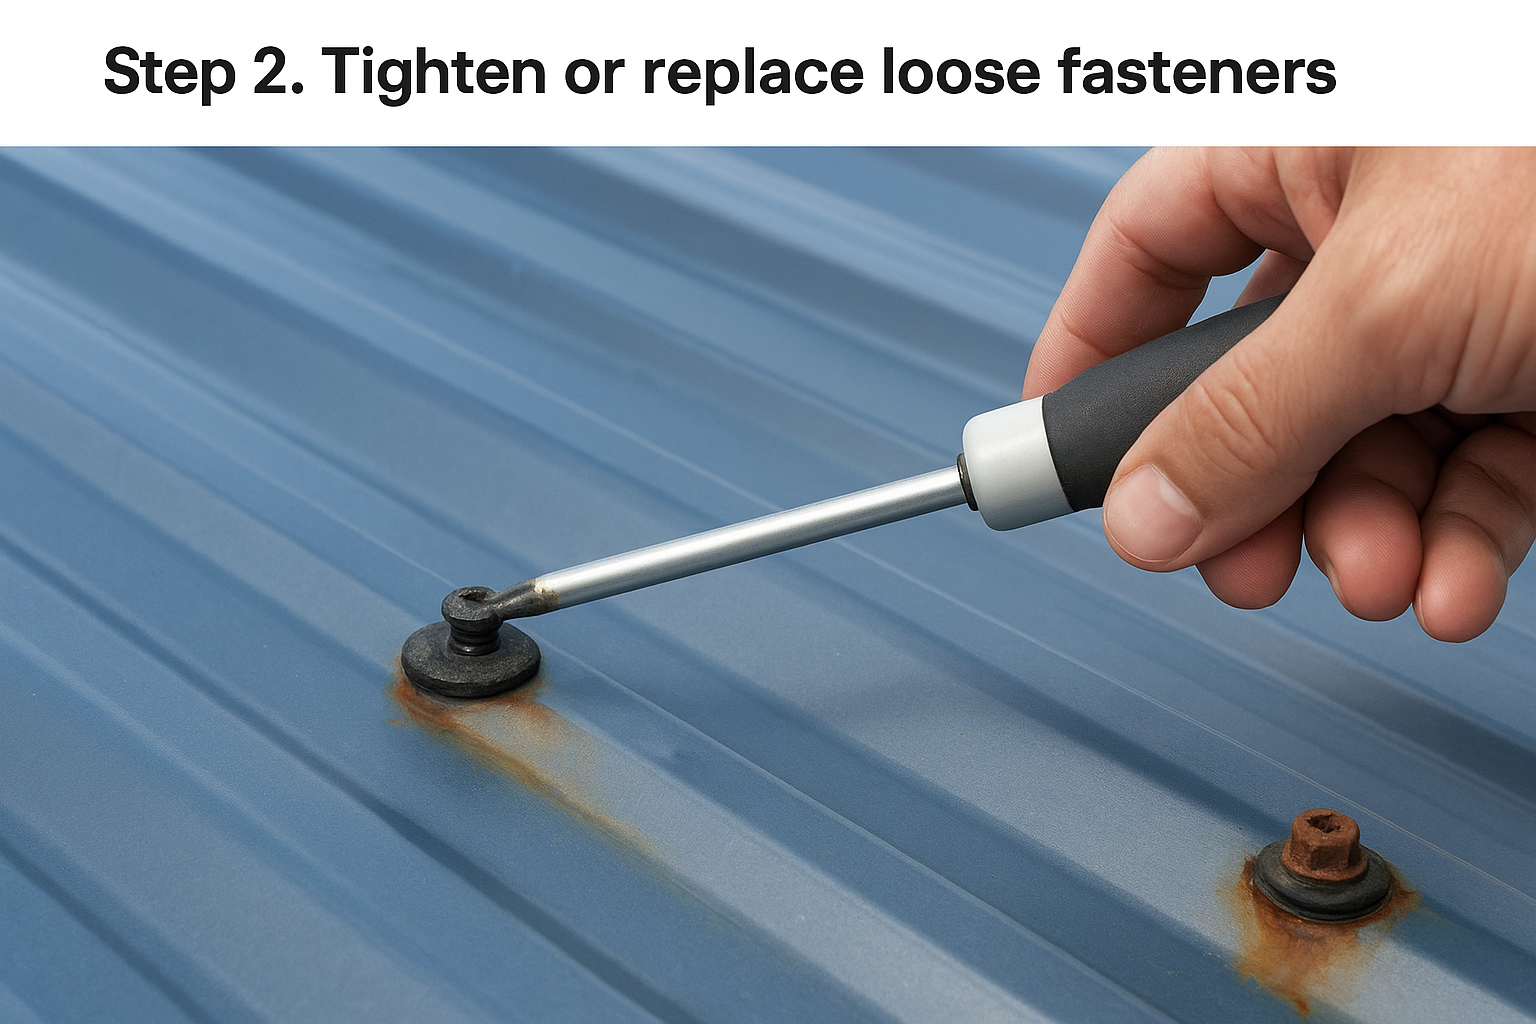
A stripped screw hole never gets fixed by a bigger screw. It gets fixed by a new hole and a proper washer.
Replace, don't just tighten, any fastener that meets these conditions:
Drive replacement screws into fresh metal an inch or two from the old hole, then seal the abandoned hole with butyl before moving to seams and flashing.
Grab your wire brush before you touch any sealant, since butyl sealant won't bond to rust, dust, or old caulk residue. Scrub each seam and flashing edge down to bare, clean metal, then wipe it dry. Any moisture trapped under new sealant just turns into a leak that resurfaces months later.
Sealant is only as good as the surface underneath it. Skip the cleaning step and you're just gluing dirt to your roof.
Work through these areas in order, since seams and flashing fail differently than open panel surfaces:
Press the sealant into the seam with a putty knife or your gloved finger so it fills the gap completely. A surface bead looks fine but peels off the first time the panel flexes in the heat.
Any hole wider than a pencil needs more than sealant. Cut a patch from the same type of metal as your roof, sized at least two inches past the damage on every side, so you're bridging solid material rather than fighting the edge of a rusted-out spot. Rounding the corners of the patch keeps it from catching wind and peeling up over time, which is exactly how a small metal roof leak repair turns into a bigger project, and what a bigger repair costs by damage type, by next season.
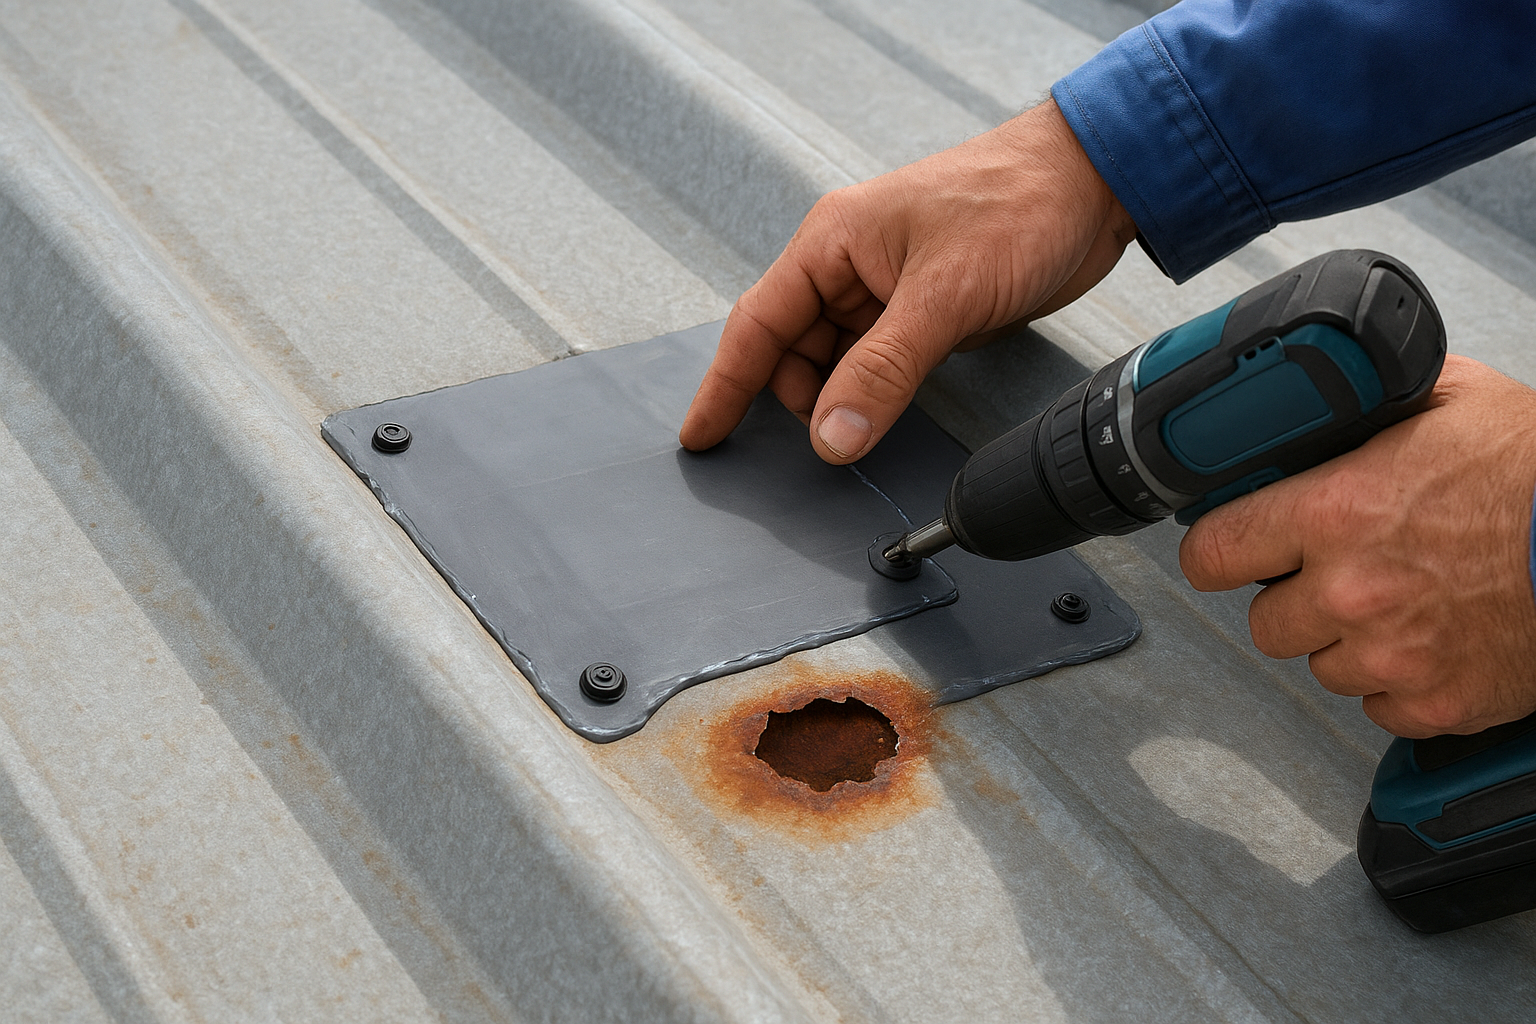
Apply a full bed of butyl or polyurethane sealant to the underside of the patch, then press it into place and work outward to force out trapped air. Screw the patch down along its perimeter with neoprene-washer fasteners spaced every four to six inches, then run a second sealant bead over the top edge where the patch meets the panel.
A patch that isn't screwed down is just a bandage waiting to blow off in the next storm.
Before moving on, confirm these three things:
A weekend spent tracing rust streaks, tightening fasteners, and tooling sealant beads buys you real time, sometimes years, before you need to think about your roof again. But DIY repair has limits. If you're patching the same spot twice, finding rust spreading under multiple panels, or the leak keeps reappearing somewhere new after every storm, that's your roof telling you the damage goes deeper than a screw or a seam. Steep pitches, wet metal, and hail-weakened panels also aren't worth the fall risk just to save a service call.
Every roof we work on across Cedar Park, Leander, and the rest of Central Texas gets the same honest read: fix what needs fixing, leave alone what doesn't. If your repairs aren't holding or you'd rather have someone document the damage properly before the next storm rolls through, get an instant quote for your metal roof repair and let three generations of roofing experience take it from here.