Need to repair roof vent leak damage? Find the source, patch it for now, replace the boot or flashing, and learn when to call a pro.

To repair a roof vent leak, find where the water actually enters, dry the area, patch it temporarily if rain is coming, and then fix the real cause. That cause is usually a cracked rubber collar, dried-out sealant, exposed nails, or damaged flashing. Small seal failures can be resealed. A cracked pipe boot or box vent should be replaced, not smeared with more sealant.
The problem is that vent leaks are hard to read. Water runs along the decking and shows up as a ceiling stain several feet from the vent. A sweating pipe in the attic can look like a roof leak when the roof is fine. Many people cover the wrong spot with caulk and watch the stain come back after the next storm.
This guide walks you through four steps: locating the leak, stopping it for now, replacing the failed part, and testing the repair. It also covers the safety basics and the signs that a repair is beyond a weekend DIY job. Defend Roofing is a roofing contractor serving Austin and Central Texas, and we repair roofs for homeowners in the area.
A roof vent leaks when the seal between the vent and the roof fails. The vent itself rarely wears out first. Knowing which part failed tells you which repair to choose, so spend a few minutes on the likely causes before you pick up a tool.
Plumbing vent pipes pass through the roof under a pipe boot, which is a metal or plastic flange with a rubber collar. Box vents, the low square vents, sit on a flange of their own. Both rely on sealant, nails, and overlapping shingles to shed water.
| Cause | What you see | Usual fix |
|---|---|---|
| Cracked rubber collar | Splits or a gap around the pipe, water trails down the pipe | Replace the boot |
| Dried sealant or exposed nails | Cracked caulk, rusty or backed-out nail heads | Reseal and reset nails |
| Loose or bent flange | Lifted edge, missing shingles beside the vent | Reset or replace flashing |
| Cracked box vent housing | Brittle, faded plastic or rusted metal | Replace the vent |
| Condensation | Wet pipe in the attic, roof looks fine | Insulate the pipe, improve ventilation |
Central Texas weather speeds this up. Strong sun bakes rubber collars and plastic housings until they crack, and hail can split them outright.
The vent rarely fails. The seal around it does, and the seal is what you need to fix.
Gather these before you climb:
Work on a dry roof in the morning, before the surface gets hot. Have someone steady the ladder. If the roof is steep or two stories, skip the climb and call a pro. A wet stain is cheaper than a fall.
Start in the attic. Water rarely drips straight down from the hole, so you have to trace it back to its source before you touch the roof. Skipping this step is how people seal the wrong spot.

Take a flashlight up and look at the decking around the vent pipe or box vent. Dark stains, wet insulation, water streaks on the pipe, or daylight around the pipe all point to the source. Mark the spot with chalk. Looking during or just after rain gives the clearest evidence.
Rule out condensation. If the pipe is wet but the decking around it is dry and clean, warm moist air may be condensing on a cold pipe. Insulating the pipe and checking attic ventilation solves that. No roof repair will.
If the attic is inconclusive, test it with water. Put a helper in the attic with a flashlight, then follow these steps:
Working from the bottom up isolates the source, because water appears only when you reach the failed spot. Do not blast water upward under the shingles, since that forces water in where rain never goes and gives a false result.
Trace the leak from below and above the vent, one zone at a time, so you repair the real entry point.
If rain is falling, contain the water and wait. Do not climb onto a wet roof to patch it. A temporary stopgap works only on dry surfaces, with one exception covered below.
Place a bucket under the drip and a plastic sheet over anything underneath it. If the ceiling bulges with trapped water, poke a small hole at the lowest point of the bulge with a screwdriver and let it drain into the bucket. A small hole is easier to patch than a ceiling that collapses.
You can also slow drips from the inside by sealing the gap where the pipe passes through the ceiling or deck with caulk. Repairs from the inside only reduce the dripping. The leak itself has to be fixed from the roof.
When the rain stops and the surface dries, clean off grit and old loose sealant, then use one of these:
Apply a generous layer and smooth it so water runs off, not into it. Treat any of these as a stopgap that lasts weeks, not years.
A patch buys you time until the weather clears. It is not the repair.
Reseal when the damage is small, and replace when the collar or housing is cracked. More sealant over a split rubber collar fails again within a season. Match the repair to what you found in Step 1.
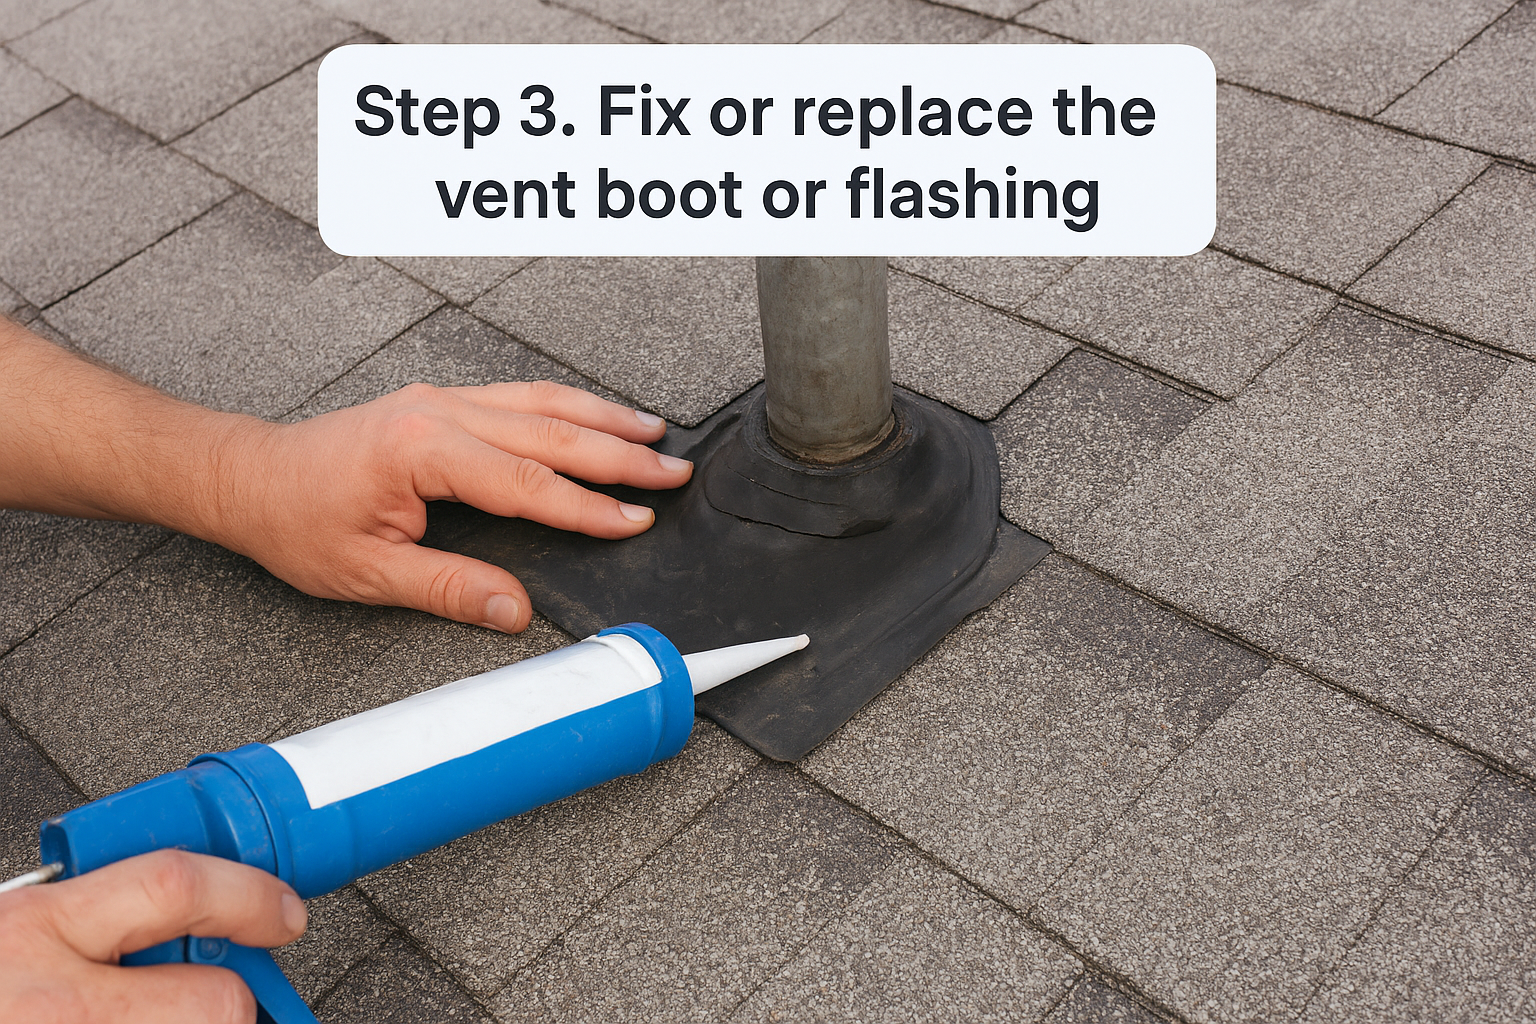
If the flange is flat and sound and only the seal has failed:
When the rubber collar is split, replace the whole boot. Measure the outside diameter of the pipe and buy a matching boot with a metal base. All-plastic boots crack quickly in the sun. Then work through these steps:
Never put the flange on top of the upslope shingles. That lets water run behind it.
A cracked box vent follows the same process. Lift the surrounding shingles, remove the old unit, slip the new flange under the upper shingles, nail it down, and seal the heads. Any hole you notice in the decking needs a sound repair first.
A boot or vent installed with the upper flange under the shingles sheds water. Installed the other way, it funnels it in.
Run the hose test again on the repaired vent with a helper in the attic, using the same bottom-up order. Then check the attic after the next two or three rains. A repair that survives a hose test and real storms is a repair that worked.
Remove or dry any wet insulation, since damp insulation hides a leak that is still active and feeds mold. If stains reappear, return to Step 1 and look for a second entry point. Vents often leak at more than one spot.
Call a roofer if you see any of these:
Defend Roofing offers free roof inspections that end with a photo-documented Integrity Report of 100+ photos and an honest repair-or-replace recommendation. Targeted roof repairs start at $395+, and each one comes with 20+ photos of the finished fix for your records. For storm damage, we document everything and meet your adjuster on site.
If you cannot reach the vent safely or the repair fails twice, a professional repair costs less than rotted decking.

Fixing a vent leak comes down to three moves. Find the real entry point, stop the water for now, and replace the part that failed instead of burying it in sealant. Then test it with a hose and the next rain so you know it holds.
If the roof is steep, the decking feels soft, or the leak keeps coming back, you do not have to guess. Contact Defend Roofing for a free inspection and get a documented answer on what your vent needs.