Learn how to spot signs, document for insurance, and handle wind damage roof repair to protect your home from leaks and navigate the claims process.

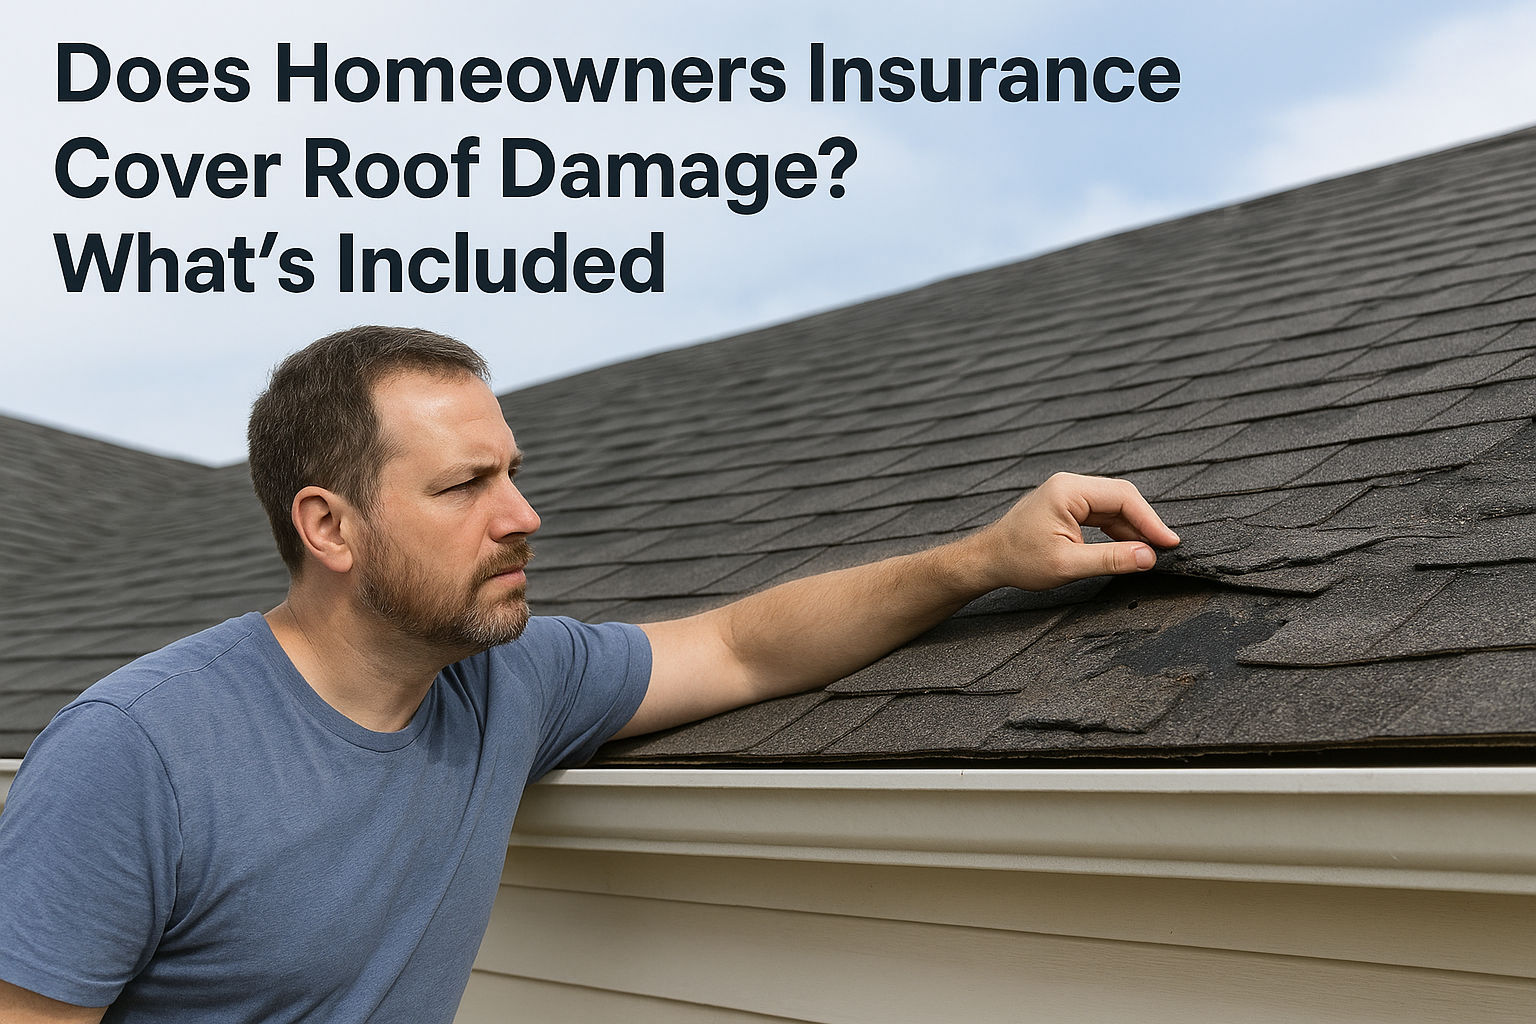
A single windstorm can loosen shingles, lift flashing, and expose your roof deck to water intrusion, sometimes without any obvious signs from the ground. If you're a Central Texas homeowner staring up at your roof after a storm, figuring out whether you need wind damage roof repair starts with knowing what to look for and what steps to take next.
Wind damage doesn't always announce itself with missing shingles scattered across your yard. Often, the real problems, cracked seal strips, lifted edges, compromised ridge caps, hide in plain sight until a leak shows up in your ceiling. Catching these issues early can mean the difference between a straightforward repair and a full roof replacement down the road.
This guide walks you through how to identify wind damage on your roof, what repairs typically look like, and how to navigate the insurance claim process without getting jerked around. At Defend Roofing, we've spent three generations working on Central Texas roofs, and we've seen firsthand how wind events in the Austin area affect every type of roofing system. We'll share what we know so you can make informed decisions about your roof, whether that means a minor fix or a bigger conversation with your insurance company.
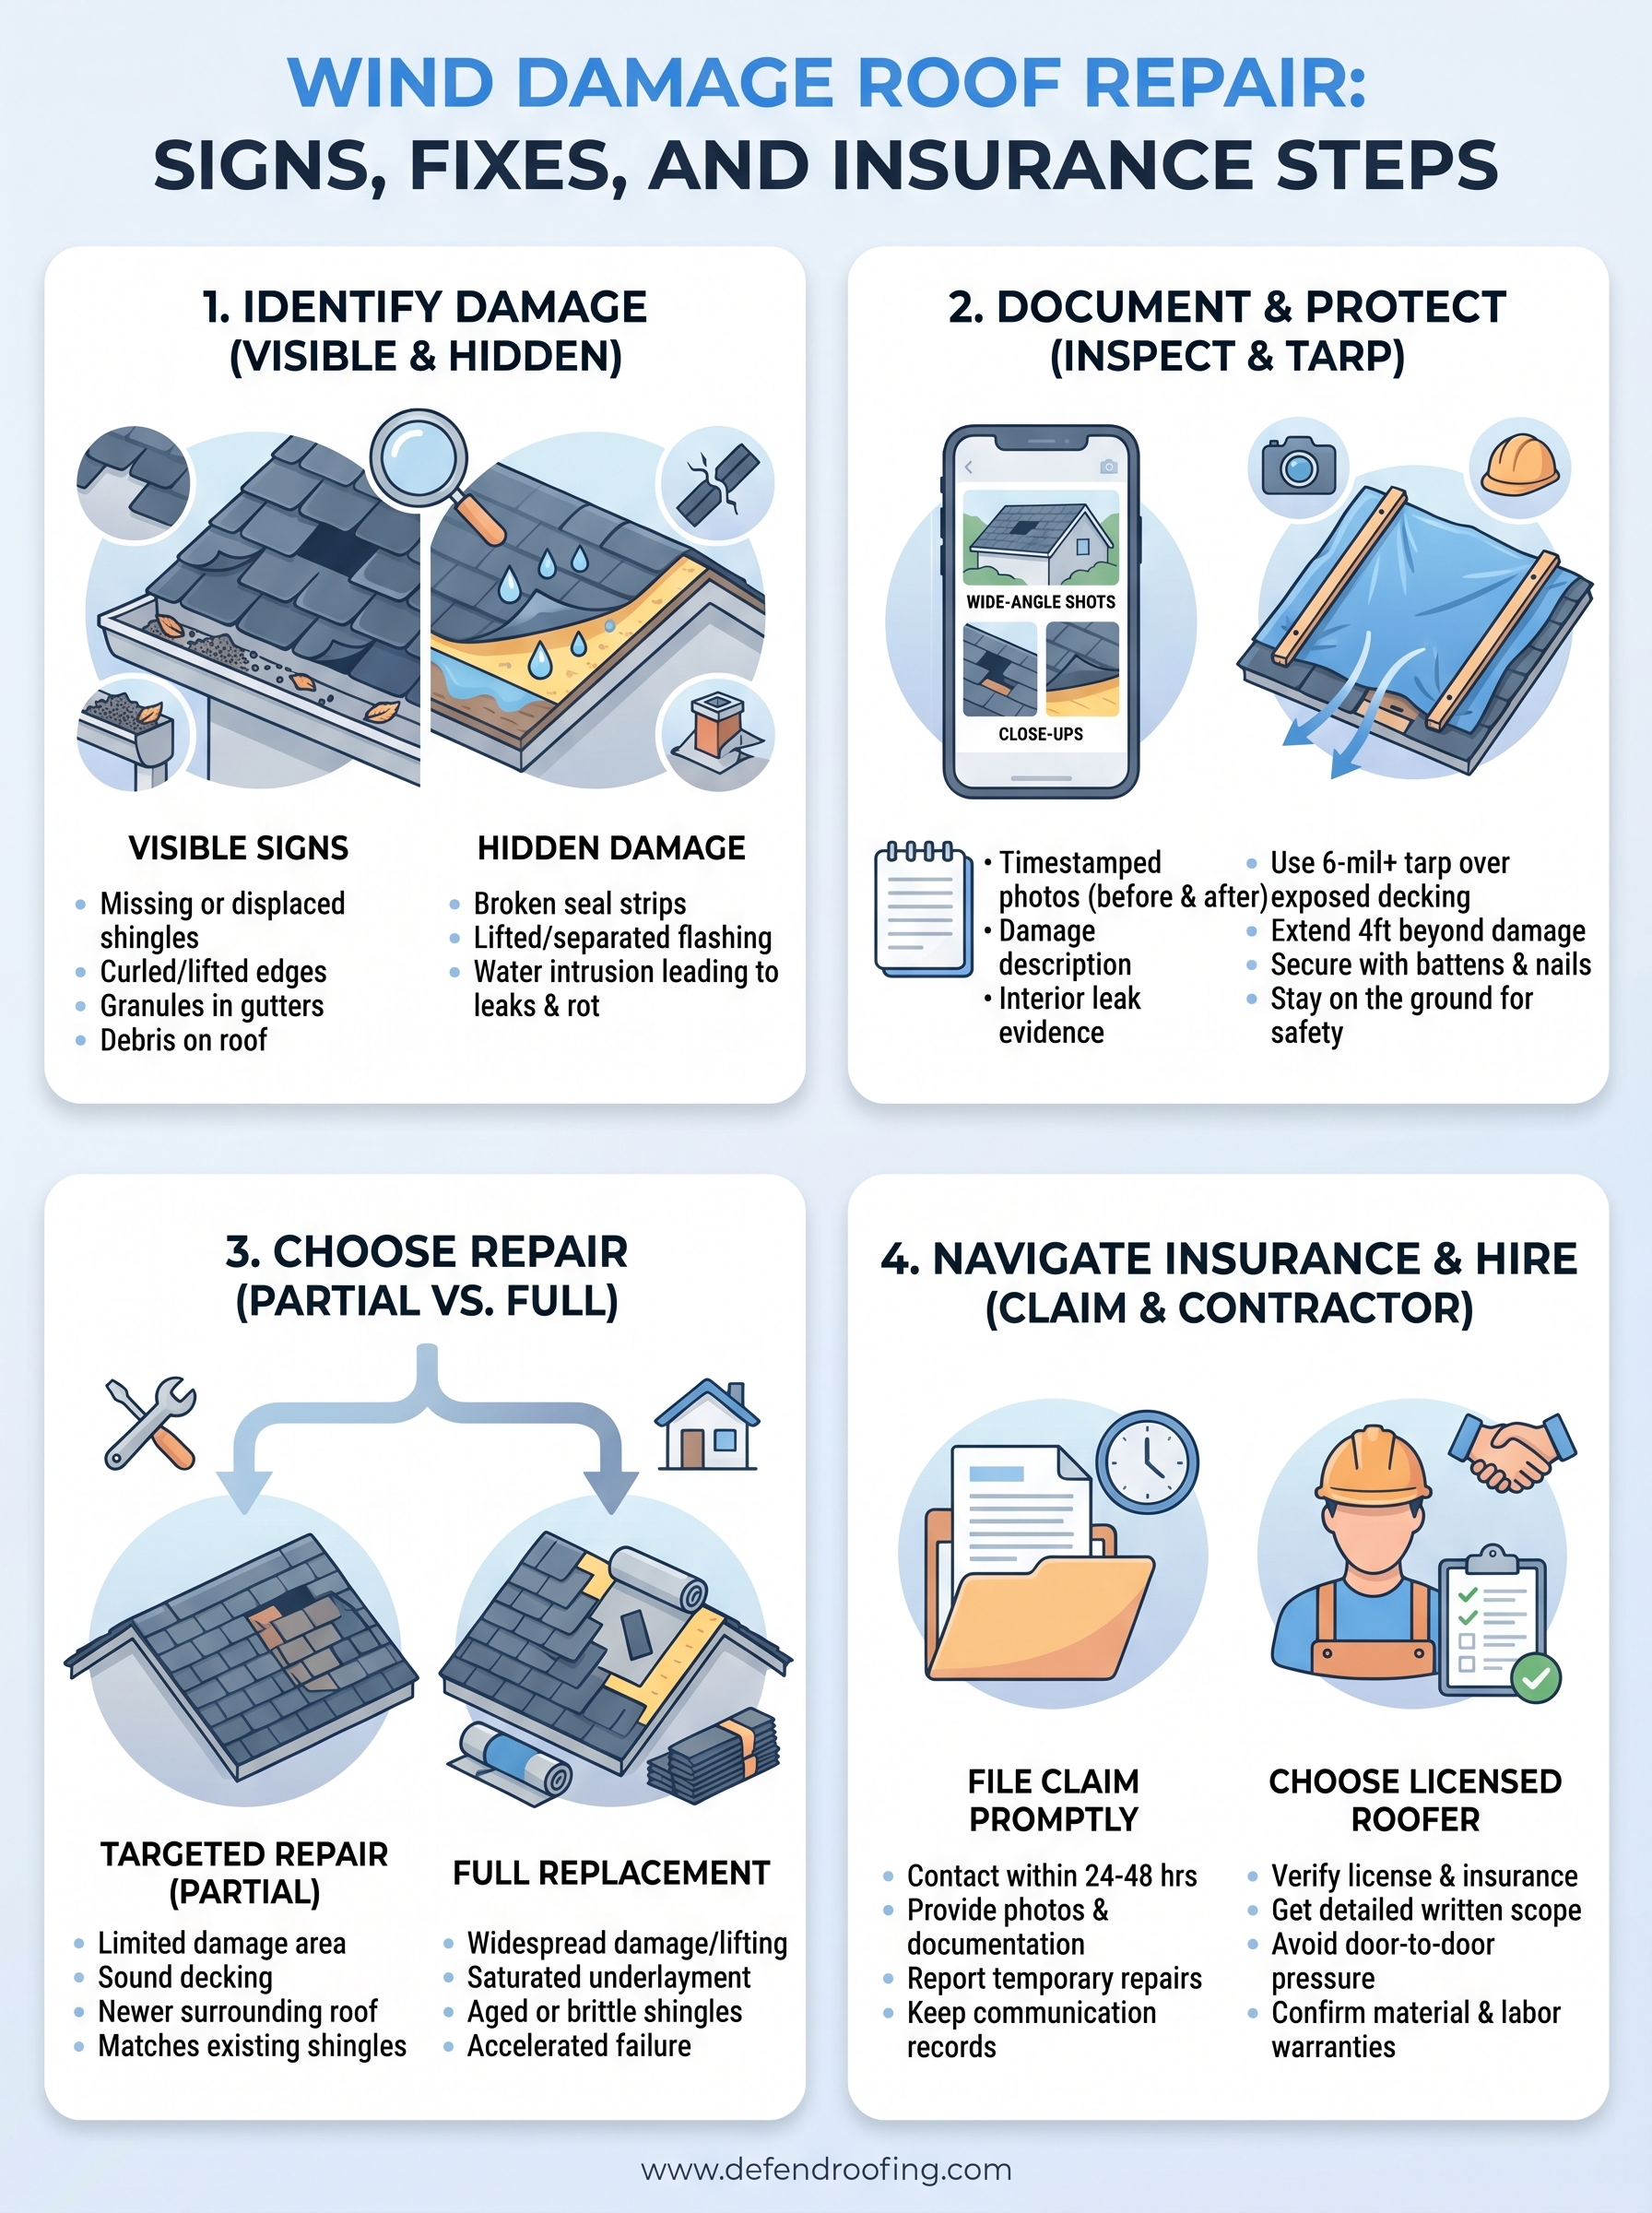
Wind damage on a roof ranges from obvious to subtle. Missing shingles are the most recognizable sign, but plenty of damaging wind events leave your roof looking mostly intact from the street. Central Texas storms can produce sustained winds above 50 mph and gusts that lift shingle edges, break seal strips, and separate flashing from walls or chimneys without scattering debris across your yard. That's what makes wind damage roof repair a tricky subject: the damage that costs you the most is often the damage you don't immediately see.
Even without climbing up, you can pick up on several indicators that your roof took a hit. Missing shingles show up as darker patches or bare spots where the roof deck is exposed. Curled or lifted shingle edges cast visible shadows along the roofline, especially in morning or late-afternoon light. You might also notice granule buildup in your gutters or downspout discharge after a storm, which signals that wind friction stripped protective material off your shingles.

Here are the most common ground-level warning signs to check after any significant wind event:
Some of the most costly wind damage stays invisible until water finds its way inside. Broken seal strips between shingles allow wind-driven rain to push underneath the shingle layer and saturate the underlayment or decking below. This type of damage looks fine from the ground and even from a basic rooftop walk, but it creates a pathway for moisture that leads to rot, mold, and interior ceiling stains weeks after the storm passes.
Flashing is another common failure point that goes undetected. Lifted or separated flashing around chimneys, skylights, and roof-to-wall transitions creates gaps that funnel water directly into your home's structure. In the Austin area, where fast-moving thunderstorm systems are common, these gaps can allow significant water intrusion in a single rain event before any repair gets scheduled.
Delaying repairs after wind damage almost always makes the problem worse. A lifted shingle edge that doesn't get addressed before the next rain becomes a water entry point. That water soaks into the decking, weakens the structure, and can eventually affect insulation, drywall, and framing. What might cost a few hundred dollars in a targeted shingle repair can escalate into thousands of dollars in structural work if you let it sit through a full storm season.
Catching wind damage early gives you control over the repair scope and cost; waiting hands that control to water and time.
Acting quickly also strengthens your position with your insurance company. Documented damage reported promptly is far easier to claim than damage discovered months later, when adjusters may question whether the cause was the storm or deferred maintenance.
Before you schedule any wind damage roof repair work, you need a clear picture of what you're dealing with. A thorough inspection paired with solid documentation protects you during the insurance claim process and gives any roofing contractor an accurate starting point. Do not climb onto the roof yourself unless you have the right safety equipment and experience. Falls from rooftops are a leading cause of home improvement injuries, and wet or wind-damaged shingles are especially slippery underfoot.
Your first inspection should happen entirely from ground level. Walk the full perimeter of your home with a pair of binoculars if you have them, and scan each roof section systematically: start at the ridge line, work down to the field shingles, then finish at the eaves and gutters. Check all four sides of the house, since wind damage often concentrates on the side that faced the storm directly.
Don't assume a roof that looks intact from one angle is undamaged; wind lifts shingles from the edge rather than the center, and that damage is easiest to spot from the side.
Also check your attic before calling anyone. Dark staining on the underside of the decking or wet insulation are reliable indicators that wind opened an entry point somewhere above, even if you can't identify the exact source from outside.
Photograph every piece of visible damage before any work begins. Use your phone to capture wide-angle shots of each roof section and close-ups of specific problem areas like lifted shingles, separated flashing, or exposed decking. Take timestamped photos immediately after the storm and again after any temporary repairs so you have a clear before-and-after record.
Use this checklist to organize your documentation:
Organized, timestamped documentation submitted to your insurance adjuster speeds up claim review and significantly reduces the chance of a dispute over the extent or cause of the damage.
Once you've documented the damage, your next priority is keeping water out until a licensed contractor can complete permanent repairs. Temporary protection is not a substitute for proper wind damage roof repair, but it can stop a manageable problem from becoming a costly structural issue. Every exposed area of roof decking that sits unprotected through the next rain event risks soaking your insulation, rotting your framing, and staining your interior ceilings.
A polyethylene tarp is the most reliable option for protecting a large exposed section after shingles go missing or severe lifting occurs. Use a tarp rated at least 6 mils thick, which holds up against rain and additional wind without shredding before your repair crew arrives. Position it so it extends at least 4 feet beyond the damaged area in every direction, and run it over the ridge if possible so water doesn't pool underneath and seep in from the edges.

Anchor the tarp securely: a loose tarp in the next storm becomes a hazard for your roof, your property, and anyone nearby.
Gather these materials before you send anyone up or hand supplies to a helper:
For smaller problem areas such as a few lifted shingle edges or a minor flashing gap, self-adhering butyl roofing tape gives you a fast, weather-resistant seal that holds until a permanent fix happens. Wipe the surface dry first so the tape bonds fully to the shingle or flashing material. Press firmly along the entire length of the tape and smooth out any bubbles that could let moisture work underneath.
This method works well on flat, accessible sections of the roof. If the problem area sits near a valley, hip, or the ridge line, skip the tape entirely and move straight to a tarp or call a roofer, since complex angles reduce adhesion and leave gaps the tape can't reliably seal.
Once your roof is protected and your documentation is in order, you need to match the repair scope to the actual damage rather than default to the cheapest or the most extensive option. The right wind damage roof repair depends on how many shingles were affected, whether the underlying decking took any water, and how old the roof is overall. Mismatching the repair to the damage is one of the most common and costly mistakes homeowners make after a storm.
Targeted shingle replacement is the right call when damage is limited to a defined area, the decking beneath is dry and structurally sound, and the surrounding shingles are in good condition with intact seal strips and granule coverage. A skilled roofer will remove the damaged shingles, inspect the underlayment, replace any compromised felt or synthetic layer, and install new shingles that are nailed to manufacturer specifications and sealed along every edge and tab.
Keep these conditions in mind when evaluating whether a partial repair makes sense:
A partial repair on a roof that's already near the end of its service life often delays the inevitable and costs you more over the next two to three years than a full replacement would have upfront.
Your roofer should recommend full replacement when widespread lifting or shingle loss has affected multiple sections, when the underlayment is saturated or torn in several locations, or when the existing shingles are already aged out and showing brittleness across the whole roof. Storm damage often accelerates failure in shingles that were already approaching the end of their lifespan, and patching a roof in that condition rarely holds up through the next Central Texas storm season.
Replacing the full roof also gives you a fresh manufacturer warranty on both materials and, with the right contractor, a workmanship guarantee that covers the installation itself, not just the products.
Filing an insurance claim for wind damage requires more preparation than most homeowners expect. Your adjuster will ask for a clear account of when the storm occurred, what caused the damage, and what documentation you've collected. Submitting organized, timestamped evidence promptly puts you in the strongest position to receive a fair settlement rather than a reduced payout or an outright denial based on insufficient proof.
Contact your insurance company as soon as possible after the storm, ideally within 24 to 48 hours of the event. Provide the date and time, a description of every damaged area, and confirmation that you've taken steps to prevent further water intrusion. Most policies require you to mitigate additional damage after the initial loss, so having your tarping or temporary sealing documented shows you acted responsibly and in good faith with your insurer. Keep copies of every communication you have with your insurance company, including the name of the representative you spoke with and what they told you.
Use this checklist when you call or submit your claim:
An adjuster who receives thorough, organized documentation is far less likely to undervalue your claim than one handed a loose collection of unorganized photos with no context.
Choosing the right contractor matters as much as filing your claim correctly when you're arranging wind damage roof repair. Work only with a licensed, insured roofer who carries both general liability and workers' compensation coverage. Ask to see both insurance certificates before you sign anything, and confirm that the contractor holds an active license in Texas before any work begins.
Steer clear of contractors who solicit your business door-to-door right after a storm or pressure you to sign a contract immediately. A trustworthy roofer gives you a detailed written scope of work that lists every item being repaired or replaced, the specific materials going in, and the warranty covering both the products and the labor, with no vague line items or last-minute charges tacked on at the end.
Wind damage rarely waits for a convenient time, and the gap between a storm passing through and the next rain event can be short in Central Texas. Your most important next step is a thorough inspection paired with detailed documentation before anything else happens to the roof. Walk the perimeter, check your attic, photograph every damaged area with a timestamp, and get a tarp over any exposed decking as soon as you can.
Once you have your documentation together, getting a professional assessment locks in an accurate scope for both your repair and your insurance claim. At Defend Roofing, every job starts with a Precision Roof Assessment that includes 100+ photos and an honest recommendation, whether that means a targeted wind damage roof repair or a full replacement conversation. Chris and Greyson will tell you exactly what your roof needs, nothing more. Schedule your free roof assessment and get a clear answer before the next storm moves through.