Learn how to repair roof leak from inside: contain the water, trace the entry point in the attic, seal it, and know when to call a roofer.

If you need to know how to repair roof leak from inside, do it in this order: catch the water, trace it up the attic to the entry point, dry the wood, and seal the spot with wet/dry roofing cement or self-adhesive flashing tape. If you can't seal it, hang plastic sheeting to funnel the water into a bucket. Treat all of it as temporary. The failed shingle, flashing, or vent boot outside still needs a real repair.
You probably found the leak at a bad moment. It is raining, the roof is too slick to climb, and water is dripping onto your floor. Worse, the stain on the ceiling rarely sits under the hole in the roof. Many homeowners patch the wrong spot or smear caulk on the ceiling and hope for the best, while wet insulation and drywall quietly work toward mold and rot.
This guide covers how to repair a roof leak from the inside in four steps, with the materials and the mistakes to avoid at each one. It comes from what we see on Central Texas roofs every season at Defend Roofing, where every assessment includes 100+ photos of the roof. You'll also learn when to stop the DIY work and call a roofer.
A repair from inside your house can slow or stop a leak for days or weeks, but it never fixes the cause. The cause is almost always outside: a cracked or lifted shingle, failed flashing, or a worn vent boot. Think of this as first aid for your roof.
Working from the attic lets you act in the rain, at night, and without climbing a slick roof. You can slow the water, protect your ceiling, and keep insulation from soaking. You cannot restore the roof's outer layer, which is the part that sheds water in the first place.
Central Texas roofs take a beating from summer sun and hard storms. Rubber collars around plumbing vents crack, sealant at flashing dries out, and hail bruises shingles. Those are exterior failures, so water will find a new path around any patch you make inside.
A patch from inside buys you time, but it does not repair the roof.
Most of this is already in your garage or on a hardware store shelf. Gather it before you head up, so you don't make a second trip with a wet ceiling below you.
Attics are hot, dark, and easy to fall through. Step only on the joists, never on the drywall between them, and lay a plank across them if you need to kneel. In summer, go up early in the morning, because a Texas attic can run far hotter than the air outside.
Stay off the roof itself while it is wet. A slick roof causes more injuries than any leak does. Tell someone you are in the attic, and bring your phone in case you need help.
Stop the damage in the room first, because the first few minutes decide how much drywall and flooring you lose. Cut power near the water, relieve any bulge, then catch what is still dripping.
If water is dripping near a light fixture, ceiling fan, or outlet, turn off the breaker for that room before you touch anything. Stay out of the room if water has reached a fixture and you can't tell what is wired where.
The same rule applies when water is running down inside a wall. Shut off the circuits in that wall and call a roofer. If outlets or switches are wet, call an electrician too, because a wet wall cavity needs professional drying.
A ceiling that bulges or sags is holding water. Set a bucket under the lowest point of the bulge, stand to the side, and poke one small hole in its center with a screwdriver. The water drains in a controlled stream instead of bringing the drywall down all at once.
A small hole you make on purpose costs less than a ceiling that falls on its own.
Next, move furniture, electronics, and rugs out of the drip zone and cover anything too heavy to move with plastic sheeting. Then set up your catch system:
The wet spot on your ceiling is not the leak. To repair a roof leak from the inside, you have to find where water enters the roof deck, and a patch in the wrong place does nothing. This is the step that decides whether the rest works, so take your time.
Water enters through a small gap, then runs along a rafter or the underside of the decking before it drips. That means the entry point sits higher up the slope than the stain. Start above the ceiling stain and look for dark streaks, rusty nail tips, or damp insulation, then follow the trail uphill until the wood turns dry.
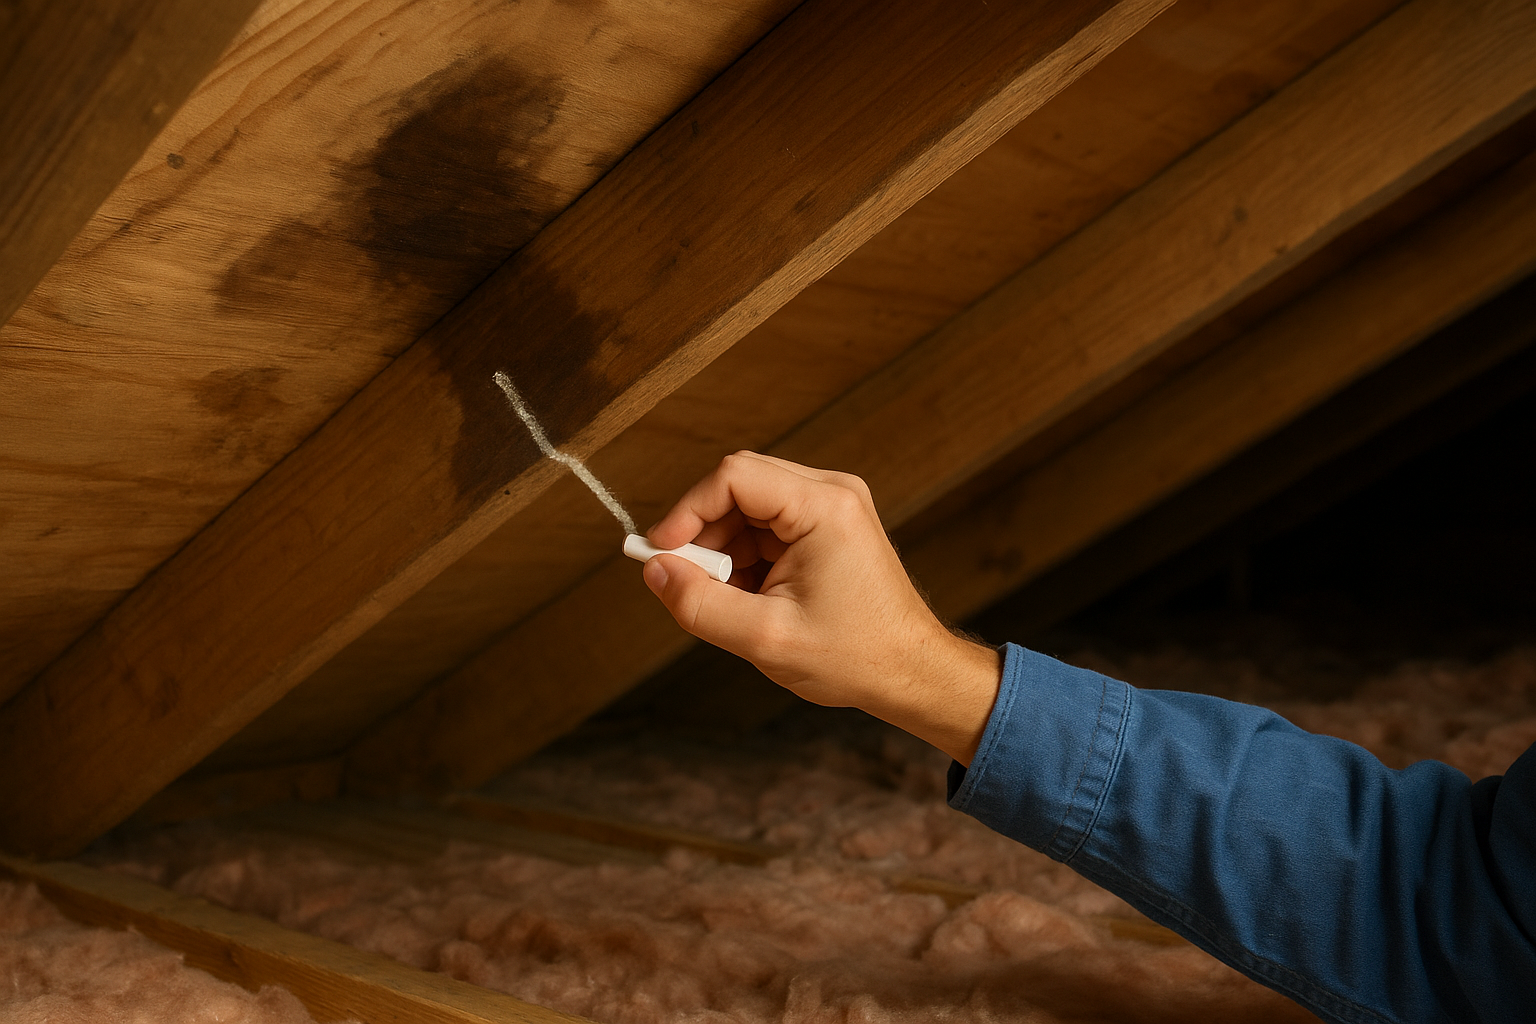
The wettest, darkest wood at the top of the trail is your target. Mark it with chalk, measure to a fixed reference such as a gable wall or chimney, and take a photo. If you see daylight, push a bright piece of wire through the gap so it can be spotted from outside.
The entry point is uphill from the stain, so start looking above it.
Leaks cluster where the roof surface is interrupted. If the trail goes cold, check these spots first:
Rule out condensation before you seal anything. Rows of small drips, frosty or rusty nail tips, and damp insulation across a wide area point to poor attic ventilation, not a hole.
If it isn't raining and you can't find the trail, recruit a helper with a garden hose. Stay in the attic with your headlamp while they soak the roof from the ground, starting low on the slope and moving up in small sections, a few minutes each. When water appears inside, you have found the zone. Never send anyone onto the roof for this test.
Sealants bond to dry wood, so dry first, then pick the material that matches the leak. Here is how to repair roof leak from inside when the hole is small and the decking is still solid.
Wipe the wood with a towel, pull out soaked insulation, and aim a box fan at the spot. Wet insulation holds water against the decking and won't dry on its own, so bag it and set it aside. The EPA advises drying water-damaged materials within 24 to 48 hours to prevent mold growth.
If rain is still coming through, you can't get the wood fully dry. In that case, use a product labeled for wet surfaces, or skip ahead to the diverter below.
Sealant sticks to dry wood, so dry the spot first and patch second.
Match the product to the leak. A single hole at a nail needs something different than a seam or a gap around a pipe.
| Material | Best for | Limits |
|---|---|---|
| Wet/dry roofing cement | Small holes, nail pops, cracks in the decking | Messy, and only products labeled for wet surfaces bond to damp wood |
| Self-adhesive flashing tape | Seams, tears, and gaps around pipes | Needs a clean, dry surface to stick |
| Silicone or polyurethane caulk | Small gaps around metal, vent pipes, and flashing | Won't bridge large gaps and skins over fast |
| Plastic sheeting diverter | Active leaks you can't seal | Redirects water but doesn't stop it |
For a small, dry hole, patch it in four moves:

If you can't seal the leak, build a diverter. Staple 6-mil plastic sheeting to the rafters above the leak, let it sag into a trough, and run the low end into a bucket or trash can. Make the sheet extend at least a few feet past the wet area so water can't slip around the edges.
Skip duct tape, expanding foam, and thick tar smeared across shingles. Duct tape peels once it is wet or hot. Foam isn't waterproof, can hide the true leak path, and often forces a roofer to cut out more material later.
Rubber spray sealants such as Flex Seal can slow a pinhole leak on the underside of the deck. Treat them as a one-storm stopgap, not a repair. They stain, they don't bond well to wet wood, and overspray is hard to remove when a roofer needs a clean surface.
Once the drip stops, your job is to prove the patch holds, record what happened, and book the outside repair. A fix from the inside is only as good as the next heavy rain.
Take photos and video before you clean up. Photos and receipts support an insurance claim, and most policies expect you to take reasonable steps to limit further damage. Read your policy for notice requirements, since they vary.
Capture these:
Check the attic during the next rain and again the following morning, then once a day for several days. Look for new drips, a growing stain, or a musty smell. If water gets past the patch, the outside damage is bigger than the inside suggests.
Hold off on drywall repair and paint. Fix the ceiling only after the roof is repaired and the wood is fully dry, or you'll cover an active problem.
Call a roofer right away if you see a sagging ceiling, several leaks or a large wet area, water near electrical fixtures, or signs of mold. Call too if you can't reach the attic safely, the roof is 20 years old or more, or your patch fails in the next rain.
Cost depends on the cause. Resealing a vent boot or replacing a few shingles is a small job, while rotted decking or widespread damage is not. Only an inspection gives you a real number, so ask for a written, photo-backed estimate that says plainly whether you need a repair or a replacement.
A good patch buys you days, and a documented inspection tells you what the roof actually needs.

To repair a roof leak from the inside, contain the water, trace it uphill to the entry point, dry the wood, and seal it with roofing cement, flashing tape, or a plastic diverter. Then document everything and watch the patch through the next rain. That sequence limits the damage, but it only holds until the roof is fixed from the outside.
If your patch is holding and you want to know what the roof needs next, we can help. Defend Roofing is a family-owned team serving Central Texas, and we give honest repair-or-replace recommendations backed by 100+ photos, with no pressure to buy more than you need. You can call or text us and get an instant online quote, and we'll find the source of the leak and fix it right.




