Learn how to perform a roof inspection after hail storm damage. Follow our DIY steps to spot leaks, document damage, and know when to call a professional.

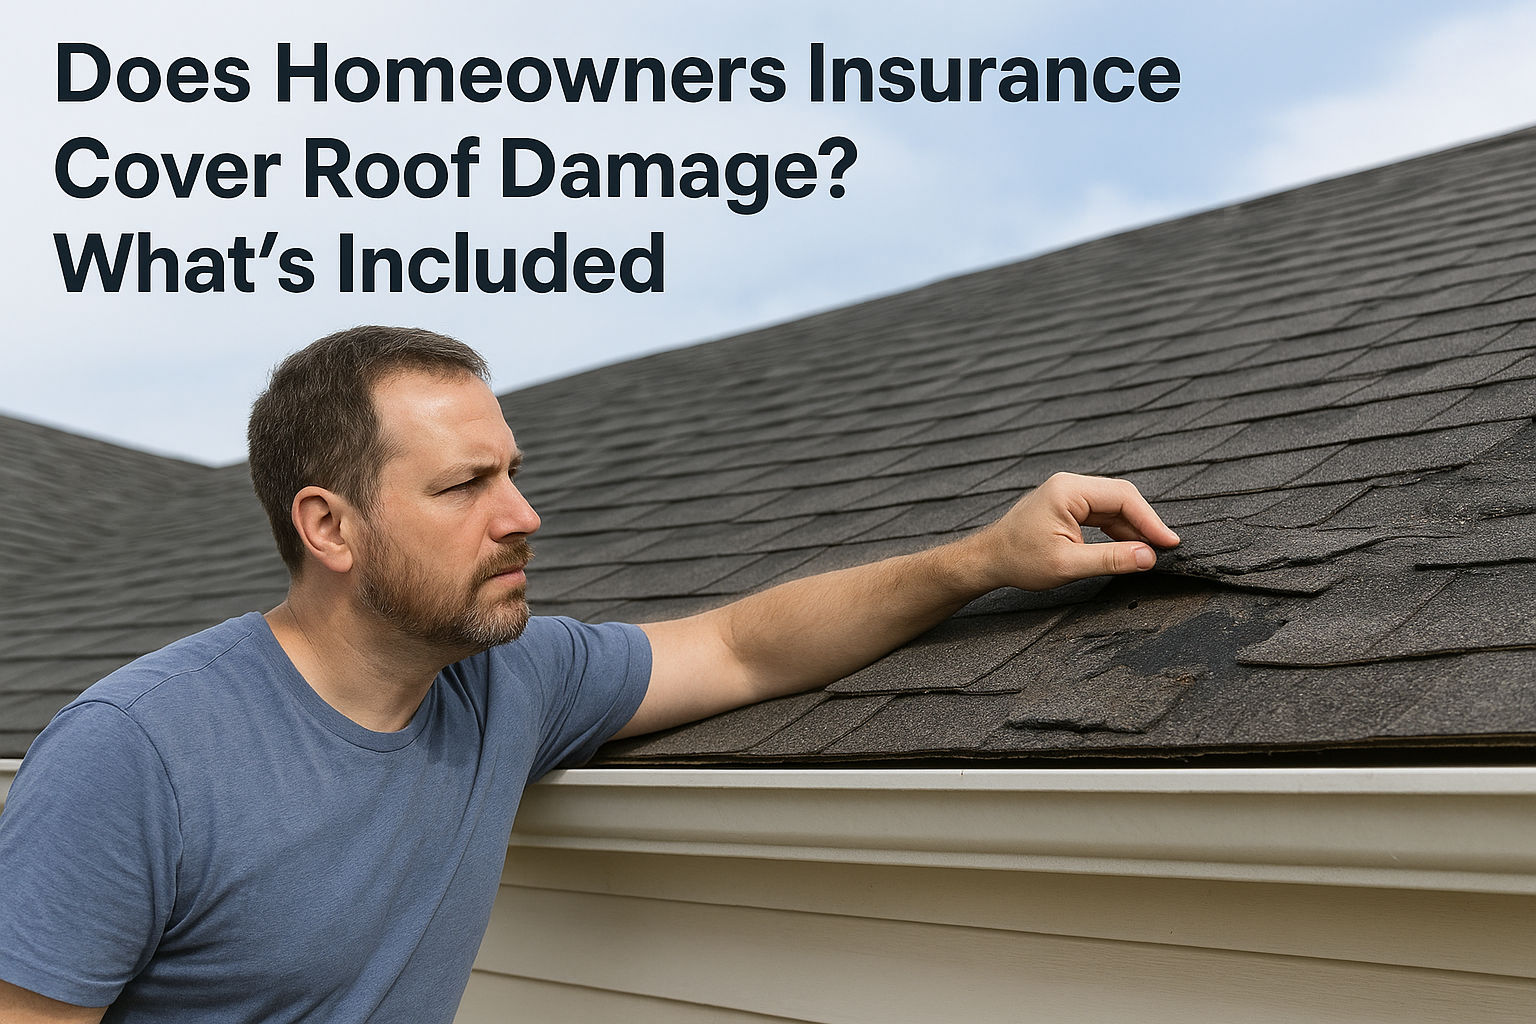
Hail hits Central Texas hard and fast, and once the storm passes, the real question starts: how bad is the damage? A roof inspection after hail storm activity is one of the most important steps you can take to protect your home and your wallet. But most homeowners aren't sure what to look for, what counts as real damage, or when the situation calls for a professional.
At Defend Roofing, we're a father-and-son team with three generations of roofing experience across the Austin area. We've inspected thousands of roofs after Texas hail events, and we've seen firsthand how early detection saves homeowners from leaks, denied insurance claims, and costly repairs down the road. We've also seen what gets missed when people skip this step or rush through it.
This guide walks you through how to safely inspect your roof after hail, what damage actually looks like up close, and exactly when it's time to bring in a pro for a full assessment.
Central Texas hail events are serious weather incidents. Storms across the Austin area regularly produce hailstones ranging from pea-sized to golf ball-sized, and the wind speed combined with hail density can drive real damage into a roof in minutes. The size of the stones, the angle of impact, and the age of your shingles all determine how much harm one storm can cause.
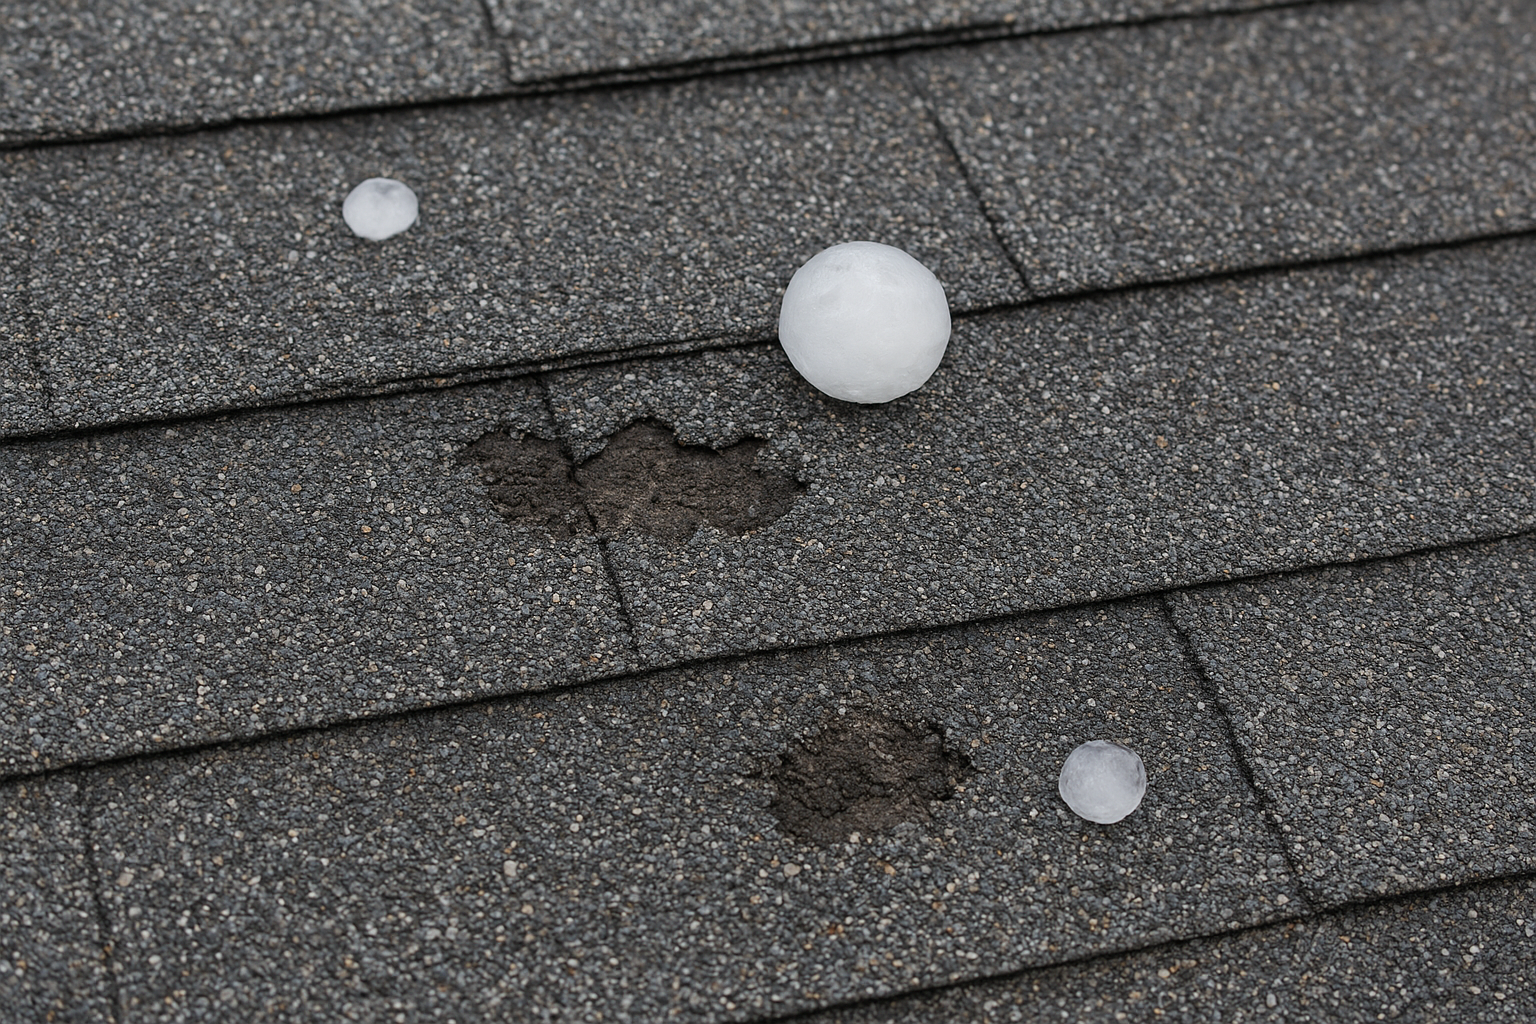
The most common roof material in Central Texas is asphalt shingles, and hail hits them in a specific way. Each impact knocks granules loose from the shingle surface, exposing the underlying asphalt mat. Those granules are not decorative - they protect the asphalt from UV exposure and extend the shingle's functional life. Once granule coverage breaks down, the mat degrades faster and becomes brittle.
When granule loss is widespread across a roof, the lifespan of the shingles drops significantly - even if the damage looks minor from the ground.
Some hail damage shows up as obvious bruising or cracked shingles. But a lot of it is not obvious until you know what you're looking for. Soft metal surfaces like gutters, downspouts, ridge caps, and flashing often show the clearest evidence of hail contact - the dents are hard to miss up close. Meanwhile, shingles may carry microscopic fractures in the mat that only start leaking once rain starts working through them over time.
This is exactly why a thorough roof inspection after hail storm is worth doing as soon as it is safe. Your shingles can look completely intact from the street and still be compromised at the granule level, leaving the underlying mat exposed to sun and rain.
Not every hail event produces the same outcome. Golf ball-sized hail (around 1.75 inches) can crack shingles on direct impact, while pea-sized hail may only cause minor granule loss. Quarter-sized hail (1 inch) is generally the threshold where insurance carriers begin taking claims seriously, and dime-sized hail (0.75 inches) can still cause meaningful damage depending on wind speed and how old your shingles are.
Before you look at a single shingle, your physical safety comes first. Hail storms often bring strong winds, lightning, and rain, and the conditions that follow can leave wet surfaces, downed power lines, and unstable gutters around your property. Do not step outside until the storm has fully passed and you have confirmed no electrical hazards are present near your home.
Walk your yard from a distance first. Look for downed power lines, broken tree limbs resting on the roof, and standing water near the foundation. Wet grass and walkways after a storm are slippery, so wear shoes with grip. If you see anything on or near the roof that looks structurally unstable, stay off ladders entirely and call a professional before you proceed with any roof inspection after hail storm.
If you spot a downed power line anywhere on your property, leave the area immediately and call 911 before doing anything else.
If rain followed the hail and you notice water coming through the ceiling, place buckets under the drip points right away. Do not wait. Then, if it is safe to access your attic, use a tarp or heavy plastic sheeting to cover the wet area from above. Temporary tarping prevents water from soaking your insulation and framing while you arrange a full assessment.
Once you've confirmed the scene is safe, start a two-part visual check without stepping on the roof. A ground and attic walkthrough gives you a clear picture of the damage before you or a contractor goes any higher. This is the core of a basic DIY roof inspection after hail storm, and it costs you nothing but time.
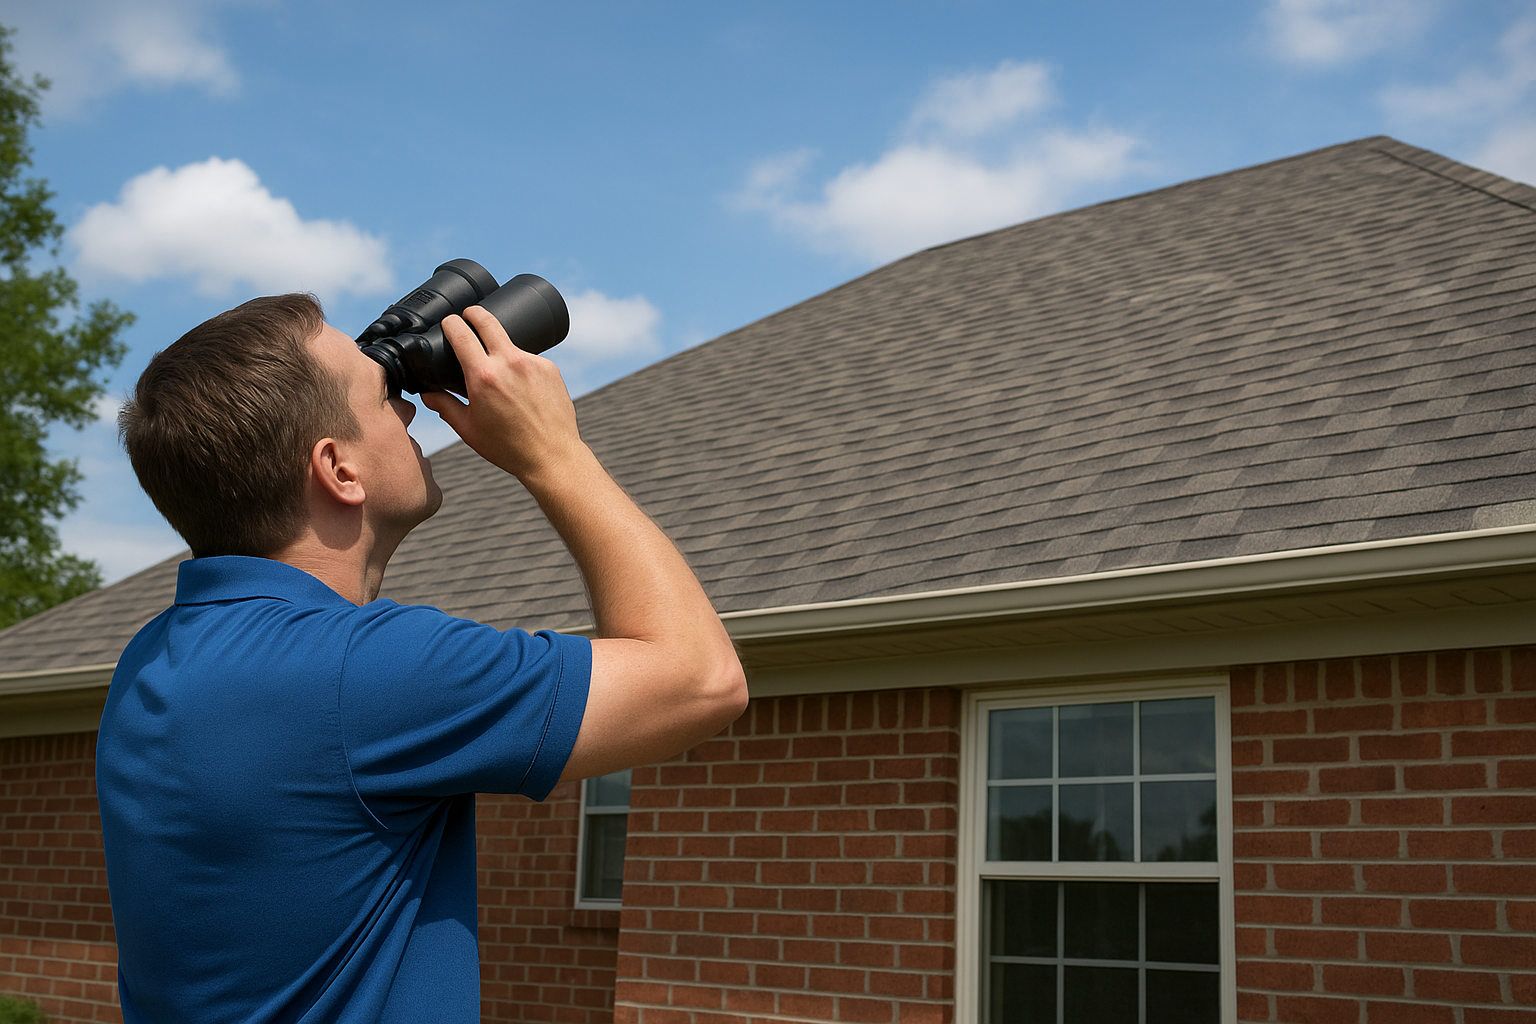
Walk the full perimeter of your home slowly and study the roofline from multiple angles. Bring binoculars if you have them - they make a real difference when scanning shingles from 20 to 30 feet away. You are looking for missing shingles, dark patches where granules washed off, and visible dents in gutters and downspouts. Pay close attention to soft metal ridge caps and any flashing along chimneys or walls.
Look for granules collecting in your gutters or pooling at the base of downspouts. A heavy accumulation of granules after a hail event is one of the clearest indicators that your shingles absorbed real impact force.
If you find multiple dented gutters along one side of the house, that pattern usually means hail hit that face hard - the same slope of your roof likely took it too.
Head into your attic during daylight and turn your flashlight off briefly. Any pinpoints of light coming through the decking mean you have penetration damage that needs attention right away. After turning your light back on, work your way across the space and check for these specific warning signs:
Once your inspection is done, document everything before you clean up or make any temporary repairs. Photos and written notes are what turn your findings into an insurance claim that holds up. A well-documented roof inspection after hail storm also protects you if the adjuster disagrees with the scope of damage.
Start at the ground level and photograph every dented gutter, downspout, and soft metal surface you found during your walkthrough. These images establish the storm's impact pattern across your property. Then move to close-up shots of any shingle damage, granule accumulation in gutters, and attic staining. Make sure each photo is time-stamped by keeping your phone's automatic date feature enabled, and take multiple angles of the same damaged area.
Insurance adjusters rely heavily on photo documentation when evaluating hail claims, so more photos are always better than fewer.
A written record alongside your photos gives your claim a clear, organized foundation. Use this basic template to capture what matters:
| Item | Location | Damage Observed | Photo Taken |
|---|---|---|---|
| Gutters | North side | Multiple dents | Yes |
| Shingles | South slope | Granule loss, bruising | Yes |
| Attic decking | Near ridge | Water staining | Yes |
| Flashing | Chimney base | Bent, separated | Yes |
Fill this out the same day you inspect, while the details are fresh. Store the photos and the log together in a dedicated folder on your phone or cloud storage so you can share them quickly with your contractor or insurance carrier.
Your inspection and documentation give you the information you need to make a clear decision. Not every hail event requires immediate repair, but some findings demand action before the next rain hits. Use what you found during your roof inspection after hail storm to place your situation into one of three categories: monitor, repair, or call a pro.
If your ground and attic inspection turned up no attic moisture, no visible shingle cracking, and only minor granule accumulation in gutters, you may be in a watch-and-wait situation. Check your attic again after the next rain and note any new staining. Keep your photo log updated and set a calendar reminder to re-inspect in 30 days.
Some findings move you past monitoring immediately. If you found any of the following, contact a licensed roofing contractor for a full assessment before the next storm season:
When multiple soft metal surfaces show clear dent patterns, your shingles almost certainly absorbed the same force - that combination is strong grounds for a professional inspection.
A licensed contractor can document damage at a level that holds up with your insurance carrier, and that documentation often makes a real difference in claim outcomes.

If your roof inspection after hail storm turned up any of the warning signs covered in this guide, the next move is straightforward: get a professional assessment before the next weather event hits. Granule loss, attic staining, and dented gutters do not fix themselves, and waiting typically turns a manageable repair into a much larger problem.
Defend Roofing serves homeowners across the Austin area, including Cedar Park, Leander, Steiner Ranch, and Jonestown. Every assessment we perform includes 100+ photos and a clear, written report that documents what we found and why. You get honest repair-versus-replace guidance with no pressure, and we help you navigate the insurance claim process if your findings support one.
Your roof protected your home through that storm. Take the next step and make sure it is ready for the next one. Schedule your professional roof assessment with Defend Roofing today.