Learn to spot, locate, and patch flat roof leaks yourself, plus real cost ranges for roof repair flat jobs and when to call Defend Roofing's pros.
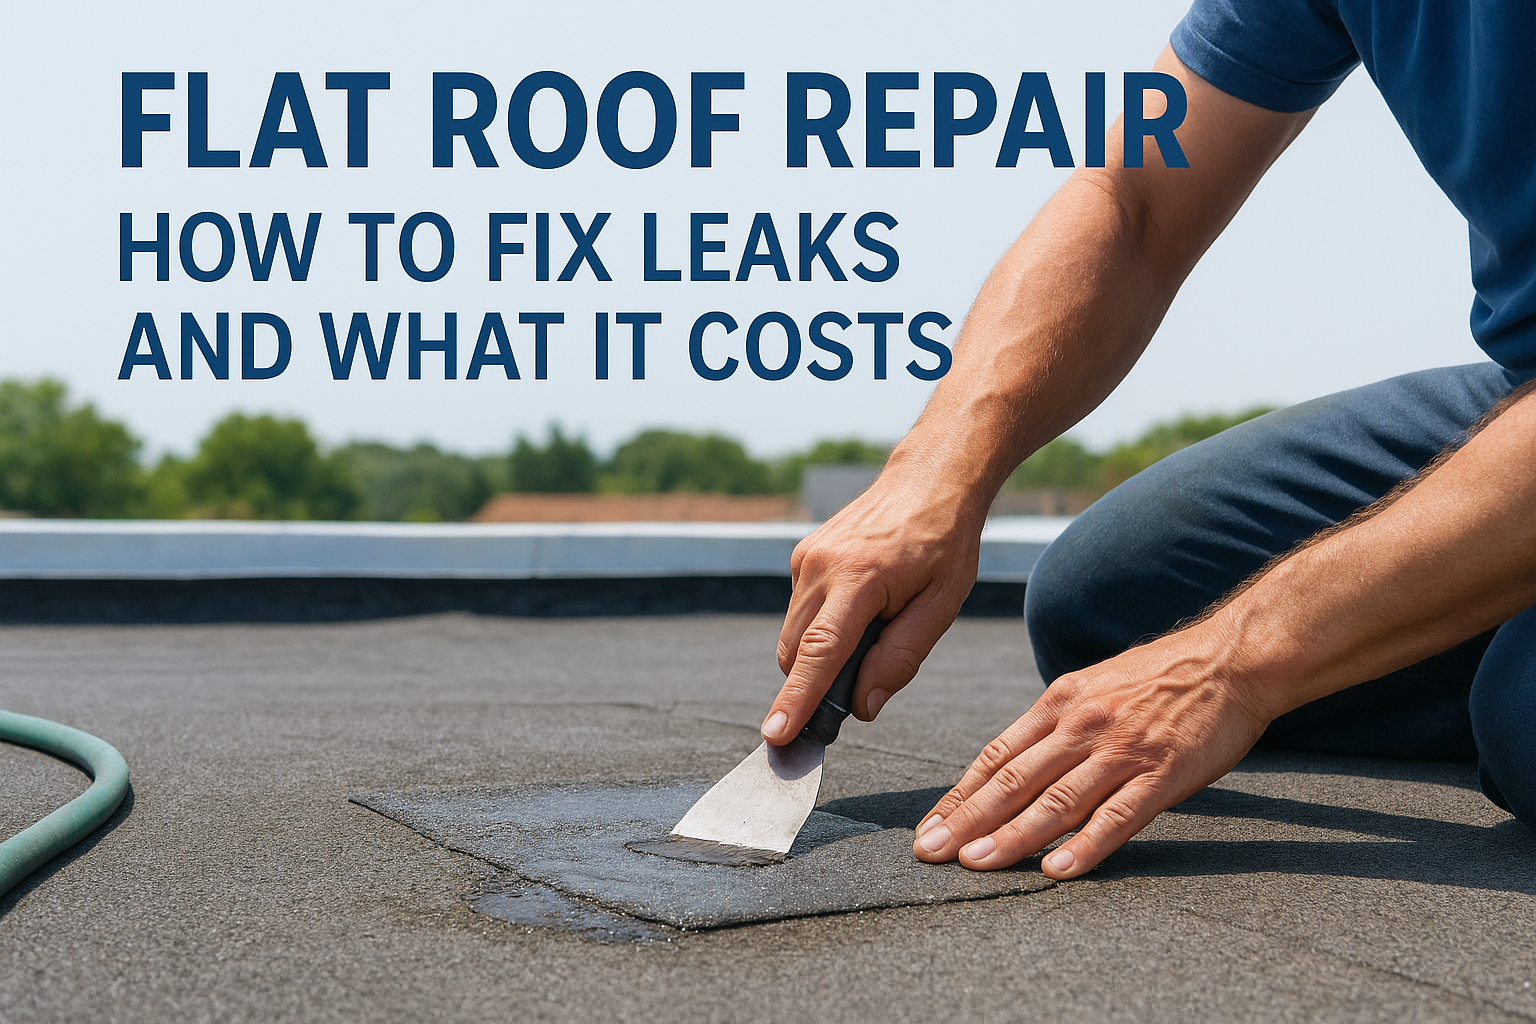
A flat roof leak rarely stays small. Water finds the lowest point, pools there, and works its way through a seam or flashing joint you probably can't see from the ground. If you're dealing with a stain on the ceiling or standing water after every Central Texas storm, you need a fix, not another guessing game.
This guide covers roof repair flat methods that actually work, from patching a small membrane tear yourself to knowing when the damage calls in a licensed contractor. We'll walk through the common causes of flat roof leaks, the materials used for TPO, EPDM, and modified bitumen repairs, and realistic repair cost ranges so you're not caught off guard by a quote.
We've spent years crawling flat roofs across Cedar Park, Leander, and Steiner Ranch, documenting damage with photo-based assessments before recommending anything. That experience shapes what follows: honest guidance on DIY fixes that hold up, warning signs that mean it's time to call a professional, and how to tell the difference between a $200 patch job and a roof that needs full replacement.
Small, isolated damage on a flat roof usually falls within reach of a confident homeowner. A pinhole in TPO membrane, a lifted seam edge, or a small blister that hasn't cracked open yet are all reasonable DIY roof repair candidates if you're comfortable getting on the roof safely and the damage is under a foot or two in size, and the same step-by-step approach to repairing a leaking roof applies here. Central Texas heat actually works against you here, since UV exposure makes membranes brittle faster than in cooler climates, so what looks like a minor crack today can spread wide by next summer.
Grab a flashlight and check for these before you commit to a patch job:
A flat roof patch only holds if the surrounding material is still sound. Patch rotten decking and you've just delayed a bigger repair.
However, some situations are past the patch-kit stage. If you press on the roof surface and it feels soft or gives slightly, water has already reached the decking underneath, and that's decking damage that signals a failing roof, not a membrane issue. Insurance claims also change the equation. If a hailstorm or wind event caused the damage, a documented professional assessment protects your claim far better than a DIY patch that alters the evidence adjusters need to see.
Our team at Defend Roofing builds every estimate around a 100+ photo Precision Roof Assessment, which is the kind of documentation that holds up with adjusters and gives you an honest repair-versus-replace answer instead of a sales pitch.
| Situation | DIY Fix | Call a Pro |
|---|---|---|
| Small puncture, dry deck | Yes | Optional |
| Multiple leaks or old repairs failing | No | Yes |
| Soft or spongy decking | No | Yes |
| Storm/insurance claim involved | No | Yes |
| Membrane older than 15 years | No | Yes |
Questioning your own assessment is normal, and it's better to get a second opinion than to guess wrong on a roof that protects your entire home.
Water on a flat roof rarely stays where it started. It travels along the deck, follows a seam, and drips through the ceiling several feet from where the actual breach sits, so chasing an interior stain straight up almost never works. Start outside instead, and walk the entire roof surface in daylight to narrow down where the water actually gets in, ideally after a dry stretch of a day or two so you're not confusing standing water with an active leak.
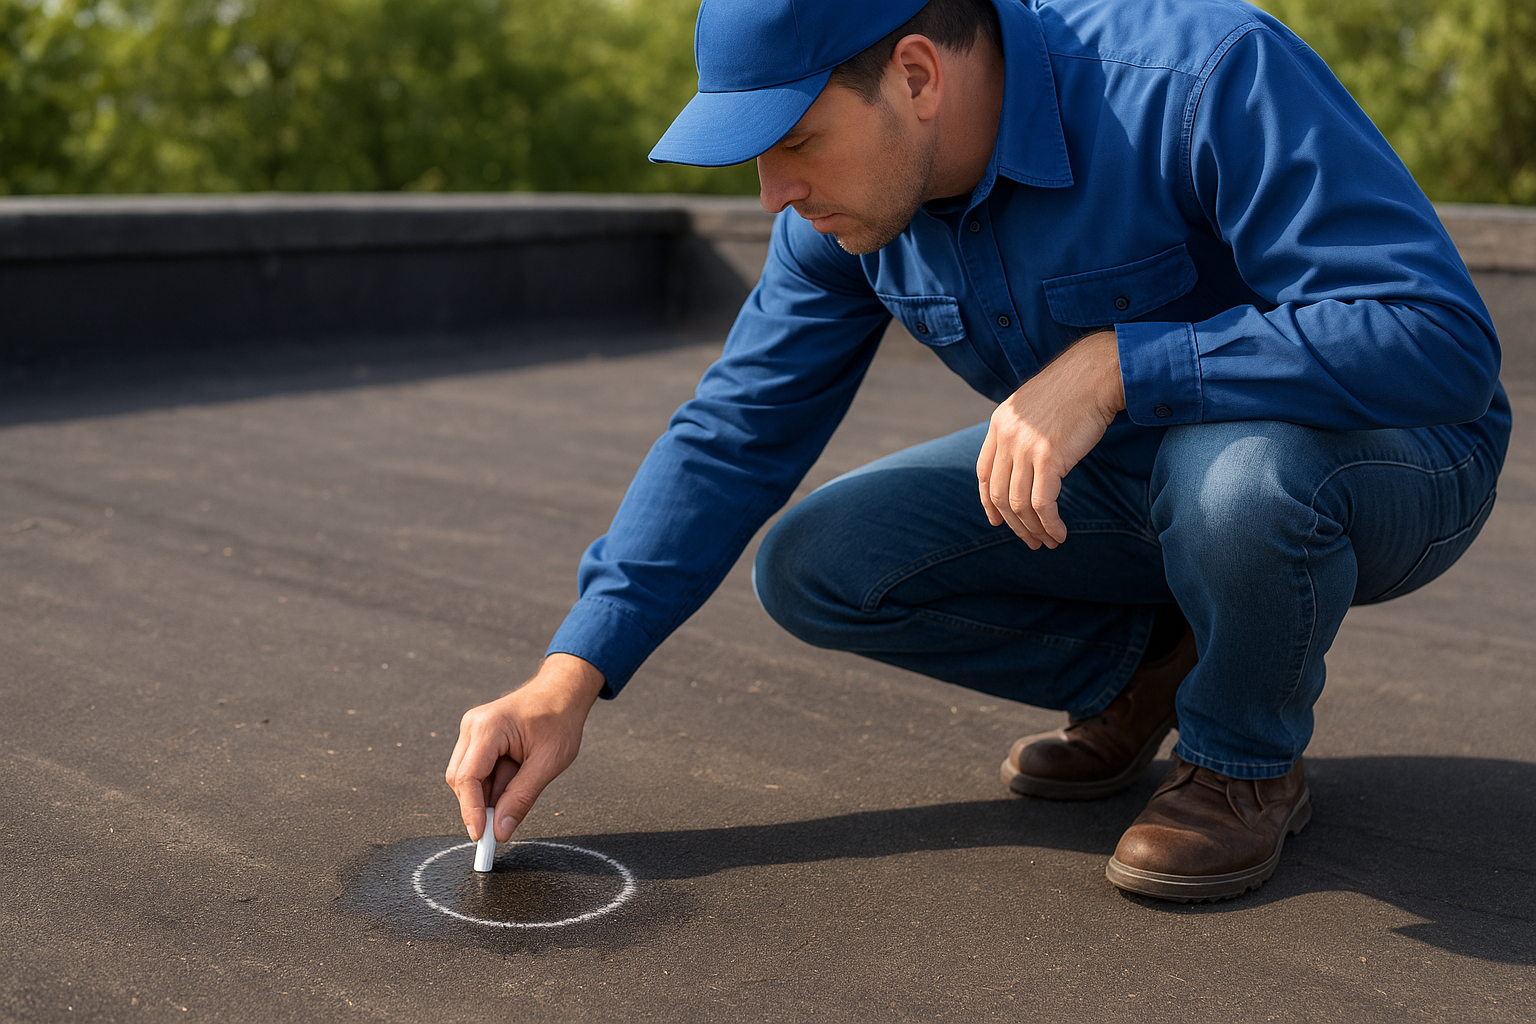
Look first at the low points and drains, since ponding water is the single biggest cause of flat roof failure in Central Texas. Check these areas in order:
Most problems trace back to one of these five spots. A pinhole in the field of the membrane is rare compared to a failed seam or a flashing joint that's pulled loose.
Follow the water uphill, not down. The stain on your ceiling almost never sits directly under the leak.
Once you find the likely spot, mark it with chalk or tape before you climb down. Flat roofs look uniform from a distance, and it's easy to lose track of a small crack once you're standing over it with a patch kit in hand. If you find more than one damaged area, that's often a sign the membrane itself is aging out rather than suffering an isolated failure, which comes down to how long a flat roof lasts by material.
Once you've marked the leak, resist the urge to slap sealant on top of dirt and debris. A clean surface is what makes any patch stick, and skipping this step is the number one reason DIY flat roof repairs fail within a season. Sweep the area with a stiff broom first, then scrub it with a mild detergent and water to strip away granules, algae, and the fine dust that builds up on TPO and EPDM membranes over a Central Texas summer.
After washing, let the roof dry completely. Even a slightly damp membrane keeps adhesives and sealants from bonding, so give it a few hours in direct sun or wait for a low-humidity day. Once dry, take a utility knife and trim away any loose or curled membrane edges around the damage. You want a solid, flat surface for the patch to grip, not a ragged tear that traps water underneath.
A patch is only as good as the surface underneath it. Skip the cleaning step and you're just gluing a bandage over dirt.
Gather what you'll need before you start the actual repair:
Wipe the entire repair zone one last time with alcohol or a primer cloth right before you patch it. This removes any oily residue left behind, and it's a step a lot of first-time DIYers skip, then wonder why the seal lifted within a month.
With the surface clean and dry, match your patch material to your membrane type. TPO needs a TPO patch welded or glued with TPO-specific adhesive, EPDM rubber wants an EPDM patch and matching seam tape, and modified bitumen calls for a bitumen-based patch set with a torch or cold adhesive. Mixing materials, like using EPDM cement on a TPO roof, is the fastest way to watch a patch peel loose after the first hard rain.
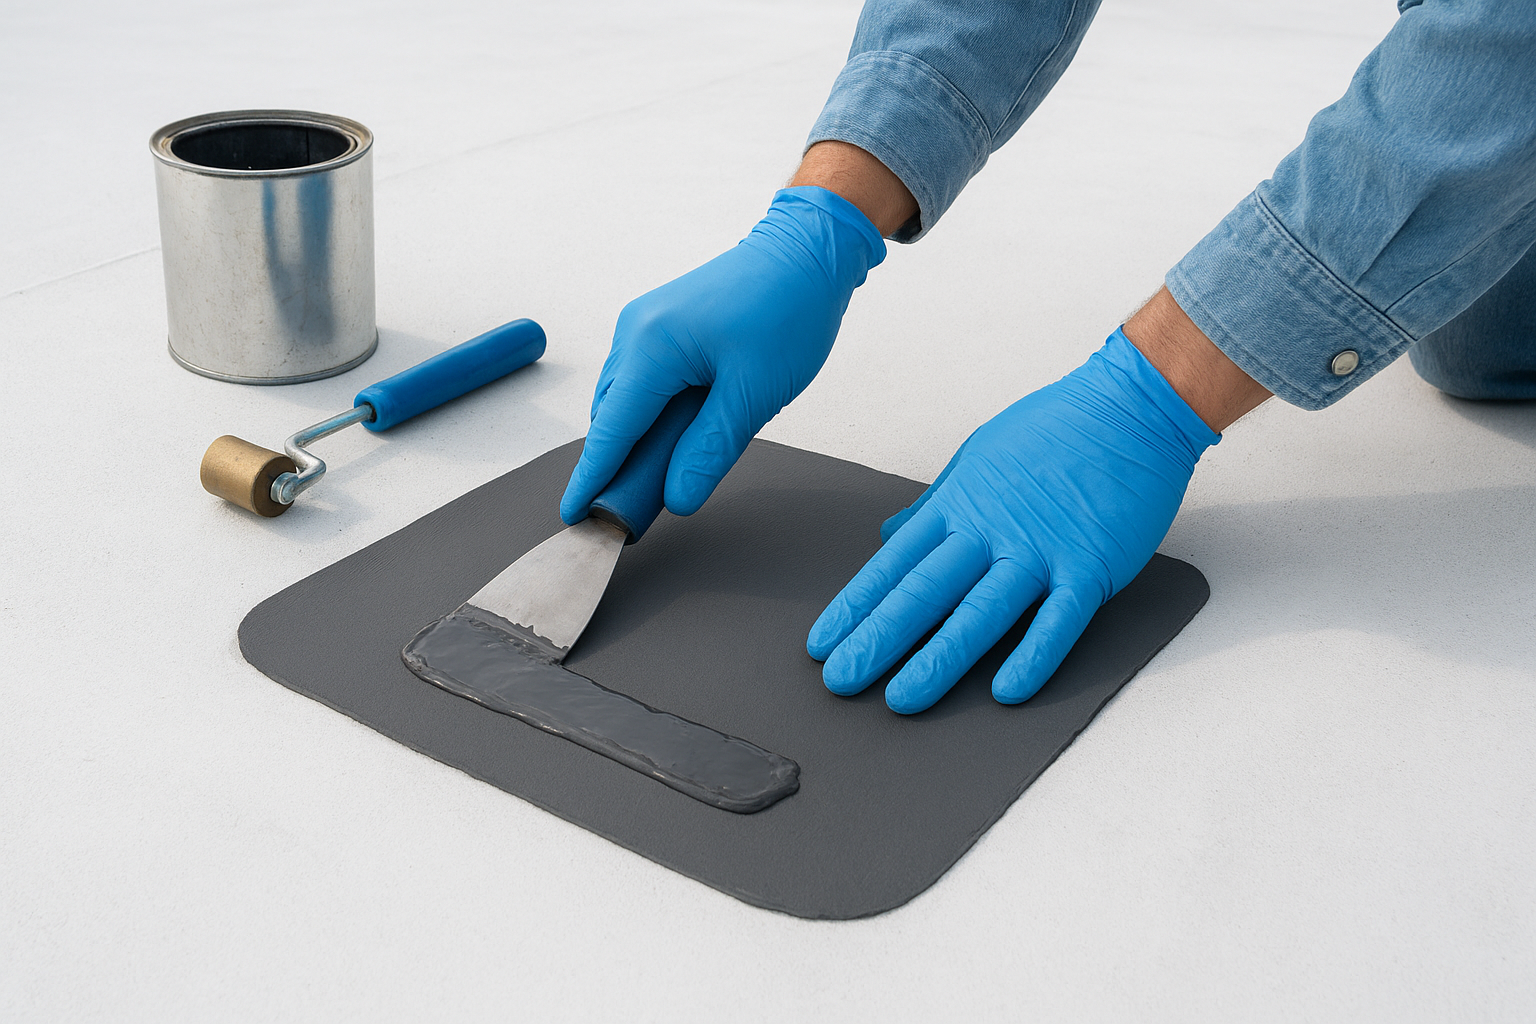
Cut your patch so it overlaps the damaged area by at least 3 inches on every side, then round the corners. Square corners lift first because water pressure concentrates right at the point.
Basic patch sequence:
1. Apply adhesive or primer to the prepped area
2. Press patch down, working from center outward
3. Roll with a seam roller to force out air pockets
4. Apply a bead of compatible sealant around the patch edge
5. Smooth the sealant bead with a putty knife
A patch that isn't sealed at every edge isn't a patch, it's a trap for water to sit under.
For a blister repair, cut an X through the bubble, let it dry out completely, then patch over the cut rather than just sealing the surface. For a lifted flashing joint, run a compatible sealant underneath the loose edge before pressing it back down, not just over the top.
Give any wet-applied sealant the full cure time listed on the container, usually 24 to 72 hours, before you test it with a hose.
Once the sealant cures, test your work before you call it done. Run a garden hose over the patch for ten minutes, starting at the low end and working up, then check the ceiling below for any fresh moisture. A dry ceiling after that test is a good sign, but give it a few real rainstorms before you fully trust it. Walk the roof again after the next storm and press on the patch to make sure it hasn't lifted or softened.
Now weigh what you actually spent against what a professional repair would run. A DIY patch kit costs $30 to $80 in materials, but that number balloons fast if the leak turns out to be bigger than it looked, or if you have to redo a failed patch. What a contractor will quote for flat roof repair typically breaks down like this:
| Repair Type | Typical Cost Range |
|---|---|
| Small membrane patch (professional) | $200 to $450 |
| Flashing repair or reseal | $300 to $700 |
| Multiple leak locations | $600 to $1,500 |
| Full membrane recoat | $1,500 to $4,000+ |
Cheap materials on a $400,000 house make no sense. The patch is only worth what it protects.
Think hard about the math before you climb up again for a second attempt. If your DIY fix has already failed once, a professional roof repair usually costs less than the combined price of two failed patch kits and the water damage that follows, though it's worth knowing whether it's smarter to repair or replace at that point.
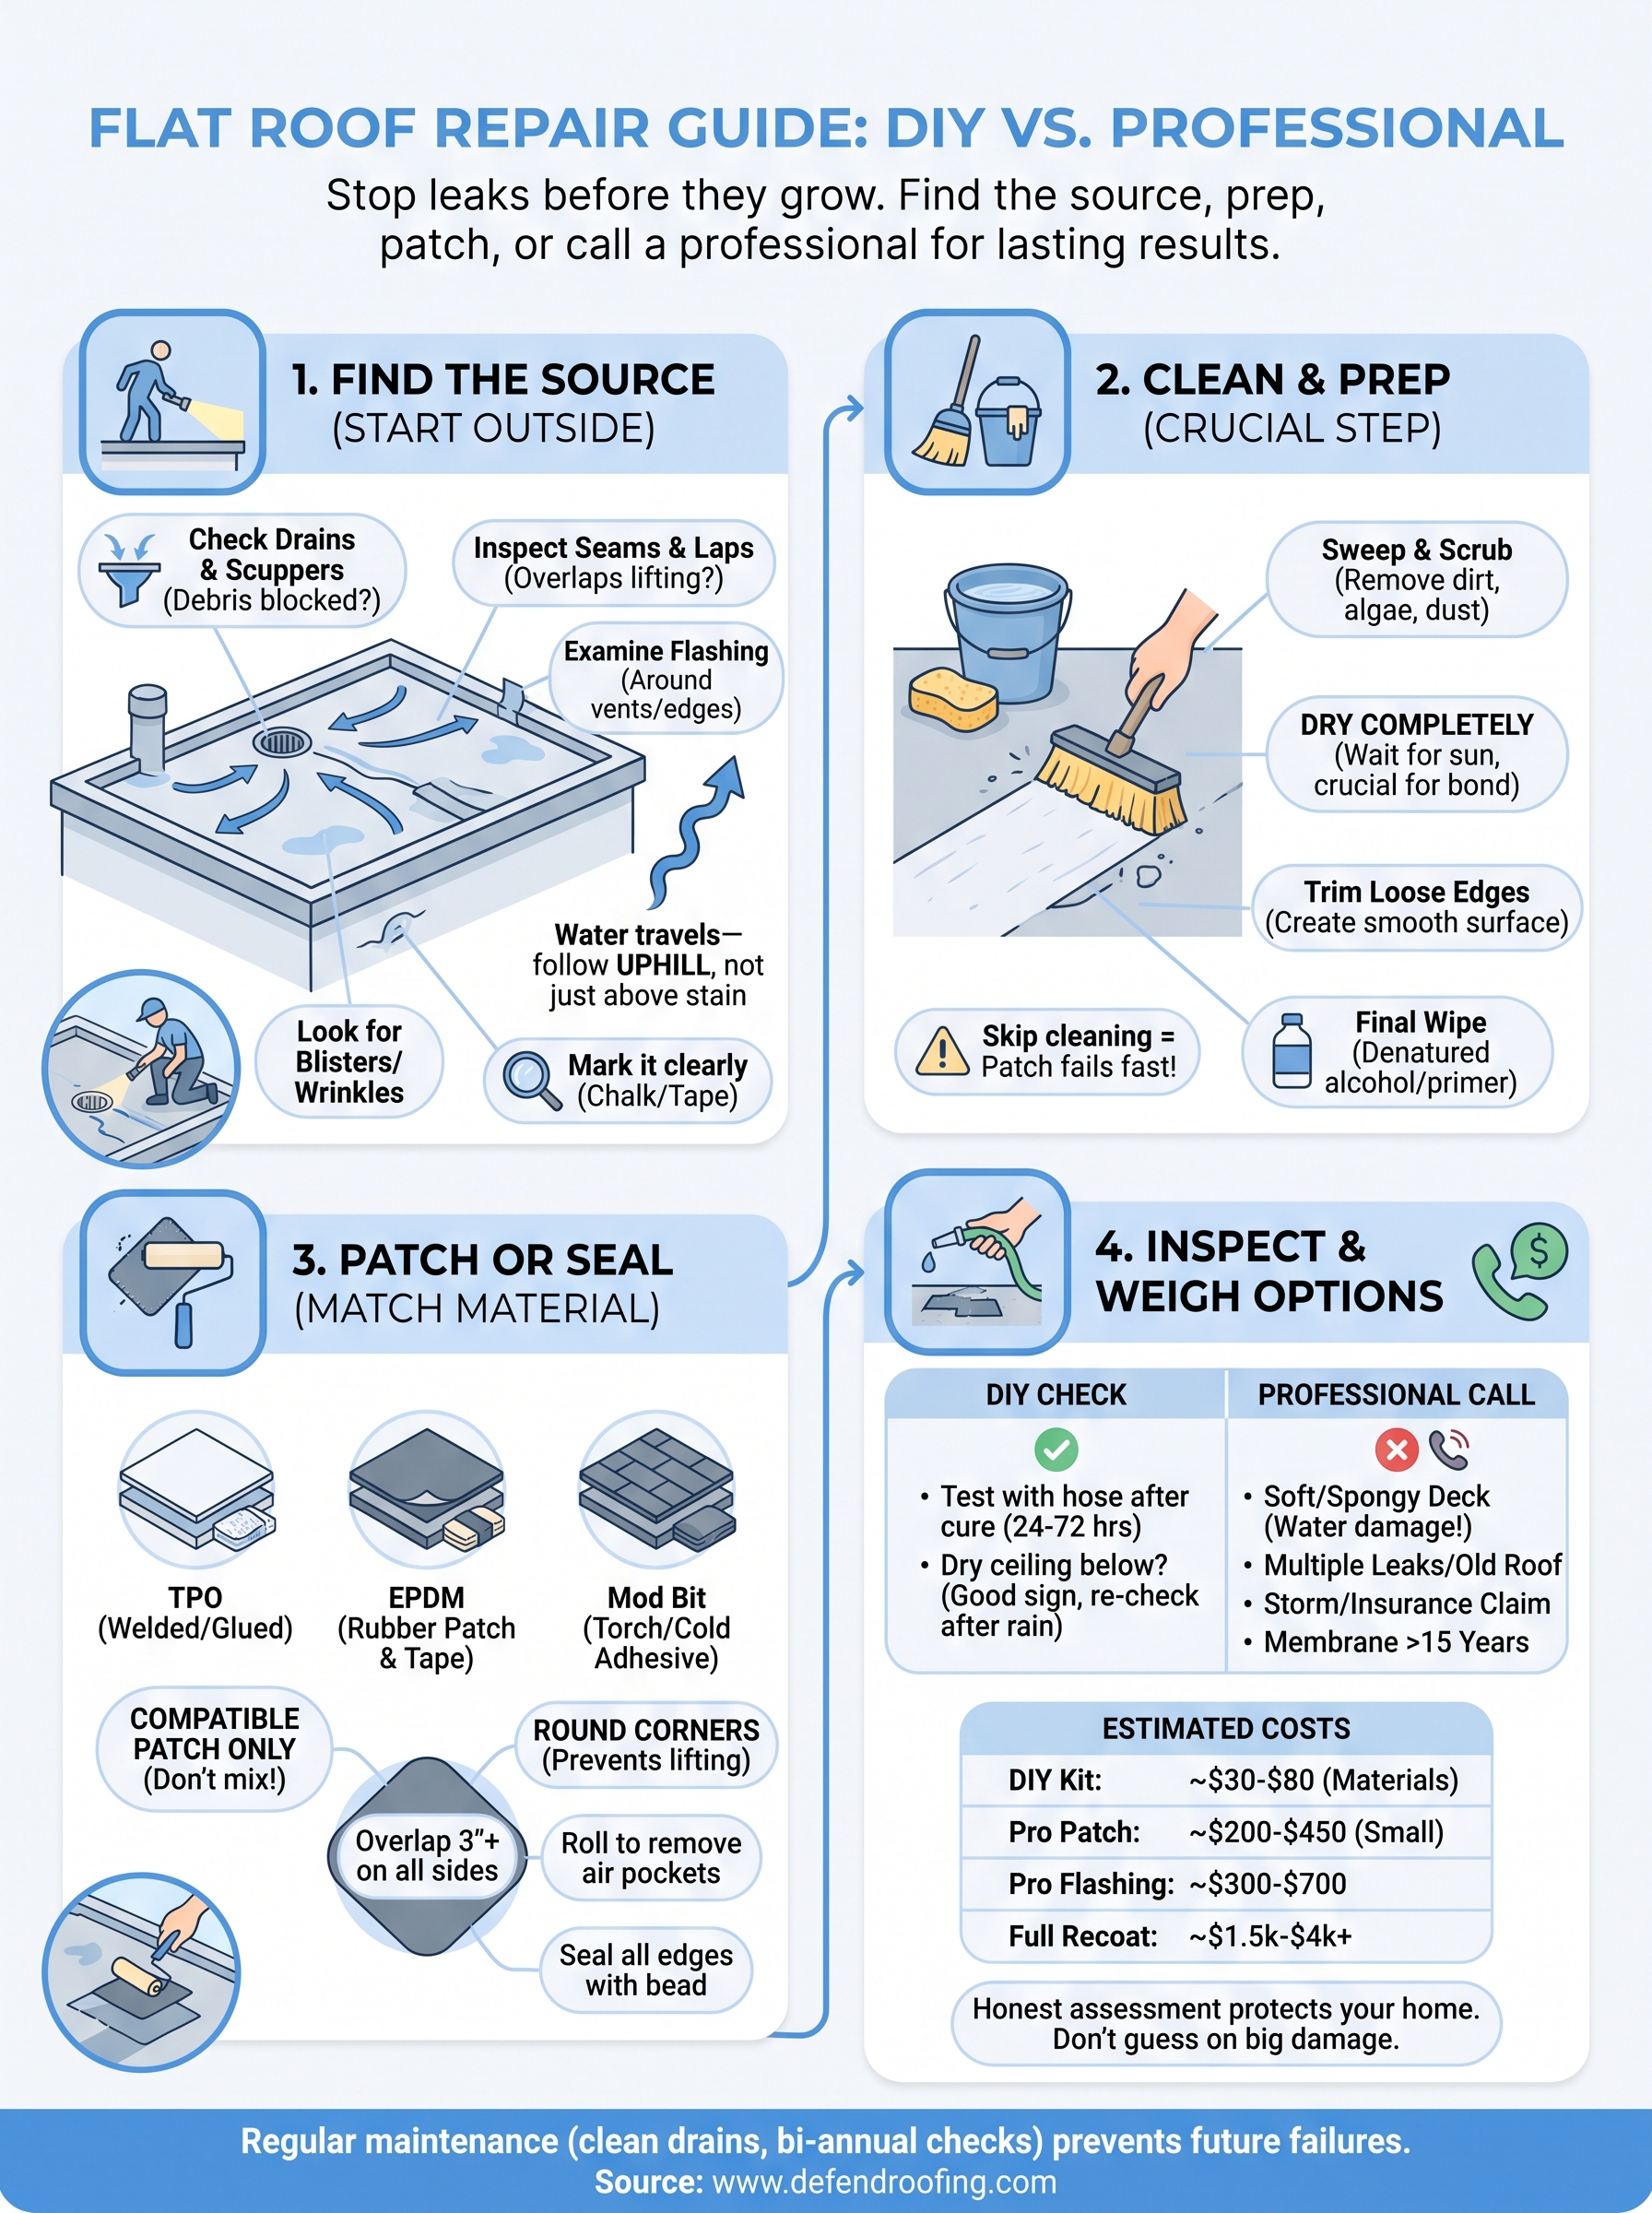
A well-executed patch buys you time, but it doesn't stop the aging process that caused the leak in the first place. UV exposure and ponding water keep working on the rest of your membrane even after you've fixed one spot, so plan on checking your flat roof twice a year, once in spring and once after the worst summer heat, and clear drains before every storm season. Small maintenance now beats emergency repairs later, and it costs a fraction as much.
Defend Roofing has spent three generations fixing flat roofs across Cedar Park, Leander, and Steiner Ranch, and we've seen what happens when small leaks get ignored versus caught early. If your patch didn't hold, or you'd rather start with an honest, photo-documented assessment instead of guessing at what's underneath, call, text, or get an instant quote on your flat roof and a real answer on repair versus replacement.