Learn how to repair a leaking roof step-by-step: find the source, apply temporary fixes, and know when Central Texas homeowners need a pro.
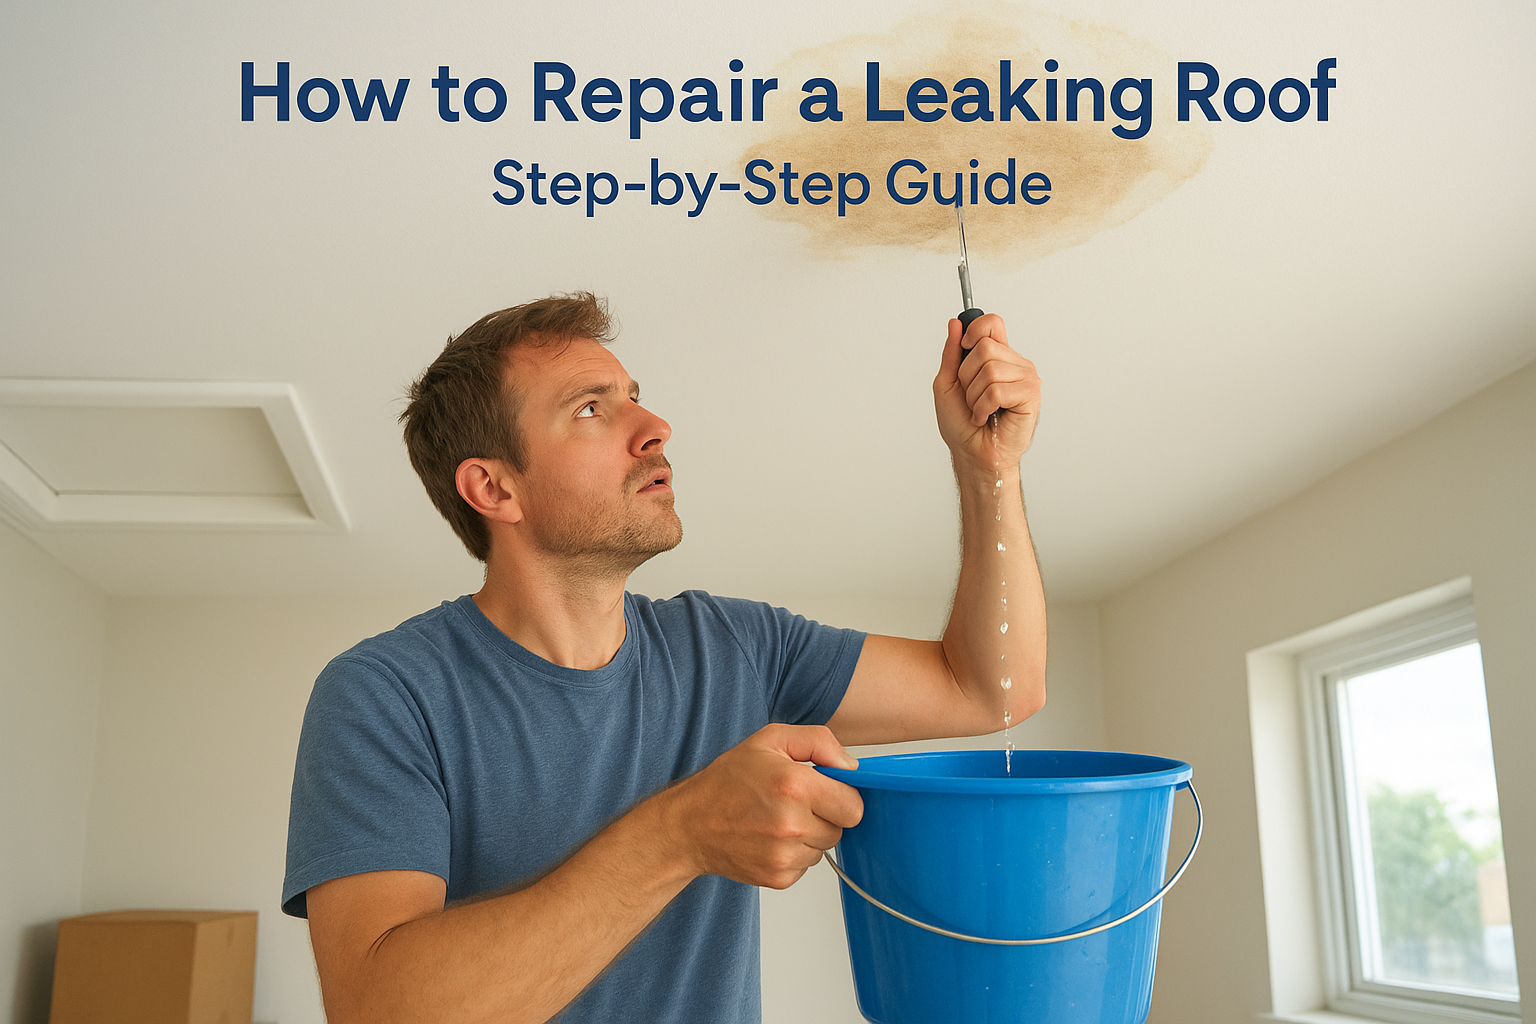
Water stains spreading across your ceiling never happen at a convenient time, and in Central Texas they usually show up right after one of our fast-moving thunderstorms rolls through. If you're trying to figure out how to repair a leaking roof before it ruins drywall, insulation, or a hardwood floor, you need clear steps, not vague advice about "calling a professional" without explanation.
This guide walks you through exactly what to do when your roof is leaking, from tracing the water back to its actual entry point (which is often nowhere near the stain) to applying a temporary patch that buys you time. You'll also get a realistic sense of repair costs and the specific warning signs that mean this isn't a weekend DIY project anymore.
We've spent three generations climbing Austin-area roofs, and we've seen homeowners make small leaks worse by patching the wrong spot or ignoring hidden rot underneath. Whether you're dealing with a slow drip or an active leak in a roof after a storm, this step-by-step breakdown will help you stop the damage now and decide with confidence when it's time to bring in a licensed roofer.
Before you climb a ladder or grab a tarp, stop the water from spreading further inside your home. The first few minutes after you spot a leak matter more than the repair itself, because a bucket and a few smart moves can save you thousands in drywall, flooring, and mold remediation. Move fast on the interior damage before you worry about anything on the roof deck, and know what to do right now and who to call if the water won't stop.
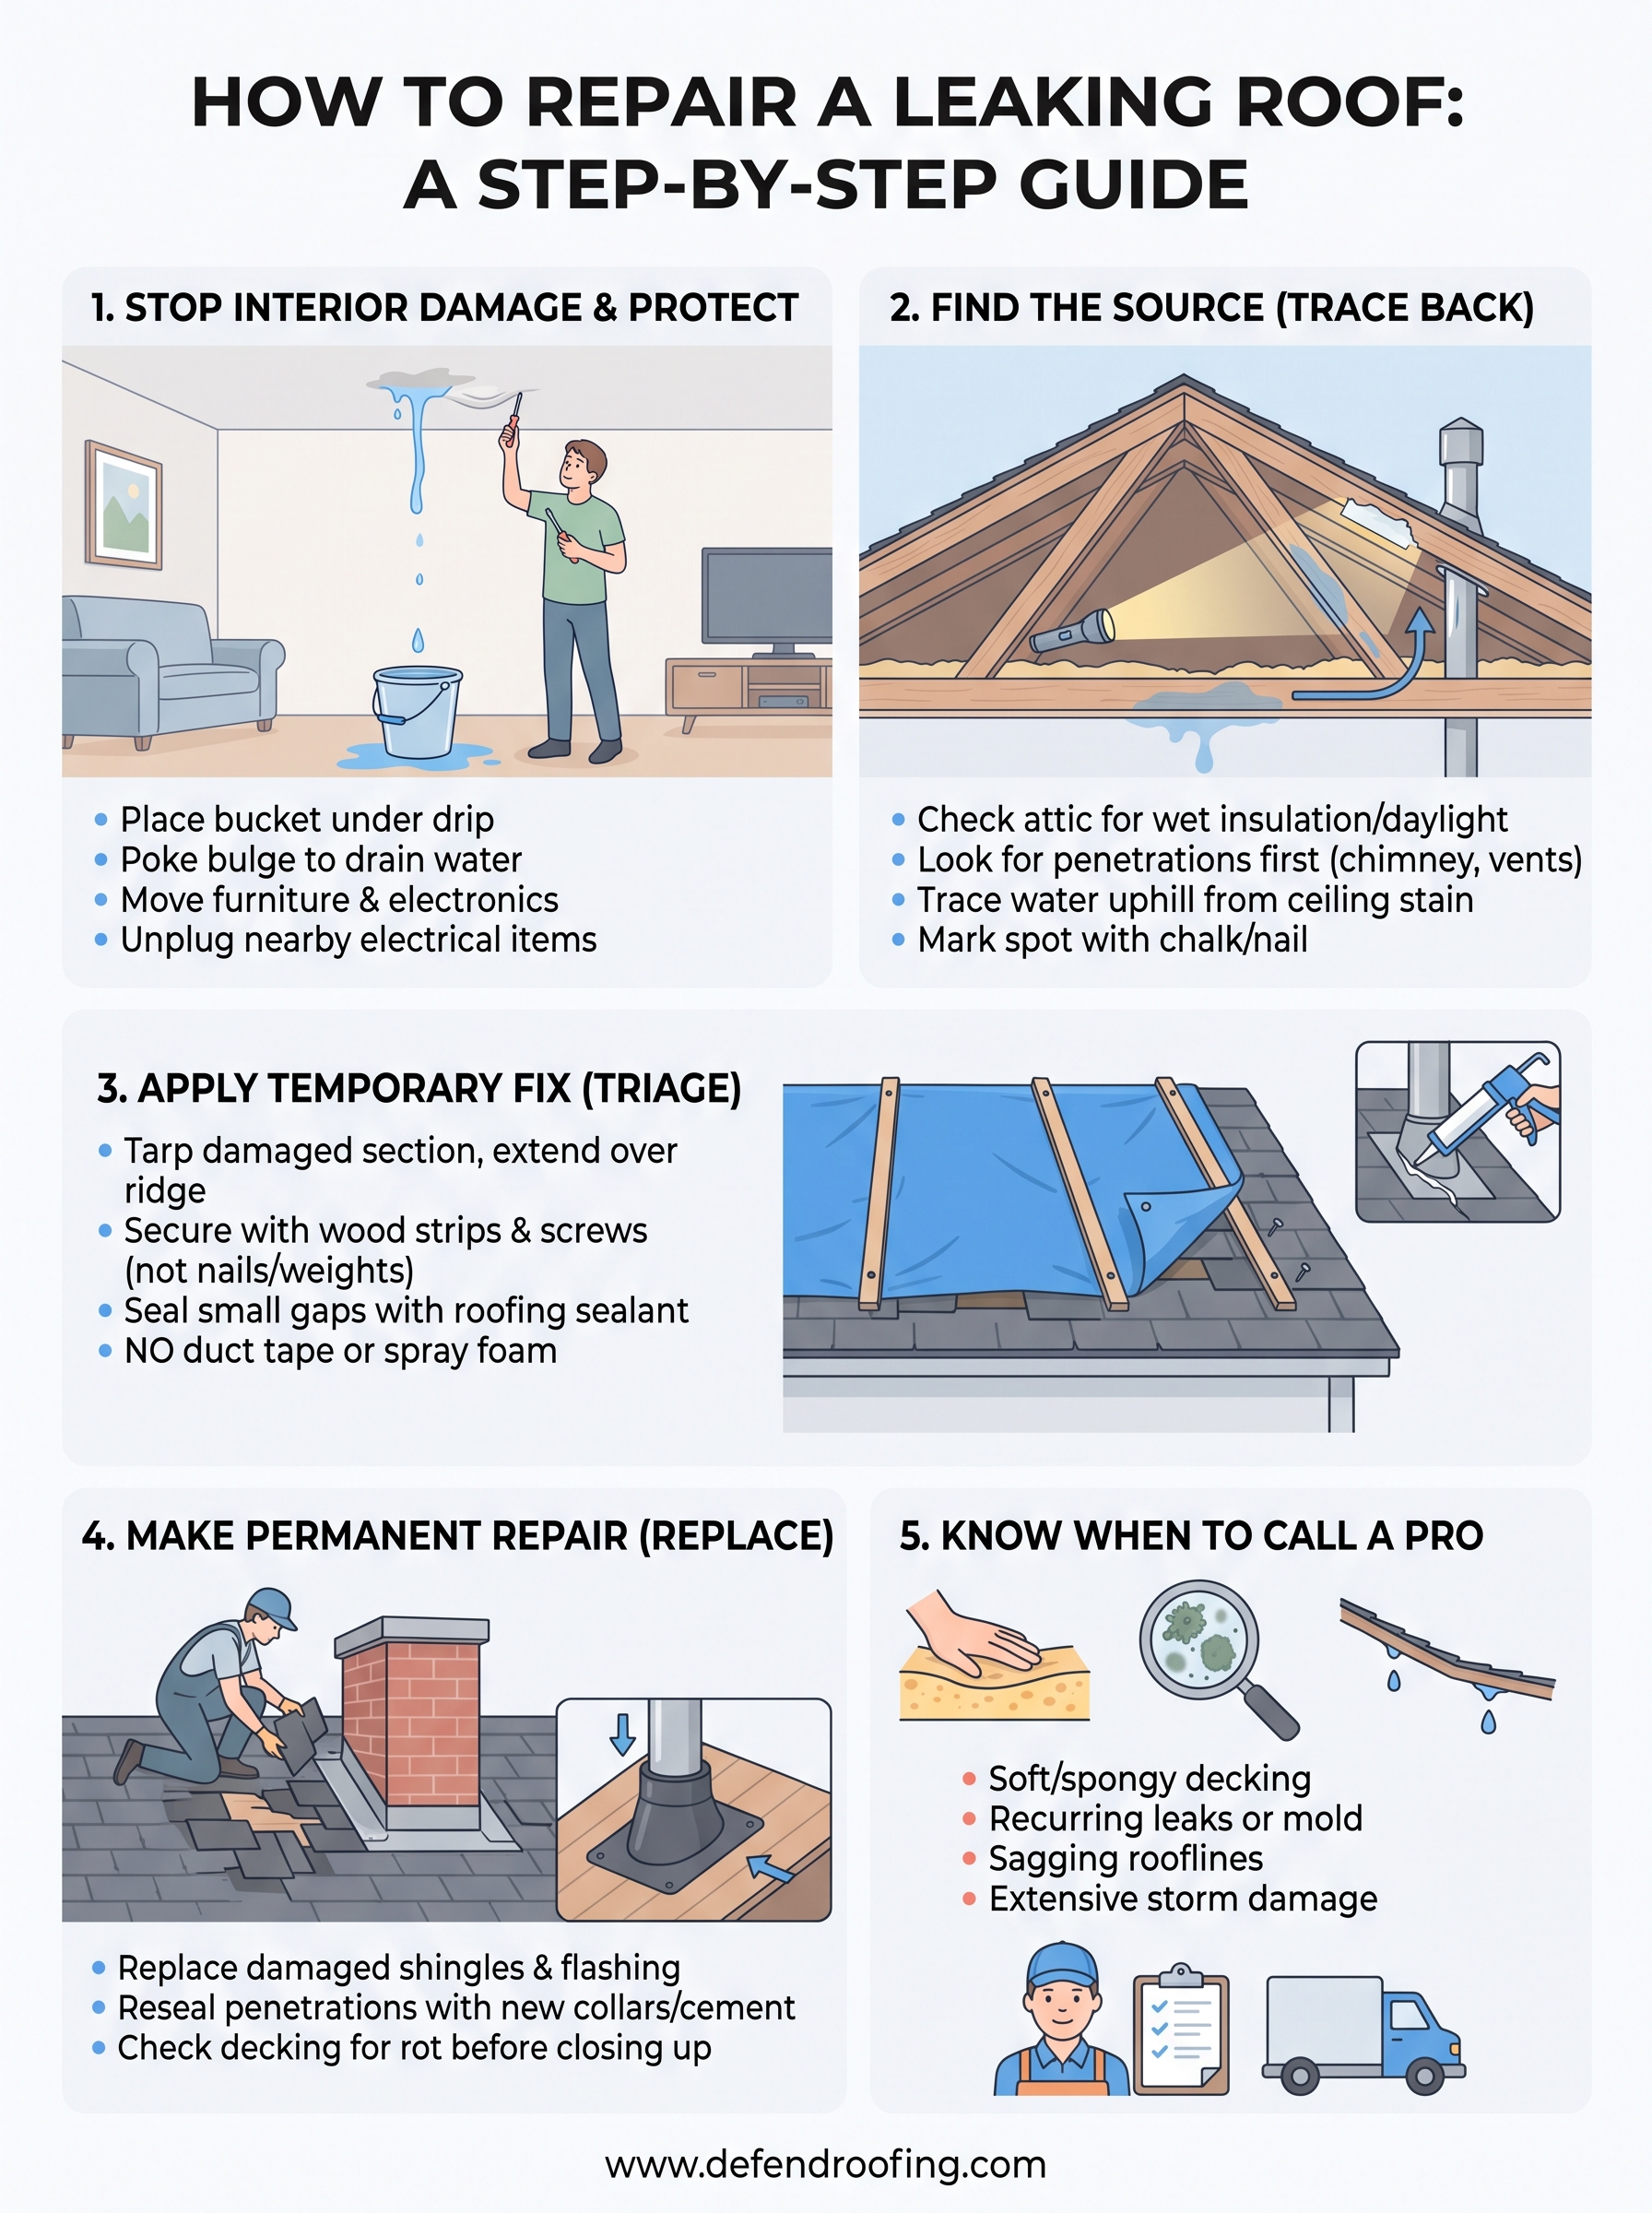
Grab a bucket, towels, or a trash can and place it directly under the drip. If water is pooling on the ceiling and starting to bubble the paint, poke a small hole in the center of the bulge with a screwdriver so it drains through a controlled point instead of collapsing a whole section of drywall onto your floor. Move furniture, electronics, and rugs out of the drip zone, and unplug anything electrical nearby since wet wiring is a real fire and shock hazard. If the leak is bad enough to soak insulation, pull back what you can reach so it doesn't stay saturated against your ceiling joists for days.
A five-minute bucket setup can save you a five-figure ceiling repair.
Head into your attic with a flashlight while it's still raining or right after, since active leaks are far easier to trace when water is actually moving. Look for wet insulation, dark streaks on the rafters, or daylight coming through the roof deck. This is often where you'll spot the real entry point, which rarely lines up with the stain on your ceiling below because water travels along rafters and sheathing before it drips through. Mark the spot with chalk or a nail pushed through the deck so you can find it from the roof later.
Don't get on a wet, sloped, or storm-damaged roof by yourself. Central Texas storms often bring high winds and hail, and a roof surface can hide soft spots, loose shingles, or structural weakness you can't see from the ground. Wait until the roof is dry and the weather has fully cleared before you go up, and use a stable extension ladder with someone spotting you from below.
Document the interior damage, the attic evidence, and eventually the roof itself with your phone. This record matters for two reasons: it helps you or a roofer pinpoint the source faster, and it gives you the evidence you'll need if you file an insurance claim.
This groundwork sets you up for the next step: tracking the leak back to its actual source on the roof.
Once it's safe to get on the roof, work from the inside out, following the same order we use in our guide on how to find a roof leak. Common leak points cluster around anything that penetrates the roof deck, and understanding why roofs spring leaks in the first place helps, since flashing and seals wear out long before the shingles themselves fail. Start your search at these penetration points before you assume a shingle is the culprit.
Most roof leaks trace back to a short list of trouble spots, so check these before you start pulling shingles apart:
Nine times out of ten, the leak starts at a penetration, not the open shingle field.
Remember that mark you made in the attic? Climb to that spot on the roof, but check the area above and to the side of it first, since water runs downhill along the underlayment before it finds a gap to drip through. A stain three feet below a vent pipe often means the actual failure is at the boot itself, not the shingles directly overhead. Pour a small amount of water from a garden hose near suspected spots while a second person watches inside the attic, working from the bottom of the roof upward, section by section, until you see the drip start.
Daylight is your best diagnostic tool. On a sunny day, shut off the attic lights and look for pinpricks of light coming through the deck, each one marks a nail hole or gap worth sealing. Cracked caulk, curled shingle edges, and rusted flashing nails are all visible signs once you know where to look. If you still can't pinpoint the entry after checking these areas, that's a strong signal the damage runs deeper than a surface fix, which we'll cover in the next step.
Once you've found the source, your goal shifts from diagnosis to damage control. A temporary patch won't outlast a full monsoon season, but these 8 fast DIY steps before help arrives buy you the time you need to schedule a proper repair without water finding its way inside again. Think of this step as triage, not a finished job, since rushing a permanent fix in the wrong conditions usually creates more problems than it solves.
For anything beyond a pinhole leak, a tarp is your fastest and most reliable temporary fix. Cover the affected area and extend the tarp over the ridge line so water runs off the back side instead of pooling against the edge. Anchor it with 2x4 boards screwed through the tarp grommets into the roof deck, never with loose bricks or cinder blocks that can slide or blow off in Central Texas wind gusts.
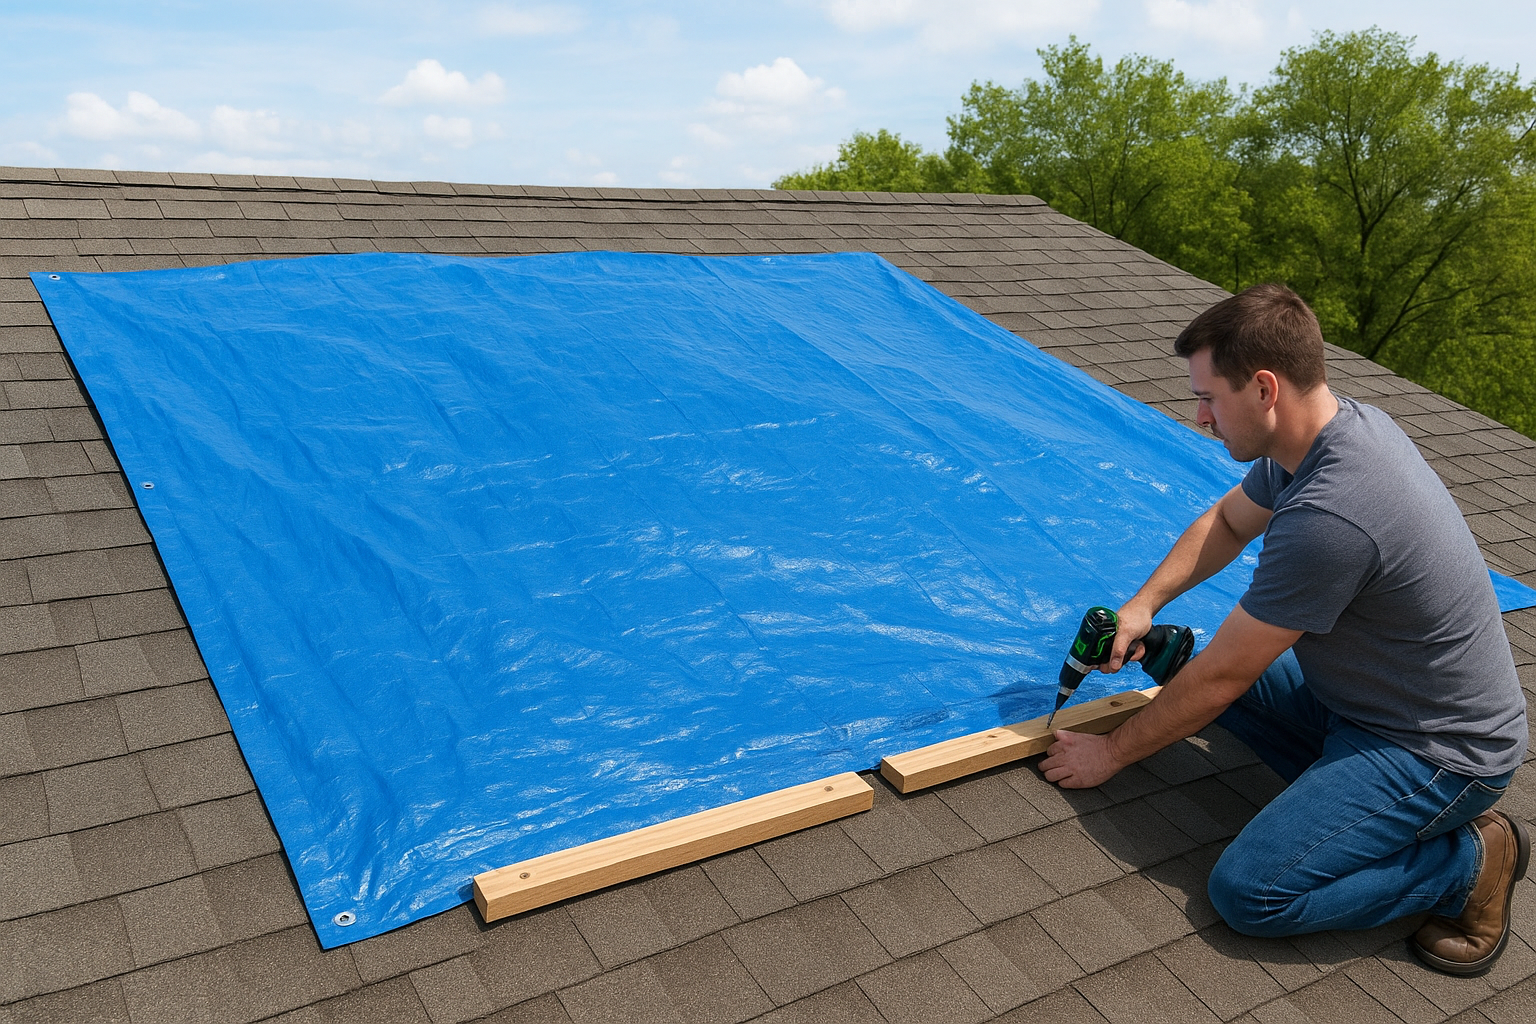
A properly anchored tarp stops more water damage than any caulk tube ever will.
For a small crack, a lifted shingle tab, or a pinhole around a nail, roofing cement or a polyurethane-based roof sealant applied with a caulk gun can hold for weeks if the surface is dry first. Work the sealant into the gap and feather it out slightly beyond the edges so water can't creep underneath.
Skip duct tape, spray foam, and dried-out caulk tubes from the garage. None of these hold up against sustained sun and rain, and spray foam actually traps moisture against the deck, which accelerates rot instead of preventing it.
Once the weather cooperates and you know the exact source, it's time to move from patchwork to a lasting fix. This is where you actually repair the leak in the roof instead of just slowing it down, and it usually means replacing materials rather than layering more sealant on top of old damage.
Pull the nails on the cracked or curled shingle, slide out the damaged piece, and set a new shingle in its place using roofing nails and a dab of sealant under each tab, the same method covered in our guide to replacing individual roof shingles yourself. If the flashing around a chimney, vent, or valley is rusted or bent, replace the flashing entirely rather than caulking over it, since caulk over metal fails again within a season in our heat and hail cycles.
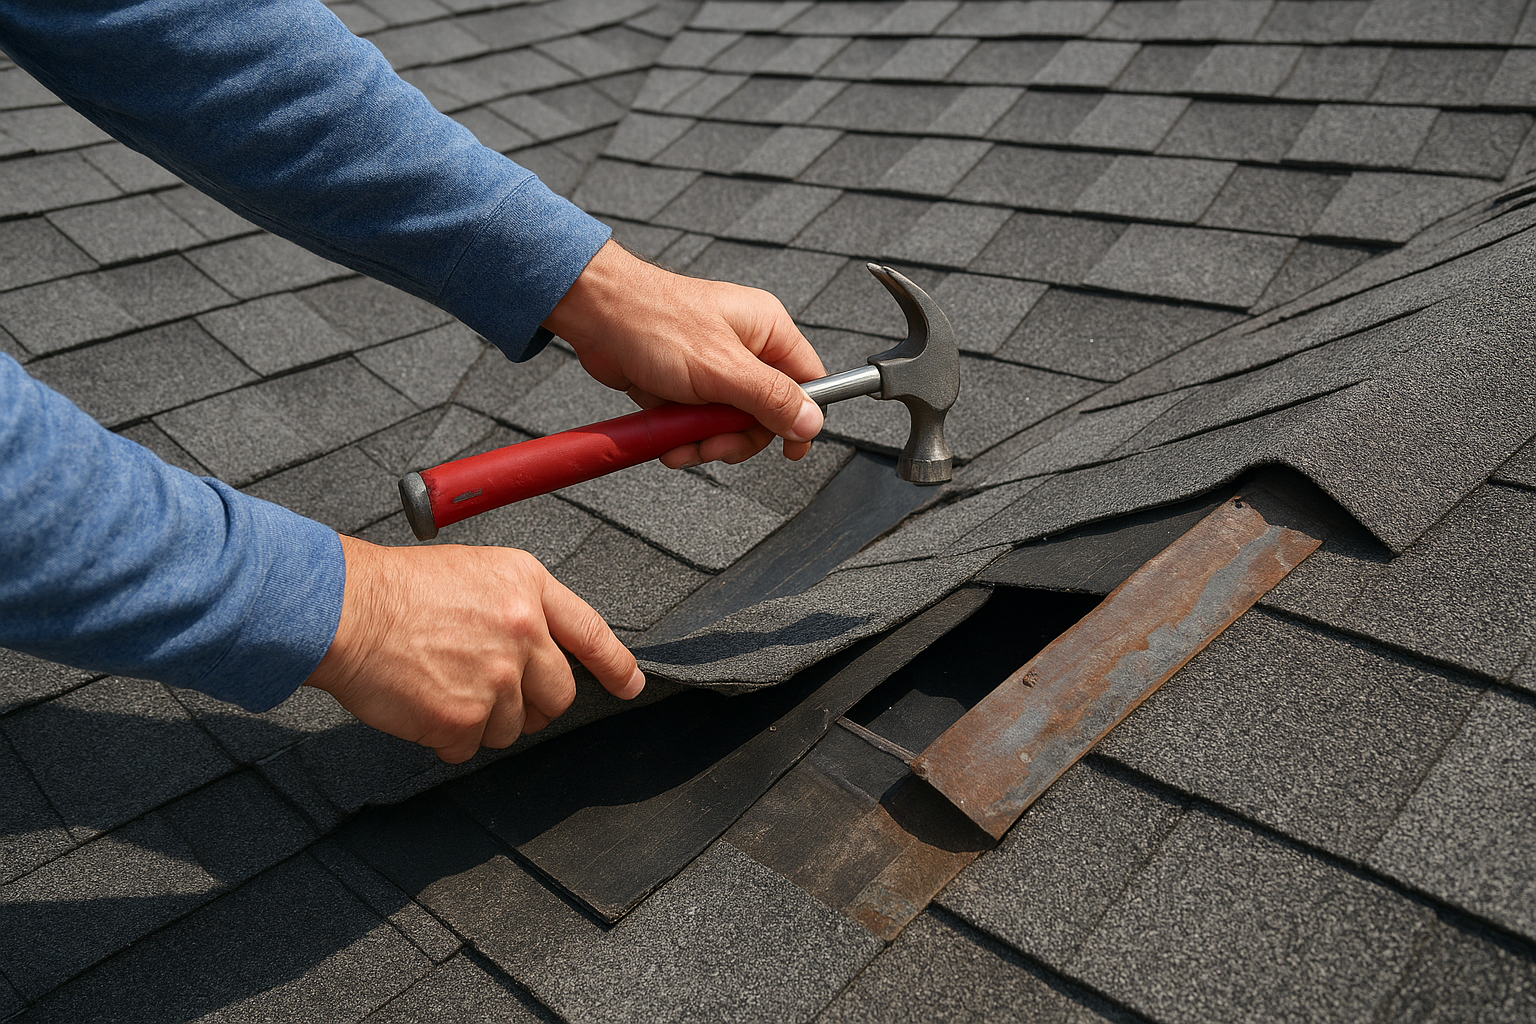
Swap out any cracked vent pipe boot for a new rubber or lead collar, and set it with roofing cement underneath and along the top edge where water runs. Skylight curbs need fresh sealant beneath the flashing lip, not just a bead across the visible seam.
A permanent repair replaces the failed material. It doesn't just cover it up.
Before you nail down new shingles, press on the exposed decking around the repair area. Soft, spongy plywood means water has been sitting there longer than you think, and nailing new shingles over rotted decking just hides a structural problem until it gets worse.
If you get through this list and the leak keeps returning, or you find more rot than a single sheet of plywood, that's your sign to bring in a licensed roof repair specialist instead of chasing the same leak all summer.
Some leaks are a Saturday afternoon job, and others are a sign of trouble hiding under your shingles that no amount of sealant will fix. Recognizing that difference early saves you money and stops a small repair from turning into a full roof replacement, which is really a question of how to choose the right fix for your roof.
Certain warning signs mean it's time to stop patching and find a roof repair contractor you can trust:
If the decking flexes under your hand, the repair just became a job for a professional.
Costs vary based on how much material needs replacing and whether the damage extends into the decking or structure. Here's a general range homeowners in the Austin area can expect, and a fuller breakdown of 2026 repair prices by damage type if you want the details:
| Repair Type | Typical Cost Range |
|---|---|
| Flashing or vent boot replacement | $150 to $450 |
| Shingle section repair | $300 to $1,100 |
| Decking replacement (per sheet) | $200 to $500 |
| Full valley or skylight repair | $500 to $1,500 |
| Extensive storm damage repair | $1,500 and up |
These figures assume a licensed contractor handles the labor and materials, and you can see our upfront rates for Central Texas homes for comparison. DIY costs run lower upfront but carry the risk of a redo if the underlying cause never gets addressed.
Once you decide to bring in help, insist on a thorough inspection rather than a quick guess from the ground. Defend Roofing's Precision Roof Assessment documents every finding with 100+ photos, so you see exactly what's damaged and why a repair, not a full replacement, is the right call whenever that's true. Working with a licensed roof repair specialist who shows you the evidence beats trusting a verbal estimate every time.
Finding and fixing a leak isn't a one-time event, it's a habit worth building into your yearly home maintenance. Walk your attic after every major storm, keep an eye on flashing and pipe boots since those wear out faster than shingles, and don't wait for a stain to spread before you investigate a soft spot or a musty smell. Most of the roofs we replace didn't fail from one bad storm, they failed from small leaks nobody caught in time.
You now know how to repair a leaking roof with confidence, from the first bucket under the drip to the permanent fix on the deck. But if the damage runs deeper than a single shingle or you'd rather have three generations of roofing experience confirm what you're seeing, call, text, or get a fast, honest quote from our team.