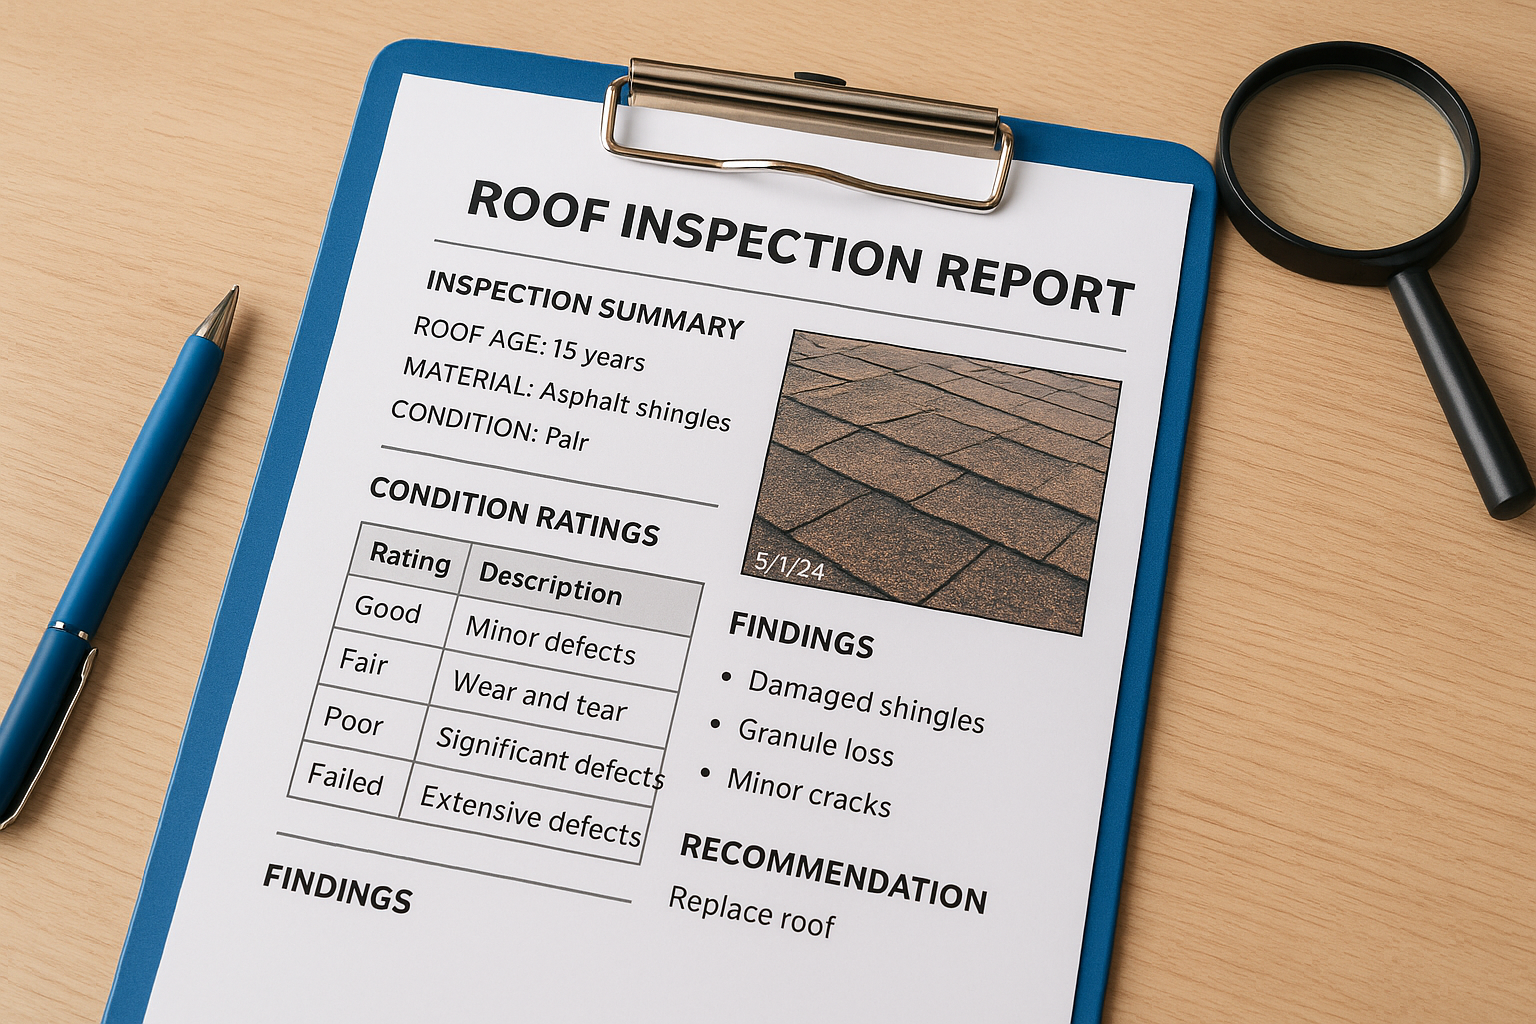
What to expect from a roof inspection for homeowners insurance: how to prepare, typical costs, timelines, and what to do if you fail.

You got a letter from your insurer asking for a roof inspection, or you are shopping for a new policy and the agent said you need one. Either way, you want to know what is coming. A roof inspection for homeowners insurance is how a carrier decides whether your roof is a risk it will cover, and a bad result can mean higher premiums, a required repair, or a non-renewal notice.
Here is the short answer. An inspector checks the age, condition, and remaining life of your roof, looks for storm damage, and documents everything with photos. Most inspections take 30 to 60 minutes, and costs vary from free (often through your carrier) to a few hundred dollars for an independent report. You prepare for a roof insurance inspection by clearing access, gathering repair records, and fixing small problems first.
At Defend Roofing, we inspect roofs across the Austin area, and we document each one with 100+ photos. Below, we explain what inspectors look for, what the process costs, how to prepare, and what to do if your roof does not pass, so you can protect your coverage without paying for work you do not need.
Insurers do not inspect roofs to be difficult. They do it because the roof protects everything else they insure, and a worn one turns a small leak into a claim for ceilings, insulation, and flooring. An inspection lets the carrier price that risk before it writes or renews your policy.
Roof damage is among the most common and most expensive claims a carrier pays. In Central Texas, hail and high wind cause most of it, and Texas consistently ranks among the top states for hail losses. A single storm can produce claims across entire neighborhoods.
Age matters just as much as weather. Asphalt shingles typically last 20 to 30 years, and Texas heat wears them down faster. They lose granules, curl, and crack. Carriers treat roof age and condition as two of the best predictors of a future claim, which is why a 22-year-old roof gets more scrutiny than a 6-year-old one.
Requests tend to come at predictable moments:
That last trigger is newer than most homeowners realize. Many carriers now review satellite and drone imagery, so a homeowners insurance roof inspection can start with a photo you never knew was taken. The ground-level inspection then confirms or corrects what the image suggested.
A roof inspection for home insurance is less about pass or fail and more about the terms you get. The same report can lead to very different outcomes depending on what it shows:
| What the inspection shows | Typical carrier response |
|---|---|
| Good condition, years of life left | Standard coverage and normal renewal |
| Minor issues, such as a few lifted shingles | Repairs required within a set window |
| Heavy wear or an older roof | Higher premium, a separate wind and hail deductible, or payout at depreciated value |
| Major damage or end of life | Non-renewal or cancellation until the roof is replaced |
Exact responses vary by carrier and policy, so read your own documents. But the pattern holds. The better your roof looks on paper and in photos, the more options you keep.
An inspection is how your insurer decides whether your roof is a risk it will cover, and on what terms.
That is also why documentation matters on your side of the table. A carrier works from what it can see, so clear dated photos and repair records give you something concrete to point to if a finding looks wrong.
Preparation takes an afternoon and can change the result. Inspectors work from what they can reach and what you can prove, so a little effort up front prevents avoidable delays and keeps small issues from becoming marks against your roof.
Start with paperwork. An inspection goes faster when the inspector can see the installation date and everything done since. Pull together whatever you have:
Missing records are common, especially on a home you just bought. Ask the seller, check your city's permit history, or call the roofer named on old paperwork. If nothing turns up, take your own dated photos from the ground today so you have a baseline to compare against later.
Next, walk the property and look up. Watch for the signs of roof damage: lifted or missing shingles, cracked sealant around vents, and shingle granules piling up at downspouts. A small repair by a licensed roofer, with a receipt, shows the carrier that you maintain the home.
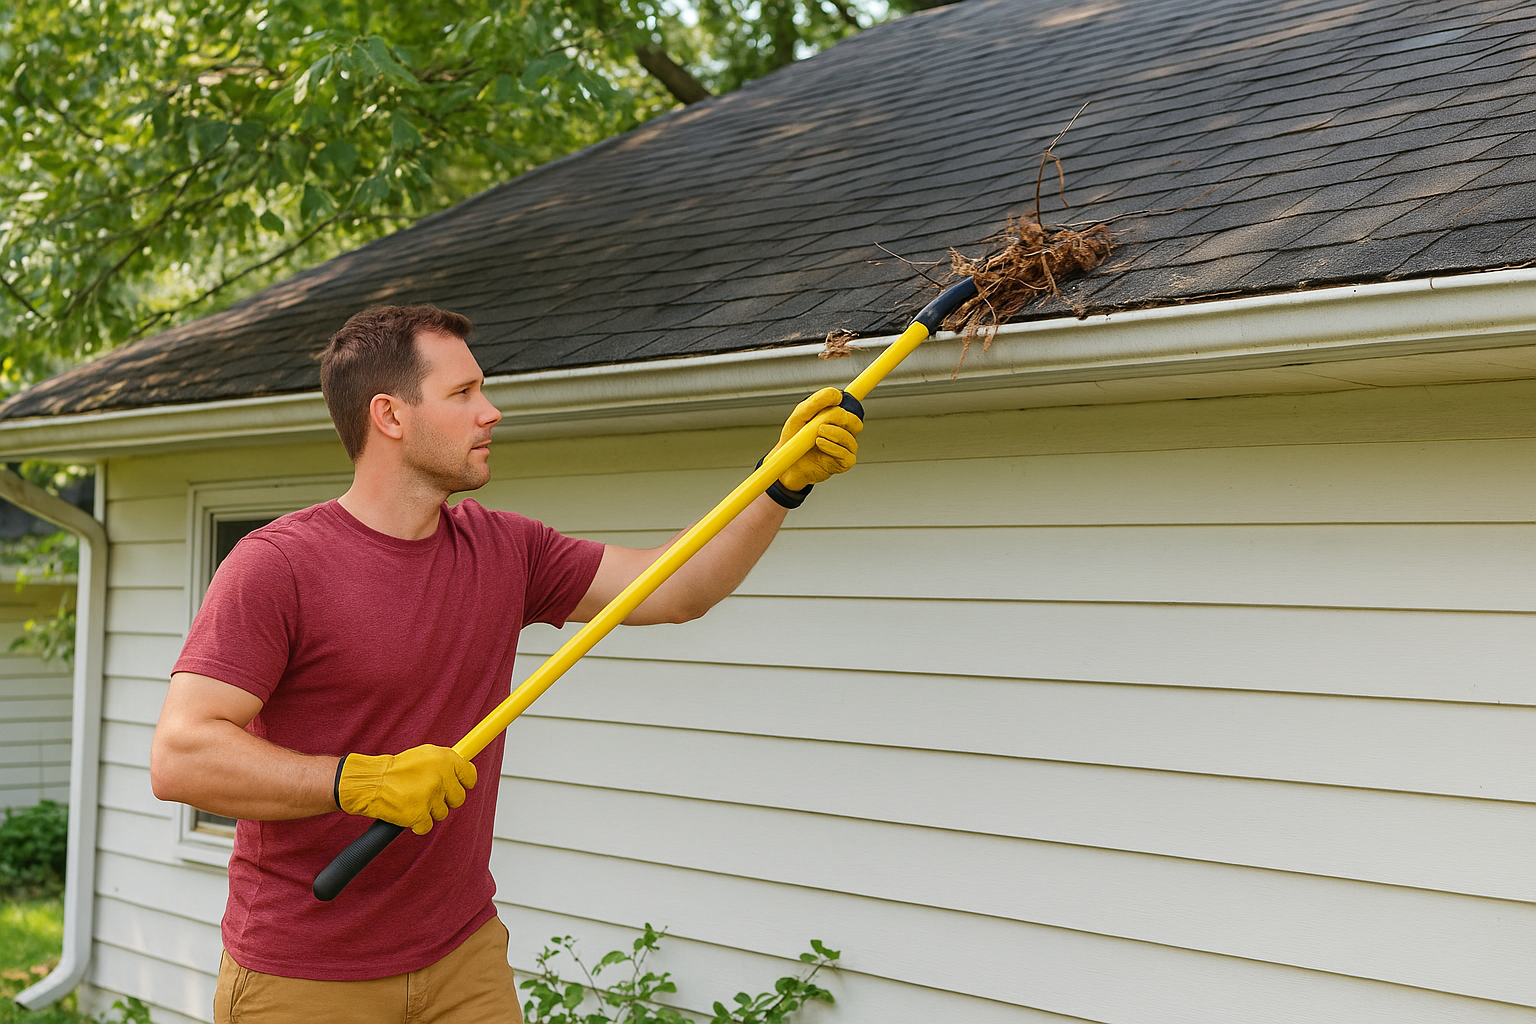
Then make the visit easy. Clear access saves the inspector time, and a rushed inspection rarely works in your favor:
Fix what is small, keep the receipts, and never hide damage you already know about.
Stay off the roof yourself. Sun-baked shingles are slippery, and walking on aging ones can crack them and create new damage. Finally, be upfront about problems you know of. Insurers compare your answers with the inspector's findings, and concealed damage can hurt you later on a claim. If you cannot tell whether something is cosmetic or serious, ask a roofer for a documented assessment before the carrier's inspector arrives.
A roof inspection for homeowners insurance follows a fairly consistent checklist. The inspector wants to know how much life your roof has left and whether anything on it could turn into a claim. Expect them to look at the roof surface, the edges and penetrations, and often the attic.
Shingles get the most attention, but flashing, vents, and gutters get checked too, because water finds the weakest point first. Here is what inspectors typically look at and why carriers care.
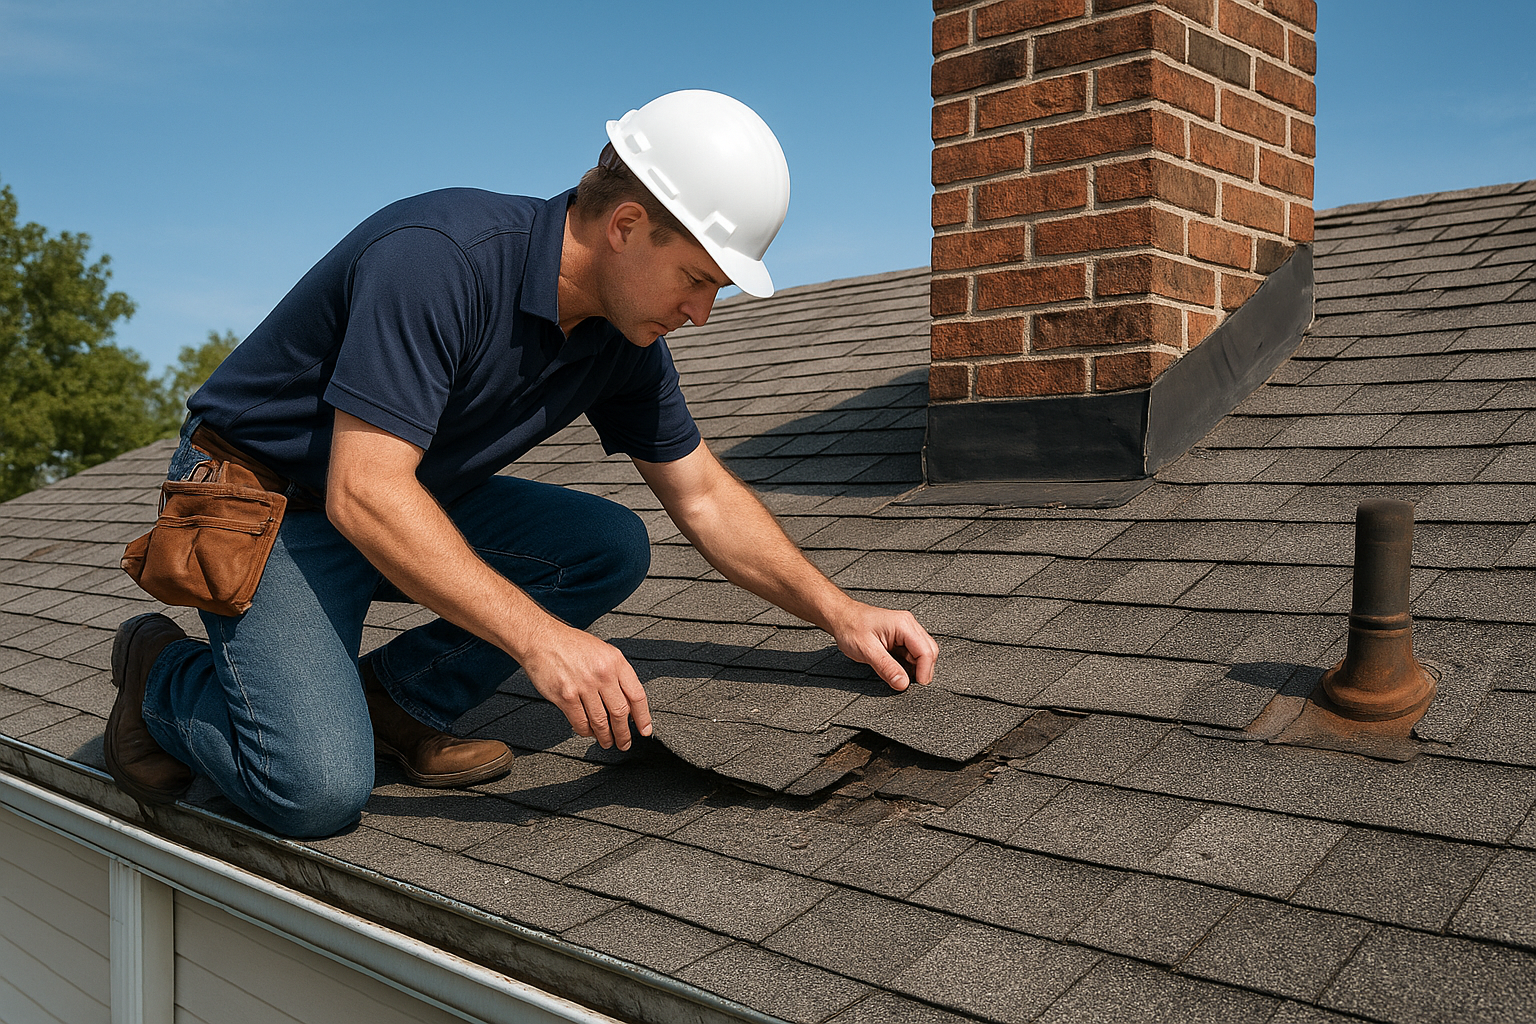
| Component | What the inspector looks for | Why it matters |
|---|---|---|
| Shingles | Missing, curled, cracked, or bruised shingles; heavy granule loss | Signs of age, hail, or wind damage |
| Flashing | Rust, lifted edges, gaps at chimneys and walls | Common leak points |
| Vents and penetrations | Cracked rubber boots, dried sealant | Easy paths for water |
| Gutters and drainage | Clogs, sagging, granules in downspouts | Water backing up under the roof edge |
| Roof lines and decking | Sagging, soft spots, ponding | Possible structural weakness |
Hail damage is the tricky one in Central Texas, so it helps to know how to check a roof for hail damage. Bruises can be small and hard to spot from the ground, so a thorough inspector walks the roof or uses a roof inspection drone and photographs each slope.
Inside the house, the inspector often checks the attic for water stains, daylight through the decking, damp insulation, and poor ventilation. Interior evidence tells them whether a leak is active, which weighs more heavily than a cosmetic flaw on the surface.
Age comes last but counts heavily. Using your install date and what they see, the inspector estimates remaining useful life. A roof with three to five years left may still be insurable, but the carrier might price it differently or ask for a plan to replace it.
Inspectors judge condition and remaining life, not just whether your roof leaks today.
Finally, a good report is built on photos. We take 100+ images per assessment at Defend Roofing, so every finding, good or bad, is backed by visible evidence you can hand to your carrier.
Most on-site roof inspection visits run 30 to 60 minutes for an average single-story home. The report or photo set usually reaches you within one to three business days, though carrier-ordered reports can take longer to land in your inbox.
Several things stretch the visit:
Roof inspection costs depend on who orders the inspection and how deep it goes. A carrier-ordered inspection is often free to you, because the insurer is gathering information for its own underwriting. The ranges below are typical, not quotes, and they shift by market and roof size.
| Type of inspection | Typical cost to you | Best used for |
|---|---|---|
| Carrier-ordered or aerial review | Usually free | New policy or renewal |
| Roofer's inspection | Free to about $200 | Checking condition and repairs |
| Licensed inspector's certified report | About $150 to $400 | Proving condition to a carrier |
| Engineer's report | About $400 to $800 or more | Disputed findings or major damage |
The carrier's free inspection serves the carrier. Your own report serves you, and that difference matters when a finding looks wrong.
Pay for an independent report when the result could change your coverage, and skip it when the carrier's free review is enough.
Paying for your own homeowners insurance roof inspection makes sense when you are buying a home, when the carrier flagged a problem, or when you disagree with a result. In those cases, a dated, photo-backed report gives you evidence you control. If your roof is young and clean, the free option is usually enough.
Before you book anyone, ask two questions. Does the report include photos of every slope, and will the inspector explain the findings in plain language? A cheap report with six blurry pictures will not help you in a dispute.
When the visit ends, the inspector's findings go to the carrier, and that is where the decision gets made. Knowing the sequence keeps you from waiting in the dark for a letter.
The inspector sends photos and notes to an underwriter, who compares them with your application and policy. You may not receive the report automatically. Ask for a full copy with all photos, because you cannot dispute a finding you have never read. Most decisions arrive within a few days to two weeks, though storm season can slow things down.
Expect a letter or email. Approval is the simple outcome. A conditional approval lists required repairs with a deadline, often 30 to 60 days. A notice of changed terms might add a roof surcharge or a separate wind and hail deductible. Non-renewal is the hardest result, and Texas generally requires written notice before an insurer declines to renew. Read the dates on any notice and confirm when your coverage actually ends, so you have time to act. Your policy and the Texas Department of Insurance can confirm the exact rules that apply to you.
Act within days, not weeks. A roof inspection for homeowners insurance often comes with a clock, and a missed repair deadline can undo an otherwise fine result. Work through this order:
Get the findings in writing, and answer them in writing.
Phone calls fade from memory, but emails and receipts do not. If the carrier later questions a repair or a claim, a paper trail shows exactly what you were told and what you did about it. Keep every report, photo, and letter in one folder for as long as you own the roof, because the next inspection will build on this one.
A failed result sounds final, but it is usually a list of conditions rather than a verdict. Most carriers give you a window to respond, so a roof inspection for homeowners insurance that goes badly can often be turned around with the right work and paperwork.
Request the written findings and photos first. "Poor condition" means little until you know which slope, which component, and which deadline. Get the specifics in writing, then have a roofer compare them with your actual roof. Sometimes a cosmetic flaw was labeled as damage, and a documented second opinion settles it.
Most findings lead to one of three paths, and the fix should match the finding, not a sales pitch:
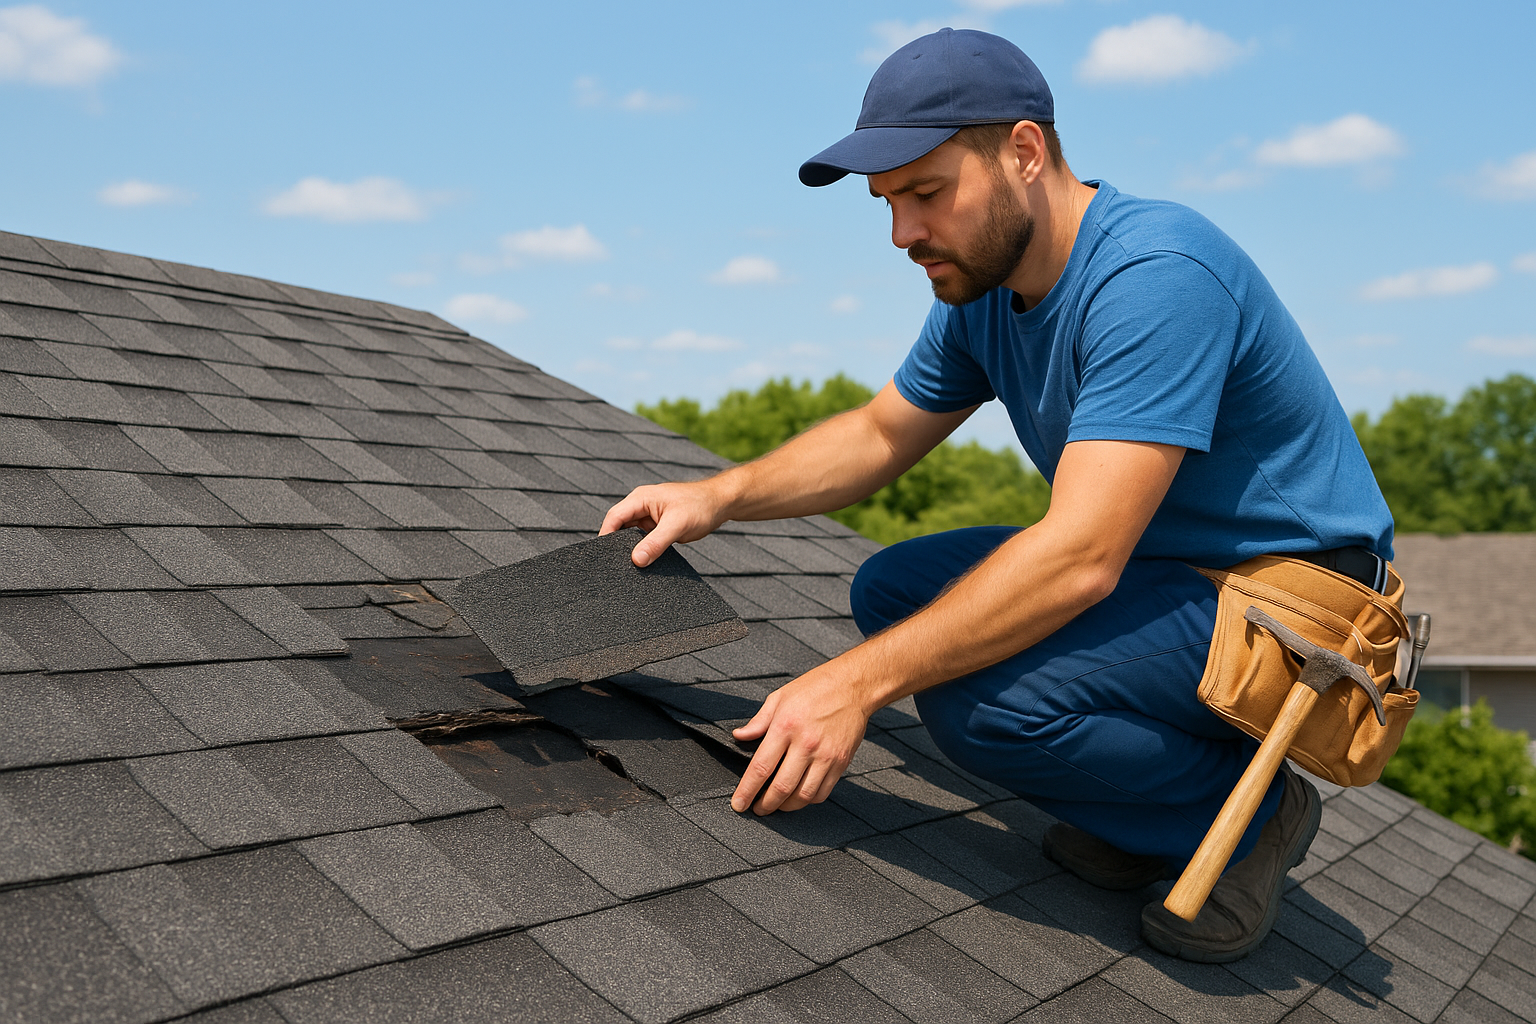
Be wary of anyone who pushes a full replacement on a roof with ten good years left. We recommend replacement only when repairs would just prop up a failing roof, so choosing between repair and replacement starts with the evidence. Whatever you choose, keep dated before and after photos, because a newer roof often earns better terms at your next renewal.
A failed inspection is a deadline with a to-do list, not the end of your coverage.
If you think the finding is wrong, ask for a reinspection and submit your own photos or an independent report. When the carrier will not move, you can file a complaint with the Texas Department of Insurance.
Meanwhile, do not wait for the cancellation date. Start shopping for other carriers early, and describe the roof honestly on every application. The Texas FAIR Plan Association exists as a last-resort option, but expect narrower coverage and higher cost than the standard market.
A claim inspection is a different job from the underwriting visit described above. Underwriting asks whether your roof is a good risk. A claim inspection asks what the storm actually damaged and what your homeowners insurance covers for it. That makes a roof inspection for homeowners insurance after hail or wind far more detailed, because the findings set the scope of your payout.
Safety comes first, then evidence. Work through this list:
Speed matters because hail bruises and granule loss get harder to tie to a specific storm as weeks pass. Dated photos from right after the event are your strongest proof of timing.
Your insurer will send an adjuster who sees many roofs a day and may only have time for a quick walk. That is why we meet adjusters on site when homeowners ask us to. Our 100+ photo Precision Roof Assessment gives the adjuster slope-by-slope evidence, so nothing depends on memory or a rushed look.
If the adjuster's estimate misses damage you documented, ask for a written explanation and submit your photos and your roofer's report. A reinspection is a normal request, not a confrontation.
Document the damage before the adjuster arrives, because the claim is built on what the photos can prove.
After every big Central Texas storm, out-of-town crews knock on doors promising free roofs. Be careful. Texas law prohibits contractors from waiving or absorbing your deductible, so a pitch that skips it is a red flag. Never sign an agreement that hands over control of your claim, and choose a local roofer who will still be around for the warranty. A contractor who tells you the roof only needs a repair, and proves it, deserves more trust than one who promises a full replacement before looking.
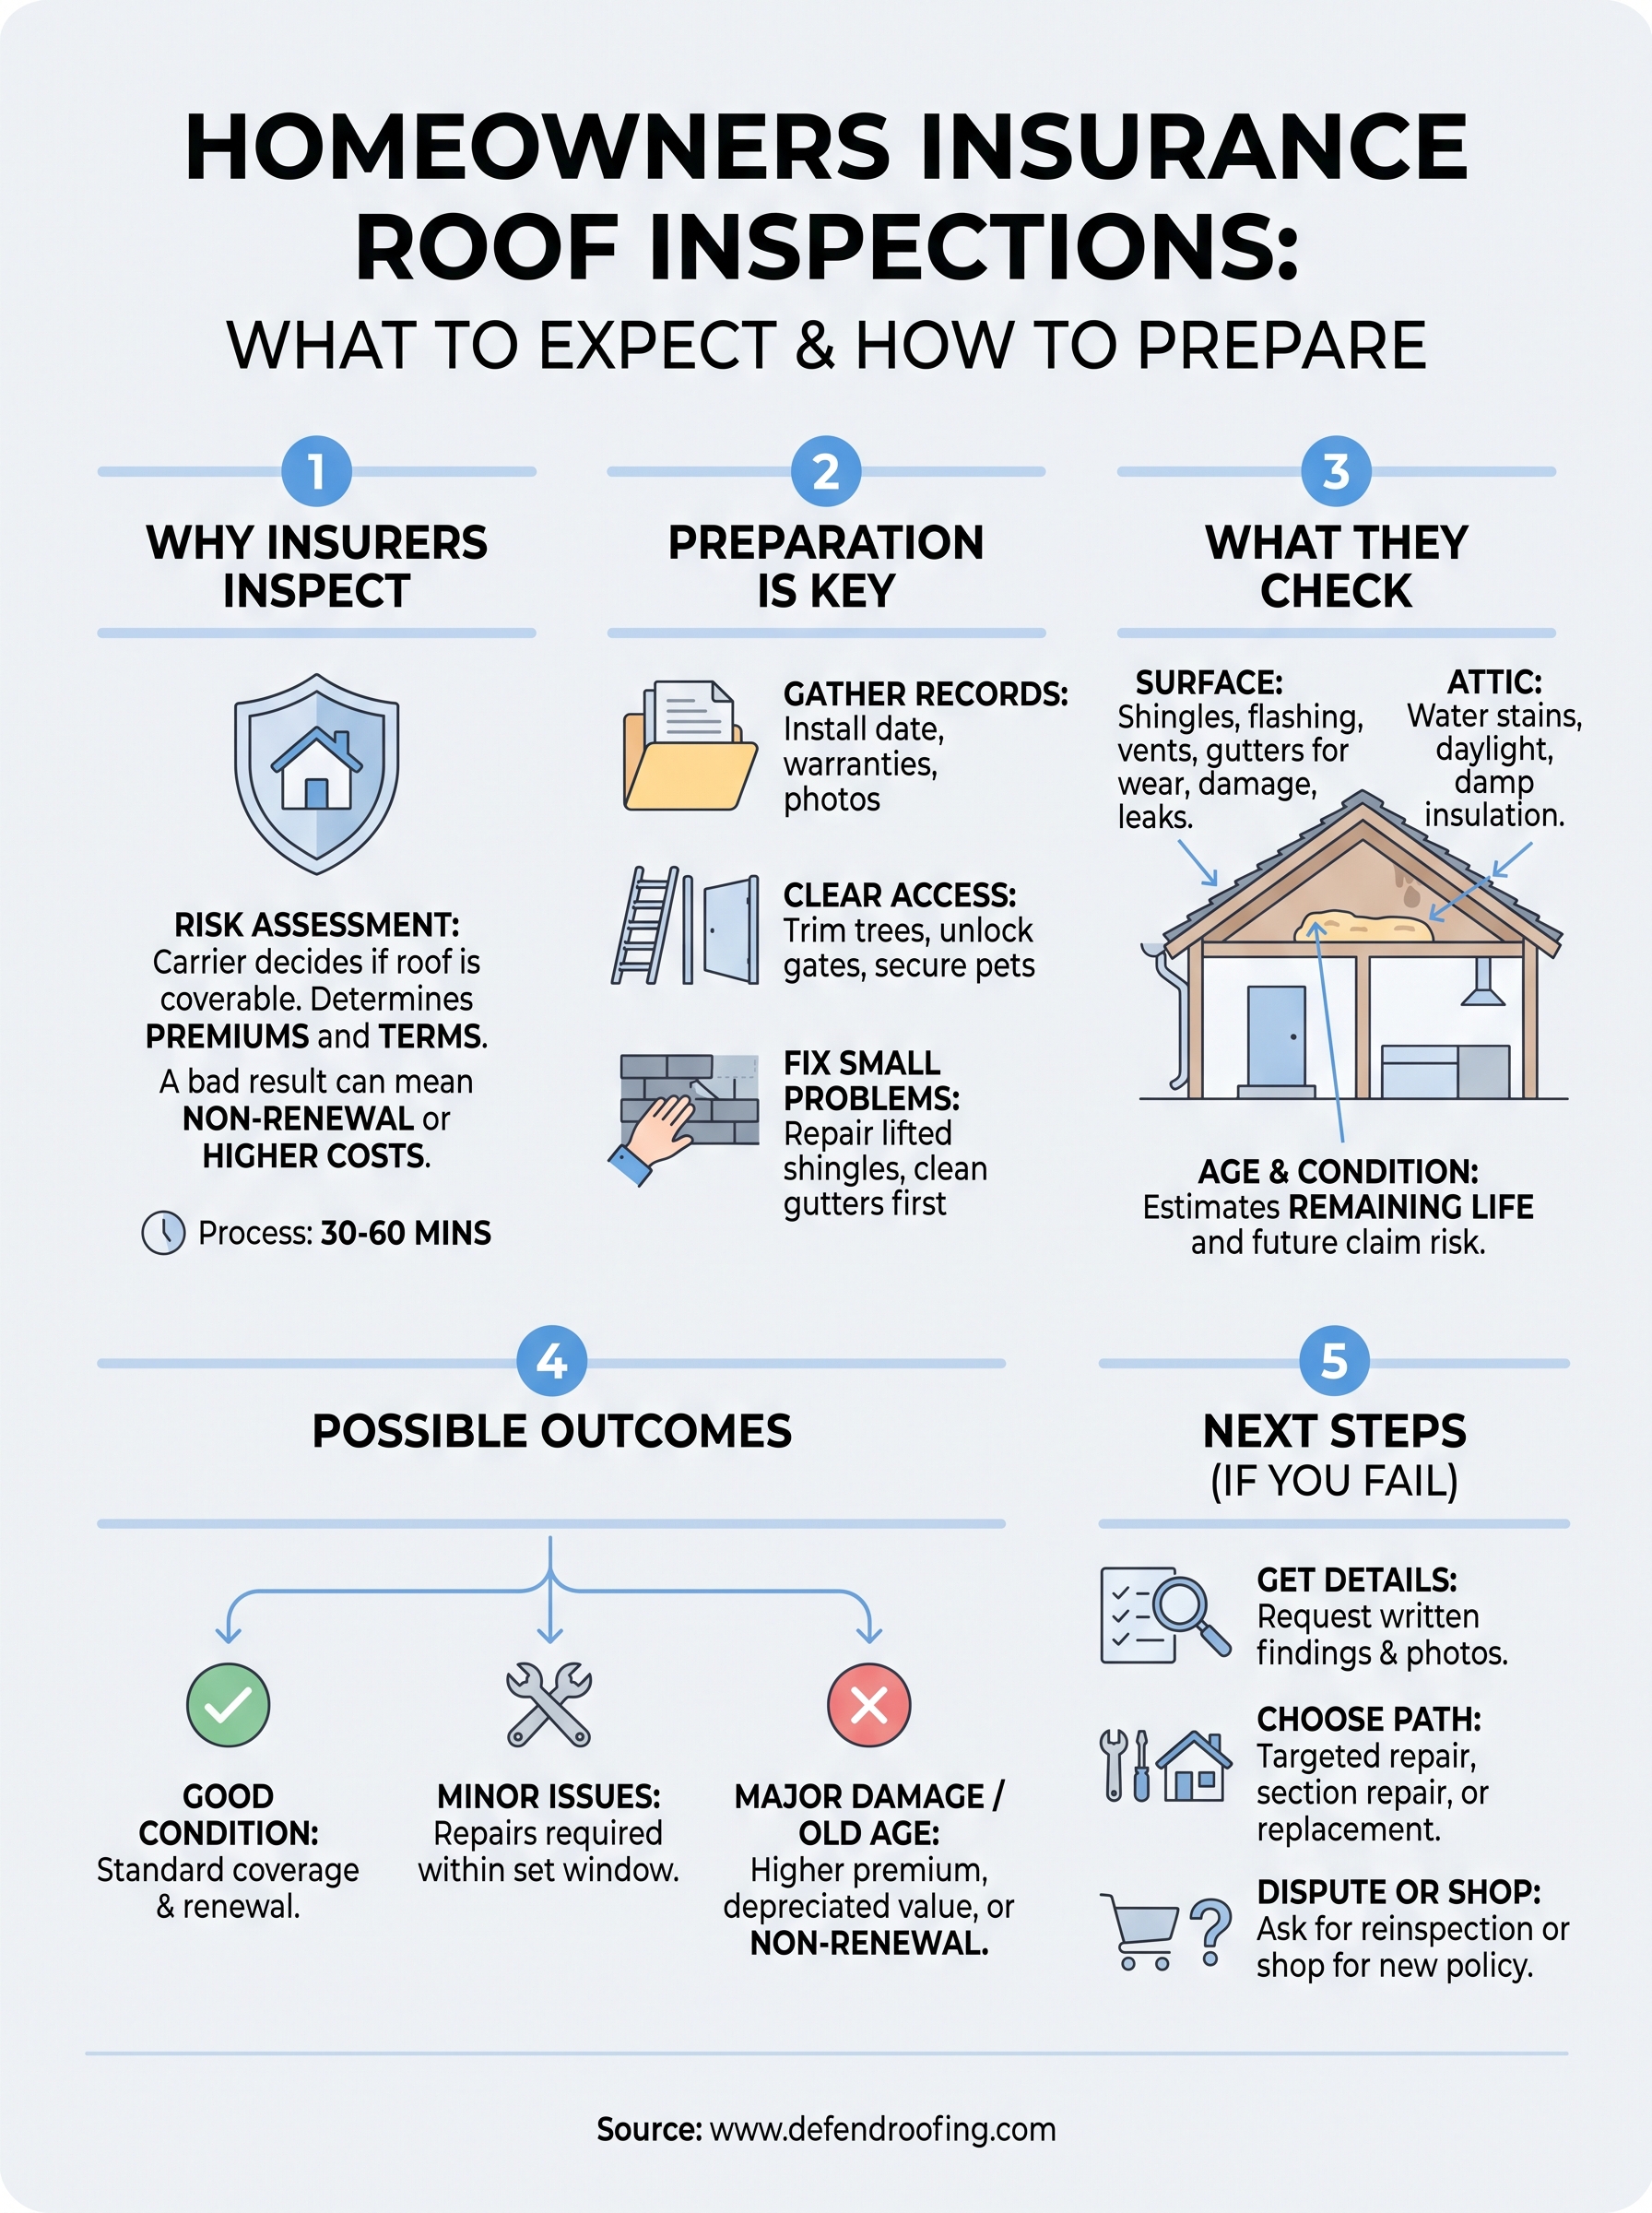
A roof inspection for homeowners insurance feels high stakes, but the process is predictable. Your insurer wants to know the age, condition, and remaining life of your roof. You can answer that with organized records, small repairs made early, and dated photos. If the result goes badly, you still have real options: repair, replace, dispute, or shop for new coverage.
Whatever the outcome, the habit that protects you stays the same. Document everything and keep it in writing, and pay only for work the evidence supports. That keeps your coverage and your budget in your hands.
If you want to know where your roof stands before your carrier does, get an instant online quote from Defend Roofing. We will give you an honest repair-or-replace answer, backed by photos you can keep.