Learn what a roof insurance inspection checks, how to prepare documentation, and steps to appeal a denied claim in Central Texas.
Your insurance company just called and wants a roof insurance inspection before they renew your policy or approve a claim. Maybe you don't know what the inspector will look for, whether you need to be home, or what Central Texas homeowners pay for a roof inspection out of pocket. That uncertainty is normal, and it's the reason most homeowners search for answers the night before the appointment.
A roof insurance inspection is a focused check of your roof's condition, age, and damage history, done either by your insurer's own inspector or by a roofing contractor documenting evidence for a claim or renewal. Insurers order these to decide whether to renew coverage, adjust premiums, or approve repair costs after a storm. The inspector checks for missing shingles, granule loss, flashing issues, and signs of prior storm impact, then reports findings that directly affect your policy.
Below, we break down exactly what happens during the visit, what documentation actually protects you, and how to prepare so the inspection results work in your favor instead of against you.
Insurers order a roof insurance inspection because your roof is the single biggest risk factor on your policy. Water intrusion from a failing roof causes more expensive claims than almost any other home system, so carriers want documented proof of condition before they take on that risk or pay out on it. Once you understand what's driving the request, the process stops feeling arbitrary and starts feeling like something you can plan for.
Most carriers now require an insurance roof inspection before writing a new policy or renewing one on a home with a roof older than 10 to 15 years. Underwriters use the inspection to estimate remaining useful life and decide whether your policy pays for a roof replacement at full replacement cost, actual cash value, or not at all. A roof with curling shingles, exposed nail heads, or visible sagging tells an underwriter the risk of a claim within the next policy term just went up, and that shows up in your premium or your coverage terms.
A roof inspection isn't the insurer being difficult. It's the difference between them covering your roof at replacement cost or dropping you to actual cash value.
Every insurer sets its own thresholds, but the pattern is consistent across Central Texas carriers: asphalt shingle and metal roofs age and insure differently, so shingles get more scrutiny after 15 years while metal and tile roofs get more leeway because they last longer. Here's how that typically breaks down:

| Roof Material | Typical Inspection Trigger | Common Insurer Response |
|---|---|---|
| 3-tab asphalt shingle | 10-15 years | ACV coverage, possible non-renewal |
| Architectural shingle | 15-20 years | Rate increase, inspection required |
| Metal | 20-25 years | Minimal scrutiny if maintained |
| Tile or slate | 25-30 years | Inspection focused on flashing and cracked tiles |
These numbers aren't universal law, but they explain why two neighbors with roofs installed the same year can get very different renewal letters. If your carrier flags your roof, ask specifically which condition triggered the review, since knowing that helps you address it before your next inspection.
After a hailstorm or high-wind event rolls through the Austin area, insurers send inspectors to confirm that reported damage actually matches storm patterns before they release claim funds. This is where a roof inspection for insurance purposes shifts from a routine underwriting task to a claims investigation. The adjuster is checking whether hail hits are fresh, whether wind damage is consistent with the storm date on record, and whether the damage is severe enough to justify a full replacement versus a spot repair, which is exactly what a hail damage roof inspection is built to establish.
Going into this type of inspection without your own documentation puts you at a disadvantage. Insurance adjusters work for the company paying the claim, and their incentive is to find the smallest justifiable payout. That's not a conspiracy, it's just how the job is structured, which is why homeowners in Cedar Park, where we handle storm claim inspections, Steiner Ranch, and Leander increasingly bring in an independent contractor for a second assessment before the adjuster's visit.
Homeowners insurance roof inspection requirements have tightened over the past decade partly because storm-chasing contractors flooded certain markets with exaggerated damage claims after major hail events. Insurers responded by requiring more photo documentation, more detailed measurements, and in some cases a second independent inspection before approving large payouts. The National Association of Insurance Commissioners has tracked this shift as carriers push back against inflated claim volume following catastrophic weather events.
That tightening cuts both ways. It protects honest homeowners from being lumped in with fraudulent claims, but it also means your documentation has to be thorough and credible to move through the process quickly. A roof that's genuinely damaged still needs a clear paper trail, not just a verbal description, before an insurer will approve the cost of replacement.
Getting ready for a roof insurance inspection takes maybe an hour of your time, but that hour can be the difference between a smooth claim and a denied one. Preparation isn't about hiding problems, it's about making sure the inspector sees the full picture instead of a rushed 15-minute walkaround that misses half your roof's history.
Before anyone climbs a ladder, pull together everything that proves your roof's age, maintenance, and prior damage, since the same paperwork feeds the checklist for opening a roof claim. Insurers and adjusters move faster when you hand them a folder instead of making them ask questions one at a time.
The National Oceanic and Atmospheric Administration publishes storm event records that many Central Texas homeowners use to tie damage dates to a specific storm, which strengthens a claim far more than a verbal timeline.
Scheduling an independent Precision Roof Assessment ahead of the insurer's visit gives you a documented baseline you control. A qualified contractor photographs every slope, flags storm-related damage, and notes anything that could get missed or downplayed during a rushed adjuster visit, which is the kind of photo evidence a claim inspection has to produce. Defend Roofing runs this assessment with 100+ photos per roof, which gives you a record that matches or exceeds what most adjusters produce on their own.
The homeowner who shows up with their own photos and measurements controls the conversation. The one who doesn't is just hoping the adjuster agrees with them.
Walk your property the day before and clear anything blocking access to the roof, attic, or exterior walls. Move vehicles out of the driveway, trim back branches touching the roofline, and unlock gates to the backyard if the inspector needs ladder access there. Sagging or cluttered attic spaces slow inspectors down and sometimes get flagged as a maintenance issue that has nothing to do with your actual claim.
Understanding what happens once the inspector is actually up there matters just as much as the prep work, especially if the goal is having your insurer fund a new roof in Texas. Knowing which specific damage indicators carry weight with insurers helps you spot problems yourself and flag them before the report gets written, rather than finding out after the fact that something got overlooked.
Verifying your paperwork one more time before the appointment catches small mismatches, like a policy address that doesn't match your property or an outdated roof age on file, that can otherwise stall a claim for weeks. A five-minute review now saves a frustrating phone call later.
When an inspector climbs your roof for a roof insurance inspection, they're not just glancing around for obvious holes. They're working through a mental checklist built around what triggers insurance payouts and what doesn't, and knowing that checklist helps you understand why one dented vent boot matters more than a whole slope of faded shingles.
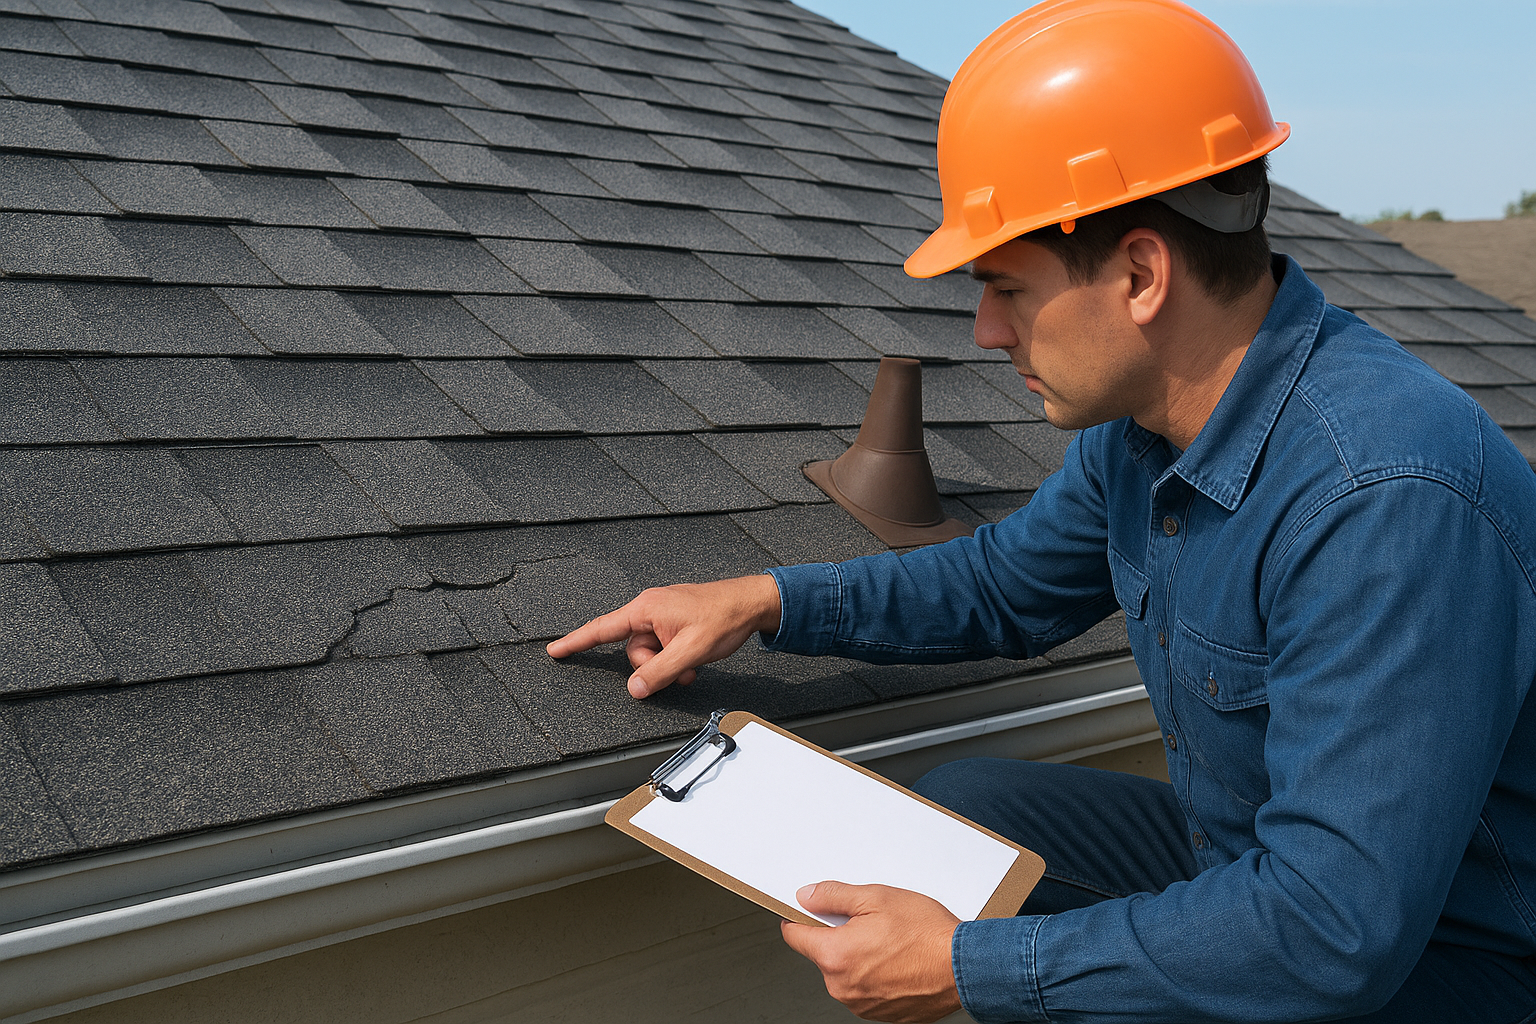
Inspectors check for cracked, curling, or missing shingles first, since these are the clearest signs of age or storm impact. They also look closely at granule loss, the small mineral particles that protect shingles from UV damage, because heavy granule loss in the gutters or downspouts tells them the shingles are past their functional life. Hail impact on shingles shows up as circular bruising with soft spots you can press a finger into, which is different from ordinary wear and gets documented separately in most reports.
Flashing around chimneys, skylights, and pipe boots fails long before the shingles do, and inspectors know it. Rusted or lifted flashing lets water in without ever showing a visible leak inside your house, so inspectors probe these points specifically rather than assuming the shingles tell the whole story. Pipe boots crack from UV exposure within 8 to 10 years in the Texas sun, and a cracked boot is one of the things that most often make a roof leak slowly and invisibly.
A single failed pipe boot causes more hidden water damage than most homeowners realize, and it's often the cheapest fix on the entire roof.
Sagging rooflines, soft spots underfoot, and visible dips signal decking problems underneath the shingles, and inspectors treat these as the roof damage signs Texas homeowners can't ignore because they point to potential rot or water damage that's already spread. From inside the attic, they check for daylight coming through the roof deck, water stains on rafters, and any signs of mold, all of which indicate a leak has been active longer than the homeowner may know.
Inspectors also read the roof for its history. Mismatched shingle colors, patch jobs that don't tie into the surrounding material, and inconsistent nailing patterns tell them repairs happened before, sometimes without a permit or proper technique. This matters for insurance roof inspection purposes because a roof with a documented history of DIY patches gets more scrutiny on a new claim, since insurers want to know if today's damage is new or a continuation of an old problem.
Finally, inspectors walk the gutter line looking for granule buildup, dents from hail, and separation from the fascia board. Clogged or damaged gutters redirect water in ways that accelerate roof damage, so this gets noted even when the roof itself looks fine. A gutter system in poor condition can also affect how much an insurer is willing to cover during a roof insurance inspection, since it's treated as part of the same water-management system as the roof deck.
Once the inspector climbs down the ladder, the real work shifts to paperwork. Your inspection report translates everything they observed into language your insurer can act on, and understanding its structure helps you catch errors before they cost you a claim. Most reports follow a similar format whether they come from your carrier's adjuster or an independent contractor, though the level of detail varies widely.
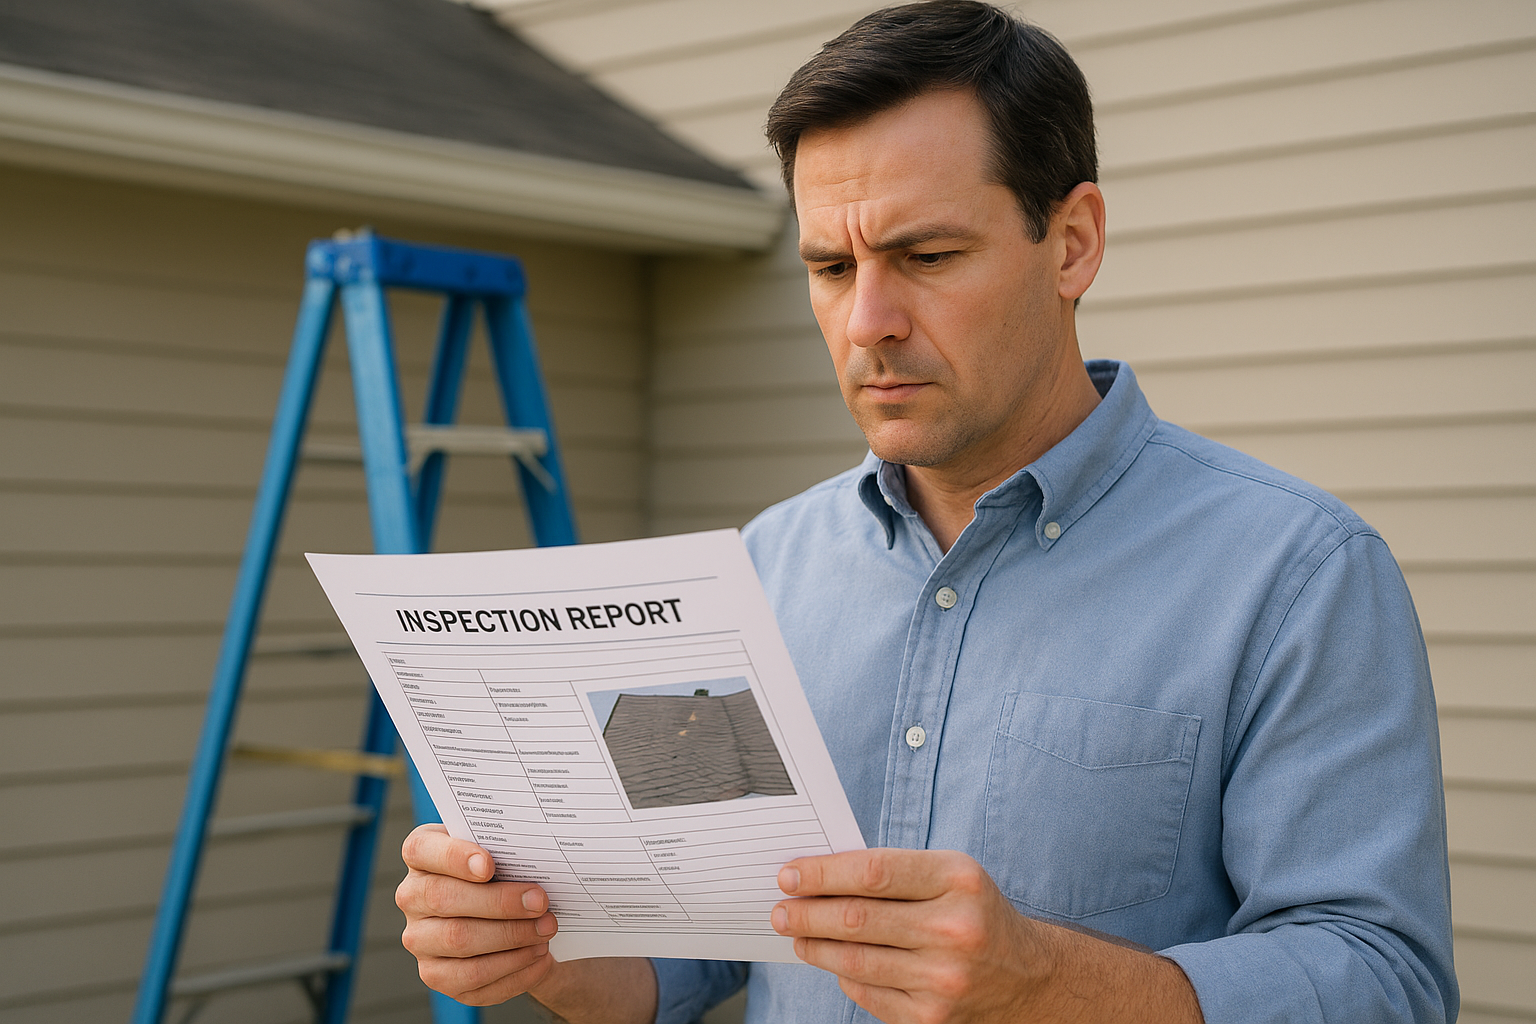
A thorough roof insurance inspection report typically covers these sections:
Some carriers hand you a bare-bones summary with a few bullet points and no photos attached. That's a red flag if you're trying to dispute a denial later, since vague language gives the insurer room to interpret findings however benefits them.
Photos carry more weight than written descriptions in almost every dispute that reaches an appraisal or appeal. A report built on 100+ photos per roof, the standard Defend Roofing uses for every Precision Roof Assessment, gives you a visual record that's hard to argue with, unlike a report that describes "moderate wear" without showing what that actually looks like on your specific roof. Timestamps and slope labels on each photo matter too, since an adjuster reviewing the file later needs to know exactly where each image was taken.
A report with clear photos closes arguments before they start. A report with vague descriptions opens the door to a lowball offer.
The recommendation section is where most homeowners focus first, and for good reason. This is where the inspector states whether the roof needs a full replacement, a targeted repair, or nothing at all right now. Pay attention to the specific language used here, because insurers often approve claims based on exact wording like "storm-related" versus "wear-related," and a poorly worded report can shift an entire claim from covered to denied over one phrase.
Expect a written report within 24 to 72 hours of the inspection for most independent contractors, while insurer-ordered inspections can take one to two weeks depending on how backed up the adjuster's office is after a major storm event. Once you have the report, compare it line by line against your policy's coverage terms before you accept any settlement offer or repair scope, since insurers sometimes lowball based on outdated material pricing rather than current local labor and supply costs in the Austin market.
Choosing who climbs your roof matters just as much as what they find up there. A roof insurance inspection from an inspector with no local track record or a rushed sales pitch usually produces a report that doesn't hold up when an adjuster pushes back, so vetting the person before the ladder goes up saves you a rewrite later. Central Texas has seen its share of out-of-town crews show up after big hailstorms, write vague reports, and disappear before the claim even settles.
Start by confirming the inspector or contractor is licensed to operate in Texas and has a physical business address you can actually visit, which is one of the signs that separate a trustworthy roofer from a risky one, not just a phone number tied to a truck. Ask how long they've worked specifically in your county, and compare the roof inspection companies serving the Austin area, since a contractor who's inspected roofs in Cedar Park, Avery Ranch, or Leander for years understands local storm patterns and typical hail sizes better than someone parachuting in from another state. Check for manufacturer certifications too, because a certified installer generally knows what a warranty claim requires better than a general handyman offering to "take a look."
Several warning signs worth knowing before you hire a roofer separate a trustworthy insurance roof inspection from a rushed sales pitch:
An inspector who won't show you the photos behind their findings isn't giving you a report, they're giving you a sales pitch.
Before committing, put these questions to the contractor: how many photos the inspection includes, whether measurements get recorded for every damaged area, and how quickly you'll receive the written report. A contractor who hesitates on these questions probably isn't set up to produce documentation that survives an appraisal dispute. Defend Roofing's Precision Roof Assessment answers all three questions upfront: 100+ photos per roof, slope-by-slope measurements, and a report turned around fast enough to keep your claim moving instead of stalling in the adjuster's queue.
Remember that carrier-assigned adjusters are paid by the insurance company, which creates an obvious incentive structure. Bringing in your own contractor for a second opinion levels that playing field, especially when the two reports disagree on scope or severity. Look for a contractor who explicitly states they work for the homeowner, documents everything independent of what the adjuster claims, and won't recommend replacement unless the roof actually needs it. That honesty, more than any sales pitch, is what protects you when the claim gets contested.
A denial letter feels final, but it rarely is. Insurers deny roof insurance inspection claims for specific, documented reasons, and most of those reasons can be challenged if you know where the denial actually falls apart. Before you accept the outcome, read the letter carefully against the roof damage a homeowners policy actually includes, and figure out whether the denial is based on missing documentation, a coverage exclusion, or a genuine disagreement about whether the damage is storm-related.
Every insurer has to give you a specific reason for denying a claim, not just a vague "insufficient damage" statement. Ask for the denial in writing if you only got a phone call, and compare the stated reason against your own documentation. Common denial reasons include:
Each of these reasons has a different fix, which is why reading the exact wording matters more than the fact that you got a denial at all.
Once you know the stated reason, bring in a contractor for a fresh assessment focused specifically on countering that reason. If the insurer says the damage is wear-related, you need photo evidence of fresh hail bruising or wind lift, not just general roof condition. Defend Roofing's Precision Roof Assessment produces exactly this kind of targeted documentation, matching photos to specific slopes and dates so your appeal isn't a guess, it's a rebuttal built on evidence.
A denial isn't the end of a claim. It's the insurer's opening offer, and you're allowed to counter it with better documentation.
Most policies include an appeal process, and it usually starts with a written request for reconsideration attached to your independent inspection report, weather data, and any repair receipts. Submit everything together rather than piecemeal, since adjusters review appeals faster when the full case is in one file. Reference the specific policy language your denial cited, and show, point by point, how your documentation contradicts it.
If the appeal stalls or the insurer won't budge, you can file a complaint with the Texas Department of Insurance, which tracks unresolved disputes and can pressure carriers to reconsider claims handled in bad faith. This step carries real weight, since insurers know regulators track complaint volume by company.
For high-value claims where the insurer still won't move, a public adjuster works on your behalf for a percentage of the settlement, and an attorney becomes worth the cost when the disputed amount runs into tens of thousands of dollars. Neither route makes sense for small repairs, but both have settled plenty of stalled roof claims once documentation alone wasn't enough to change the insurer's position.
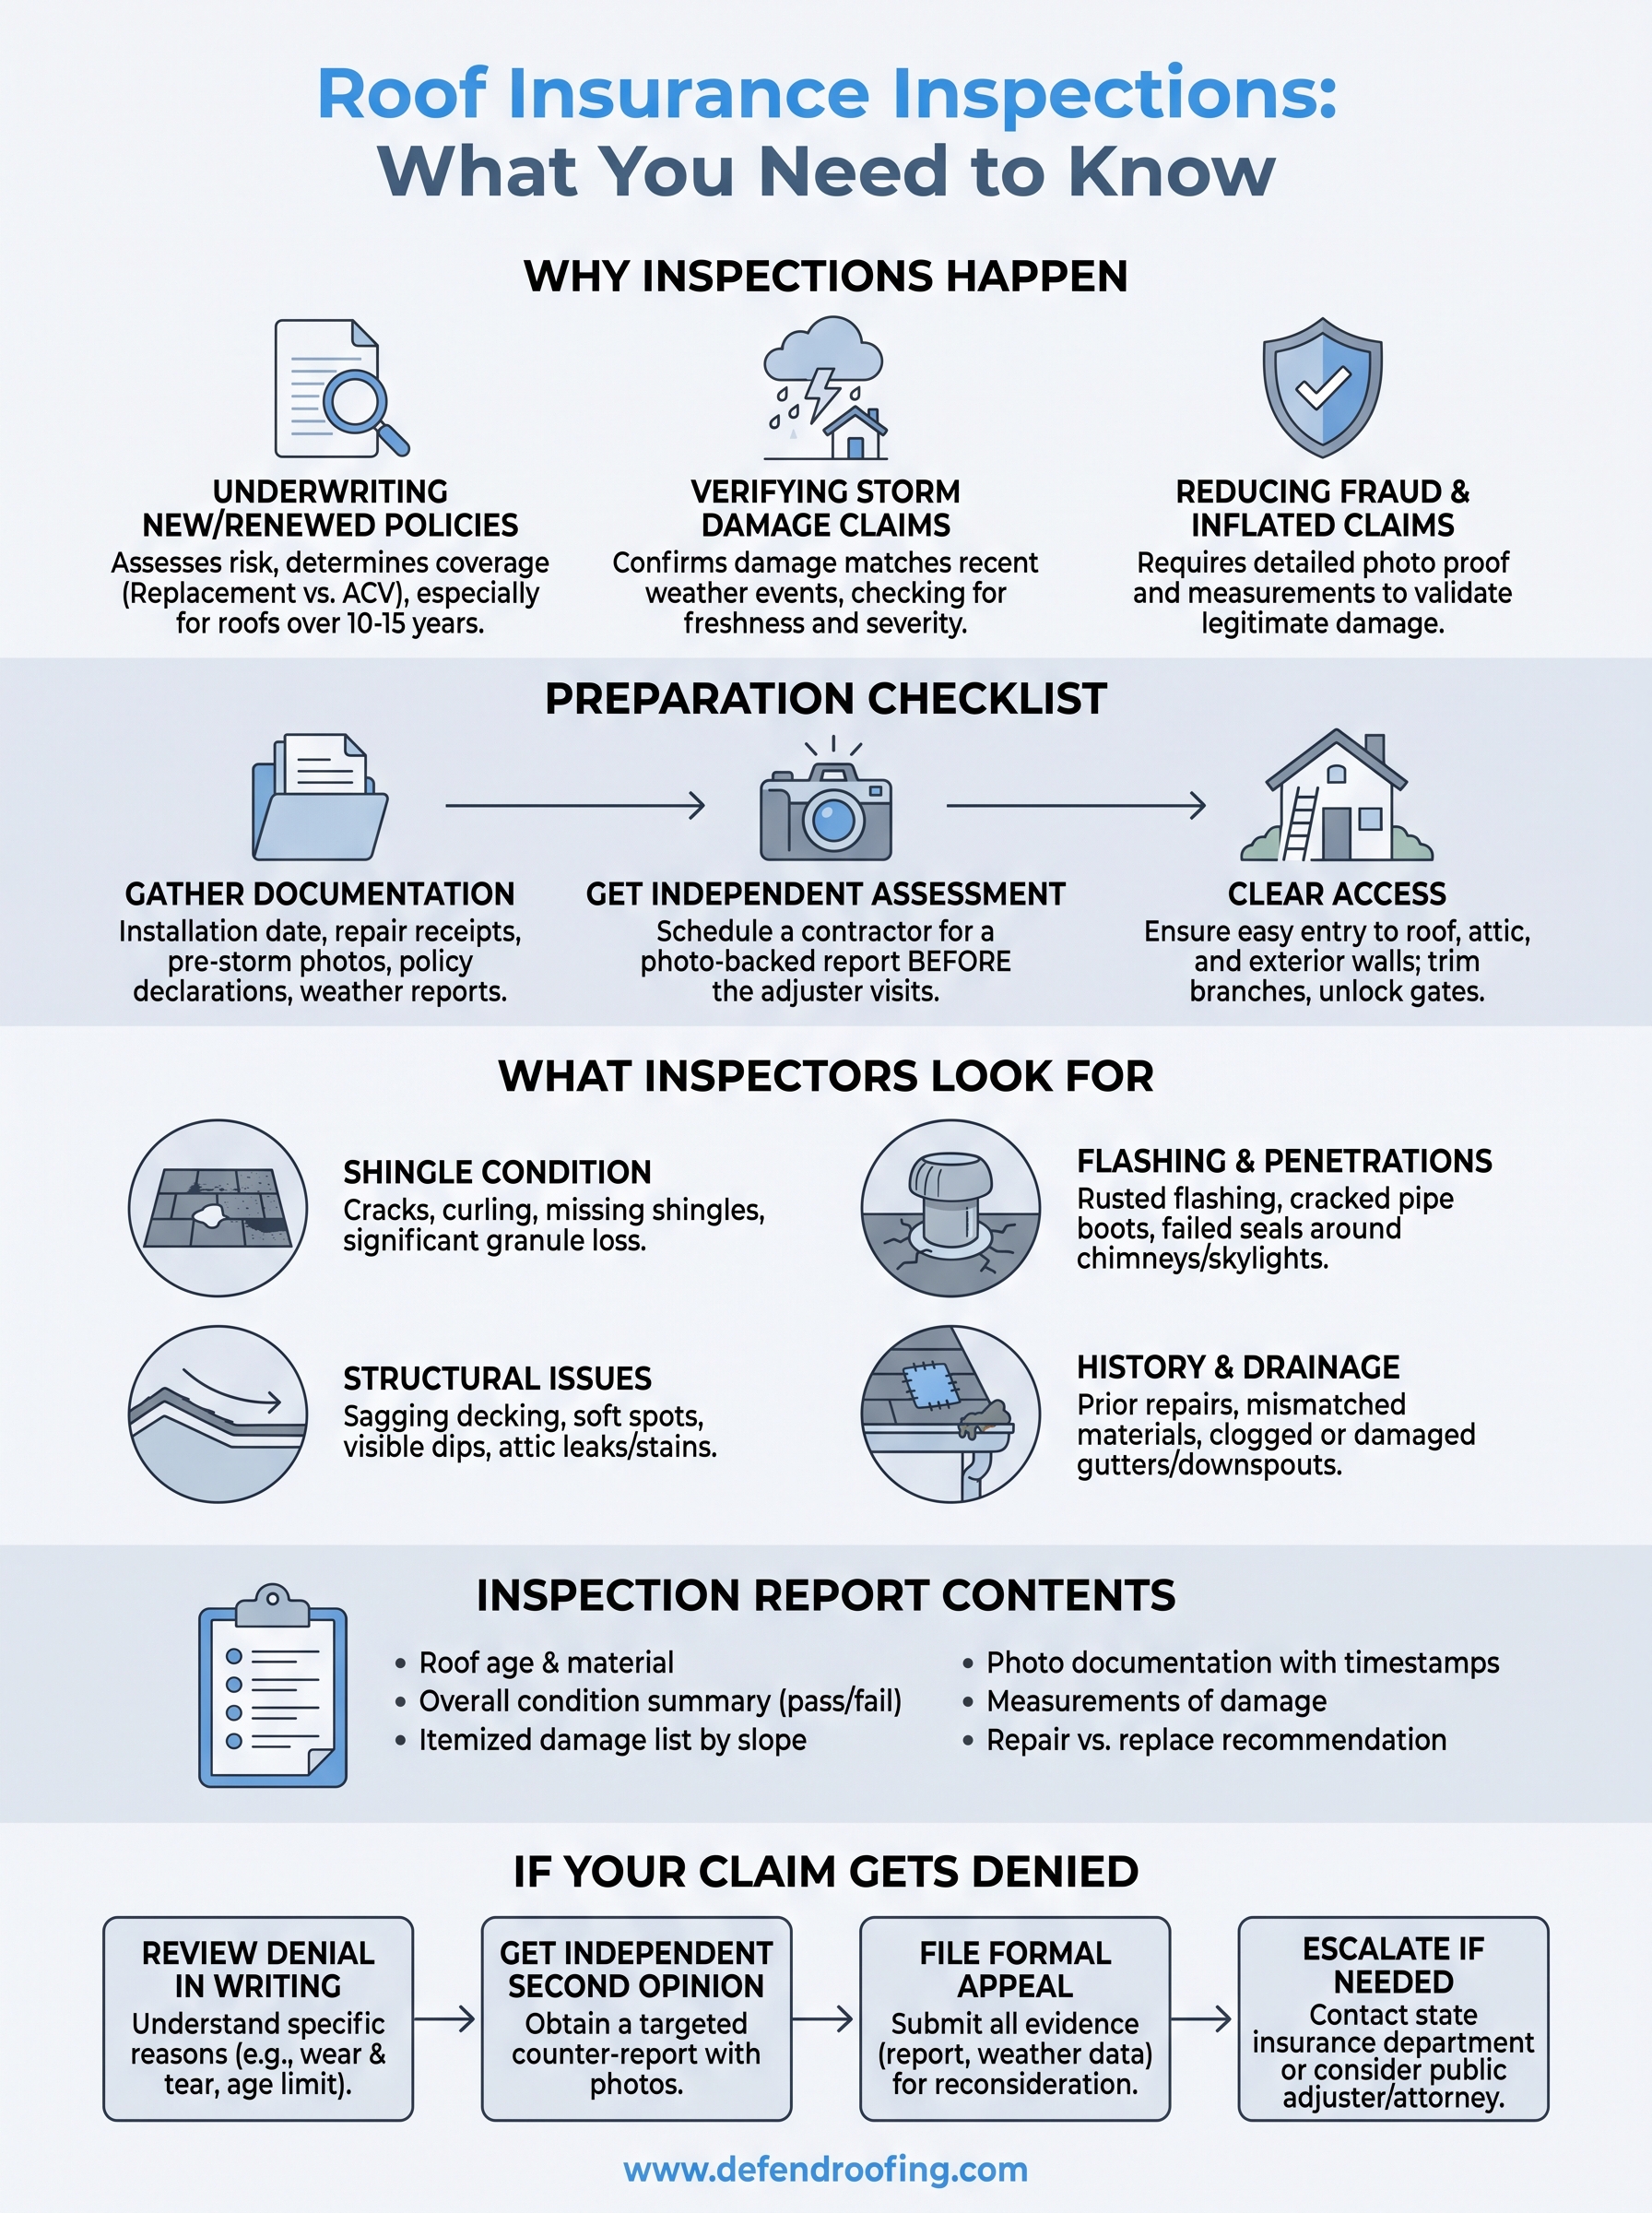
A roof insurance inspection shouldn't feel like a surprise test you're bound to fail. Once you know what triggers the request, what inspectors document, and how insurers use that report, you're no longer just hoping for a fair outcome, you're actively shaping it. Documentation beats guesswork every time, whether you're heading into a routine renewal or fighting a denied storm claim.
Building your own paper trail before an adjuster ever shows up is the single habit that separates smooth claims from stalled ones. Cedar Park, Steiner Ranch, and Leander homeowners who bring independent, photo-backed evidence to the table consistently get faster answers and fairer settlements than those who wait and react.
Defend Roofing's Precision Roof Assessment gives you that documentation before you need it. Call, text, or get an instant online quote today and have a report ready whenever your insurer comes calling.