Learn how to spot hail damage during a roof inspection, document storm evidence, and file a strong insurance claim with Defend Roofing's expert guidance.
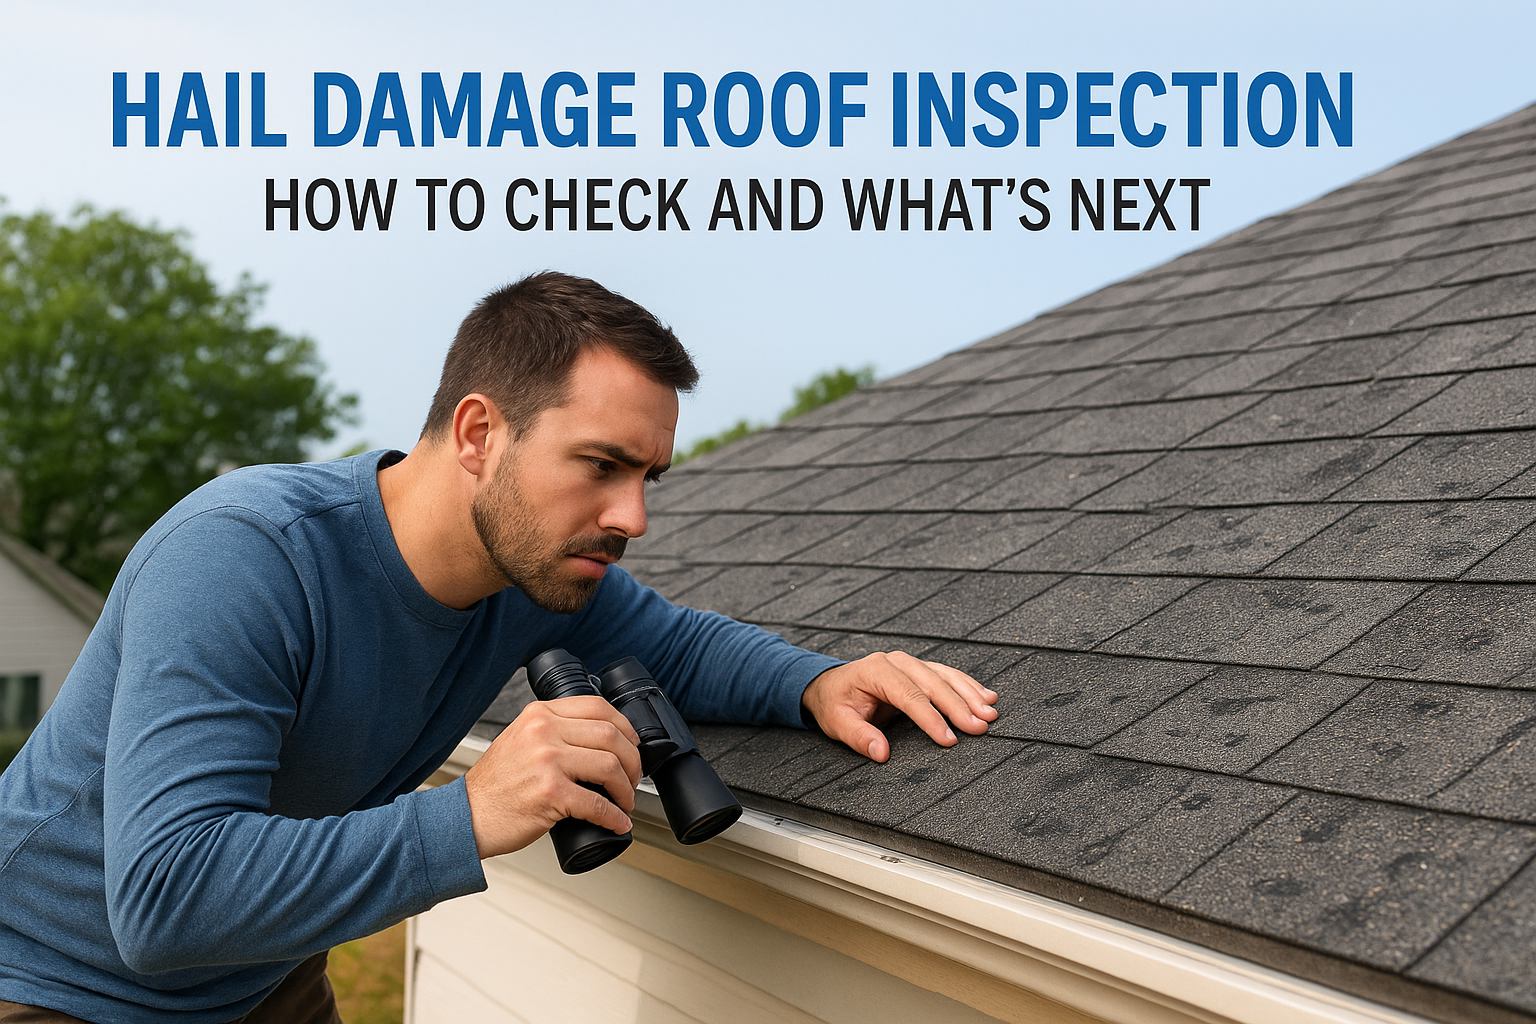
After a hailstorm rolls through Cedar Park, Leander, or Steiner Ranch, you're probably standing in your yard looking up at your roof and wondering if that hammering sound meant real damage. A hail damage roof inspection is how you find out for sure, before a small problem turns into a leak, and before your insurance window closes. Most Texas policies give you a limited time to file a claim after a storm, so waiting until you see a stain on your ceiling usually costs you money.
The honest answer is that some hail damage is visible from the ground, but most of it isn't. Bruised shingles, cracked seals, and granule loss show up close, on the roof surface, not from your driveway. That's exactly what a trained eye and a documented professional inspection catch that a quick glance misses.
In this guide, we'll walk you through what to look for yourself, when a DIY check is enough versus when you need a contractor on the roof, and how to turn what you find into adjuster-ready documentation for your insurance claim. We'll also cover what happens next once damage is confirmed, so you know exactly what to expect from repair or replacement.
Hail doesn't hit every roof the same way. Impact damage depends on hailstone size, wind speed, roof pitch, and the age of your shingles. A roof that's ten years old bruises differently than one installed last year, and a steep pitch sheds hits that a low slope absorbs head-on. Before you climb a ladder or call anyone out, it helps to know the 10 visual clues hail leaves on a roof, because hail damage rarely looks like the dramatic dents you'd expect from a car hood.
Most homes in Cedar Park and Leander have asphalt shingles, and hail damage on this material is subtle. Look for circular bruises where the impact knocked granules loose, exposing the black asphalt mat underneath. Run your hand over a suspect area (from the ground with binoculars, not on the roof) and you might notice soft spots or a slightly spongy feel where hail compressed the shingle. Cracked or fractured shingles, especially near the edges, are another giveaway. Granule loss on its own isn't always storm damage since normal aging causes it too, but fresh granules collecting in your gutters right after a storm is a strong signal.
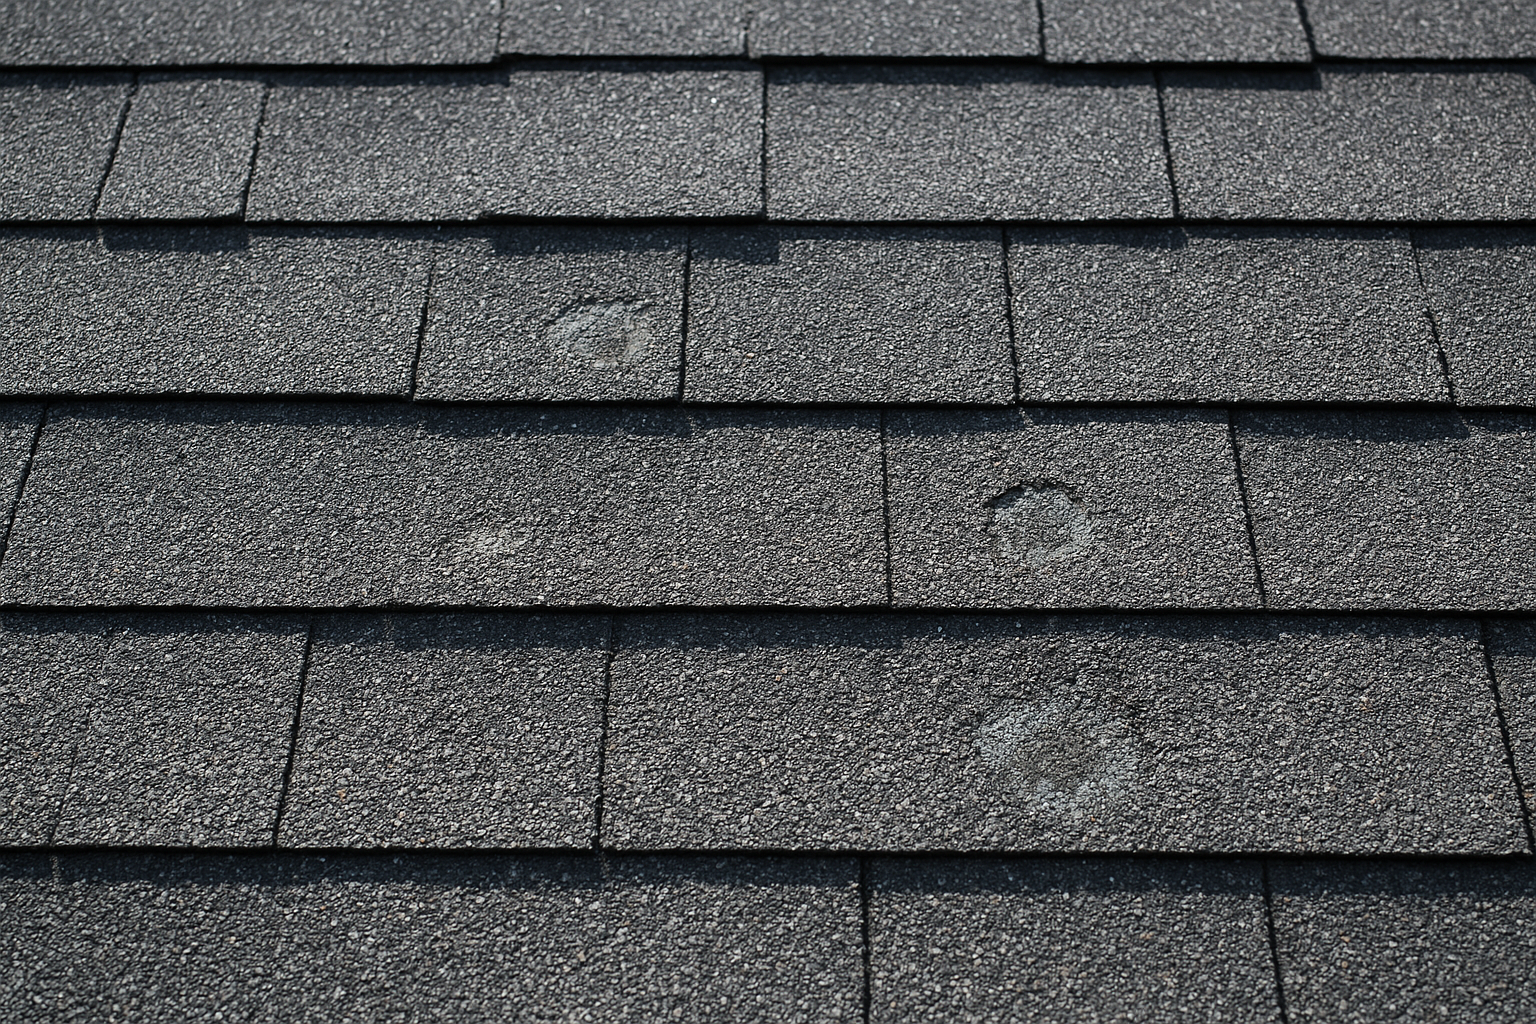
Hail damage on asphalt shingles almost never looks dramatic. It looks like small bruises and missing granules, not obvious holes.
Different roofing materials show hail impact in different ways, and knowing how the eight common roofing materials stack up saves you from missing damage or panicking over cosmetic marks. Metal roofing dents but rarely fails structurally from hail, though the dents can crack protective coatings and lead to rust over time. Clay and concrete tile crack or shatter outright, and a cracked tile that isn't replaced lets water in during the next rain. Composite and wood shake roofs split along the grain, which is easy to miss from the ground.
| Roofing Material | Typical Hail Damage | How Serious It Usually Is |
|---|---|---|
| Asphalt shingles | Granule loss, bruising, cracked mat | Moderate; often leads to leaks within months |
| Metal | Dents, coating cracks, rust starting points | Low to moderate; cosmetic unless coating fails |
| Clay/concrete tile | Cracks, shattered pieces | High; cracked tile needs replacement fast |
| Wood shake | Splits along grain, missing pieces | Moderate to high; speeds up rot |
Hail rarely stops at the shingles. Soft metals take some of the worst hits because they dent far more easily than the roofing material around them. Check your gutters, downspouts, and any exposed flashing for small dents that look like they came from a ball-peen hammer. Roof vents, particularly the plastic or thin metal caps, crack or dent under hail and are one of the fastest paths for water intrusion once the seal is compromised. Skylights and chimney flashing deserve a close look too, since a cracked seal there can leak long before you see a stain inside.
Generally, hail under an inch in diameter (roughly quarter-sized) causes cosmetic damage at most, while the hail size that actually damages a roof starts around an inch and a half, where functional damage shortens your roof's lifespan. However, wind-driven hail hits at an angle and can do more damage than its size suggests, especially on roof faces pointed toward the storm. If you know the approximate hailstone size and wind direction during the storm, you already have useful information for the next step: documenting what happened before you inspect anything.
Before you climb a ladder or grab a phone to call a contractor, spend ten minutes documenting the storm itself. Insurance adjusters care about specifics: the date, the approximate hailstone size, and how long the storm lasted. Write these down while they're fresh, because a claim filed weeks later with vague details is harder to defend than one backed by a timestamped record. Neighbors comparing notes on a local Facebook group or Nextdoor thread can also help confirm hailstone size if you didn't get a good look yourself.
Growing your file of evidence now saves you time later when you're filing a claim or scheduling a hail damage roof inspection. Here's what to collect in the first day or two after the storm:
A dated storm record turns your claim from "trust me" into evidence an adjuster can't easily dispute.
Once you've logged the storm details, prepare for the ground-level check that comes next. Skip climbing onto the roof yourself, even if you're comfortable on a ladder, since granule loss and cracked shingles are easy to miss underfoot and hard on your knees to spot up close anyway. Grab a pair of binoculars, walk the perimeter of your house on a clear day, and note which sides face the direction the storm came from, since that's where you'll find the heaviest impact. Reviewing your homeowners insurance policy for the claim filing deadline is worth doing now too, along with what a policy actually includes for hail damage, since Central Texas policies commonly give you one year from the storm date, and some give less. Knowing that number before you start looking for damage keeps you from losing the window while you're still deciding whether the damage is worth a claim.
With your storm details logged, walk your property line and look at the roof from multiple angles before you touch a ladder, following the DIY steps that come after a hailstorm. Binoculars make this easier, especially for spotting granule loss on the sunny side of the roof where light catches the exposed asphalt mat. Focus first on the slopes facing the direction the storm came from, since that's where wind-driven hail concentrates its worst hits.
Doing a roof damage inspection from ground level means training your eyes on 12 specific hail damage signs rather than scanning randomly. Check for these signs on every visible slope:
None of these confirm damage on their own, but two or three together are a strong reason to schedule a professional look.
If you spot even a handful of these signs from the ground, that's your cue to stop guessing and call in a professional.
Gutters take a beating in every hailstorm, and they're far easier to inspect than the roof itself. Look inside your gutters for a buildup of granules, which look like coarse, colored sand collecting near the downspout openings. Fresh granules right after a storm are one of the clearest signs of shingle damage anywhere on your property. Examine the gutter faces and downspouts too, since dents in the soft aluminum tell you how hard the hail hit, even if you can't see comparable damage on the shingles above.
Ultimately, a ground check is a screening tool, not a diagnosis. Even a careful look with binoculars misses cracked mats, soft spots, and fractures hidden under the shingle tabs, which is why insurance adjusters rarely accept a homeowner's ground survey as proof of damage. Anytime you find dented gutters, missing granules, or damaged vents, treat that as confirmation you need someone on the roof, not a reason to skip the next step. The ground check simply tells you whether the hail was hard enough to warrant that closer look.
While you're waiting to schedule a professional look at the roof, walk through your house and check for signs the storm already found its way inside. Interior water damage doesn't always show up right after a hailstorm; sometimes it takes a few rounds of rain to reveal a compromised shingle or cracked flashing. Checking now, before repairs start, gives your contractor a fuller picture and gives you an early warning if the damage is worse than the exterior suggested.
Grab a flashlight and head into the attic on a dry day, since this is where roof leaks show up before they ever reach your ceiling, and it's the first of seven steps for tracking a leak to its source. Look for damp insulation, dark streaks on the rafters, or a musty smell that wasn't there before the storm. Check the underside of the roof deck for daylight coming through, which points to a hole or a shingle that's completely dislodged. Spider-web cracks in the wood decking are subtler but still worth photographing if you spot them, since they can indicate a hard enough impact to fracture the sheathing underneath the shingles.
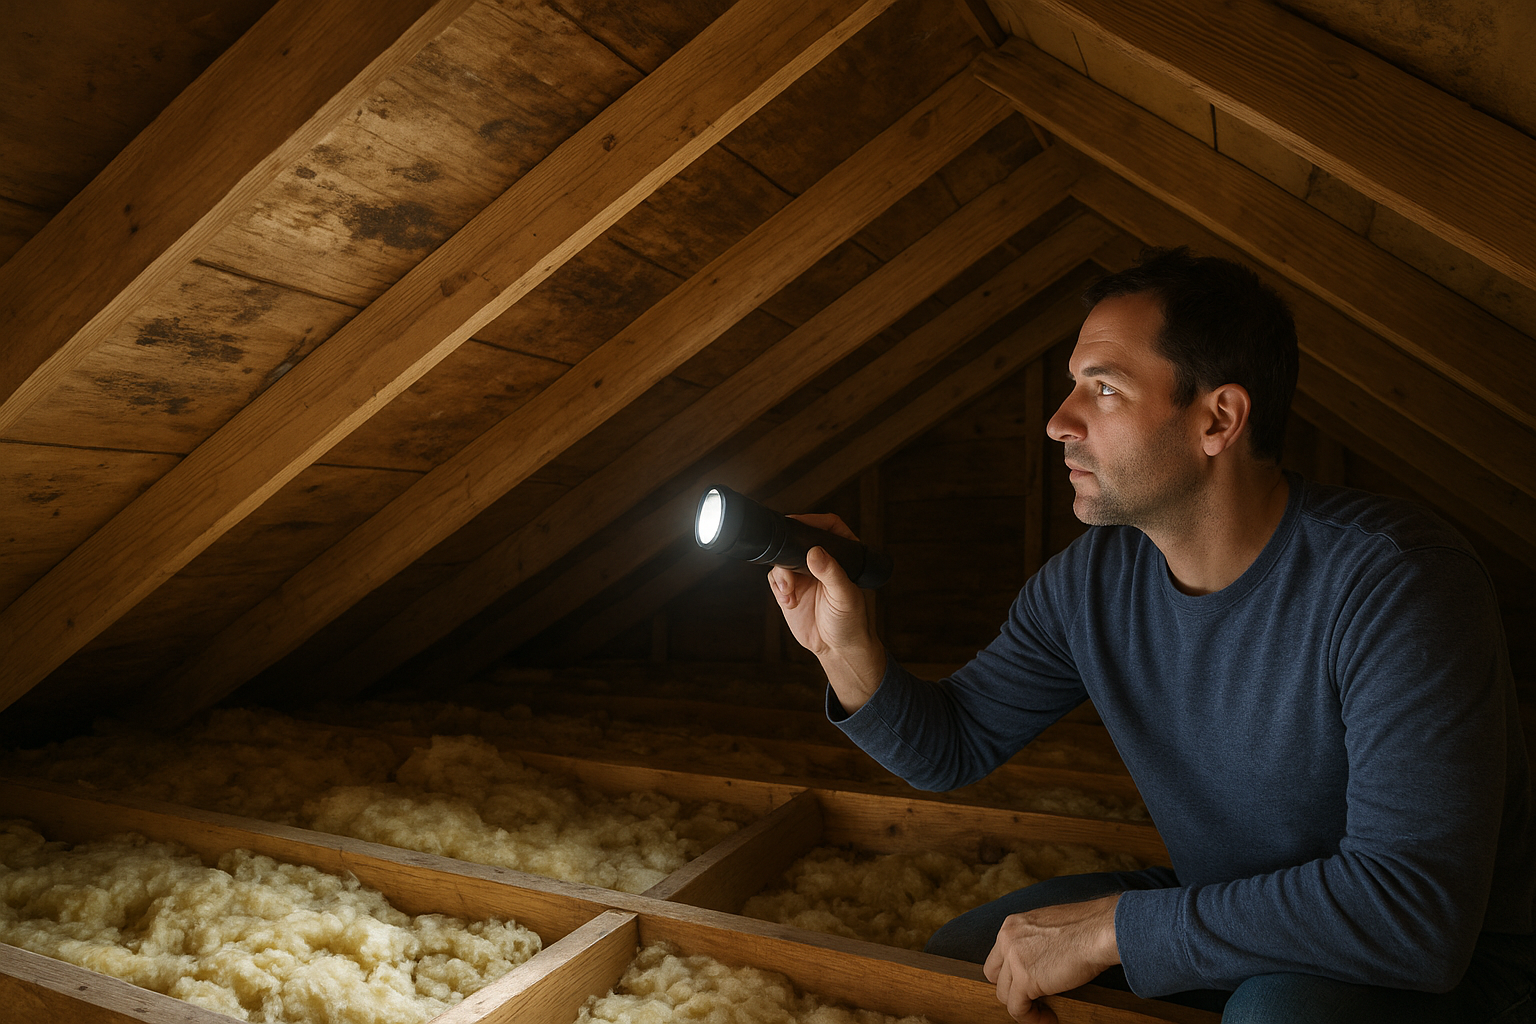
Brown or yellow rings on a ceiling are one of the clearest leak signs Austin homeowners see, even if the stain is small. Trace the location back to the roof above it, since that's usually where the water is entering, not necessarily where the stain appears directly below. Peeling paint near the ceiling line, a bulging drywall seam, or a light fixture that flickers after rain are all signs moisture has reached the electrical system, which is a safety issue on top of a roofing one.
A ceiling stain the size of a coin today can mean a soaked attic and ruined insulation by next month.
Some hail-related leaks are slow enough that you'll only notice a faint musty smell in a closet or a slightly warped door frame upstairs. Every one of these small clues matters for your claim, since insurance adjusters and contractors alike use interior evidence to confirm that storm damage, not routine wear, caused the problem. Photograph anything unusual with a timestamp, and keep those photos in the same file as your storm records from Step 1, since they'll strengthen the case when your hail damage roof inspection report goes to the adjuster.
Once your ground check and interior walkthrough turn up warning signs, or even if you're just not sure, it's time to get someone qualified on the roof. A professional roof inspection catches what binoculars and flashlights can't: cracked mats hidden under shingle tabs, soft spots from compressed fiberglass, and flashing seals that look fine until you press on them. Don't wait for a leak to confirm your suspicion, since the gap between hail impact and visible interior damage can stretch for months while the underlying shingle keeps deteriorating.
A thorough inspection isn't a five-minute glance from the ladder, so it helps to know what gets checked and what it typically costs. At Defend Roofing, every Precision Roof Assessment includes over 100 photos documenting the condition of your roof, shingle by shingle, so there's no ambiguity about what's storm damage and what isn't. Look for these elements when you schedule any professional inspection, whether it's with us or another licensed contractor:

An inspection that doesn't leave you with photos and a written report isn't documentation, it's just an opinion.
Here's where a lot of homeowners get burned. Storm chasers show up in Cedar Park and Leander after every major hailstorm, knock on doors, and push for a quick replacement whether you need one or not. Vet anyone you let on your roof using these seven tips for hiring a roofer and spotting red flags: check for a local address, ask how long they've operated in Central Texas, and confirm they carry workmanship warranties, not just manufacturer coverage. A contractor with three generations of family roofing experience, like the team at Defend Roofing, has seen enough hail seasons to tell the difference between cosmetic marks and genuine functional damage, and won't push a full replacement when a repair does the job.
Call your insurance company either before or right after you schedule the inspection, not after, so the adjuster's visit and your contractor's assessment can line up close together. Many adjusters appreciate having a contractor's photo documentation in hand before their own visit, since it gives them a baseline to compare against. Getting this scheduled within a few weeks of the storm keeps you well inside typical Central Texas policy deadlines and avoids the scramble that comes with waiting until the last month.
With your Precision Roof Assessment in hand, filing the claim itself is mostly paperwork, but the order you do things in matters. Submit your claim with the insurance company first, following a claim submission checklist from start to finish, then reference the contractor's inspection report as supporting evidence rather than waiting for the adjuster to discover damage on their own. Photos, measurements, and a written repair-versus-replace recommendation give the adjuster a document that matches what they'll see on the roof, which speeds up approval and cuts down on back-and-forth.
Insurance companies process claims faster when you hand them a complete file instead of a phone call and a vague description, so it pays to know the steps, photos, and proof a claim inspection produces. Include the following with your initial claim submission:
A claim backed by photos and a written report moves faster than one built on a phone call and a guess.
Schedule your contractor to be present when the insurance adjuster visits the property, if your policy and timing allow it. Adjusters see hundreds of roofs a season, and having someone who already documented the damage walk the roof alongside them catches disagreements before they become denials. Ask your contractor to point out anything the adjuster's report seems to miss, since a five-minute conversation on the roof resolves more disputes than a written appeal ever does.
Once the adjuster issues a scope of work and a settlement amount, compare it line by line against your contractor's original inspection report. Discrepancies happen, particularly around soft metals like vents and flashing, which adjusters sometimes overlook even when the photos clearly show damage. Don't sign off on a settlement that doesn't match the documented scope; ask your contractor to help you request a supplement instead, which is standard practice, doesn't jeopardize your claim, and is part of getting your insurer to cover the full replacement.
After approval, confirm your deductible, your contractor's start date, and whether the settlement covers full replacement or targeted repairs, since the right fix depends on how far the damage goes. A contractor who worked the claim with you from the inspection forward already knows the scope, which keeps the transition from paperwork to actual roofing work fast and free of surprises.
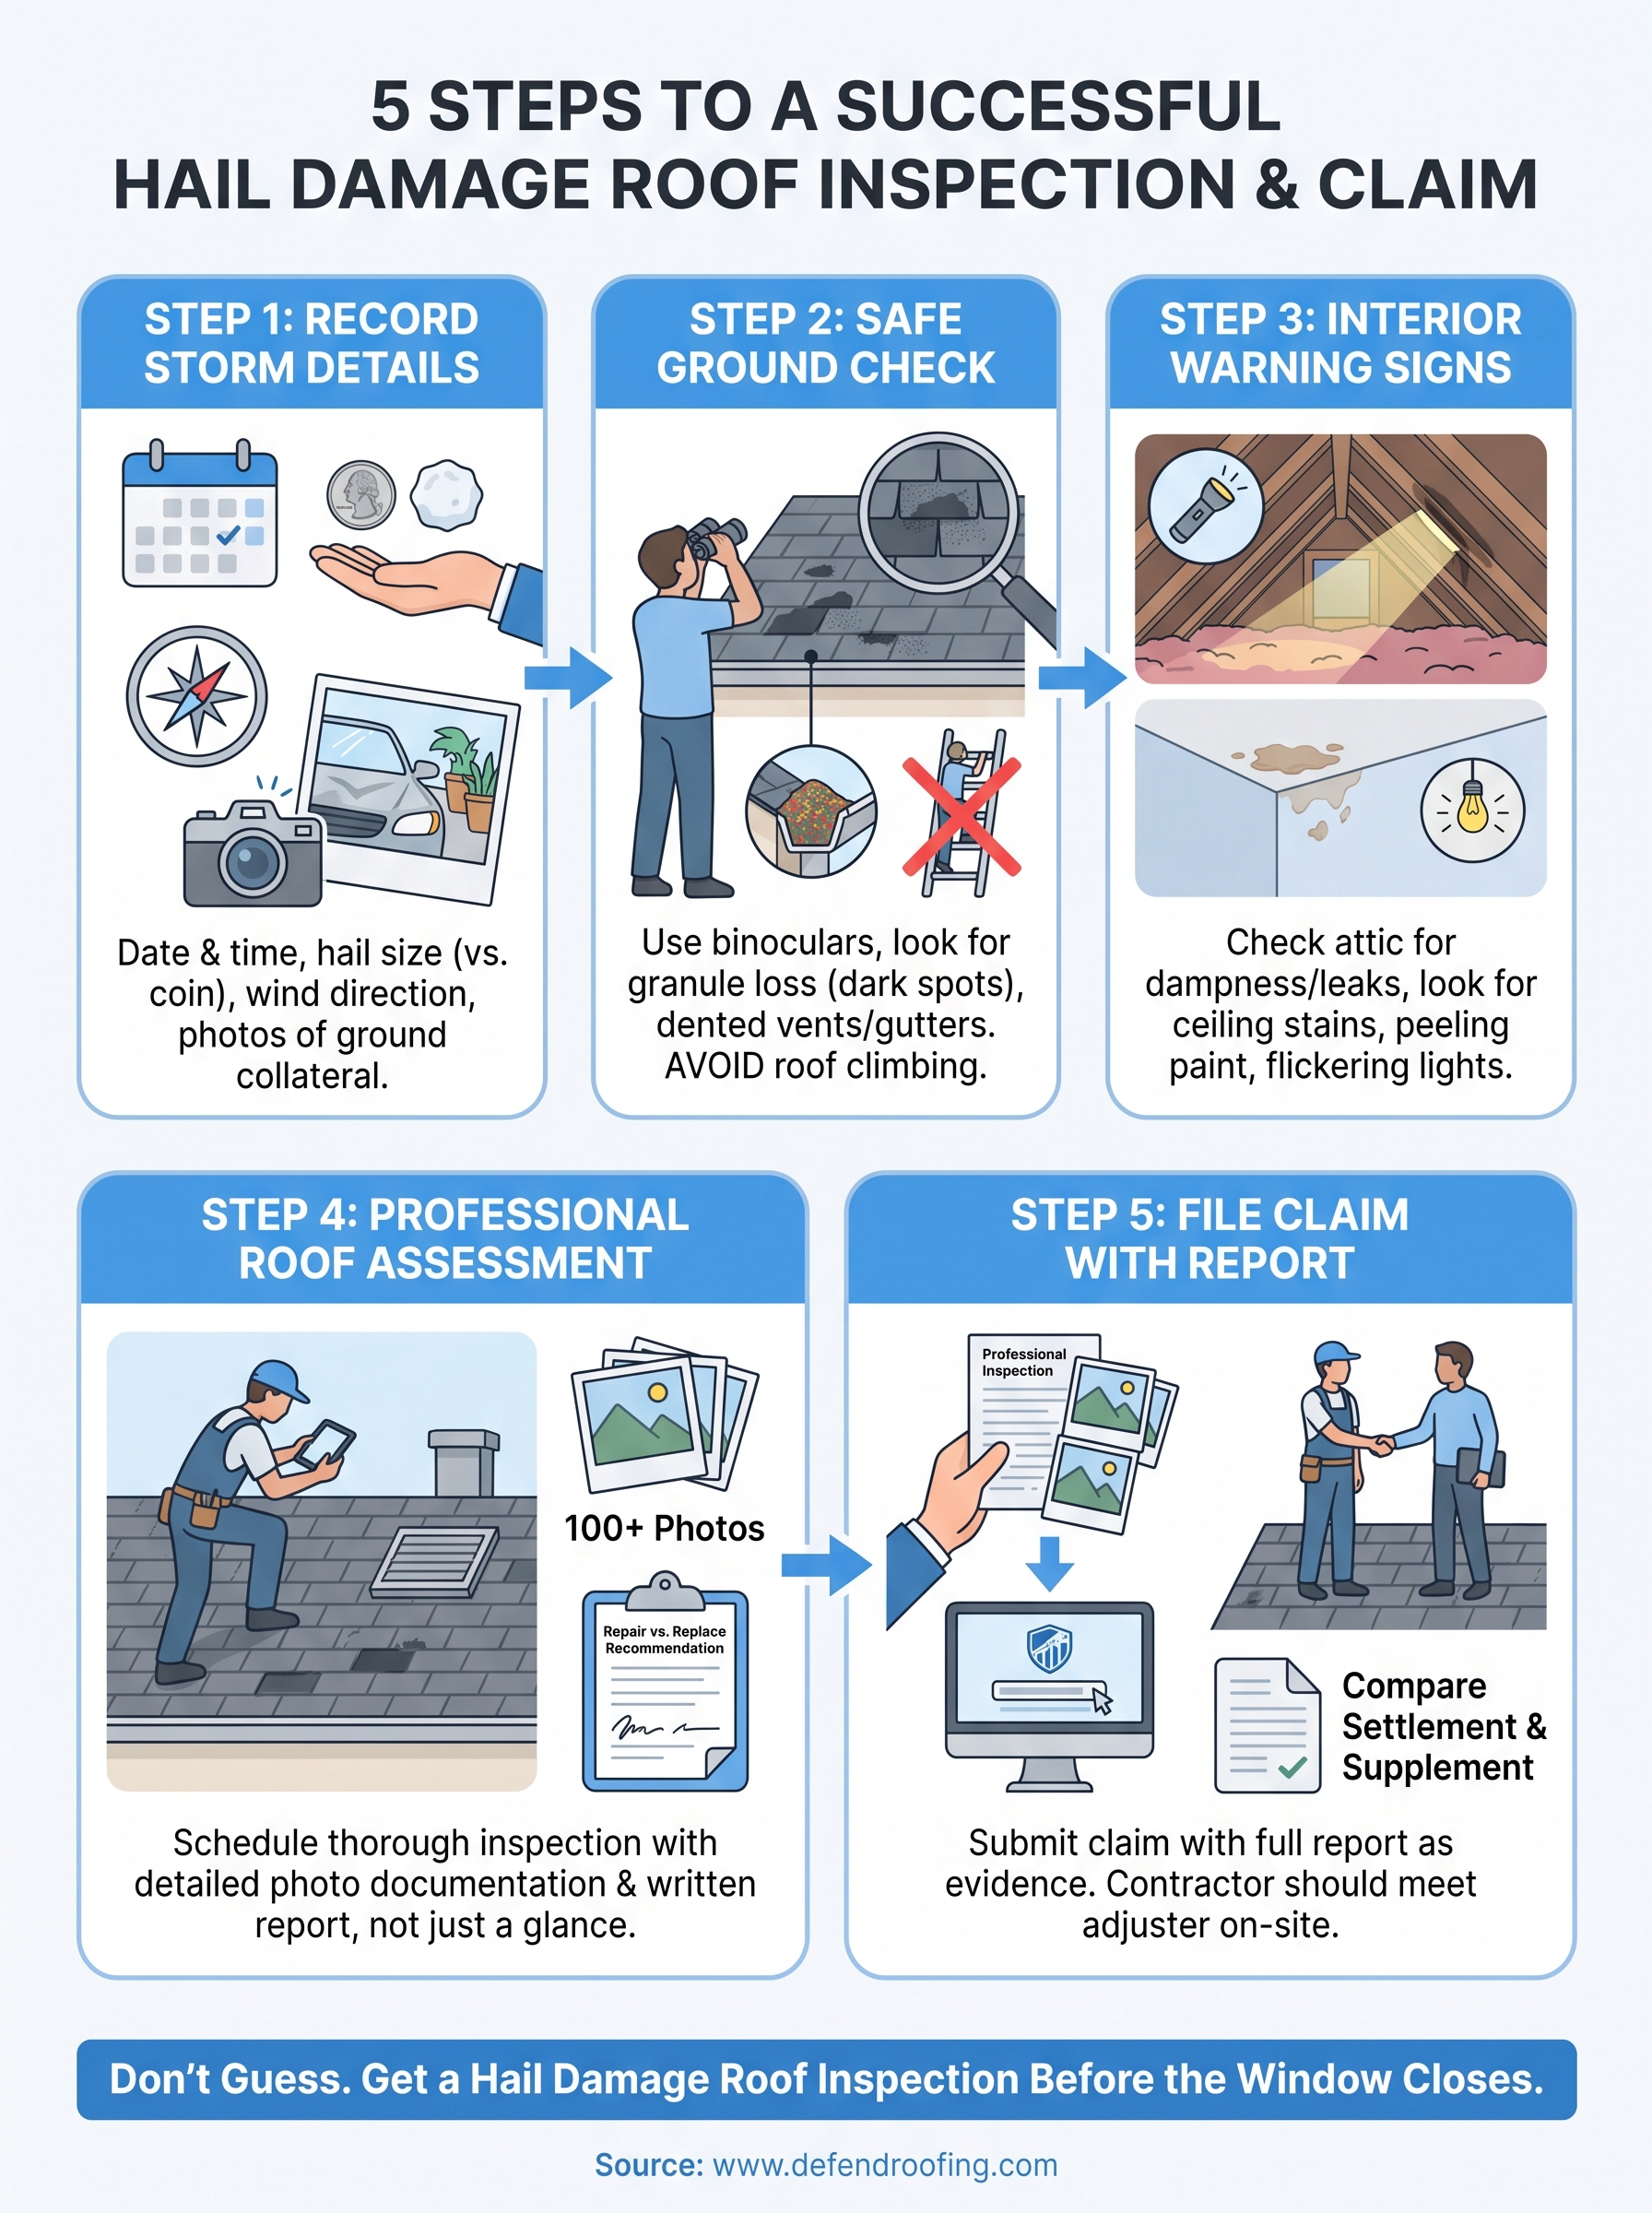
Hail damage rarely announces itself. A hail damage roof inspection is how you catch bruised shingles, dented vents, and cracked flashing before they turn into a soaked attic or a denied claim. Start with the storm record, walk the perimeter with binoculars, check your attic and ceilings, then bring in a professional before you file anything with insurance.
Every step builds toward the same goal: documentation solid enough that an adjuster can't wave it off. Skip a step, and you're negotiating from a weaker position, or worse, missing the claim window entirely.
You don't have to guess whether that hammering sound left real damage behind. Defend Roofing runs a 100+ photo Precision Roof Assessment on every property, gives you a straight repair-versus-replace answer, and stands by it through the whole claim process. If you spotted any of the warning signs above, call, text, or get an instant quote for a hail damage roof inspection and get eyes on your roof before the next storm rolls through.