Facing a leak? Get our urgent roof repair checklist: safety steps, water containment, tarping tips, documentation, and how to vet a contractor fast.
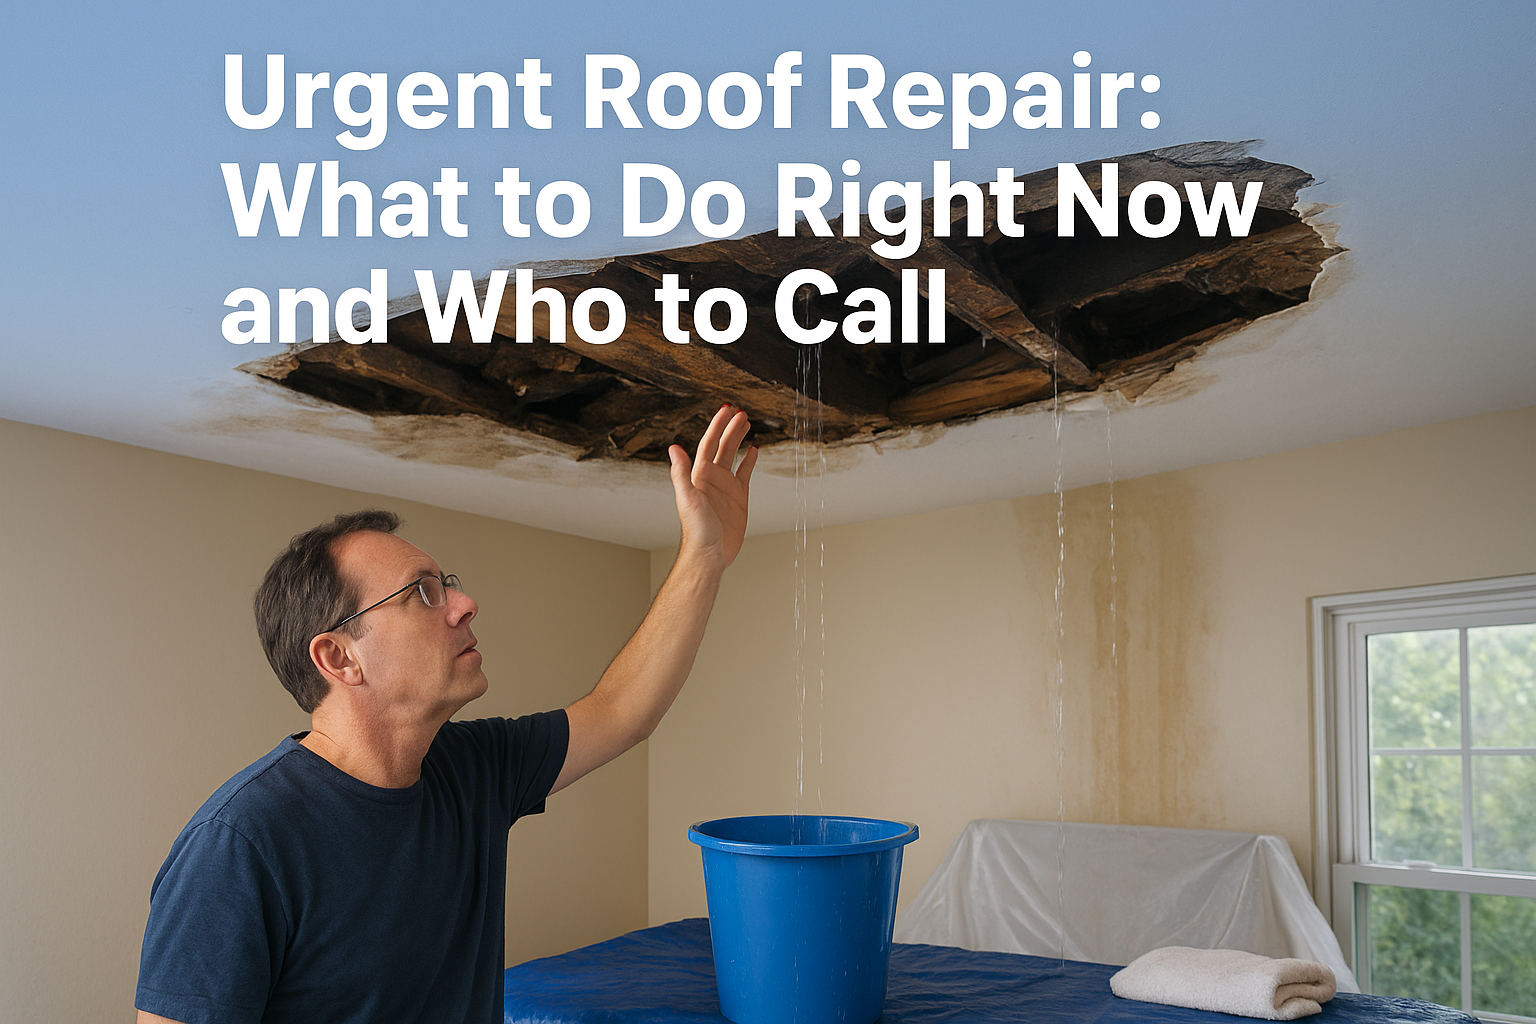
Water is dripping through your ceiling right now, or a limb just crashed through a section of your roof, and you don't have time to read a long article about roofing materials. You need urgent roof repair steps you can take in the next ten minutes, plus a clear answer on who shows up when it actually matters. That's what this guide gives you.
First, we'll walk through the immediate actions that limit damage to your home: where to place buckets, how to safely tarp an exposed area, and what to photograph before anything gets moved or cleaned up. These temporary damage control moves can save you thousands in secondary repairs while you wait for a contractor to arrive.
Then we'll cover what happens next: how to tell if a leak is a genuine emergency or something that can wait until morning, and what separates a reliable local contractor from someone who shows up, patches the wrong spot, and disappears. If you're in Cedar Park, Leander, or anywhere else around Austin, we'll also explain how a proper documented assessment protects you when it's time to file an insurance claim.
Water damage doesn't wait for business hours, and it doesn't stay contained to the spot where it first got in. A small ceiling stain today can turn into soaked insulation, warped drywall, and mold growth within 24 to 48 hours. The National Institute of Standards and Technology notes that mold can begin colonizing damp building materials in as little as 24 to 48 hours under the right conditions, which is exactly what a leaking roof creates: a warm, wet, dark cavity behind your walls or above your ceiling. Every hour you wait, water travels further along rafters, joists, and electrical runs, finding new paths into rooms nowhere near the original entry point.
The longer water sits inside your home, the more it costs you, and that math never favors waiting.
Homeowners often assume a roof leak is purely a roofing problem. It's not. Once water breaches your roof deck, it becomes a whole-house problem that touches insulation, drywall, flooring, and sometimes your home's electrical system. Insurance adjusters know this too, and they pay close attention to how quickly you responded. Most homeowner policies include a duty to mitigate, meaning you're expected to take reasonable steps to prevent further damage once you're aware of a problem. If you let a leak sit for a week because you were waiting for a quote, an adjuster can argue that some of the resulting damage was preventable, and preventable damage often gets excluded from your payout.
Speed isn't just about comfort. It's about which repairs stay small and which ones balloon into five-figure projects. Here's how the timeline typically plays out when a leak goes unaddressed:
| Time Since Leak Started | Typical Damage | Estimated Repair Scope |
|---|---|---|
| 0-2 hours | Wet ceiling spot, minor drip | Roof patch, ceiling touch-up |
| 24 hours | Saturated insulation, drywall staining | Insulation replacement, drywall repair |
| 3-7 days | Mold growth, warped subfloor | Mold remediation, flooring replacement |
| 2+ weeks | Structural rot, electrical exposure | Framing repair, rewiring, major renovation |
Quick action at the two-hour mark might cost you a few hundred dollars in patch work. Wait two weeks, and you're looking at a project that involves multiple trades, permits, and a much bigger check.
Getting someone out fast only helps if that someone actually knows what they're doing. Rushed repairs from unqualified crews create their own set of problems, from misaligned shingles that leak again in the next storm to tarps nailed straight through good decking, creating new holes you'll pay to fix later. A roofer with real field experience can usually spot the actual source of a leak within minutes, not just the visible symptom inside your home, because water often travels several feet from the entry point before it shows up on your ceiling.
That's the balance you're aiming for: moving fast without cutting corners on who you call. The steps below walk you through exactly what to do in the minutes after you spot damage, followed by how to find a roofer who treats your home like it matters, not just another ticket to close out.
Before you touch a single bucket, check your surroundings. Standing water near electrical fixtures is a real hazard, and a ceiling that's bulging or sagging from trapped water can collapse without warning. If you see a bulge, a bowed section, or water pooling around a light fixture, get everyone out of that room and shut off power to it at the breaker box if you can do so safely. No repair is worth an electrical shock or a chunk of wet drywall landing on your head.
If the ceiling is sagging or near an outlet, leave the room and cut the power first, everything else can wait a few minutes.
Once the room is safe, start tracing where the water is actually coming from. Water rarely drips straight down from its entry point. It travels along the underside of your roof deck, follows a rafter, then drops at the lowest point it can find, which might be several feet from where it actually got in. Grab a flashlight and head to your attic if you have access. Look for:
If you can't safely access the attic, or your home doesn't have one, work from inside the affected room. Note exactly where the water is entering, whether it's a steady drip, a slow seep, or running down a wall, and jot down the location relative to something fixed, like
Grab buckets, towels, and a tarp before you do anything else. Containing indoor water damage starts with putting a bucket or a large bowl directly under the drip, then lining the surrounding floor with towels or a plastic sheet to catch splashback. If the leak is running down a wall instead of dripping from the ceiling, tape a plastic sheet to the wall above the wet area and let it channel water into a container below, rather than letting it soak into the baseboard and flooring.
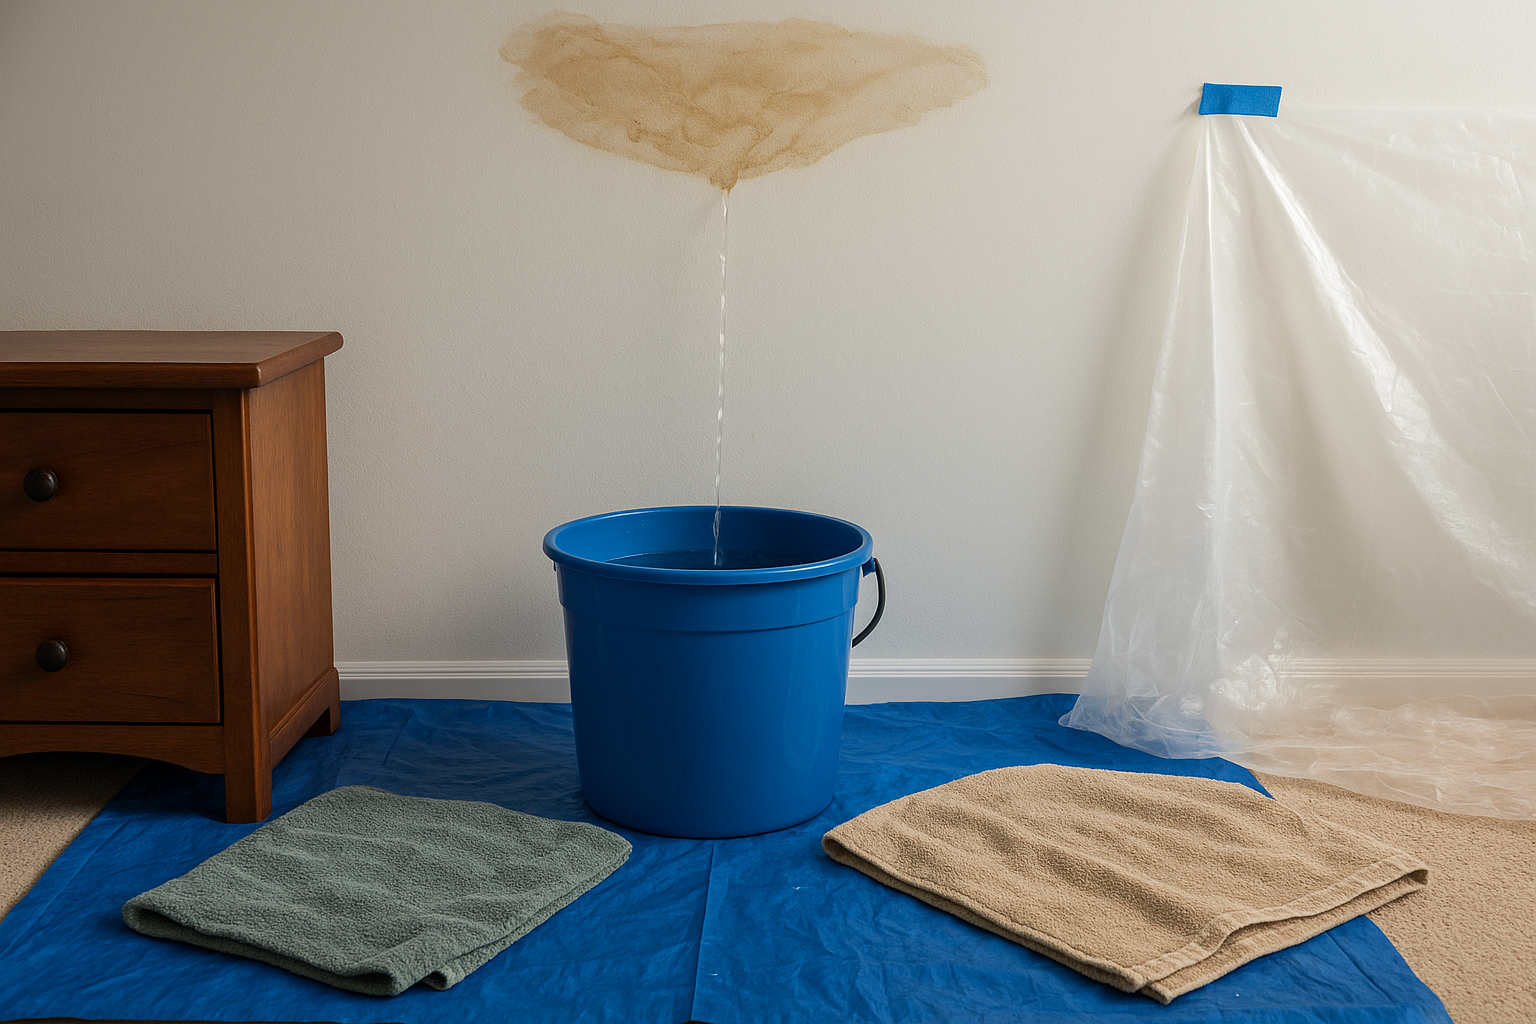
Move anything valuable out of the room immediately. Furniture, electronics, rugs, and boxes stored nearby should go to a dry space, even if they look untouched right now. Water spreads sideways under flooring and along baseboards faster than most people expect, and a rug that looks fine at 9 p.m. can be ruined by morning.
If you spot a bulge or sag in the drywall, don't wait for it to burst on its own. Poke a small hole in the lowest point of the bulge with a screwdriver, and place a bucket directly underneath. This sounds counterintuitive, but a controlled hole drains trapped water in a spot you chose, instead of a random collapse that dumps gallons across your floor and furniture at once.
A small, controlled hole in a sagging ceiling beats an uncontrolled collapse every time.
Once the immediate mess is under control, run a fan or a dehumidifier in the affected room if you have one. Getting air moving over damp drywall and flooring within the first few hours cuts down on the odds of mold taking hold, and it gives your emergency roof leak repair crew a drier space to work in when they arrive. None of this fixes the roof itself, but it buys you time and protects the parts of your home that a tarp can't reach.
Once the inside of your home is stable, turn your attention outside, but only if conditions are actually safe. High winds, rain, or a steep, wet roof are not situations where you should be climbing a ladder. Roofers train for years to move safely on wet shingles, and a fall from a single story can still cause a serious injury. If the storm hasn't fully passed, or you're not confident in your footing, skip this step entirely and wait for a professional crew with the right harnesses and traction gear.
Assuming conditions are dry and calm enough to work, a temporary roof tarp is your best defense against more water getting in before repairs happen. Grab a heavy-duty poly tarp, at least 6-mil thick, and enough 2x4 lumber to weigh down the edges without puncturing good sections of your roof. Here's the sequence that actually holds up in wind:
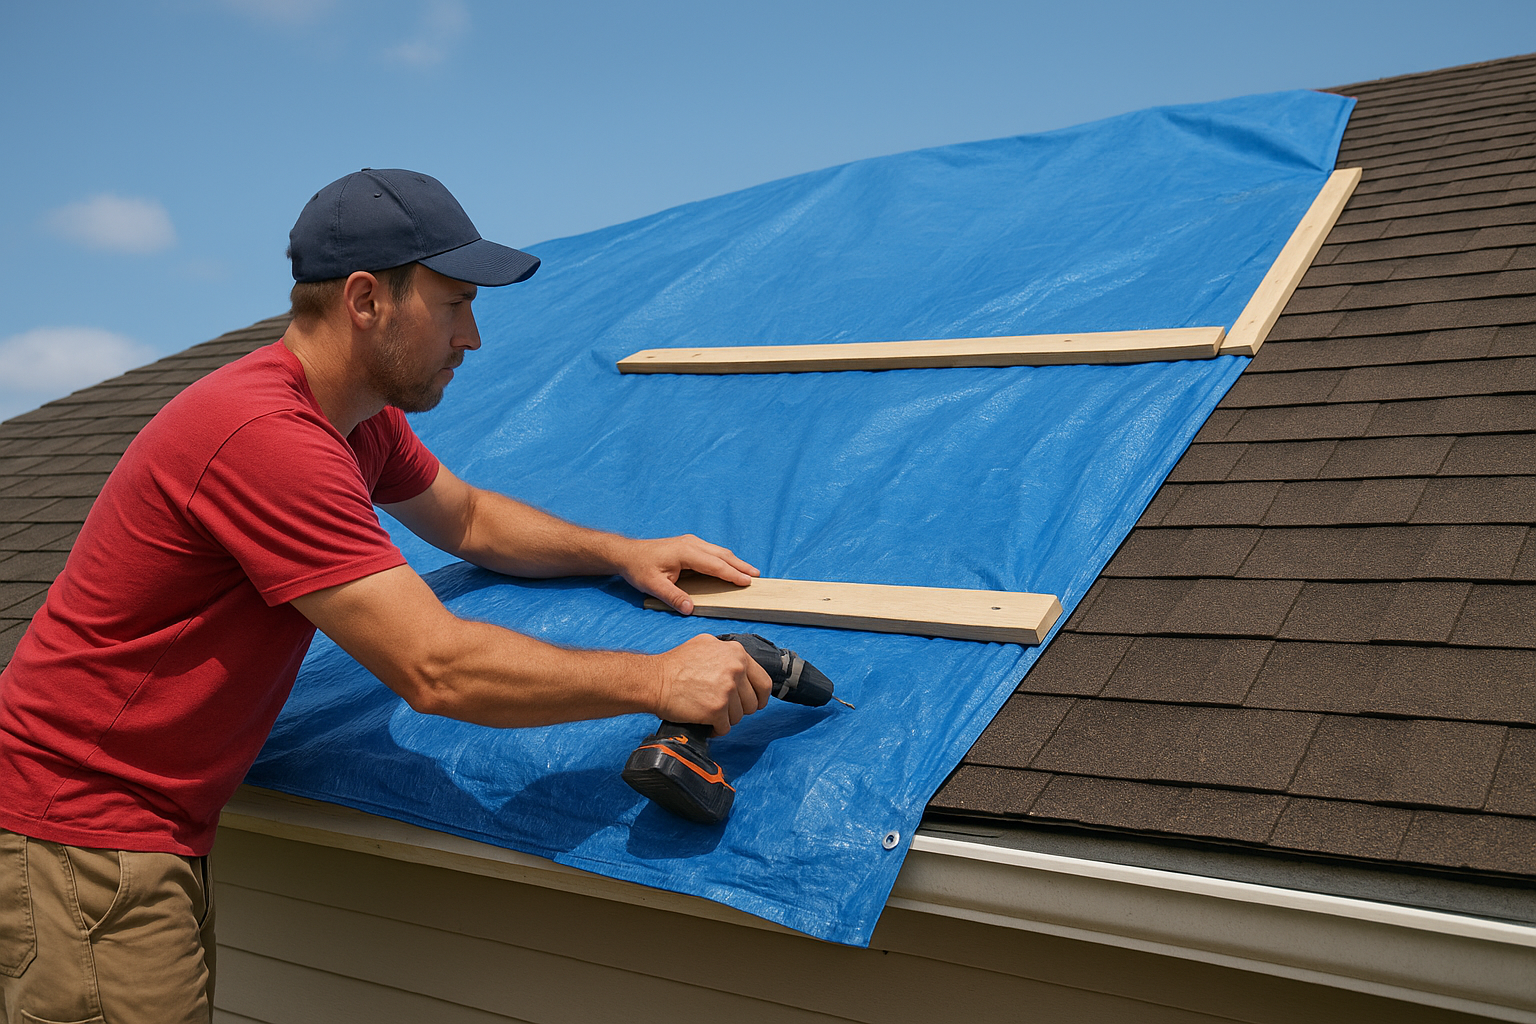
A tarp that's nailed through good decking just gives you a new leak to fix later, so anchor it with weighted boards instead.
Steep pitches, multi-story homes, and any roof still slick from rain call for professional emergency tarping instead of a DIY attempt. A crew that handles urgent roof repair regularly can get a secure tarp on in under an hour, often faster than it would take you to gather materials and figure out the right technique. Calling for help here isn't giving up, it's the same judgment call a good contractor would make in your position.
Grab your phone before you clean up anything else. Thorough photo documentation protects you twice: it gives your insurance adjuster proof of when and how the damage happened, and it gives a roofer a head start on diagnosing the problem before they even step on your property. Walk through the affected room and photograph the ceiling stain, the bucket catching drips, any furniture or flooring that got wet, and the timestamp on your phone naturally logs when you noticed it.
Wide shots alone won't cut it. Adjusters and contractors both need close-ups that show scale and detail:
Photos taken before cleanup starts are worth more to your claim than any explanation you give later.
Once you've got your documentation, start calling. A genuine roofing emergency line answers around the clock, not just during business hours, and the person on the phone should ask specific questions about the leak location, roof type, and how long it's been active, not just book you a slot three days out. Skip anyone who quotes a full replacement over the phone before seeing the roof.
Use this quick script when you call:
1. Can someone be at my house within the next few hours?
2. Will you document the damage with photos before starting repairs?
3. Do you work directly with insurance adjusters?
4. What's included in your emergency response, temporary or permanent fix?
Vet the answers the same way you'd vet any tradesperson entering your home during a stressful moment. A crew that shows up with a 100-plus photo assessment process, like the documentation Defend Roofing builds into every job, gives you a paper trail that holds up whether you're filing a claim or just want proof the repair was done right.
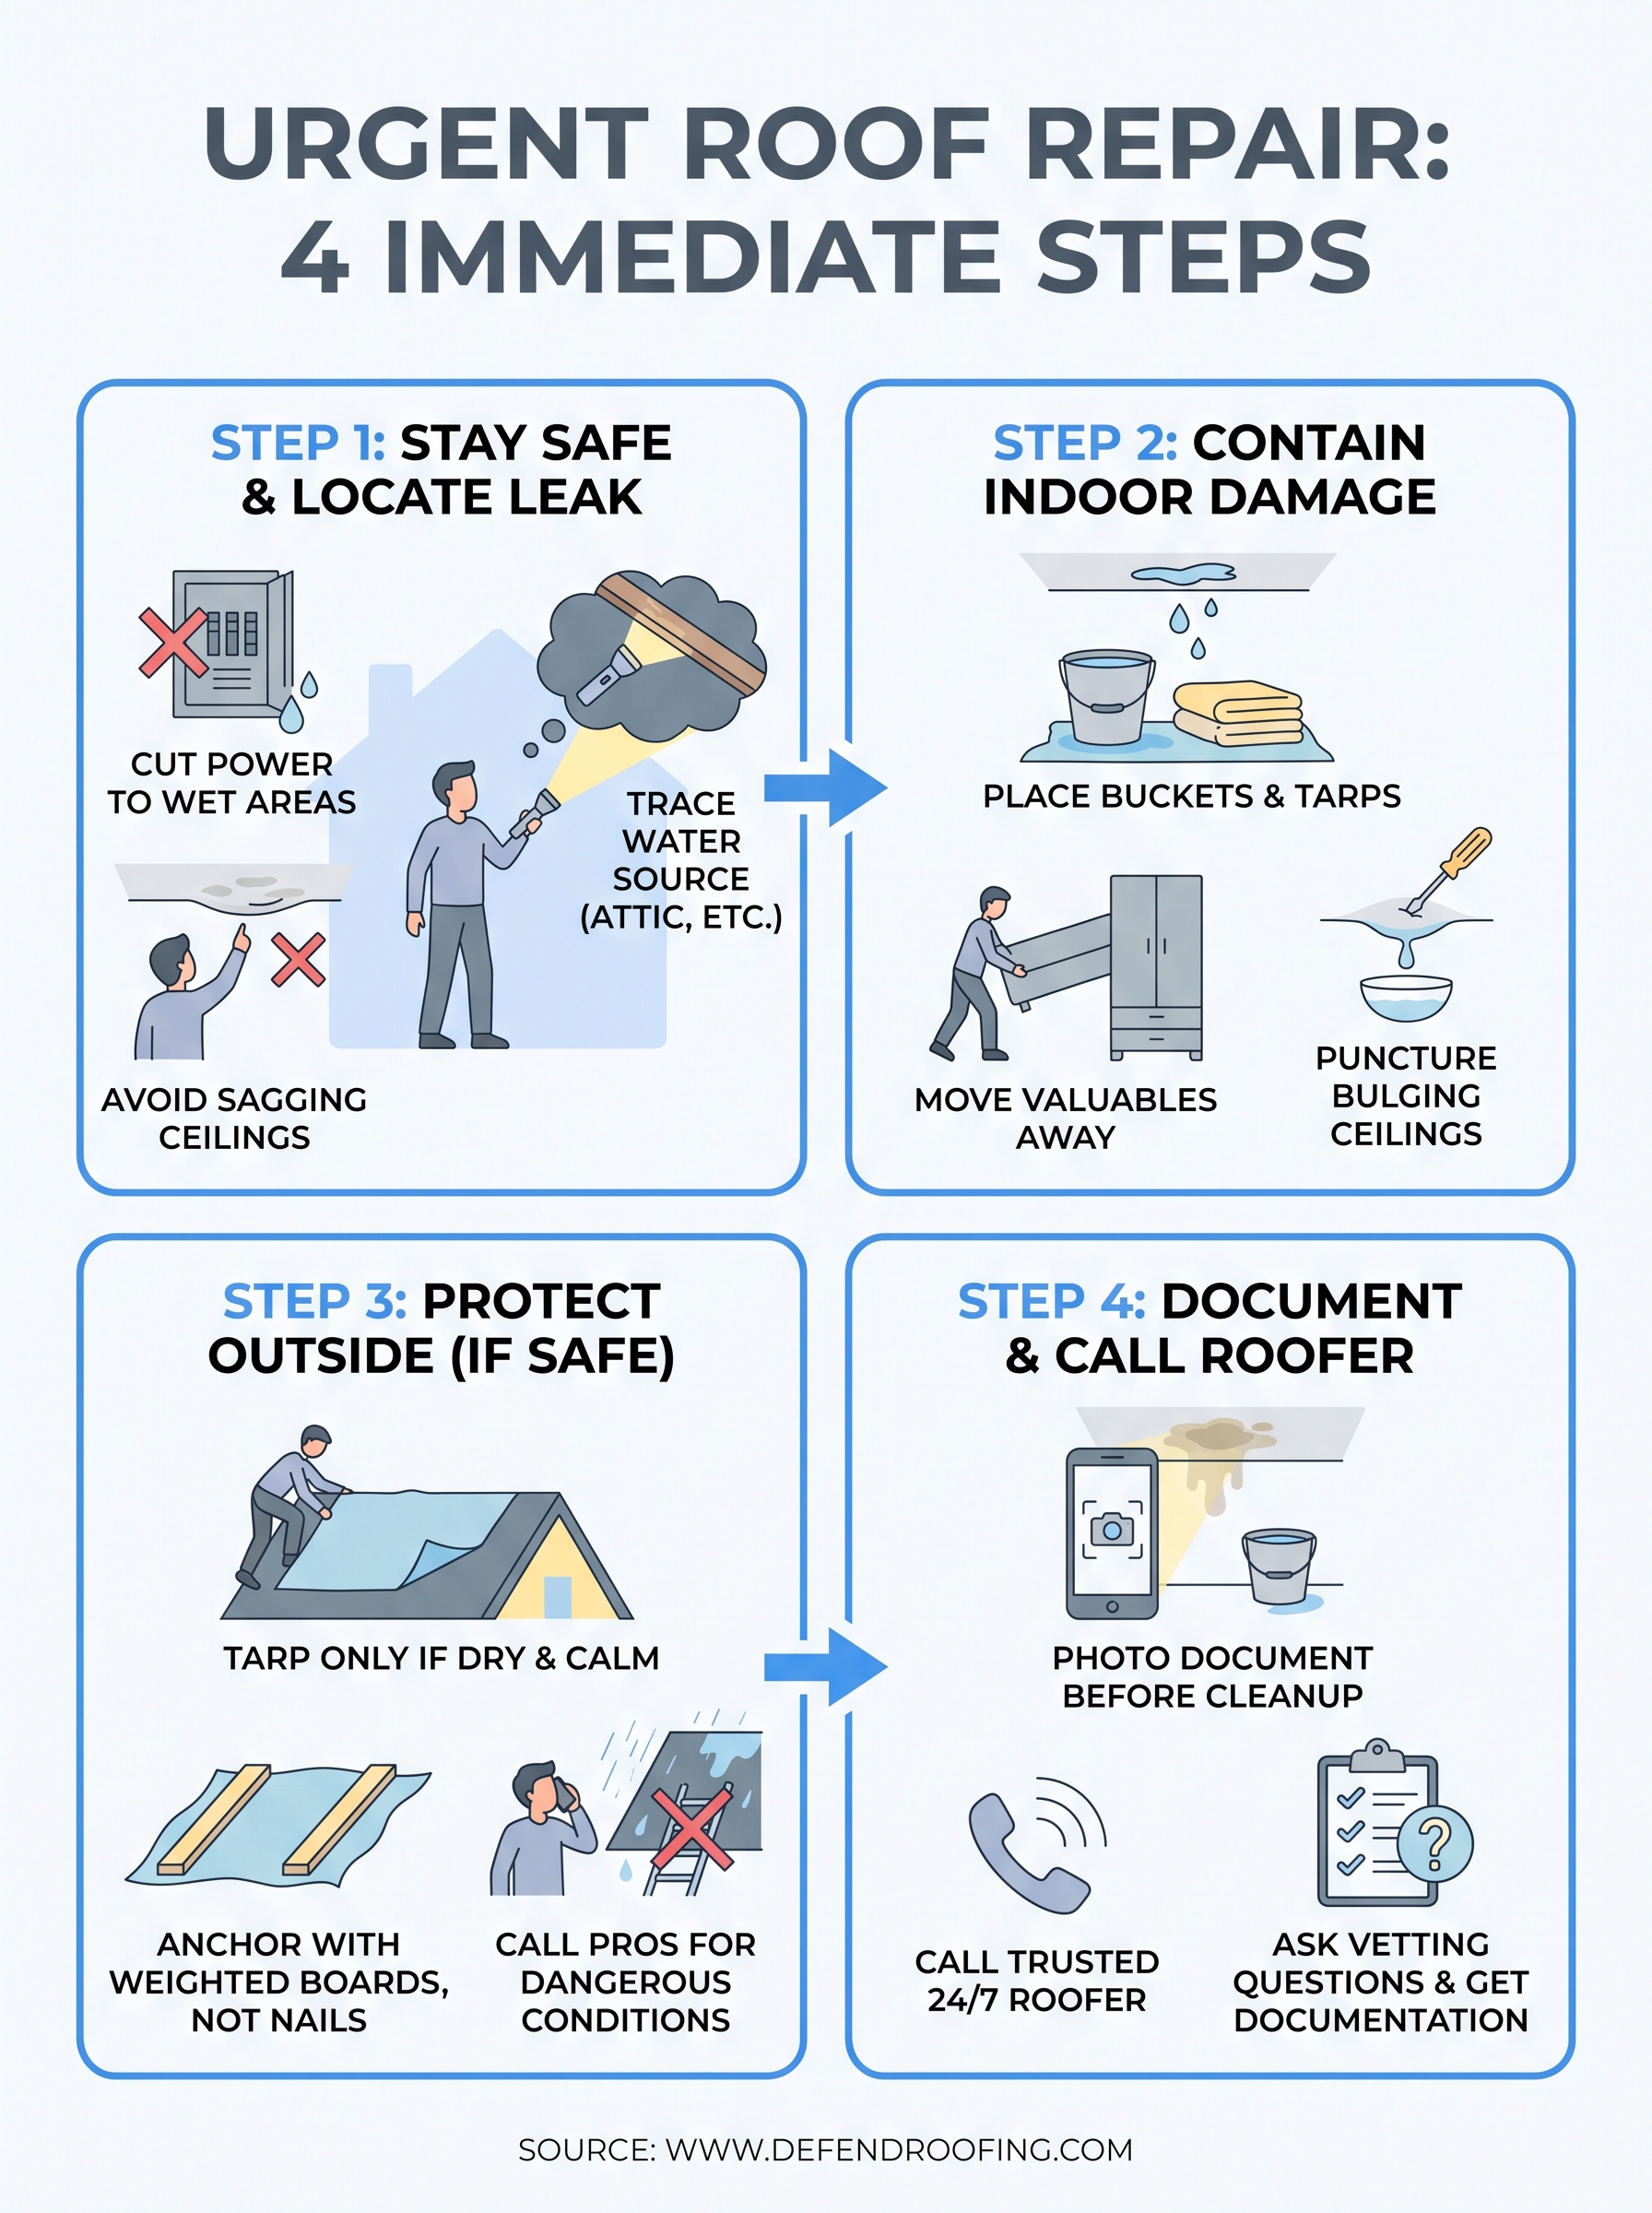
A leaking roof feels chaotic in the moment, but the process is straightforward once you know the order of operations: stay safe, stop the water inside, protect the roof outside, document everything, then bring in a crew that actually knows what they're looking at. Urgent roof repair isn't about panic, it's about working through those steps calmly while someone qualified heads your way. Every hour you shave off that response is money and materials you don't have to spend later on mold remediation, drywall, or a rebuilt ceiling.
You shouldn't have to guess whether the contractor on the other end of the phone will show up, tell you the truth, or document things properly for your insurance company. If you're in Cedar Park, Leander, Avery Ranch, or anywhere else around Austin and you've got water coming through your ceiling right now, reach out to Defend Roofing and get a real person on the line who treats your home like it's their own.




