Learn safe DIY roof shingle replacement steps, tools, and insurance documentation tips, plus when to call Defend Roofing's Central Texas experts.
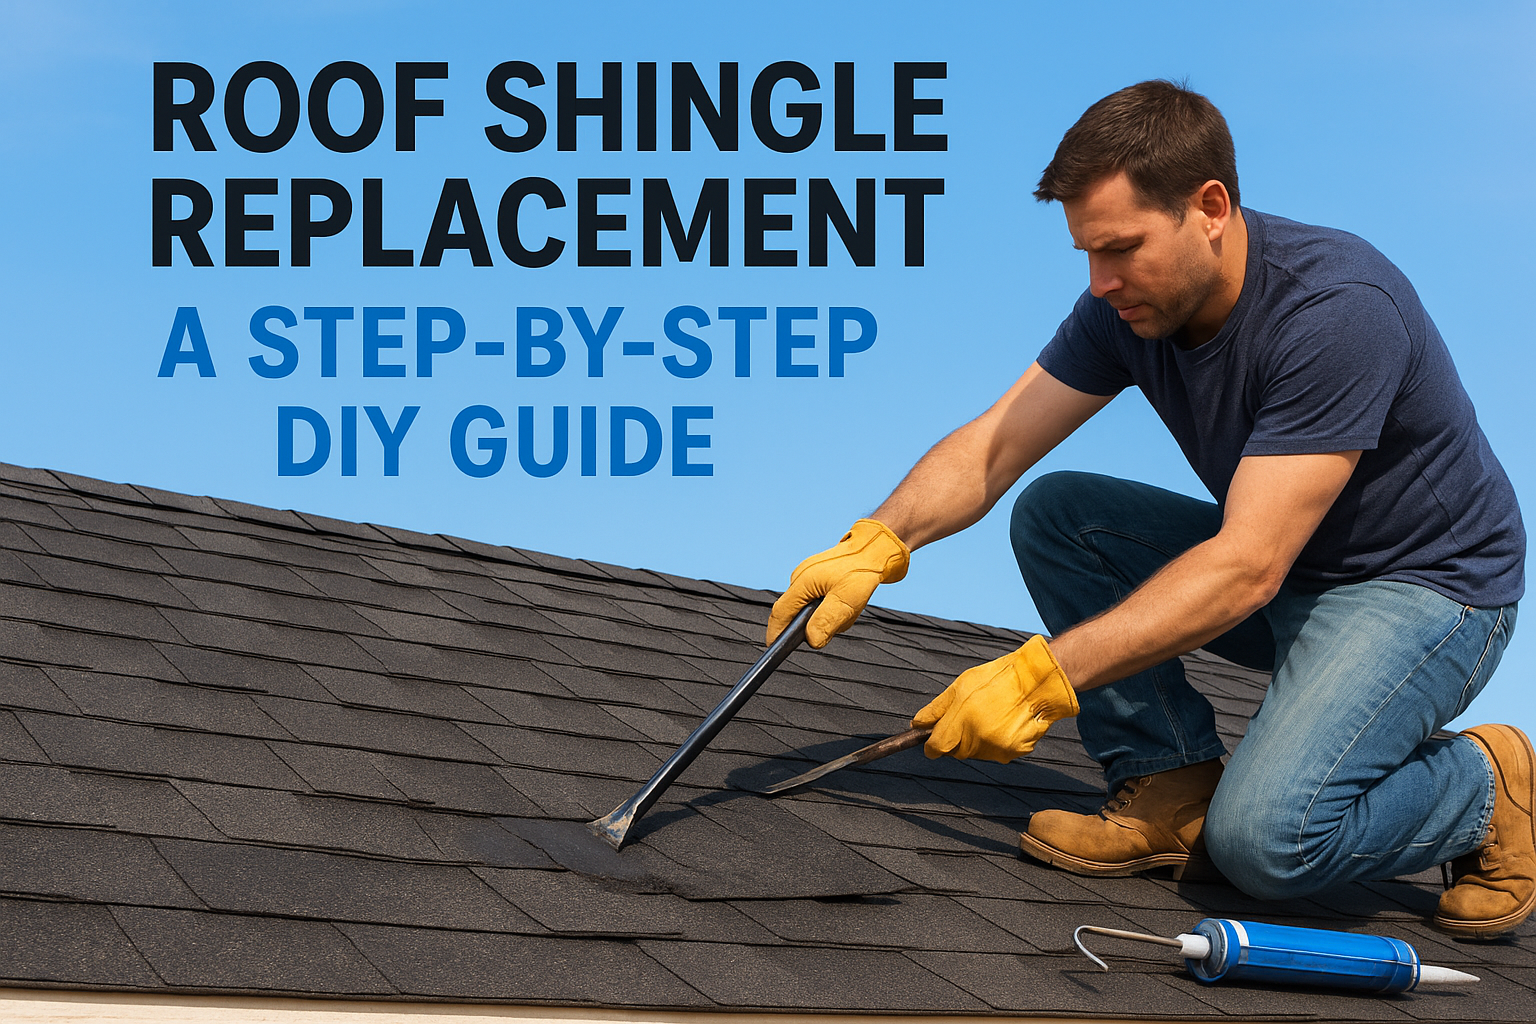
A handful of cracked or missing shingles after a Central Texas hailstorm doesn't always mean you need a full roof replacement, though it's worth knowing how to decide between roof repair and replacement. Sometimes a patch job with the right materials and a free Saturday afternoon is all it takes. Roof shingle replacement is a task plenty of homeowners can handle themselves, as long as you know the steps, have the right tools, and understand when the damage is bigger than it looks from the ground.
This guide walks you through the actual process of swapping out damaged shingles, from pulling nails without tearing the underlayment to matching replacement roof shingles so the patch doesn't stick out like a scar on your roofline. We'll also cover what this typically costs in materials and time, and whether homeowners insurance covers roof replacement when storm damage is the culprit.
We've spent three generations climbing Austin-area roofs, and we've seen plenty of DIY repairs go sideways from missed nail patterns or the wrong shingle weight. Below, you'll get the same shingle repair steps we use on the job, plus honest guidance on when a repair makes sense and when it's time to call in a pro instead.
Before you touch a ladder, check the weather forecast and the roof pitch. A steep roof, anything over a 6:12 pitch, gets dangerous fast when shingles are wet or covered in granule dust. Wear rubber-soled shoes, use a stabilizer on your ladder, and never work alone. If your roof feels too steep to walk comfortably, that's your answer: roof shingle replacement isn't worth a trip to the ER. Central Texas summers also bring afternoon heat that softens asphalt shingles, making them easy to scuff or tear during removal, so early morning is the better window.
A repair that puts you in the hospital costs more than any roofer ever will.
Having everything on hand before you climb up saves you multiple trips and keeps the exposed area from sitting open longer than it needs to. Here's what you need for a standard three-tab or architectural shingle swap:
Skipping any one of these usually shows up later as a lifted tab or a leak two rainstorms down the line.
Shingle color fades with sun exposure, so a shingle bought fresh from the store today may not match a roof installed five years ago. Bring a piece of your damaged shingle to the supplier and ask for the closest match in both color and weight. Replacement roof shingles that are lighter or heavier than your existing ones can create uneven wear patterns and, in some cases, void manufacturer warranties on the surrounding shingles, since 3-tab and architectural shingles have different lifespans. If your roof is under ten years old, check with the manufacturer directly, some offer registered matching services for homeowners doing spot repairs.
If the damage came from a hailstorm or wind event, document everything with photos before you start any shingles roof replacement work. Most insurers require photo proof of the original damage for a claim, and once you've patched it, that evidence is gone. Check your policy's filing window, most give you one year from the date of loss, and review the steps for filing a roof insurance claim before you start pulling nails if you plan to file. Doing the repair first can complicate or reduce a payout you were otherwise entitled to.
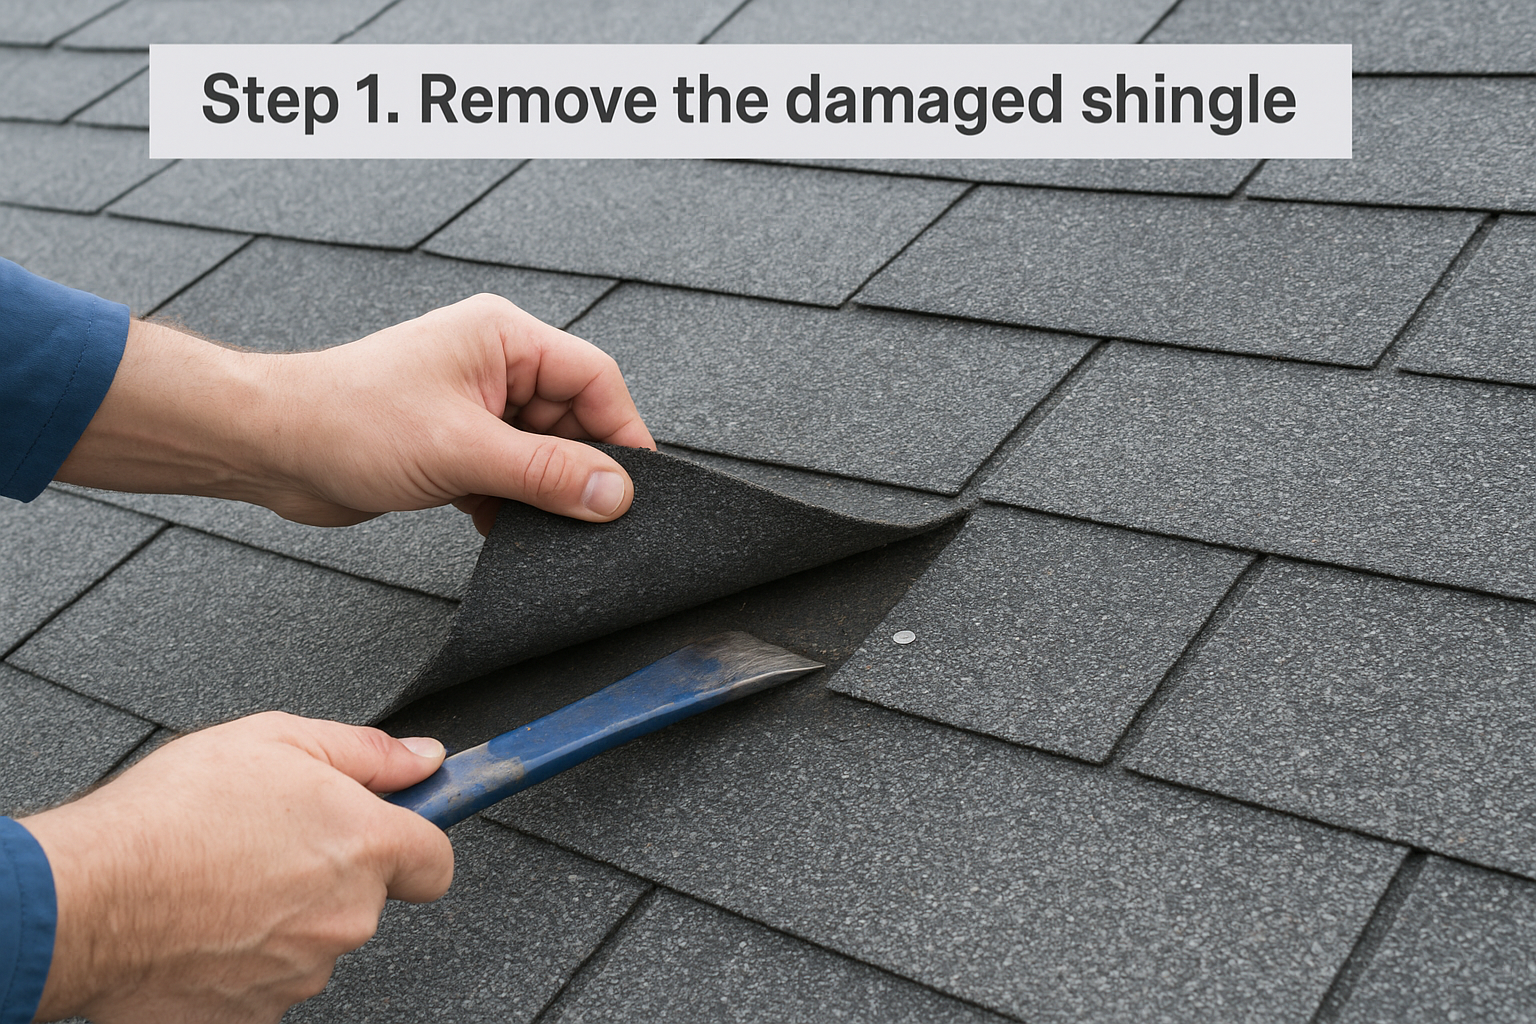
Start by lifting the shingle directly above the damaged one, since asphalt shingles overlap in rows and the nails holding your target shingle are hidden under that upper course. Slide your flat pry bar under the tab and gently pry upward, working slowly so you don't crack the shingle you're trying to save. Cold weather makes shingles brittle and prone to snapping, so if it's under 45 degrees, warm the area with a heat gun on low or wait for a warmer afternoon.
Once the upper shingle is lifted, you'll see two rows of nails, typically four per shingle, holding the damaged one in place. Slide your pry bar or the claw end of your roofing hammer under each nail head and pop it straight up rather than sideways, which tears the shingle beneath it. Set the nails aside; you'll want new ones for the reinstall since reused nails don't seat as tightly.
A shingle removed carefully leaves a clean slate; one removed carelessly creates two problems instead of one.
With the nails pulled, the damaged shingle should slide out from under the course above it with light tugging. If it resists, check for a stray nail you missed or roofing cement bonding it to the shingle below, common on older roofs where a previous owner or contractor sealed extra tabs.
This part of roof shingle replacement takes patience more than strength. Rushing it is what tears underlayment and turns a simple patch into a bigger repair.
Before you set a new shingle down, press on the exposed plywood decking with your hand or the flat end of your pry bar. Soft, spongy, or discolored wood means water has been sitting under that shingle longer than you thought, and a cosmetic patch won't fix a rotting deck. Roof shingle replacement only works if the surface underneath is solid, so treat this inspection as non-negotiable, not optional.
A new shingle over a rotten deck is a repair that fails twice as fast.
Pull back the felt or synthetic underlayment gently and check for tears, granule buildup, or dark staining that signals a slow leak has been running along the deck rather than through it, which is one of the clearest ways of tracking down where a roof leak starts. If your damaged shingle sat near a valley, chimney, or vent pipe, inspect the flashing too. Bent or lifted flashing often causes the exact kind of shingle damage that looks isolated from the ground but actually points to a bigger water intrusion problem.
Run through this checklist before moving forward:
If everything checks out solid and dry, you're clear to move ahead with replacement roof shingles. If you find soft decking or damaged flashing, stop here and read up on what a shingle roof replacement involves and costs. Patching over structural damage is exactly where DIY repairs turn into expensive mistakes down the road.
Grab the replacement shingle you matched earlier and slide it into the gap, tucking the top edge under the course above just like the old one sat. Line up the tab cutouts with the shingles on either side so the pattern reads straight from the ground. Roof shingle replacement only looks professional when the new piece sits flush, not proud or recessed compared to its neighbors, so take a second look before you nail anything down.
A shingle that lines up perfectly is invisible; one that doesn't will bother you every time you pull into the driveway.
Once the shingle is positioned, drive four galvanized roofing nails into the same nail line pattern the original shingle used, usually about 5/8 inch above the cutout slots. Nail placement matters more than nail count here. Nails set too high miss the shingle below and won't hold; nails set too low show below the tab line and invite water. Drive each nail flush, not sunk through the shingle surface, since an overdriven nail head tears the mat and creates a new leak point.
Lower the shingle you lifted back into its original position and press it flat against the new piece underneath. This closes the gap and hides the new nail line from view, which is exactly how a factory installation looks from the street. Check that both shingles lie flat with no lifted corners before moving to the sealing step.

Lift the corners of the reseated upper shingle and the new replacement, then apply a dime-sized dab of roofing cement under each tab corner, four spots per shingle. This bonds the shingle down against wind uplift, which is the number one reason patched shingles fail within a year. Press each tab firmly into the cement for a few seconds so it grabs before you move to the next one. Don't overdo the cement here; a thick glob squeezes out the sides and collects dirt, making your repair visible from the ground instead of blending in.
Sealant holds a shingle down; too much of it just holds attention to your repair.
Gently lift each corner you sealed to confirm the cement has bonded without lifting the shingle mat itself. A properly sealed shingles roof replacement should feel stiff to a light tug, not loose or springy. Sweep away any granules that came loose during the repair, since bare spots on a shingle surface age faster under UV exposure and shorten its lifespan.
Before you pack up the ladder, walk the roof edge from the ground and look for anything that sits higher, lower, or a different color than the surrounding field. Check gutters for stray nails or granule debris that fell during the work. Finish by photographing the completed repair from multiple angles, useful both for your own records and for your insurance file if this damage is part of a larger storm claim.
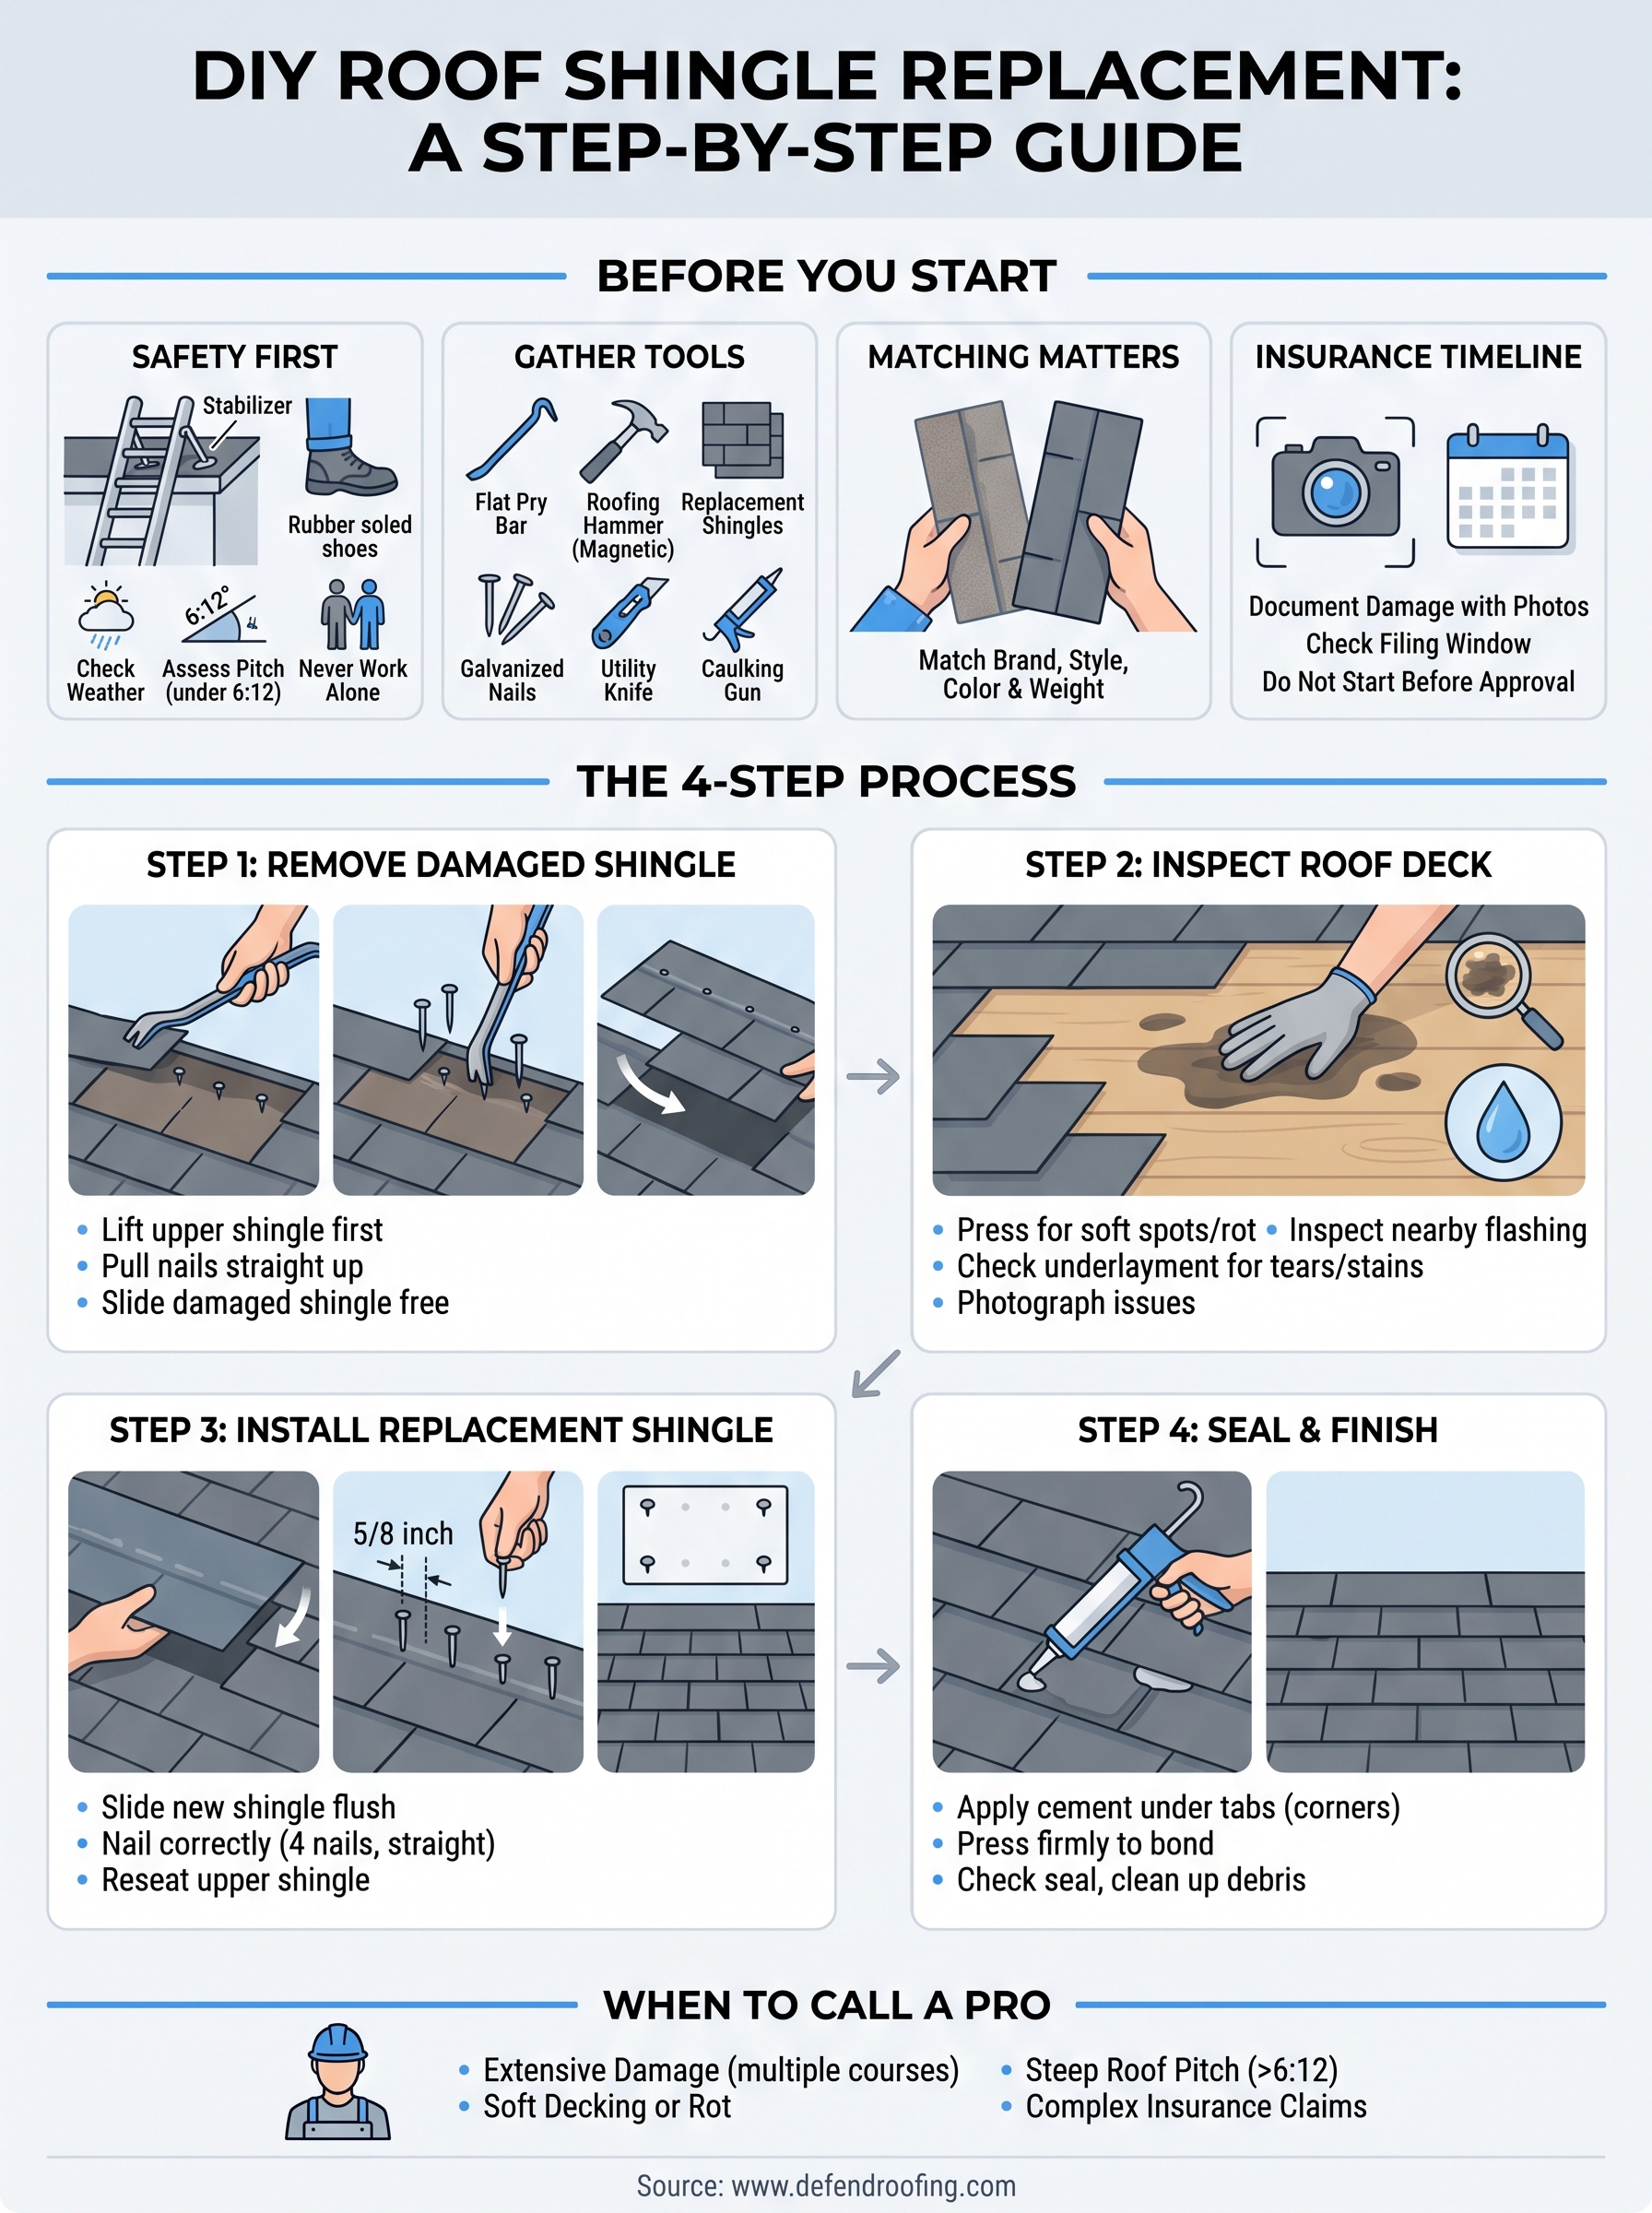
A single missing shingle on a low-slope roof is a fair DIY project. But roof shingle replacement stops being a weekend task once you're dealing with soft decking, multiple damaged courses, or a roof pitch steep enough to make you nervous on a ladder. Storm damage especially tends to hide more than it shows, granule loss and cracked mats often extend well past the spot you can see from your yard.
Greyson and Chris Buster have spent three generations climbing Central Texas roofs, and they know the difference between a patch that holds and one that fails in the next hailstorm. If your repair involves insurance paperwork, structural questions, or more than a shingle or two, skip the guesswork. Get a documented, honest quote from Defend Roofing and let the assessment tell you exactly what your roof needs, nothing more, nothing less.




