DIY guide to leak in roof repair: find the source, apply temporary fixes, and make permanent repairs, plus when to call Defend Roofing instead.
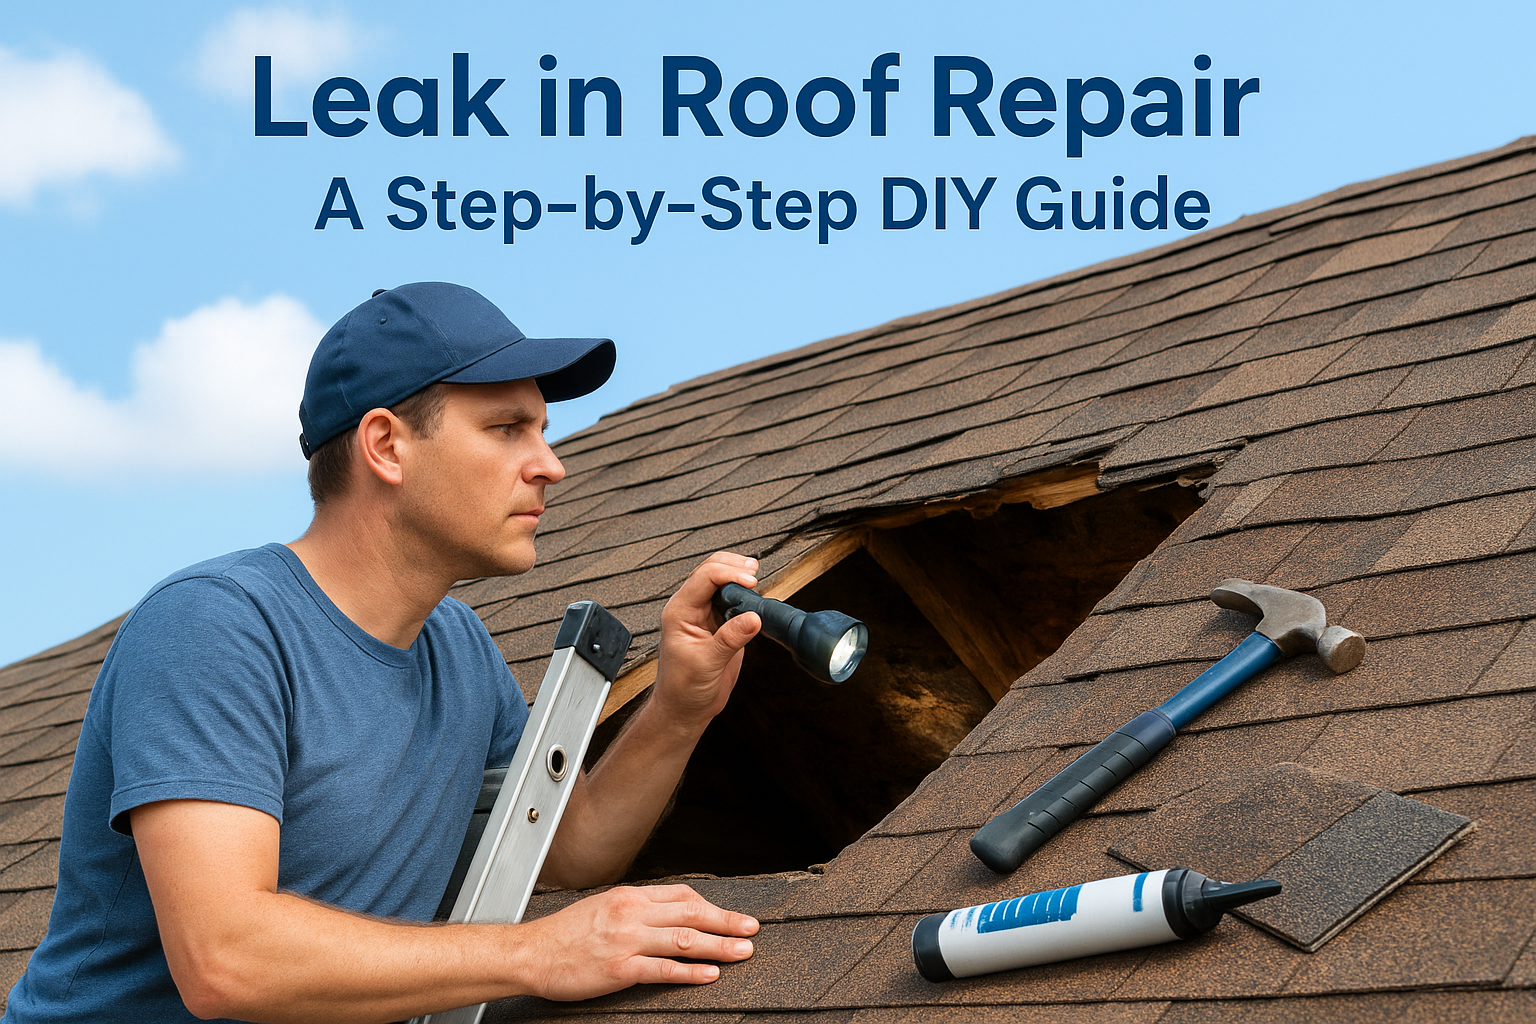
A wet ceiling stain never shows up at a convenient time, and in Central Texas, it usually follows one of our sudden summer storms. You grab a bucket, stare up at the drip, and start searching for leak in roof repair answers before the damage spreads into your attic insulation or drywall. That's exactly what this guide covers.
Here you'll get a real, step-by-step process for tracking down where water is entering, patching common leak points, and understanding what materials and time each fix requires. We'll also walk through leaky roof repair costs, including 2026 roof repair prices by damage type, so you know whether you're looking at a $20 tube of sealant or a bigger structural problem hiding under your shingles.
We'll cover attic inspection techniques, flashing and vent boot fixes, and temporary patches that hold until you can do permanent repairs. Just as important, we'll flag the warning signs that mean a leak roof repair job is beyond DIY, like sagging decking or widespread shingle failure, where calling a licensed roofer protects both your home and your safety.
Before you climb a ladder, understand that a leaky roof repair done wrong can turn a $50 fix into a $5,000 problem. Water travels along rafters and decking before it ever shows up as a ceiling stain, so the spot dripping onto your kitchen table might be ten feet from where the water actually entered the roof. Rushing outside to slap sealant on the first shingle you see rarely solves anything. Give yourself a clear head, a dry day, and a plan before you touch a single tool.
Getting up on a wet, sloped roof after a Central Texas storm is how homeowners end up in the emergency room, not the hardware store. Wait until the roof surface is completely dry, wear rubber-soled shoes, and never work alone. Use a ladder rated for your weight plus tools, and extend it at least three feet above the roofline for a stable handhold, a standard the Occupational Safety and Health Administration recommends for any ladder work.
A dry roof and a second set of hands prevent more injuries than any tool in your bag.
Having everything on hand before you start keeps you from making repeated trips up and down the ladder, which is where most falls happen. Stock these basics for a typical leak roof repair:
Asphalt shingle roofs on a moderate slope are the most forgiving for a homeowner to inspect and patch. Steep pitches above a 6:12 slope, tile roofs, and roofs with visible sagging fall outside safe DIY territory, no matter how simple the fix looks from the ground. Tile cracks easily underfoot, and a sagging deck often signals rotted framing that needs structural repair, not a tube of caulk. If your roof fits any of those categories, skip ahead to the professional assessment options later in this guide rather than risk a fall or worsening hidden damage.
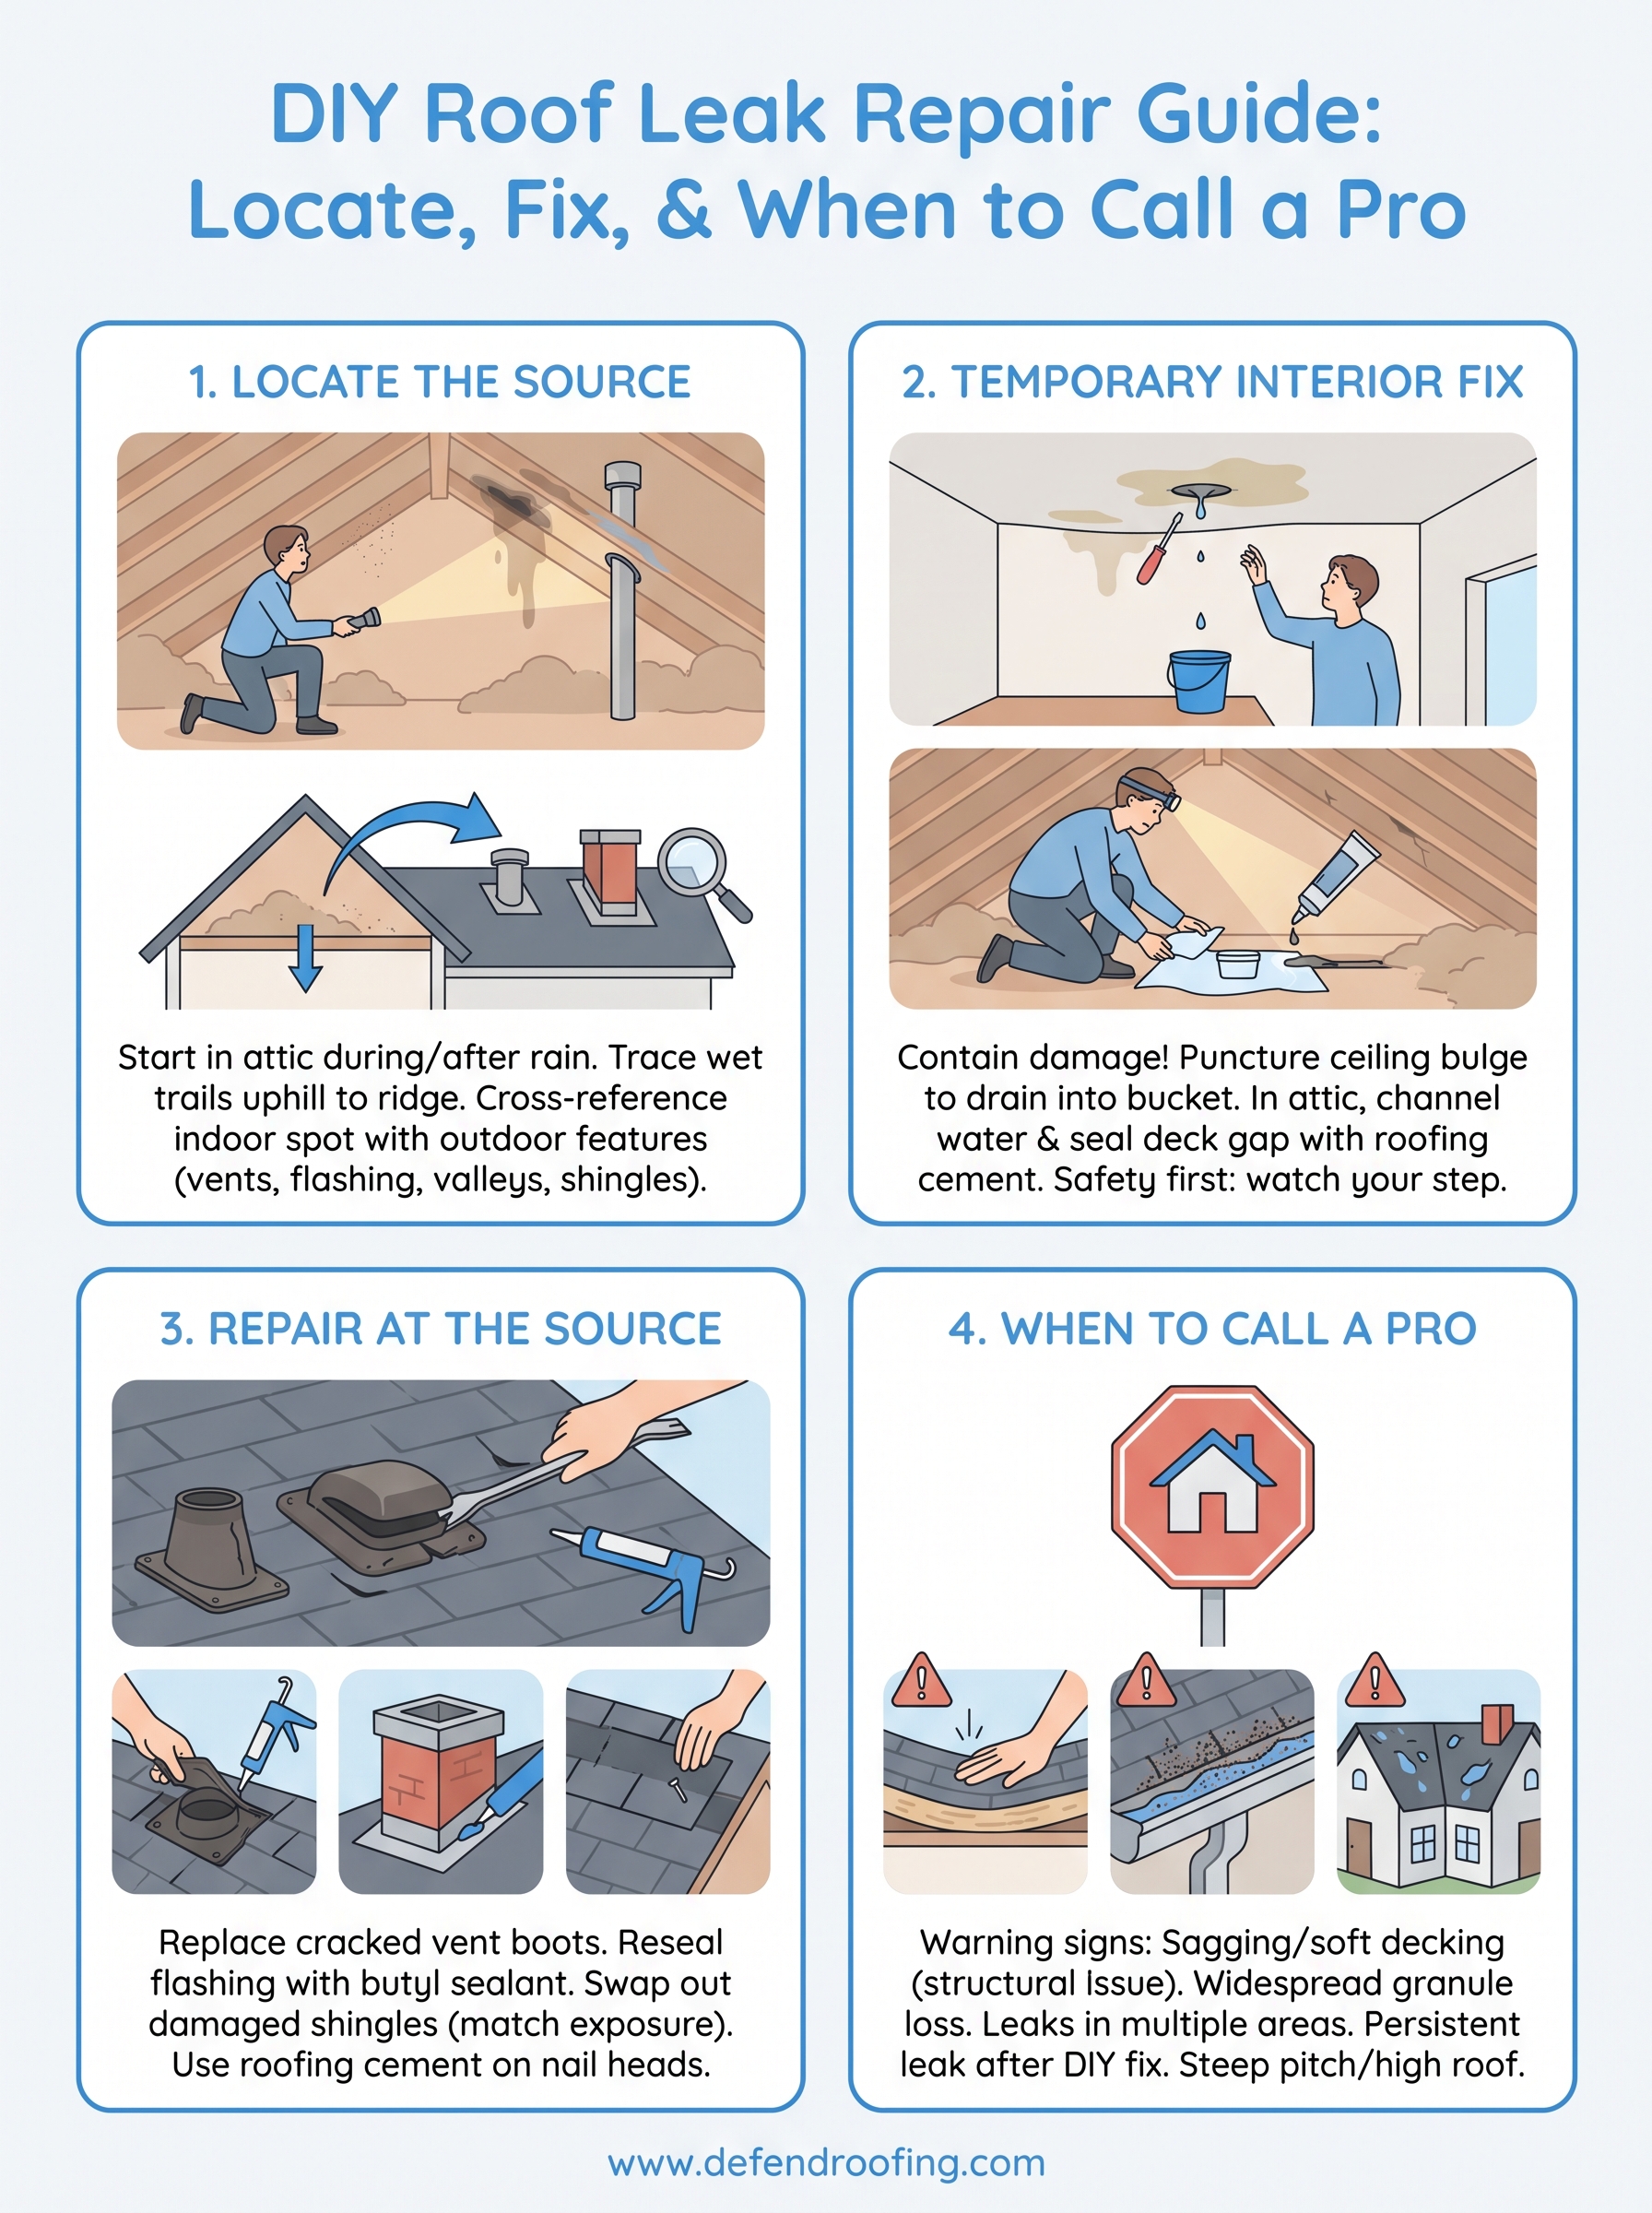
Finding the actual entry point is the single most important part of any leak in roof repair job, because everything after this step depends on getting it right, so it helps to work through locating a roof leak step by step. Start in the attic with a flashlight during daylight hours, ideally right after or during a rainstorm when the leak is active. Look for dark streaks, wet insulation, or shiny trails along the rafters, since water often runs several feet from the entry point before dripping down.
Grab a flashlight and head up before you ever touch the roof surface. Trace any wet wood or staining back uphill toward the ridge, not just straight up from the ceiling stain, because gravity pulls water sideways along the decking. Mark the spot with tape or chalk so you can find it again once you're outside.
The ceiling stain tells you where water landed, not where it got in.
Once you've narrowed the search area, get eyes on the roof itself and check the usual suspects first:
Measure the distance from a known reference point, like a chimney or gable end, inside the attic, then use that same measurement outside on the roof. This cross-referencing method turns a vague guess into a precise target, saving you from tearing into shingles that have nothing to do with the actual leak.
Once you've traced the leak to its likely entry point, don't wait for a dry weekend to protect your home from further damage. A temporary interior fix buys you time between the storm and a permanent roof repair, and these fast DIY steps before help arrives stop water from soaking insulation, drywall, and framing while you plan the next step. Move fast, but move smart, since the goal here is containment, not a permanent leak roof repair.
Catching water where it lands does more damage control than most homeowners realize. Puncture the ceiling at the lowest point of a bulging water pocket with a screwdriver, then set a bucket underneath, since a controlled drip through a small hole prevents a much larger section of drywall from collapsing under the weight of trapped water. Direct any active drips into the bucket with a length of string or a funnel taped to the ceiling.
Punching a small hole on purpose beats letting the ceiling fall in on its own.
Getting into the attic while it's still leaking lets you slow the water before it spreads further along the decking. Slide a scrap of plastic sheeting or a shingle piece under the leak point to channel water toward a container, and press roofing cement into any visible gap in the decking you can safely reach. Keep these steps in mind:
Now that you've contained the drip, it's time for the actual leak in roof repair work, fixing the entry point so water can't get back in. This is where most DIY jobs succeed or fail, because a rushed patch job on a vent boot or a bead of caulk smeared over cracked flashing rarely survives the next hard rain. Work methodically through the failure point you identified, and don't move on until the repair is solid.
Vent boots are one of the most common reasons roofs start leaking on asphalt shingle roofs, since the rubber collar around the pipe dries out and splits within 8 to 10 years. Pry up the surrounding shingles carefully with a flat bar, remove the nails holding the old boot, and slide the new boot into place before renailing the shingles back down. Seal every nail head and the boot's base with roofing cement.
A cracked vent boot costs less than $15 to fix and causes more leaks than any other roof component.
Flashing around chimneys and skylights needs a fresh bead of butyl sealant under any lifted edges, not just a surface coat on top. Lift the flashing gently, clean out old debris and cracked caulk, then press new sealant underneath before reattaching.
Damaged shingles need full shingle replacement, done step by step, not a cement patch on top:
After you've patched the vent boot, resealed the flashing, or swapped a shingle, step back and check your work with a hose test before you call the job done. Run water over the repaired area for several minutes while a second person watches the attic underneath for new drips. If the patch holds dry through a full soak, you've likely solved a straightforward leak in roof repair on your own. If water still seeps through, or if you notice soft, spongy decking when you press on it, you've moved past the range of a homeowner fix and into deciding between repair and replacement.
Certain findings mean you should stop working and find a roofer you can trust rather than keep patching:
A leak that keeps coming back after a repair is your roof telling you the damage runs deeper than the surface.
Getting a second opinion costs you nothing when the assessment is thorough and honest. Defend Roofing's Precision Roof Assessment documents your roof with over 100 photos, giving you clear evidence of whether you're dealing with an isolated leak or a roof showing signs it needs replacing. That documentation also becomes valuable if you end up filing an insurance claim for storm damage, since a roof inspection built for an insurance claim gives adjusters photographic proof instead of a homeowner's verbal description. Insisting on that level of detail protects you from both underestimating damage and paying for repairs you don't actually need.
A leak in roof repair rarely stays a small job if you ignore it, but you now have the process to find the source, contain the damage, and fix common failure points like vent boots, flashing, and damaged shingles. Trust your hose test. If water keeps finding its way back in, or you spot soft decking, that's your cue to stop patching and get a real assessment before small damage becomes structural.
Central Texas storms won't slow down, and neither should your response when you spot a stain on the ceiling. Every season you catch a leak early is a season you save on drywall, insulation, and framing repairs down the road. Your roof protects everything under it, so treat a lasting fix as the priority, not the afterthought.
When the damage goes beyond what caulk and a new shingle can solve, call, text, or request an instant quote from Defend Roofing for honest answers about what your roof actually needs.