DIY roof leakage repair guide: trace hidden leaks, apply temporary fixes, make permanent repairs, and know when to call Central Texas pros.
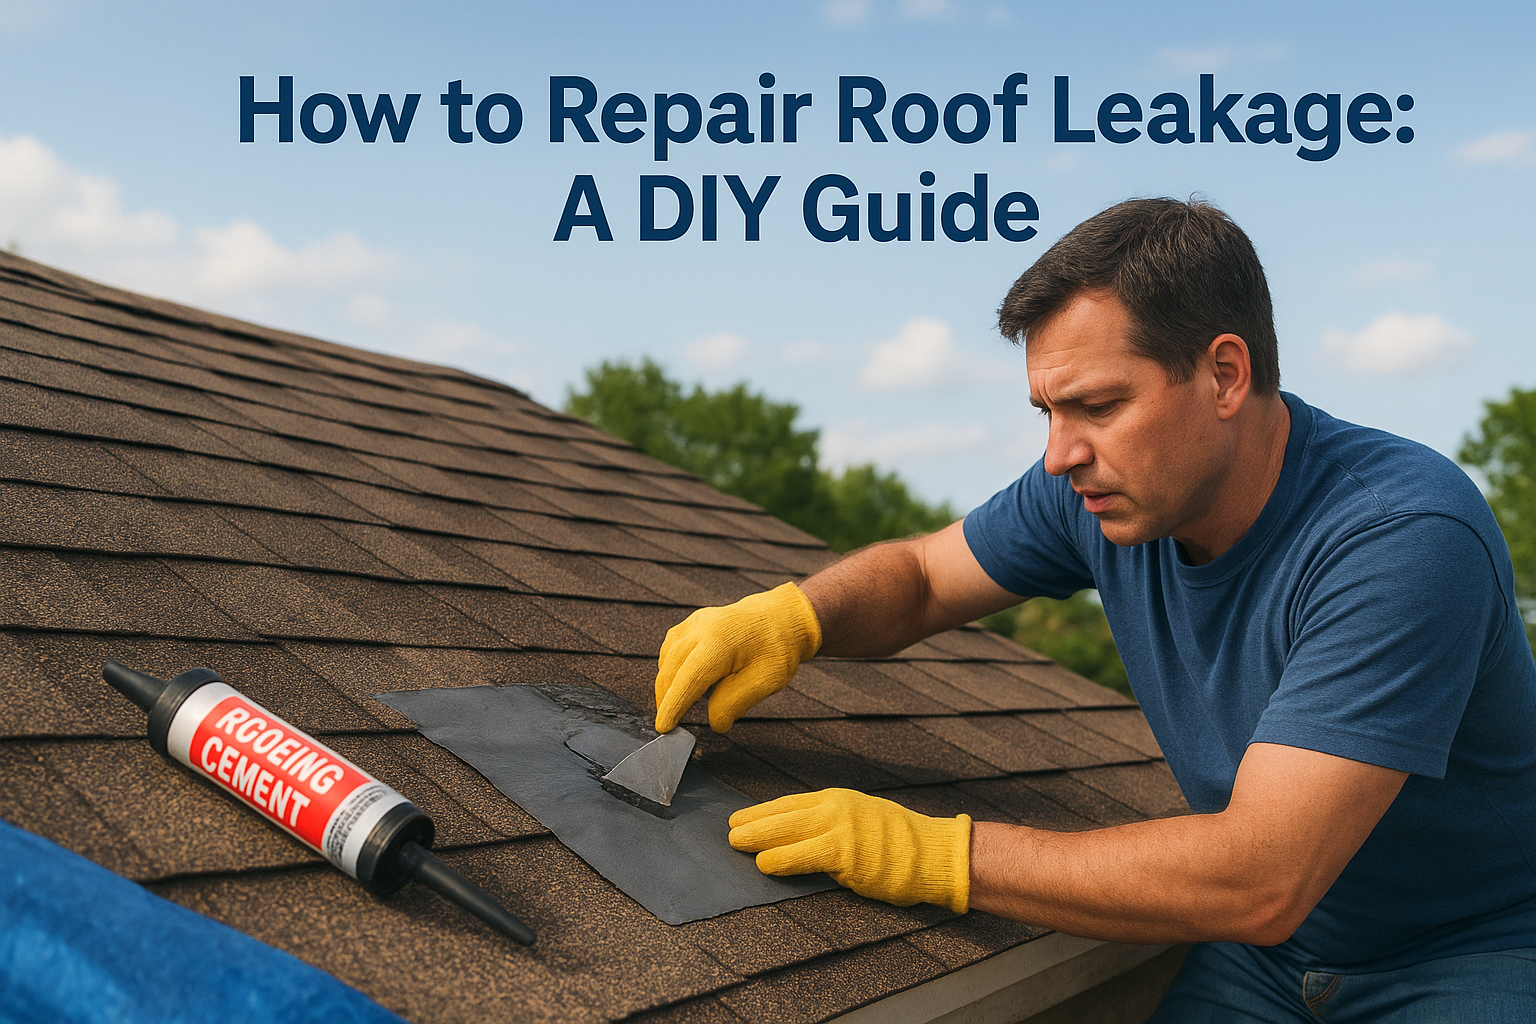
A wet ceiling stain is one of the first signs of a roof leak Austin homeowners notice, and in Central Texas, it usually follows one of our sudden hailstorms or a stretch of heavy spring rain. Before you call anyone, you want to know if this is something you can handle with a ladder and a caulk gun, or if it's a bigger problem hiding under your shingles. That's exactly what roof leakage repair looks like when you break it down into real steps instead of guesswork.
This guide walks you through finding the actual source of the leak, which is rarely where the water stain appears, and covers the materials and techniques for a solid temporary or permanent fix depending on what you're dealing with. You'll get practical direction whether you're trying to patch a small drip or stop water from spreading through your attic insulation.
We'll cover how to inspect your roof safely, what tools and materials to keep on hand, step-by-step repair methods for common leak types, and the warning signs that mean it's time to stop DIYing and call a professional roofer. As a family-run crew that's documented thousands of Austin-area roofs, we've seen what happens when small leaks get patched wrong, so we'll point out those mistakes along the way.
Most roof leaks start small and stay hidden for months before you ever see a stain. Roof leakage repair only works if you understand what's actually failing up there, because water rarely drips straight down from where it enters. It travels along rafters, follows nail lines, and pools in low spots before it finally soaks through drywall. Knowing the common failure points saves you from chasing the wrong spot on your first trip up the ladder.
Central Texas roofs take a beating from hail, UV exposure, and sudden temperature swings, and the six things that usually make a roof leak each attack a different part of your roofing system. Cracked or missing shingles let water through the field of the roof. Deteriorated pipe boots and rusted flashing that leaks around a chimney or skylight are some of the most frequent culprits we find during our assessments. Clogged gutters back water up under the shingle edge, and nail pops create tiny puncture points that widen over time.
A roof leak almost never shows up directly above the stain on your ceiling.
Before you touch a ladder, check the weather. Never climb onto a roof that's wet, icy, or still drying from a storm; wet shingles are as slippery as ice. Wear rubber-soled shoes, use a stabilizer to secure your ladder at the roofline, and if your roof pitch is steeper than about 6/12, this is a job for a harness or a professional, not a solo weekend project. If you have any doubt about your footing or the roof's structural condition after storm damage, stay on the ground and inspect from your attic instead.
Having the right supplies on hand before you climb up saves you a second trip and reduces the time your roof sits exposed to weather. Here's what to keep in your kit:
Gathering these before you start means you can move straight from finding the leak to sealing it without losing daylight or letting more water in. If you're unsure whether a product is rated for your roofing material, the National Roofing Contractors Association keeps updated guidance on repair materials worth checking before you buy. Once your kit is ready, the next step is tracking down exactly where the water is getting in.
Tracking down the actual entry point is the part most homeowners skip, and it's why so many patch jobs fail within a season. Water follows gravity along the path of least resistance, so a stain in your bedroom ceiling might trace back to a cracked pipe boot ten feet away near the ridge. Before you can repair a leak on a roof correctly, you have to pinpoint a roof leak in seven steps and find where the water actually gets in, not just where it shows up.
Grab a flashlight and head into the attic during or right after a rainstorm if you can. Look for dark streaks on the rafters, damp insulation, or active drips, and follow that trail uphill toward the roof deck. Push a piece of wire or a nail through the exact spot where you see moisture so you can find it from the outside later. A moisture meter helps here too, since wood can look dry on the surface while staying soaked underneath.
Follow the water uphill, not down, and you'll usually find the real leak within a few feet of your marker.
Once you've marked the spot from inside, get up on the roof (safely, per the precautions above) and check these areas near your marker first:

Daylight testing works too. On a sunny day, have someone shine a strong light from inside the attic while you look for pinpricks of light coming through the decking from outside. Once you've confirmed the exact source, you're ready to stop the water before it spreads any further.
Once you've pinpointed the leak, your first job is stopping active water intrusion, not perfecting the fix. A temporary patch buys you time to dry out the area and plan a permanent repair, and these quick patching steps hold until help arrives without risking more damage to your decking, insulation, or drywall while you wait for materials or better weather.
For a pinhole leak or a small crack around a pipe boot, clean the area first so the sealant actually bonds. Wipe away dirt and loose granules, let the spot dry completely, then apply roofing cement or exterior-grade sealant directly over the gap with a putty knife or caulking gun. Push it into the crack rather than just smoothing it over the top, since a thin surface layer will crack again the first time the roof flexes in the heat.
A temporary patch only holds if the surface underneath is clean and dry before you seal it.
When you're dealing with a missing shingle, a torn section of flashing, or storm damage that's opened a bigger gap, a tarp is your best short-term fix and the first move in any emergency roof repair. Here's how to set one up so it actually stays put in wind:
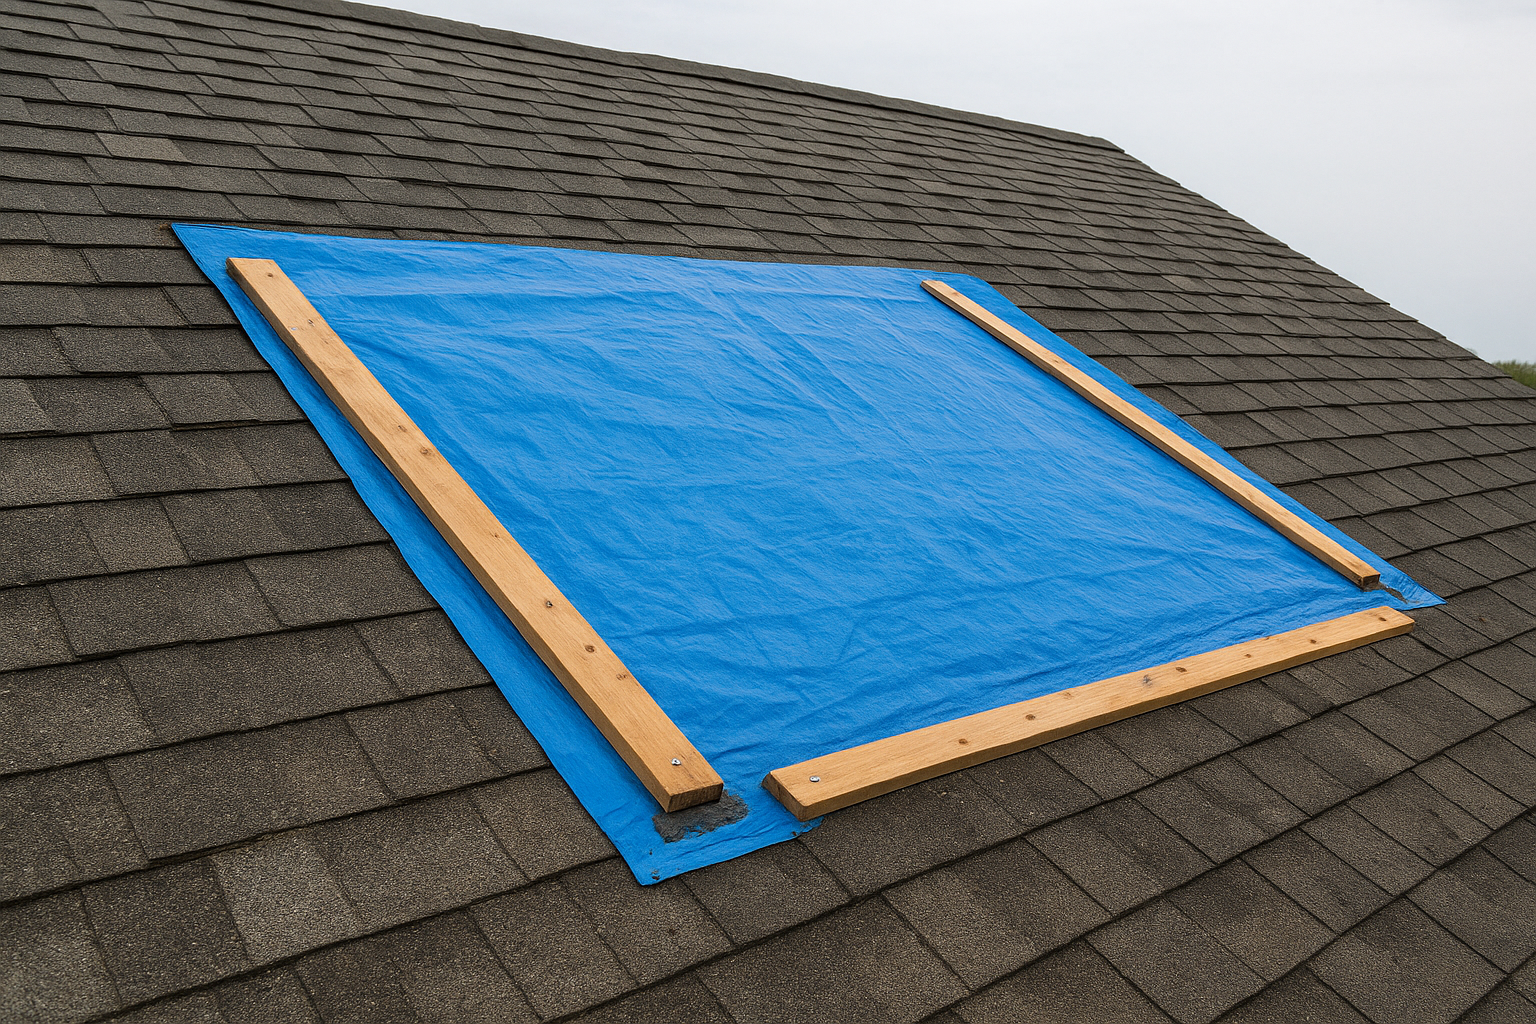
This kind of cover can hold for days if it's installed right, which matters if a contractor visit or dry weather is still a few days out. Just remember that a tarp or bead of sealant is a stopgap, not a repair, and moisture trapped underneath can cause rot if it sits too long.
Once the area is dry and you've gathered the right materials, it's time to move from a stopgap to a permanent repair that will hold through the next storm season. Learning how to repair a leak in a roof for good usually comes down to replacing the damaged material rather than just sealing over it, since old shingles and cracked flashing won't hold a patch forever.
Start by removing and replacing the broken shingle completely. Slide the pry bar under the shingle above it, break the sealant bond, and pull the roofing nails holding the damaged piece in place. Slide the new shingle into position, matching the exposure line of the surrounding row, and nail it with four roofing nails placed above the seal strip. Press the shingle above back down and dab roofing cement under its tabs to reseal.
Cracked pipe boots and lifted flashing need more than a bead of caulk to last. Pull the old, brittle boot off completely, slide a new rubber or lead boot over the pipe, and secure it with roofing nails driven through the flashing base, not the pipe itself. Seal every nail head and the top edge of the flashing with exterior-grade roofing cement so wind-driven rain can't work its way underneath.
A permanent fix replaces the failed material; it doesn't just bury it under more sealant.
Before you pack up, run water from a garden hose over the repaired section for several minutes while someone checks the attic for drips. This step catches a poor seal before the next real storm does. If the attic stays dry, mark the date on the repair for your own records, since knowing when you last worked on a section helps you track how it's holding up over time.
Some leaks are a Saturday afternoon project, and some are a sign that your roof has bigger problems that a patch can't fix, which turns this into a question of whether to repair or replace the roof. Knowing the difference protects your home and your wallet, since a missed structural issue costs far more than a service call. If you've climbed up twice and the stain keeps coming back, that's your cue to stop troubleshooting and find a roof repair contractor you can trust.
Certain damage patterns tell you the leak goes deeper than a cracked shingle or a dried-out seal:
If the same spot leaks twice after you've fixed it, the roof is telling you the damage runs deeper than the surface.
A leak that follows a hailstorm often qualifies for an insurance claim, and that changes how you should approach the repair. Patching it yourself before an adjuster sees the damage can undercut your claim, since filing a storm damage claim step by step depends on documentation of the original condition. A professional roofer who understands roof leakage repair at scale will photograph the full extent of the damage, not just the leak you can see, and negotiate the scope with your adjuster directly. That's the gap our Precision Roof Assessment fills for homeowners across Central Texas, with over 100 photos documenting every issue before any repair decisions get made. If you're staring at a leak that keeps coming back, or storm damage you suspect goes beyond one bad shingle, reach out to Defend Roofing before you spend another weekend guessing.
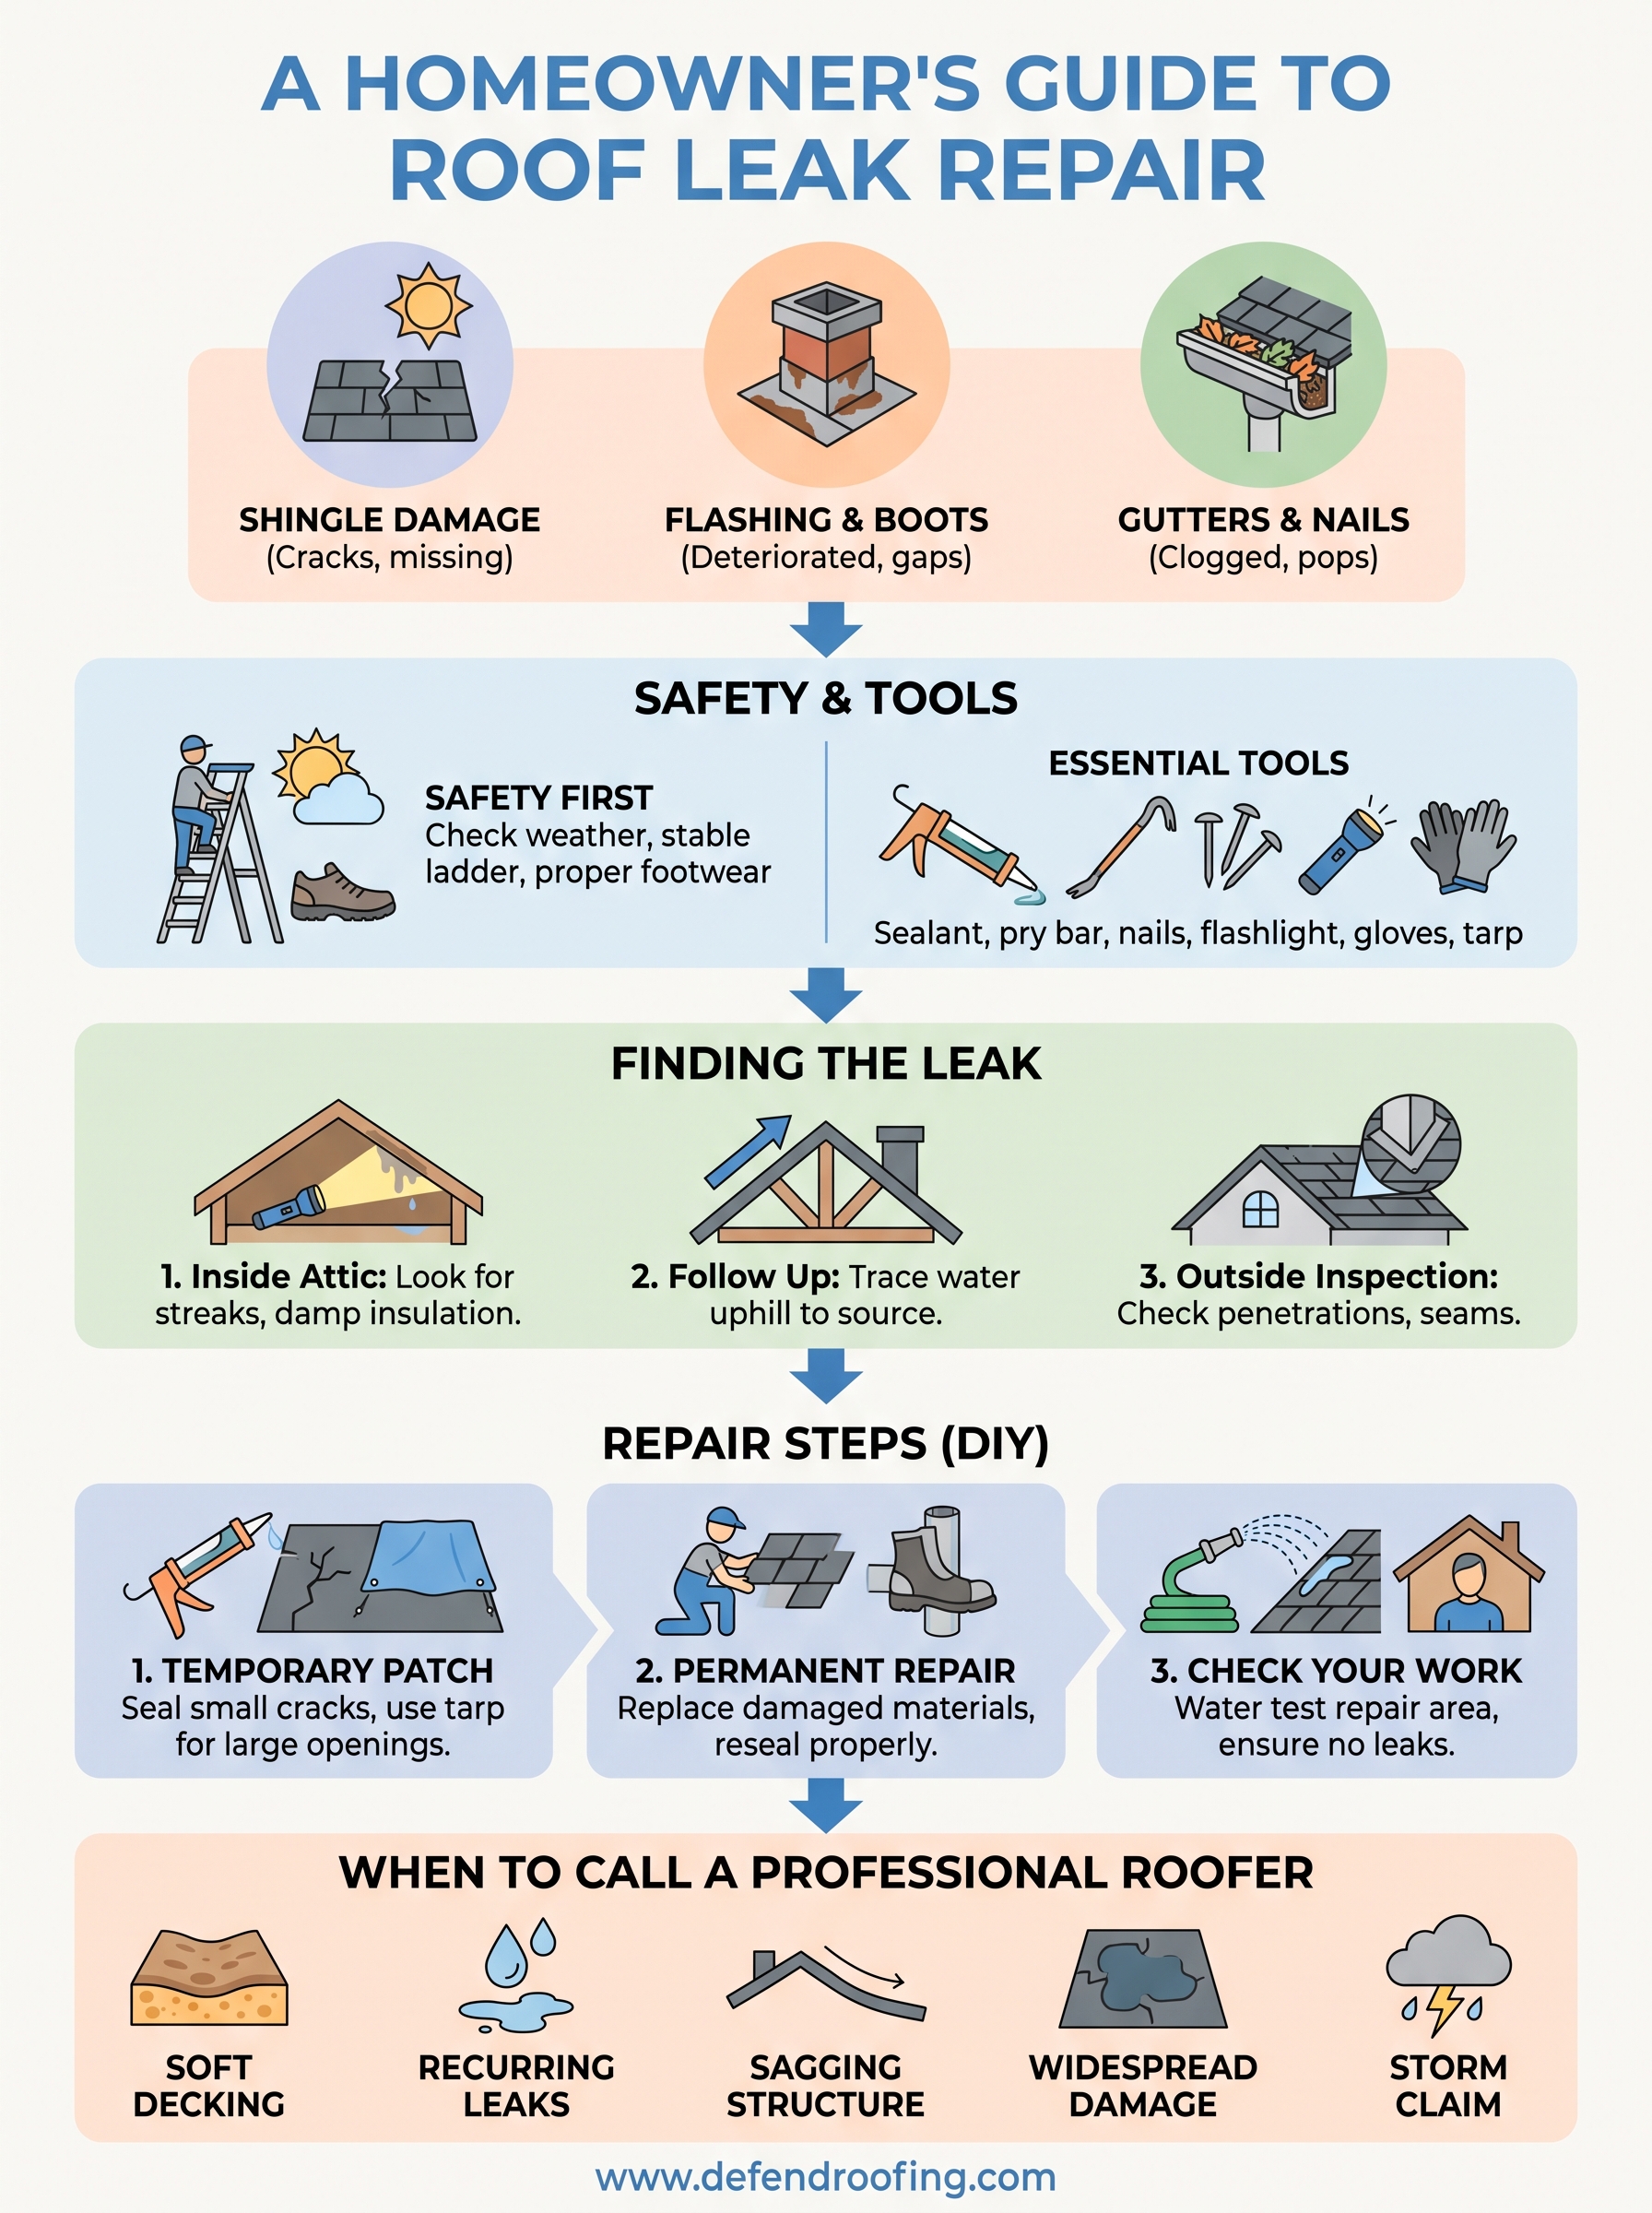
Fixing a leak once doesn't mean you're done. Most roof leakage repair jobs hold up fine when you find the real source, patch it properly, and check your work with a hose test before calling it finished. The homeowners who avoid repeat leaks are the ones who walk their roof twice a year, clear their gutters before fall storms, and reseal flashing before it cracks rather than after.
Storms in Central Texas don't ask permission, and a small drip today can turn into rotted decking by next spring if you ignore it. Trust your own inspection for the small stuff, but don't let pride talk you out of a professional opinion when the damage looks bigger than one bad shingle. When you'd rather have a documented, honest assessment than another weekend on the ladder, schedule your photo-documented roof assessment with Defend Roofing and let three generations of roofing experience take it from here.