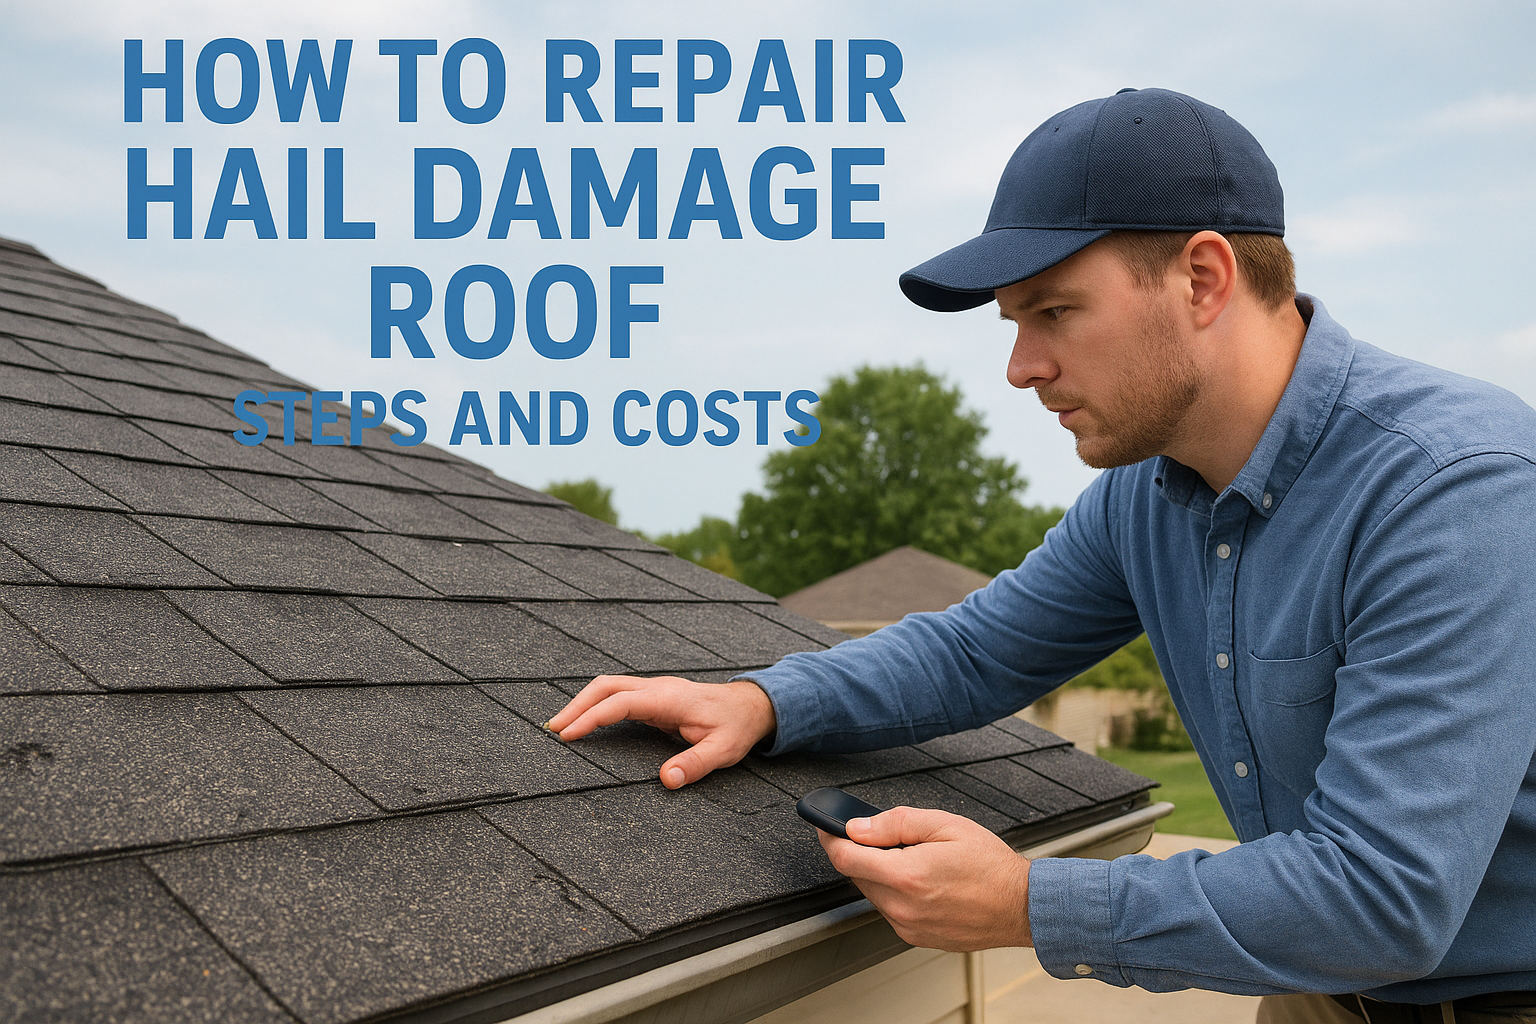
Follow this step-by-step asphalt shingle roof replacement guide covering tear-off, decking, flashing, and nailing to avoid warranty-voiding mistakes.
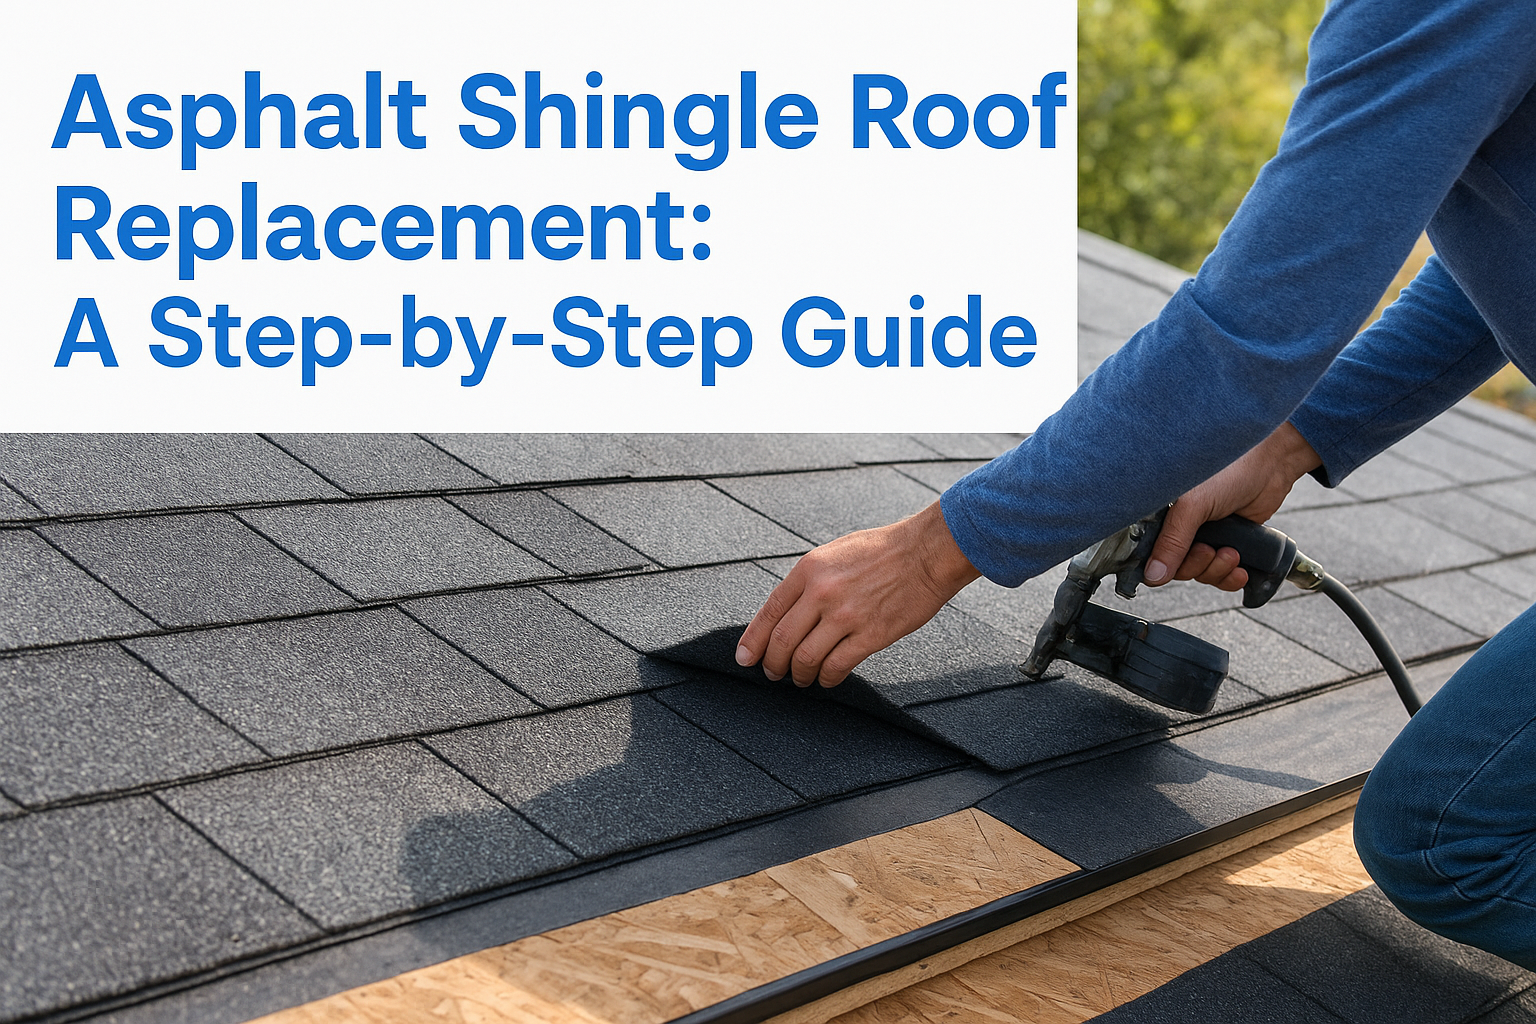
If your shingles are curling, cracking, or shedding granules into the gutters, you're probably wondering what a full asphalt shingle roof replacement actually involves before you call anyone out to your house. Central Texas sun and hail cycles wear shingles down fast, and knowing the process helps you spot a rushed job or an inflated quote before you sign anything.
This guide walks through exactly what happens during a replacement of roof shingles, from the initial inspection through tear-off, decking repairs, underlayment, and the final nailing pattern that determines whether your manufacturer warranty actually holds up. We also cover realistic cost ranges for an asphalt shingle roof replacement in materials and labor around Austin, so you can tell a fair estimate from a lowball number designed to get a foot in the door.
You'll get a straightforward, step-by-step breakdown of the work, plus honest guidance on which parts homeowners can reasonably handle themselves and which parts demand a licensed crew. At Defend Roofing, we document every project with 100+ photos precisely because homeowners deserve to see the work, not just take our word for it.
Before you tear a single shingle off your roof, figure out whether you're actually dealing with a repair job or a full replacement of the whole asphalt shingle roof. Chris and Greyson have walked plenty of roofs where a homeowner assumed the whole thing needed to go, when three bundles of shingles and a day of labor would have fixed it. The opposite happens too: a "quick patch" gets requested on a roof that's already lost 30% of its granule coverage and is leaking in two other spots the homeowner hasn't noticed yet.
Localized damage is the biggest clue that repair is enough. If your roof is under 12 years old and the damage is confined to one slope, one flashing detail, or a handful of shingles from a fallen branch, a targeted repair usually solves it. Look for:
Widespread wear changes the math entirely. Once granule loss, curling, or cracking shows up across multiple slopes, patching becomes a losing game, you'll be back on the roof again in a year chasing the next spot. Age matters too: most asphalt shingle roofs in Central Texas are rated for 20 to 30 years, but our sun and hail cycles often cut that shorter.
If the damage is spread across the roof instead of contained to one spot, you're looking at replacement, not repair.
Other signals that tip the scale toward full replacement of roof shingles:
| Signal | What it usually means |
|---|---|
| Multiple leaks in different rooms | Underlayment failure, not just surface shingles |
| Visible sagging in the roof deck | Structural issue beneath the shingles |
| Shingles 20+ years old | Past useful life, brittle even without visible damage |
| Granules filling gutters after every rain | Shingle surface breaking down roof-wide |
| Previous storm claim with deferred repairs | Compounding damage likely under the surface |
Honestly, guessing from the ground rarely gets this right. That's why every quote we give starts with a documented Precision Roof Assessment, 100+ photos of your actual roof condition, so you're deciding based on evidence instead of a stranger's gut feeling standing in your driveway.
Stripping the roof is where every honest asphalt shingle roof replacement actually starts, and it's also where a lot of shortcuts get taken. A crew should pull every layer down to bare decking, not just the top layer, because nailing new shingles over old ones voids most manufacturer warranties and traps heat that shortens shingle life. Watch for crews that skip straight to laying felt over old shingles; that's a sign they're rushing the job to move to the next house on their list, and one reason it pays to know how to tell a trustworthy roofing crew from the rest.
Once the deck is exposed, the real condition of your roof shows up, rot, soft spots, and water staining that the old shingles were hiding. This is the moment that separates a fair estimate from a lowball one, because decking repairs cost extra and a contractor who quoted you without seeing bare wood was guessing. Common findings include:
You can't judge a roof deck honestly until every shingle is off and the wood is exposed.
Good crews photograph the decking before repairs and again after, so you have proof of what was replaced and why. That documentation matters later if you ever file an insurance claim or sell the house, since buyers and adjusters both want evidence, not a verbal promise that the deck was sound.
Once the deck is repaired and dry, the roofing crew moves to the layer that does the real waterproofing work. Most homeowners assume shingles keep water out, but the underlayment is your actual second line of defense, and in a lot of leaks we've traced, it's the underlayment that failed first while shingles up top still looked fine. Skipping or shortcutting this step is one of the fastest ways to end up with a roof that looks new but leaks within two years.
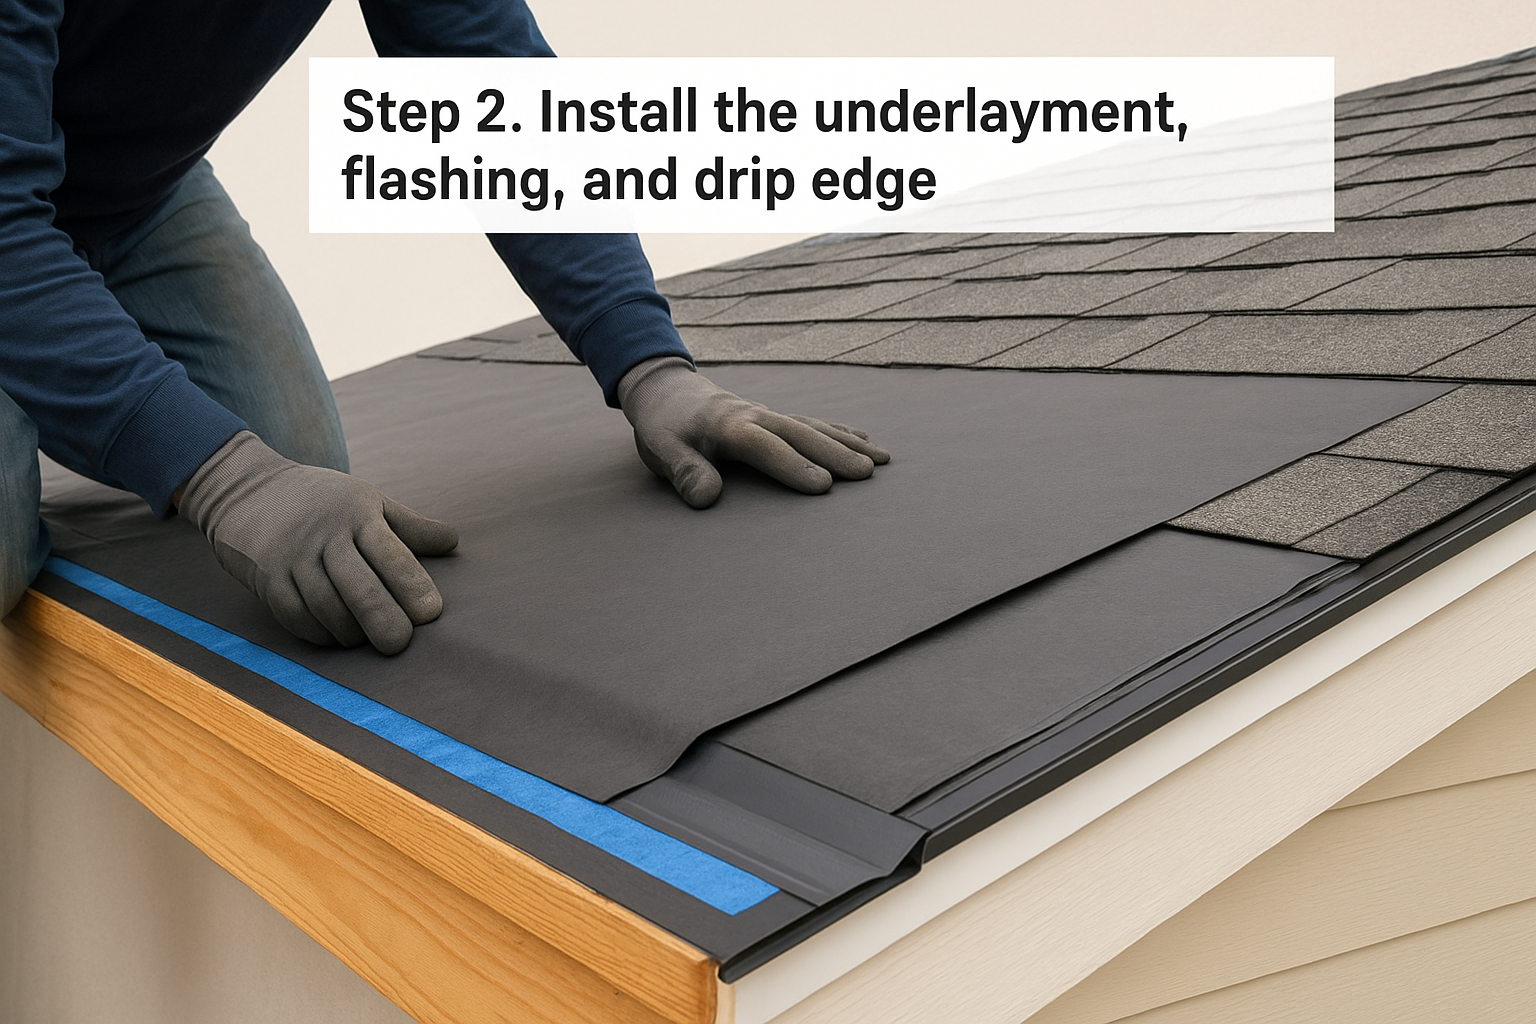
Drip edge metal goes down along the eaves and rakes before the underlayment, directing water away from the fascia instead of letting it wick back under the decking. Flashing follows at every vulnerable point, valleys, chimneys, skylights, and wall intersections, since these are where the majority of roof leaks actually originate, not out in the open field of shingles, and a leaking chimney is the most common example we see. A crew that reuses old, dented flashing to save time is cutting a corner that shows up as a leak the first heavy Central Texas storm.
Most roof leaks start at the flashing, not the shingles themselves.
Synthetic felt underlayment covers the main roof deck and is standard on most asphalt shingle roof replacement jobs, running the full length of the roof with proper overlaps so water sheds downhill at every seam. In valleys, around penetrations, and along eaves where ice or wind-driven rain is a risk, self-adhered ice-and-water membrane gets installed instead, since it seals around nail penetrations and won't tear the way felt can. Here's the typical layering order a quality crew follows:
Getting this sequence right is what keeps water moving downhill and off your roof instead of finding a gap to slip through.
With the deck protected, the crew starts laying the actual shingles, and this step is where nailing pattern and starter course placement decide whether your roof holds up in a Central Texas windstorm or loses shingles in the first gust past 60 mph. A rushed crew races through this stage because it's the most visible part of the job, the part homeowners actually watch from the driveway, but visible speed and correct technique don't always go together.
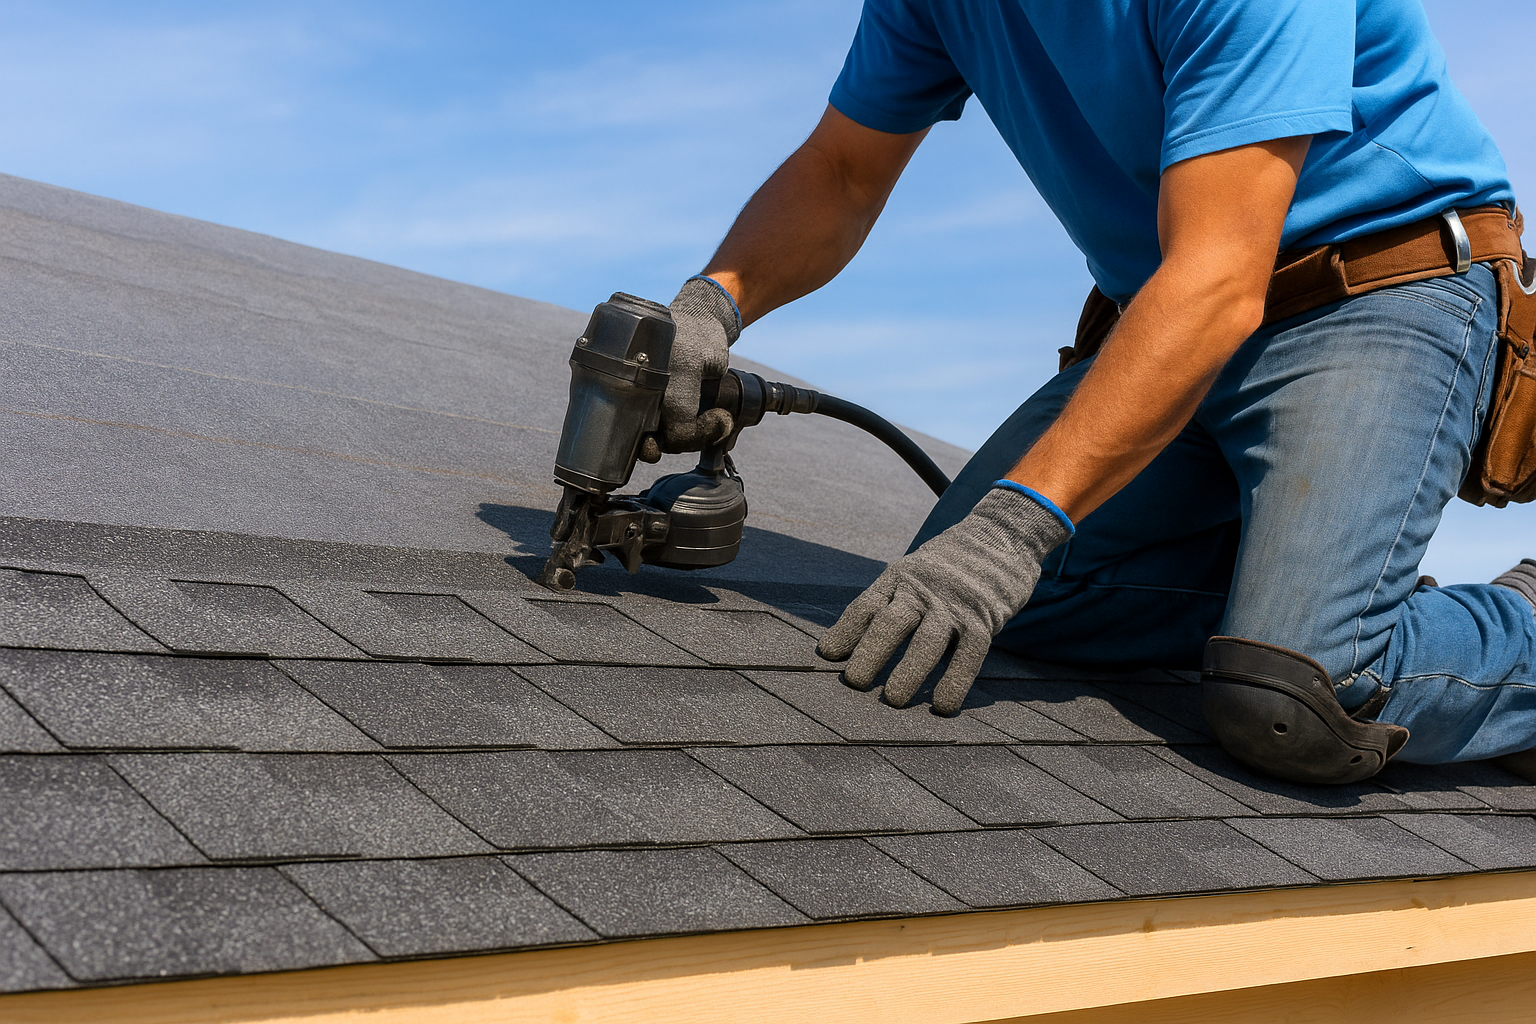
Every quality installation begins with a starter strip along the eaves, a strip of shingles installed upside down or a purpose-made starter product that seals the tabs above it and blocks wind from getting underneath the first row. Skipping the starter strip is a classic corner-cutting move, since it's hidden once the field shingles go down but shows up later as shingles lifting right at the edge during storms.
Residential roofing best practices and manufacturer specs call for four to six nails per shingle, placed in the nailing zone printed on the shingle itself, not higher or lower where the exposure line hits. Overdriven or underdriven nails, or nails placed above the strip, are the single biggest cause of warranty denials we see when homeowners file a claim years later. A consistent exposure line, usually five to five-and-five-eighths inches depending on the shingle, keeps the roofline straight and keeps water shedding the way the manufacturer engineered it.
A shingle roof is only as strong as its nailing pattern, everything else is cosmetic.
Ridge cap shingles finish the job along the peak, tying the whole roof together while allowing installed ridge vents, which run a predictable cost per linear foot, to keep attic airflow moving, which matters as much for shingle lifespan as it does for your energy bills.
Finishing an asphalt shingle roof replacement means more than driving away once the last shingle is nailed down. A thorough crew runs a magnetic nail sweep across the entire yard, driveway, and flower beds, since loose roofing nails are one of the most common causes of flat tires and injured pets after a roofing job. They'll also haul away every bundle wrapper, torn-off shingle piece, and scrap of flashing, leaving your property looking the way it did before the trucks showed up, just with a new roof overhead.
Good roofers don't call the job done until someone walks the entire roof surface again, checking nail patterns, flashing seals, ridge caps, and gutter lines for anything that slipped through during installation. Look for these items on a final walkthrough:
A roof isn't finished until someone walks it a second time looking for what got missed the first time.
Before the crew leaves, ask for photos of the completed work, not just the final exterior shot, but close-ups of flashing, ridge lines, and any decking repairs made along the way. This is exactly why every Defend Roofing project includes a 100+ photo Precision Roof Assessment, so you have a documented record of what went into your roof, not just a handshake and an invoice. That paperwork matters if you ever need to file a claim under your roofer's workmanship warranty or sell the house down the road.
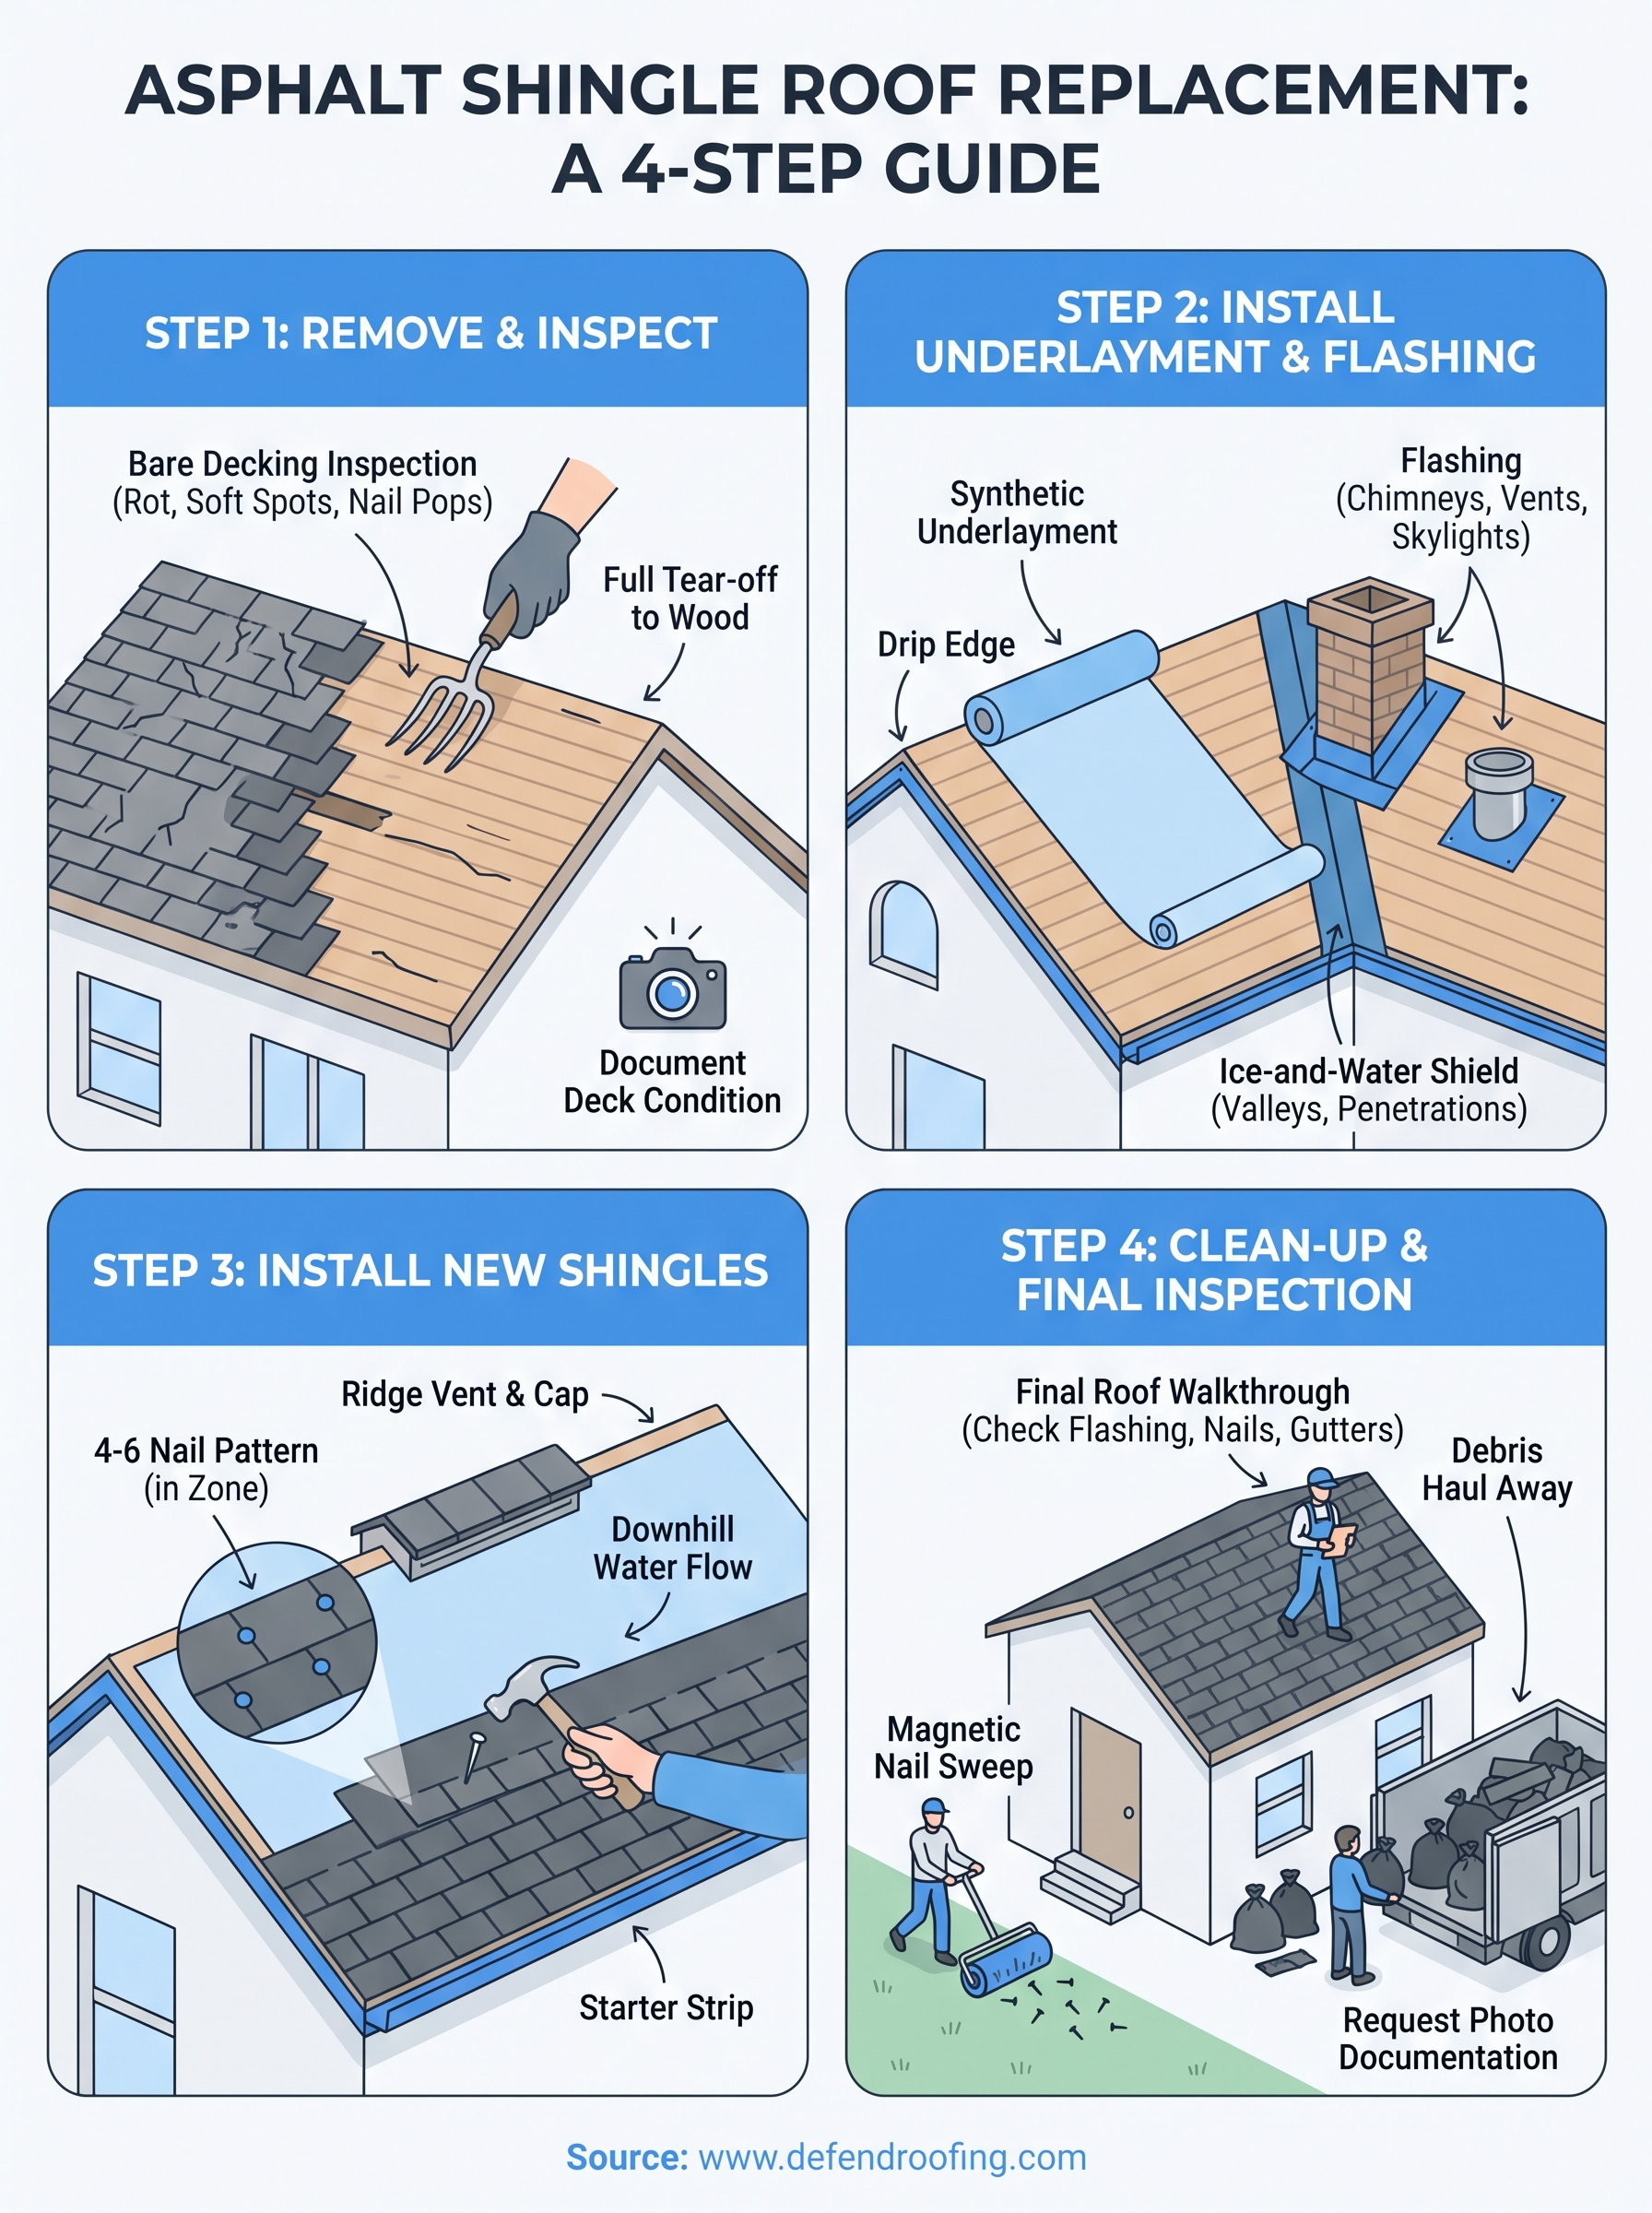
A solid asphalt shingle roof replacement comes down to sequence and discipline: honest tear-off, sound decking, proper underlayment and flashing, correct nailing, and a real final inspection. Skip any one of those steps and you end up with a roof that looks fine from the curb but fails in three years instead of twenty. Knowing this sequence means you can ask better questions when a contractor is standing in your driveway, and you can tell the difference between someone documenting their work and someone hoping you won't check.
Central Texas weather doesn't give shingles much room for error, so the crew you choose matters as much as the shingle brand you pick. If you're weighing repair against replacement of roof shingles on your own home, don't guess from the ground. Get an instant quote and talk to our team, and we'll walk your roof, document it in full, and give you a straight answer either way.