Learn the safe, step-by-step process for roof repair storm damage: document it, file your claim, and get expert repairs from Defend Roofing.
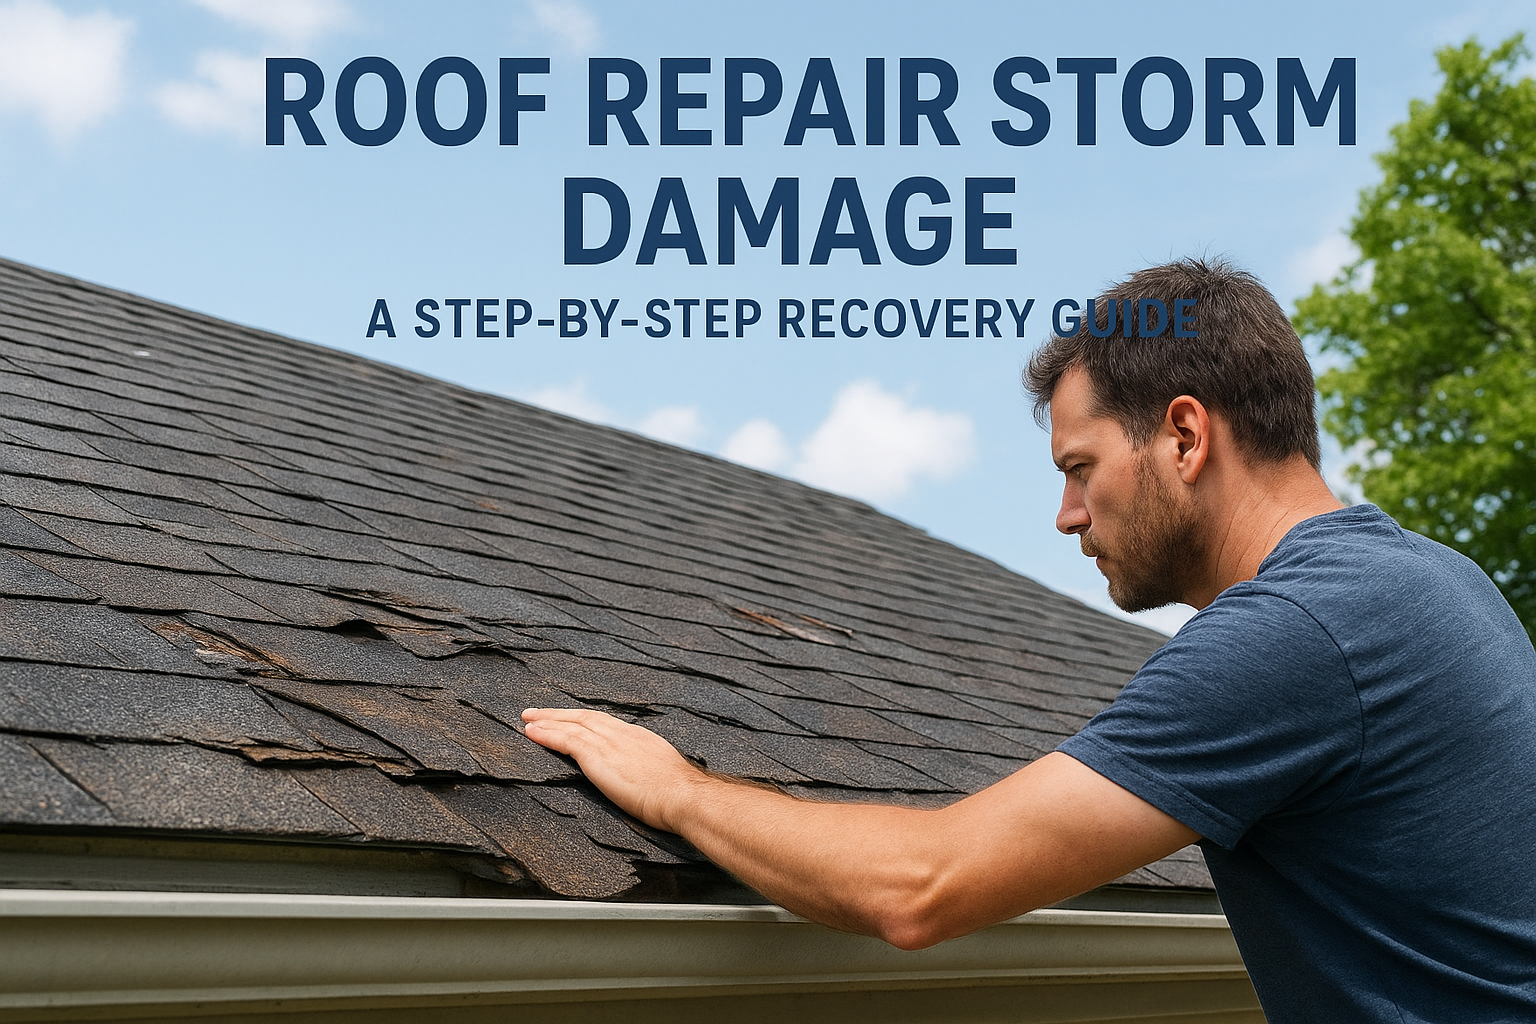
A hailstorm rolls through Leander or Cedar Park, where we handle roof repair and replacement, and within a day you're standing in your yard looking at bruised shingles, a dented gutter, and maybe a soaked ceiling stain that wasn't there last week. Roof repair storm damage situations move fast, and the decisions you make in the first 48 hours affect both the condition of your home and how smoothly your insurance claim goes.
This guide walks you through exactly what to do, in order: how to spot storm damage from the ground without climbing on a wet roof, what temporary fixes actually hold up until a contractor arrives, and how to document everything the way an adjuster needs to see it. We'll also cover when a repair makes sense versus when you're looking at a full replacement.
We've handled storm recovery for Central Texas homeowners for three generations, so this isn't theory. It's the same sequence we walk clients through after every major storm, from safety checks to filing a claim that doesn't get lowballed.
Central Texas storms don't just bring rain. Hail, straight-line winds, and falling debris each leave a different signature on a roof, and knowing which one you're dealing with shapes everything that comes next, from the temporary fix to the insurance conversation. Not every mark on a shingle means you need a full roof storm damage repair, but plenty of damage that looks minor from the ground turns into a leak within a few weeks if it's ignored.
Hail is the most common trigger for hail damage roof claims in our area, and what hail damage actually looks like on a roof is also the easiest thing to miss. Hail bruises shingles, knocking granules loose and cracking the mat underneath without always punching a visible hole. From the ground, look for dark blotches on the shingle surface, granules collecting in gutters and downspouts, and dents on metal vents, flashing, or the AC unit, since those give you a reliable clue about what size hail damages a roof and how much force hit yours, even if the shingles themselves look fine.
A shingle with hail bruising can look untouched from the yard and still fail within a season.
Wind damage roof problems show up differently, with their own signs, fixes, and insurance steps. Sustained gusts and straight-line winds lift shingle edges, crease them, or tear them off completely, especially along ridges, edges, and any spot where a previous repair wasn't sealed well. You'll often see shingles missing in a line or cluster rather than scattered randomly, curled tabs that no longer sit flat, or exposed nail heads where the shingle above has shifted. Wind can also loosen ridge caps and pull flashing away from chimneys and skylights, which opens a direct path for water even when the shingle field looks mostly intact.
Some of the worst storm damage never touches a shingle at all. Flashing around chimneys, skylights, and roof valleys is sealant and thin metal, and it's one of the reasons roofs start leaking first when wind-driven rain pushes water sideways instead of straight down. Watch for ceiling stains, peeling paint near vents, or a musty smell in the attic after a storm, all signs that water found a gap in the flashing or underlayment rather than a hole in the roofing material itself.
Branches, whole limbs, and even fence panels turn into projectiles during high winds, and impact damage tends to be obvious: cracked or punctured decking, dislodged shingles, dented gutters, or a limb still resting on the roofline. Even a glancing hit that doesn't puncture anything can loosen shingles or crack the decking underneath, so any branch strike deserves a closer look, not just a quick glance from the driveway.
| Damage type | What it looks like | Where it hides |
|---|---|---|
| Hail | Dark bruises, granule loss, dented metal | Shingle mat, soft spots you can't see from the ground |
| Wind | Missing, curled, or creased shingles | Ridge lines, edges, flashing seals |
| Water intrusion | Ceiling stains, musty attic smell | Flashing gaps, cracked sealant |
| Debris impact | Cracked decking, dented gutters | Underneath the visible strike point |
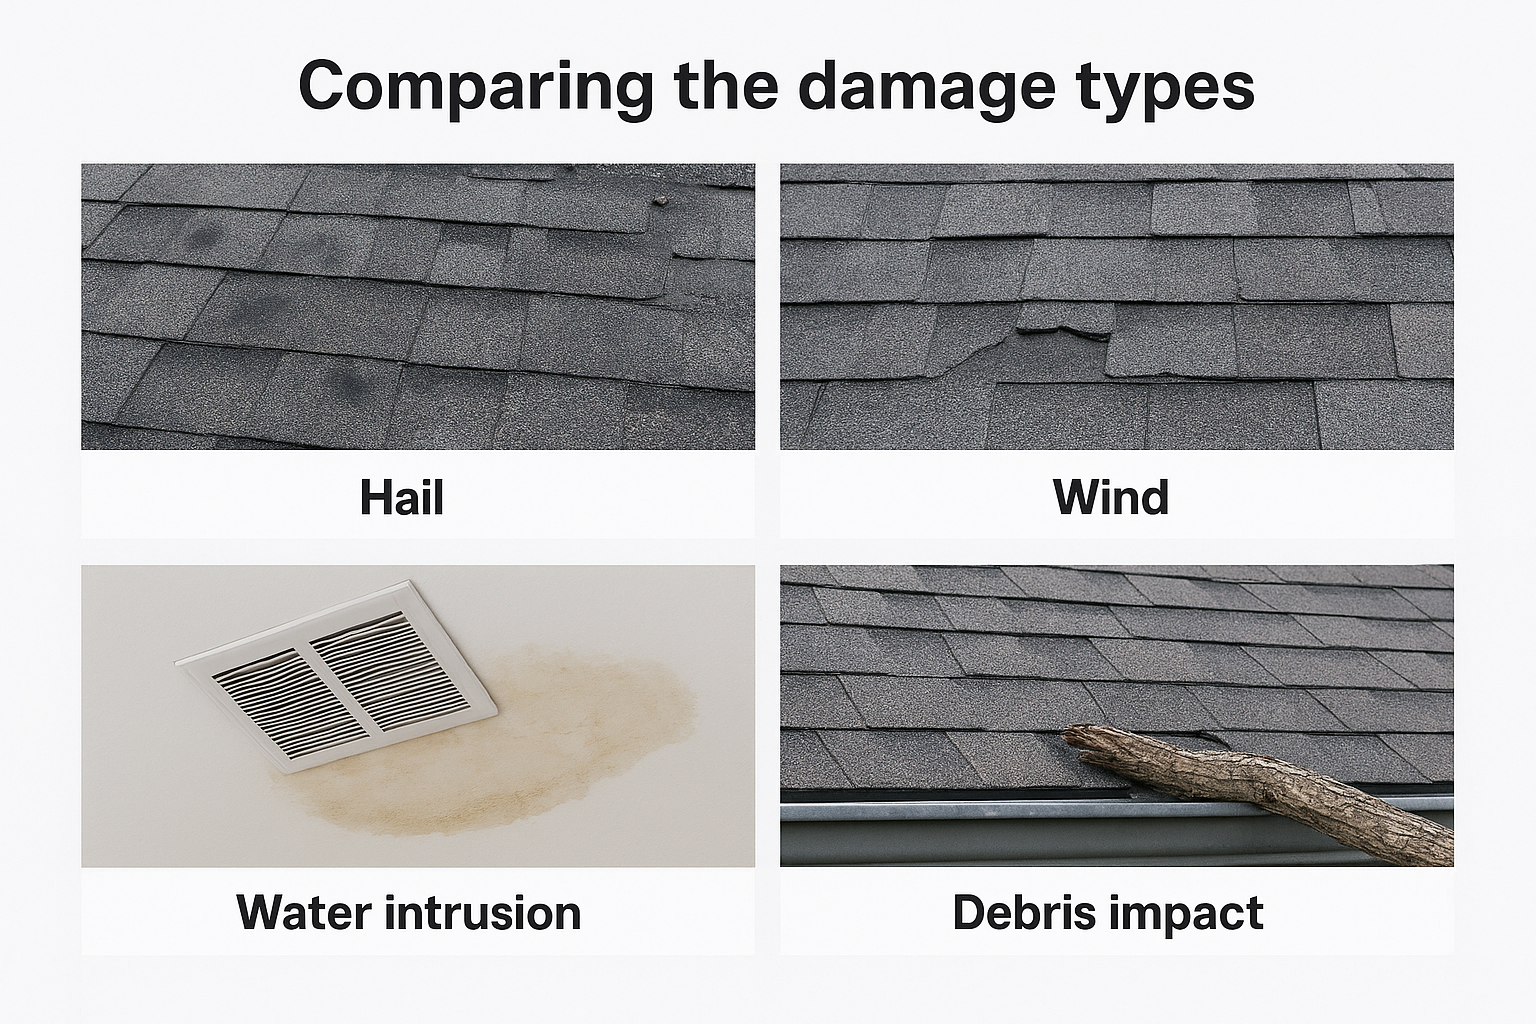
Knowing which category you're looking at helps you understand whether your homeowners policy pays for this kind of roof damage, talk to an adjuster with confidence, and point a contractor to where they should look first. In our experience walking Central Texas roofs after storms, the damage that costs homeowners the most isn't the obvious missing shingle. It's the hail bruise or flashing gap nobody flagged in the first week, because that's the damage that turns into a rotted deck or a moldy attic by the time anyone notices the leak.
Before you grab a ladder or even step into the yard, slow down. Storm damage roof repair starts with a safety check, not a shingle count, and rushing this step is how homeowners end up with a second emergency on top of the first one. Downed power lines, weakened trees, and standing water all pose real risks right after a storm, and none of them are worth a closer look at your roofline.
Walk the perimeter of your house first, not the roof itself. Look for downed power lines anywhere near the structure, gas odors near the meter, and trees or large limbs that look unstable but haven't fallen yet. If you see any of these, stay back and call your utility company or 911 before doing anything else. Only after the yard checks out should you start looking up.
Here's the rule we give every homeowner we talk to after a storm: don't climb onto a wet, storm-damaged roof to inspect it yourself. Shingles loosened by hail or wind won't hold your weight the way they normally do, and a soaked roof deck can hide soft spots you won't feel until you step through one.
No inspection is worth a fall. Leave the roof walk to someone with the harness and the training for it.
Everything you need for the next step, documenting the damage, can be done from the ground with a phone camera or a pair of binoculars.
Before you go outside, take two minutes inside to check the attic and ceilings for a leak. Sagging ceiling drywall, active dripping, or a spreading stain means water is actively moving through your structure right now, and that changes your priorities. Interior electrical fixtures near a wet ceiling are a shock hazard, so cut power to that circuit if you can do so safely.
Run through this quick checklist before moving to Step 2:
Once you've confirmed the scene is safe, you're ready to start building the documentation your insurance adjuster and your roofer will both need.
Once the scene is safe, document every sign of damage before you touch anything or call anyone. Adjusters trust photos and timestamps more than descriptions, and a thorough record now saves you from a lowball settlement or a denied claim later. Think of this step as building a case file, not just snapping a few pictures for your own reference.
Use your phone's zoom or a pair of binoculars to get close-up shots of shingles, ridge caps, vents, and flashing from every side of the house. Walk a full loop around the property and capture wide shots that show the whole roofline plus tight shots of individual damage spots like bruised shingles or bent flashing. Include something for scale in close-ups, a coin or a ruler works fine, since that detail helps an adjuster judge hail size without climbing up themselves.
Photos with a scale reference and a timestamp carry more weight with an adjuster than any written description ever will.
Granules in your gutters, dented downspouts, and cracked window screens all support your claim even though they're not on the roof itself. Gutters especially tell a story: heavy granule buildup after a hailstorm is one of the clearest signs of hail damage on a roof, even on shingles that still look intact from a distance.
Note the exact date and time of the storm along with any local news coverage, National Weather Service reports, or hail size estimates for your area. The NOAA National Weather Service (weather.gov) archives storm reports by county, and pulling that record gives your claim independent backup that matches your own photo timestamps.
Stains, drips, or musty smells in the attic belong in your file too, since insurers separate cosmetic roof damage from damage that's actively causing interior harm. Photograph any ceiling stains with a date-stamped note, and if water is actively coming in, jot down when it started.
Build your documentation folder with this list before you move to temporary repairs:
This is exactly the photo record an insurance claim inspection needs, and our Precision Roof Assessment captures it with over 100 photos per project, so it's worth matching that standard even before a professional arrives.
With the damage documented, your next job is stopping water from doing more harm while you wait for a contractor. Temporary roof repair isn't about fixing anything permanently, it's about DIY stopgaps that hold until a roofer arrives without voiding your insurance claim or creating a new hazard. Keep every temporary fix simple, reversible, and photographed before and after, since insurers expect to see reasonable efforts to prevent further loss, not a full DIY reroof.
If you can safely access the damaged section without a ladder, a tarp over exposed decking or missing shingles is the standard stopgap. Anchor it with wood strips screwed into the roof deck along the edges rather than nails punched straight through the tarp, since that spreads the weight and reduces new puncture points. Run the tarp from the ridge down past the damaged area so water sheds off instead of pooling underneath it.
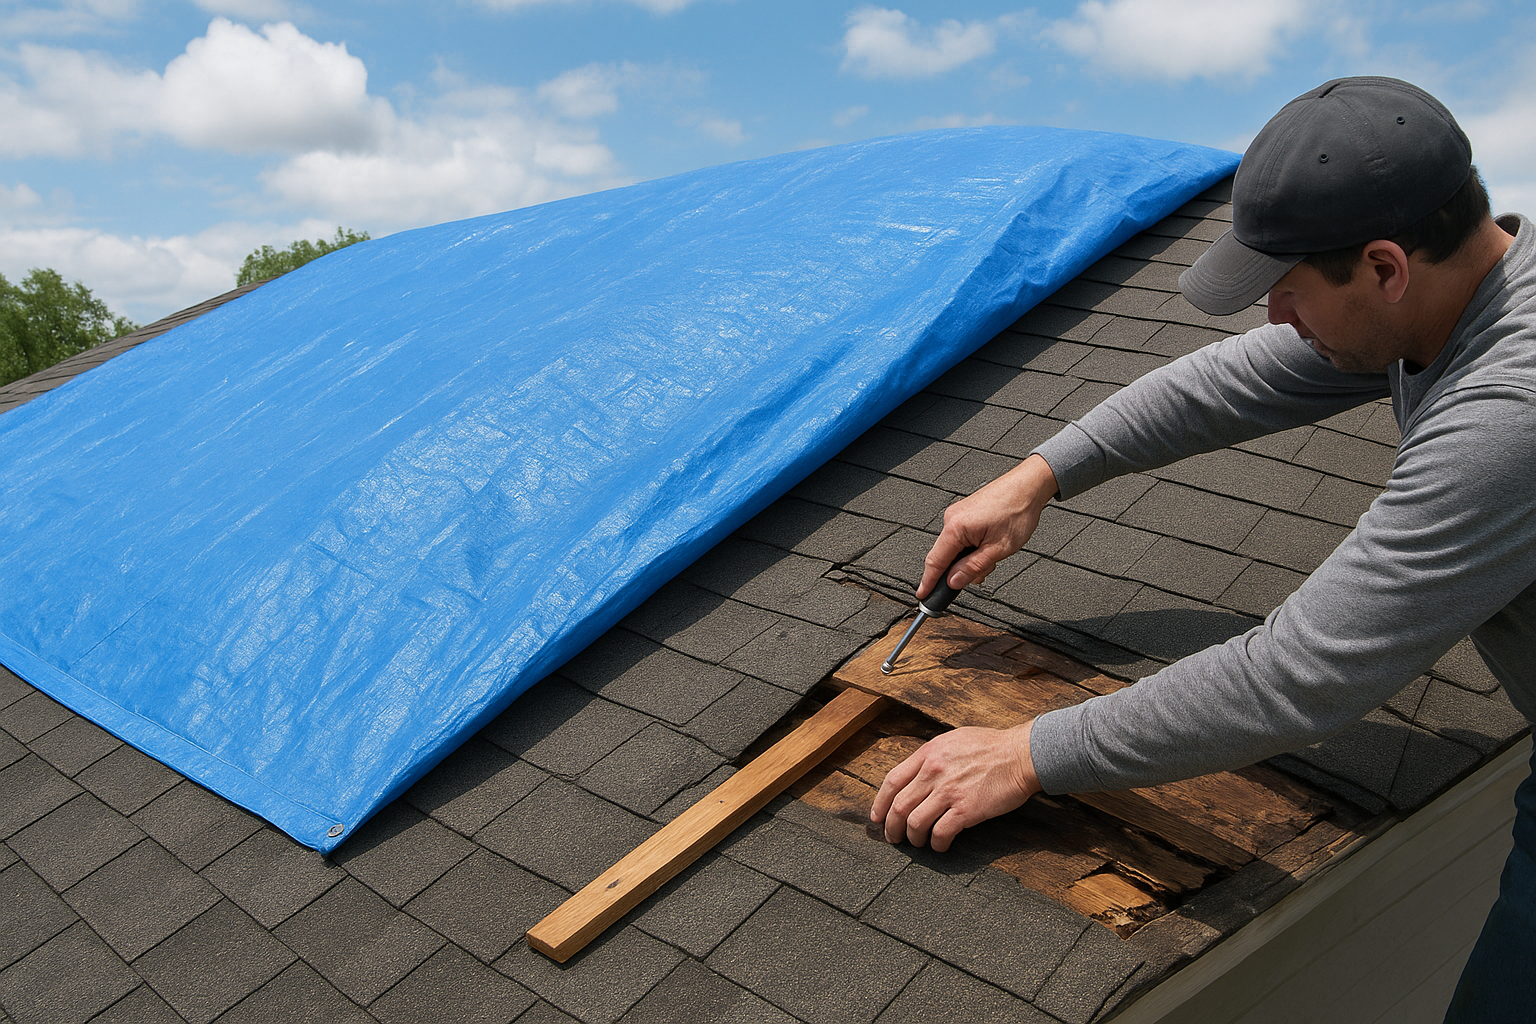
A tarp poorly secured causes more damage than the storm did. Anchor it at the ridge and let gravity do the rest.
If climbing up isn't safe for you, this is exactly the kind of call our team takes at any hour, and it helps to know who to call right now. Defend Roofing handles emergency tarping that stops a leak fast for Central Texas homeowners, so you're not the one on a wet roof after dark.
Inside the house, move furniture and belongings away from any active leak and set a bucket or basin under the drip point. Poke a small relief hole in a sagging, water-filled ceiling bulge with a screwdriver, directed into a bucket, since a controlled release beats a ceiling collapse. Run a fan or dehumidifier in the affected room once the immediate drip slows, because standing moisture in drywall and insulation invites mold within 48 hours.
Save every receipt for tarps, plywood, sealant, or buckets you buy, since most policies reimburse reasonable mitigation costs. Avoid climbing back onto the roof for anything beyond what's absolutely necessary, and never apply roofing cement or spray sealant as a long-term patch, since it can mask damage an adjuster needs to see later.
Before moving to the claim itself, confirm you've covered the basics:
Once the situation is stable, you're ready to start the paperwork that gets your roof properly repaired.
With your documentation folder built and the leaks controlled, it's time to start the claims process. File your insurance claim as soon as you reasonably can, following the full checklist for filing a roof insurance claim, since most policies have a window for reporting storm damage, and waiting too long gives an insurer a reason to question whether the damage happened during the storm you're reporting or sometime after. Call your agent or the claims line directly rather than emailing first, since a phone call gets you a claim number and an adjuster appointment faster.
Have your policy number, the storm date, and a short summary of the damage ready before you dial. Ask the representative three things during that first call: your claim number, the timeframe for an adjuster visit, and whether your policy covers temporary repairs like tarping. Write down the name of whoever you speak with and the date of the call, since that becomes part of your own paper trail if anything gets disputed later.
The homeowner who calls within days of the storm, with photos ready, almost always gets a smoother claim than the one who waits and hopes it settles itself.
Share your photo documentation with the adjuster before or during their visit rather than waiting to be asked. Walk the property with them if you're able, and point out anything that might be easy to miss from the ground, like the gutter granules or the dented AC unit you photographed earlier. Insurance adjusters see dozens of roofs after a regional storm, and a homeowner who hands over organized evidence tends to get a more accurate scope than one who leaves it entirely to a quick visual pass.
Don't rely solely on the adjuster's numbers. A local roofer's independent estimate gives you something to compare against the insurance company's scope of work, and it catches line items adjusters sometimes miss, like flashing replacement or decking repair hidden under the shingles. This is where insurance claim support from a contractor who's navigated hundreds of Central Texas claims makes a real difference, since they know what a fair scope looks like for hail and wind damage in this market and how getting insurance to pay for a roof replacement in Texas actually works.
Before your adjuster appointment, make sure you have:
Once the claim is open and the estimates are in hand, you're ready to move from paperwork to the actual repair.
Once your claim is open, bring in a licensed roofer for a full professional roof inspection, even if the adjuster already climbed up. A contractor who works storm damage every week catches things a once-a-year adjuster visit can miss, like a soft spot in the decking under an otherwise normal-looking shingle or a flashing seam that's cracked but not yet leaking. This is the point where your temporary fix gets replaced with a permanent one, so don't rush past it just because the claim is moving.
Walk the roof with the contractor and compare their findings against both your own photos and the adjuster's scope. A trustworthy roofer tells you plainly when a section needs full roof storm damage repair versus a targeted patch and doesn't pad the scope just because insurance is paying, which is one of the red flags to watch for when hiring a roofing contractor. Our Precision Roof Assessment documents every finding with 100+ photos specifically so you and the adjuster are looking at the same evidence, not two different opinions.
A roof repaired to match the adjuster's actual scope, not padded or shorted, is the one that holds up through the next storm.
Some storm damage is contained enough that a targeted repair solves the problem. Other times, the age of the roof combined with widespread hail bruising means a patch just delays a full tear-off you'll need within a year or two, which is the heart of the roof repair vs replacement decision. Ask your contractor these questions before signing off on any scope:

A repair without a warranty leaves you exposed if the same spot fails again next season. Look for a contractor who backs the work with a written Limited Lifetime Workmanship Warranty, and know how much a workmanship warranty covers and for how long, plus written confirmation that any manufacturer warranty on the existing roof stays valid. Once the repair is complete and documented, keep that paperwork with your claim file, since it closes the loop on everything you started tracking back in Step 2.
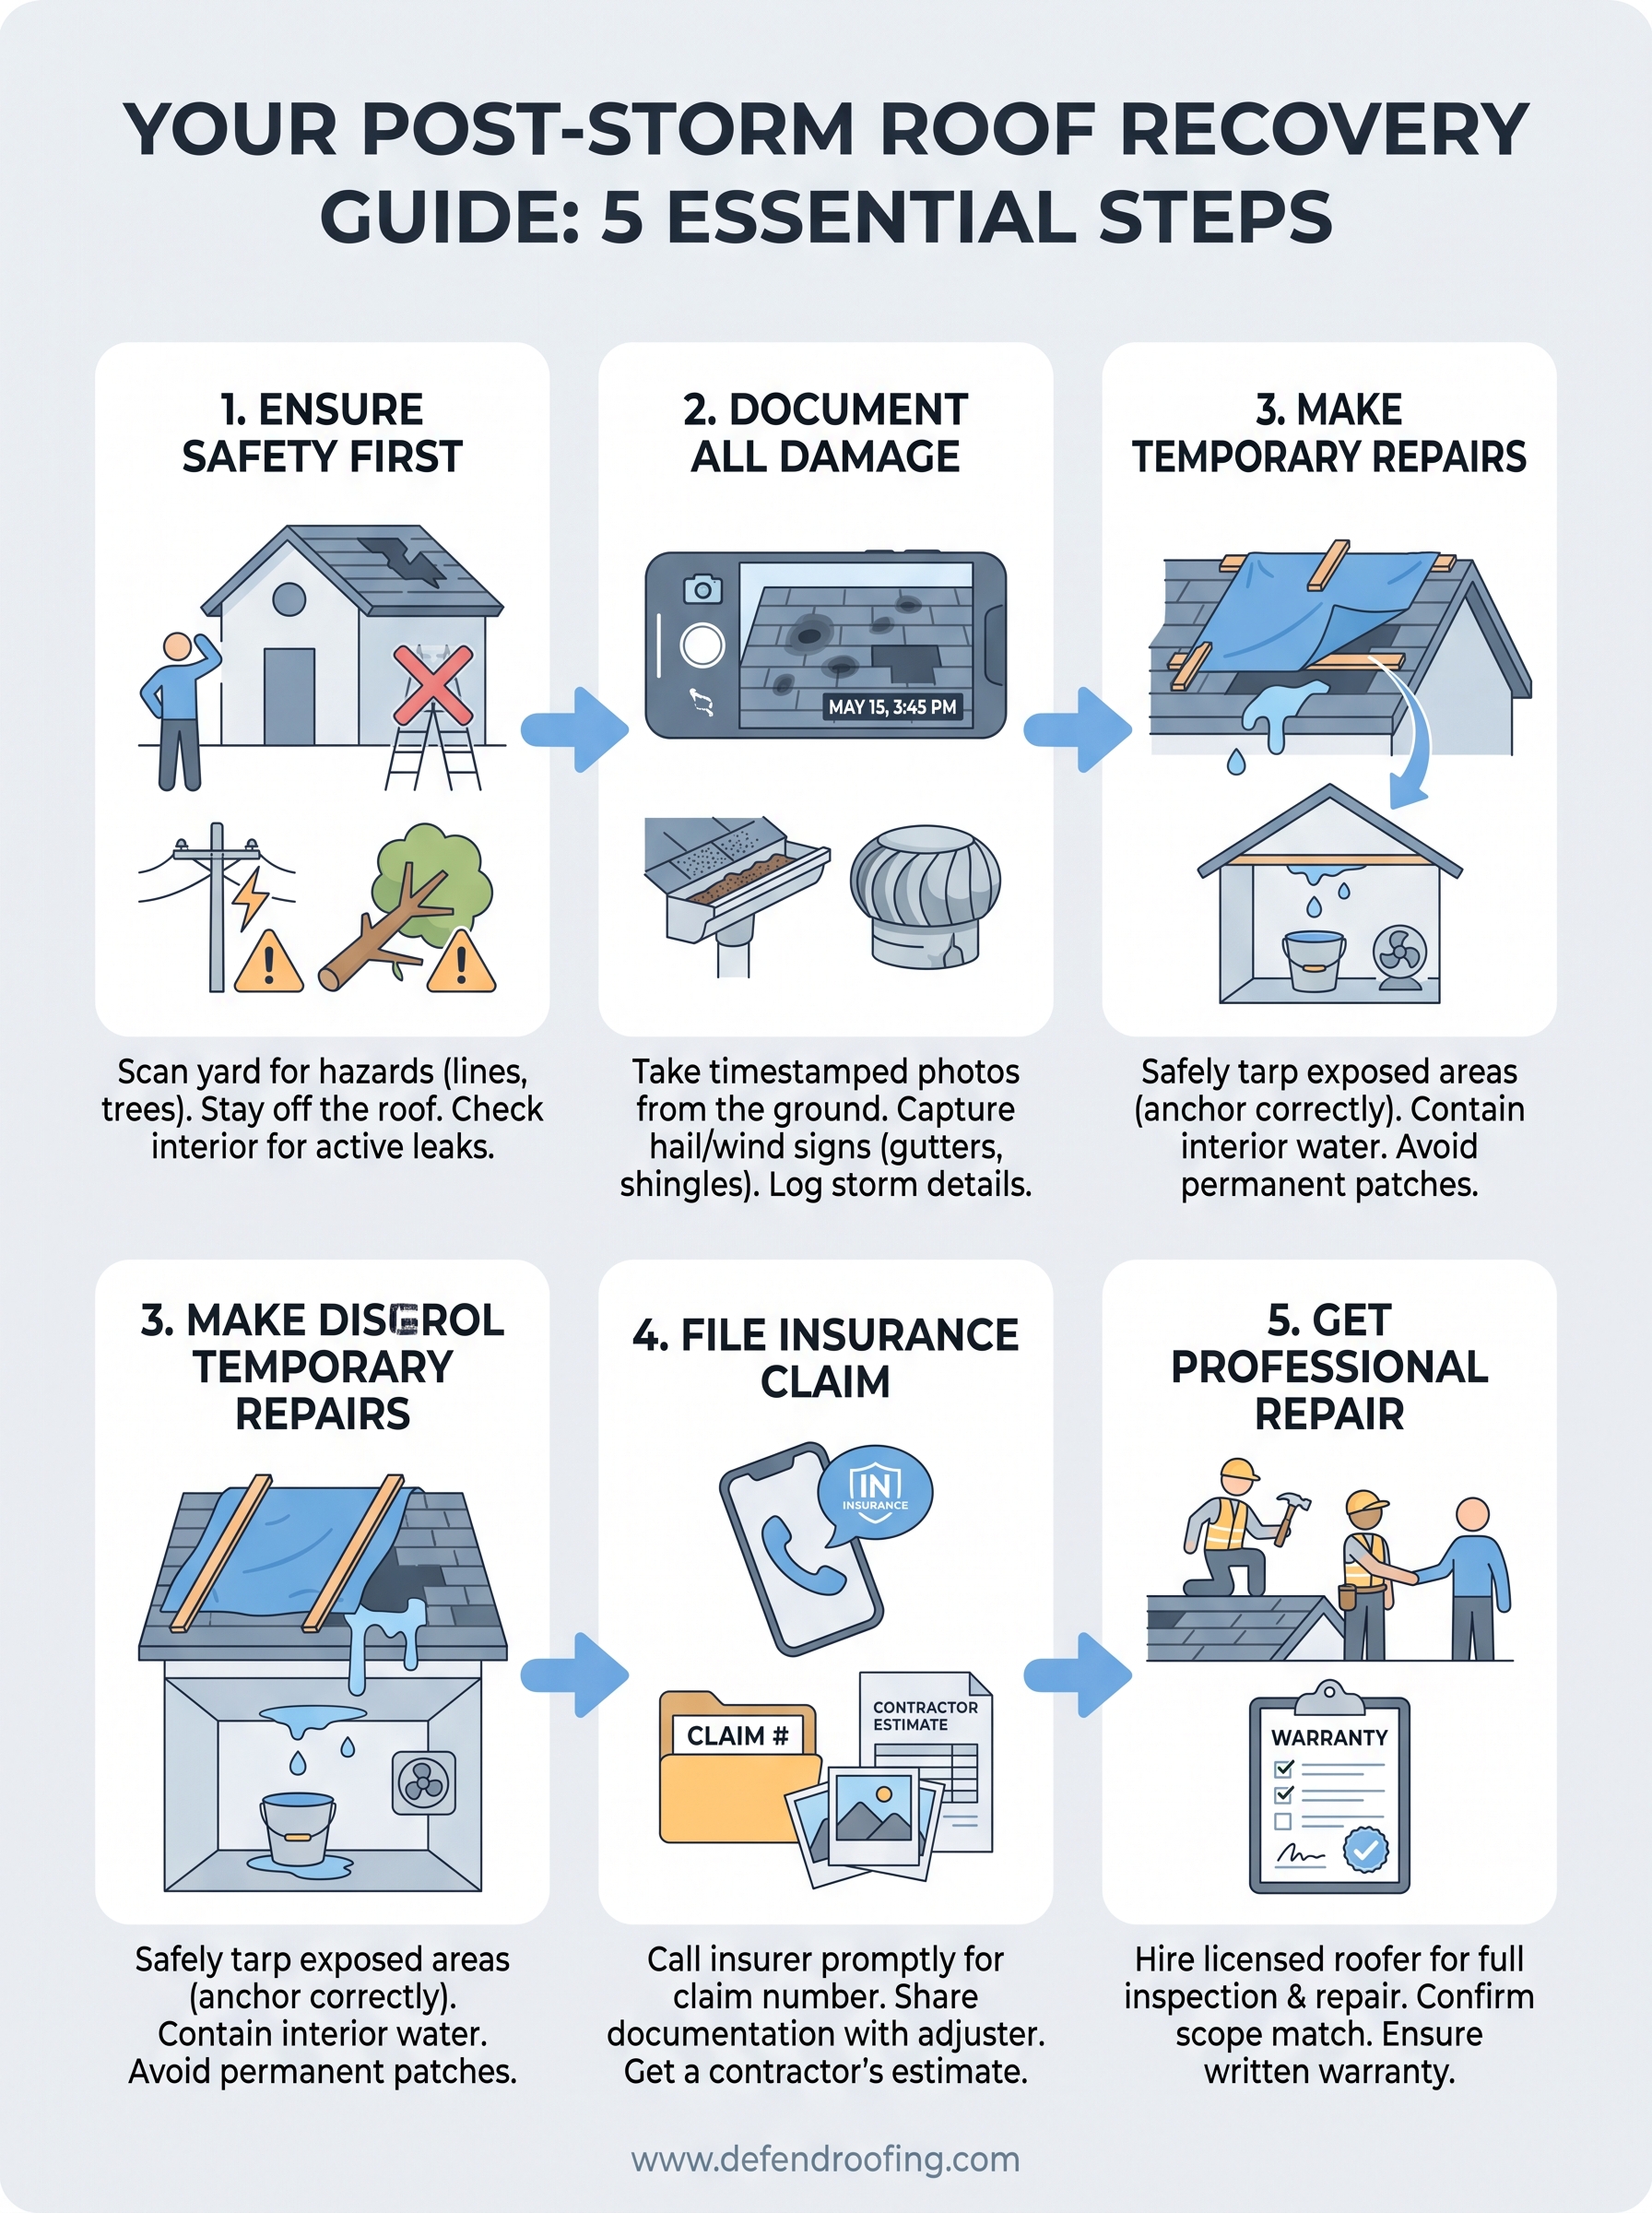
Storm recovery follows a sequence for a reason. Safety first, then documentation, then temporary fixes, then the claim, then a permanent repair from someone who backs the work in writing. Skip a step and you either put yourself at risk or hand your insurer a reason to shortchange you. Follow it in order and you end up with a roof that's actually sound, not just patched over.
Roof repair storm damage situations reward homeowners who move deliberately instead of panicking. You don't need to be a roofing expert to get through this. You just need a clear process and someone honest on the other end of the phone when it's time for the professional repair.
If a Central Texas storm left its mark on your roof, don't wait for the next one to find out how bad it really is. Call, text, or get a free storm damage assessment and an instant quote from our team, with no pressure attached.




